Quick Start Guide - OpenIdentityPlatform/OpenAM GitHub Wiki
OpenAM Getting Started
https://doc.openidentityplatform.org/openam/getting-started/ (pdf)
OpenAM 13.5 Getting Started
https://github.com/OpenIdentityPlatform/OpenAM/wiki/old/OpenAM-13.5-Getting-Started.pdf
Preparations
Install Docker
Install Docker for your platform, if you did not do this before, from https://docs.docker.com/install/#supported-platforms.
Prepare Hosts File
First, you need to add to your hosts file the local IP and FQDN mappings. openam.example.org - for OpenAm and example.org for Apache Http Server. Your hosts file should contain the following line:
127.0.0.1 openam.example.org example.org
To add the above line to the hosts file on Windows:
- Press the Windows key.
- Type Notepad in the search field.
- In the search results, right-click Notepad and select Run as administrator.
- From Notepad, open the following file: c:\Windows\System32\Drivers\etc\hosts.
- Make the necessary changes to the file.
- Select File > Save to save your changes
OpenAM Configuration
Running OpenAM Image
Create Docker network for OpenAM
docker network create openam-quickstart
Run OpenAM image
docker run -h openam.example.org -p 8080:8080 --network openam-quickstart --name openam openidentityplatform/openam
Change the name in the above command if you run into errors saying the container is already in use.
Basic OpenAM Setup
Open your browser, goto url http://openam.example.org:8080/openam.
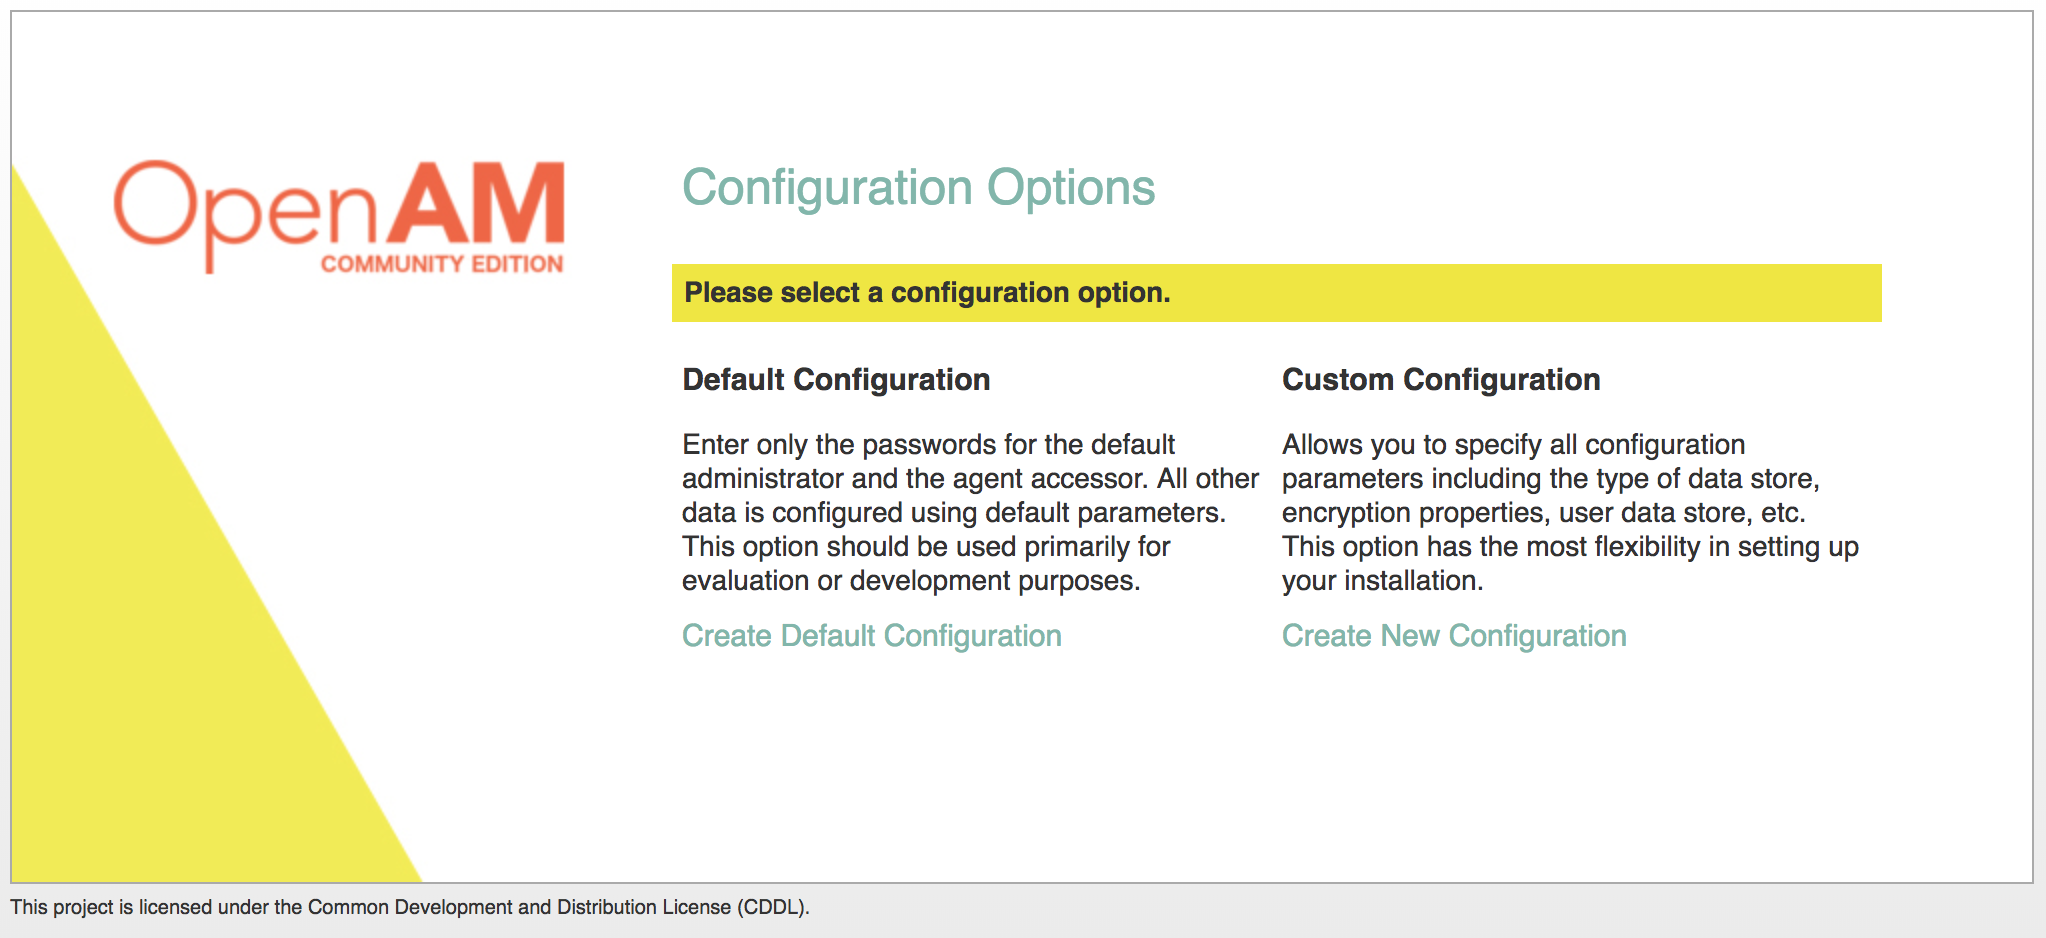
Click Create Default Configuration.
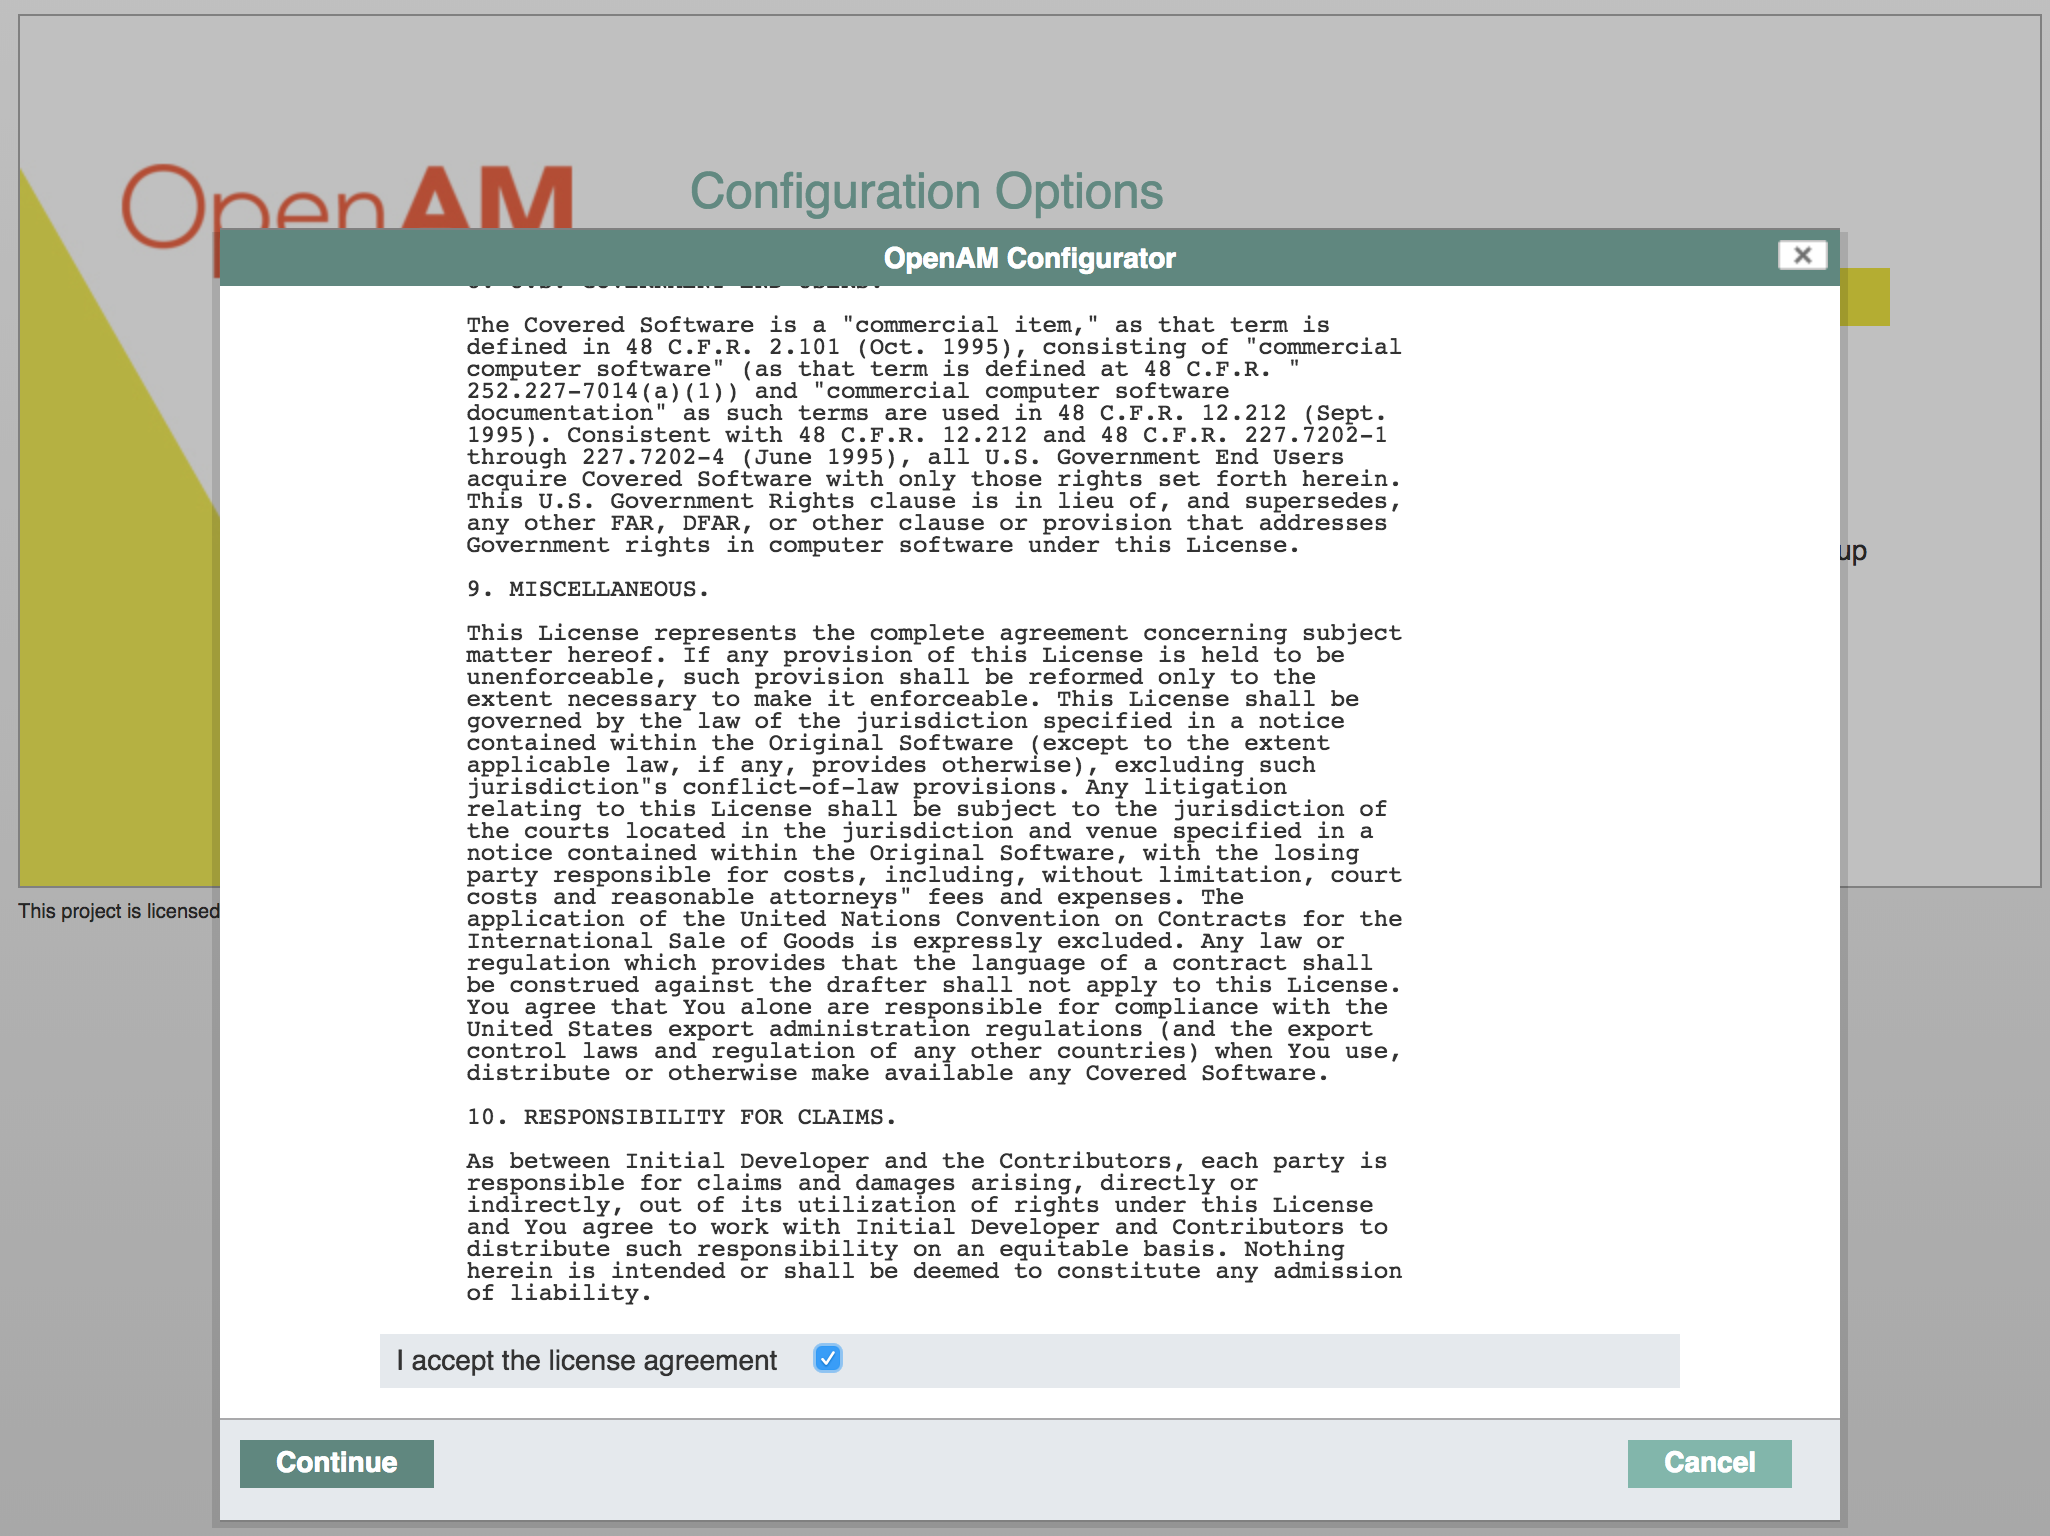
Accept License Agreement
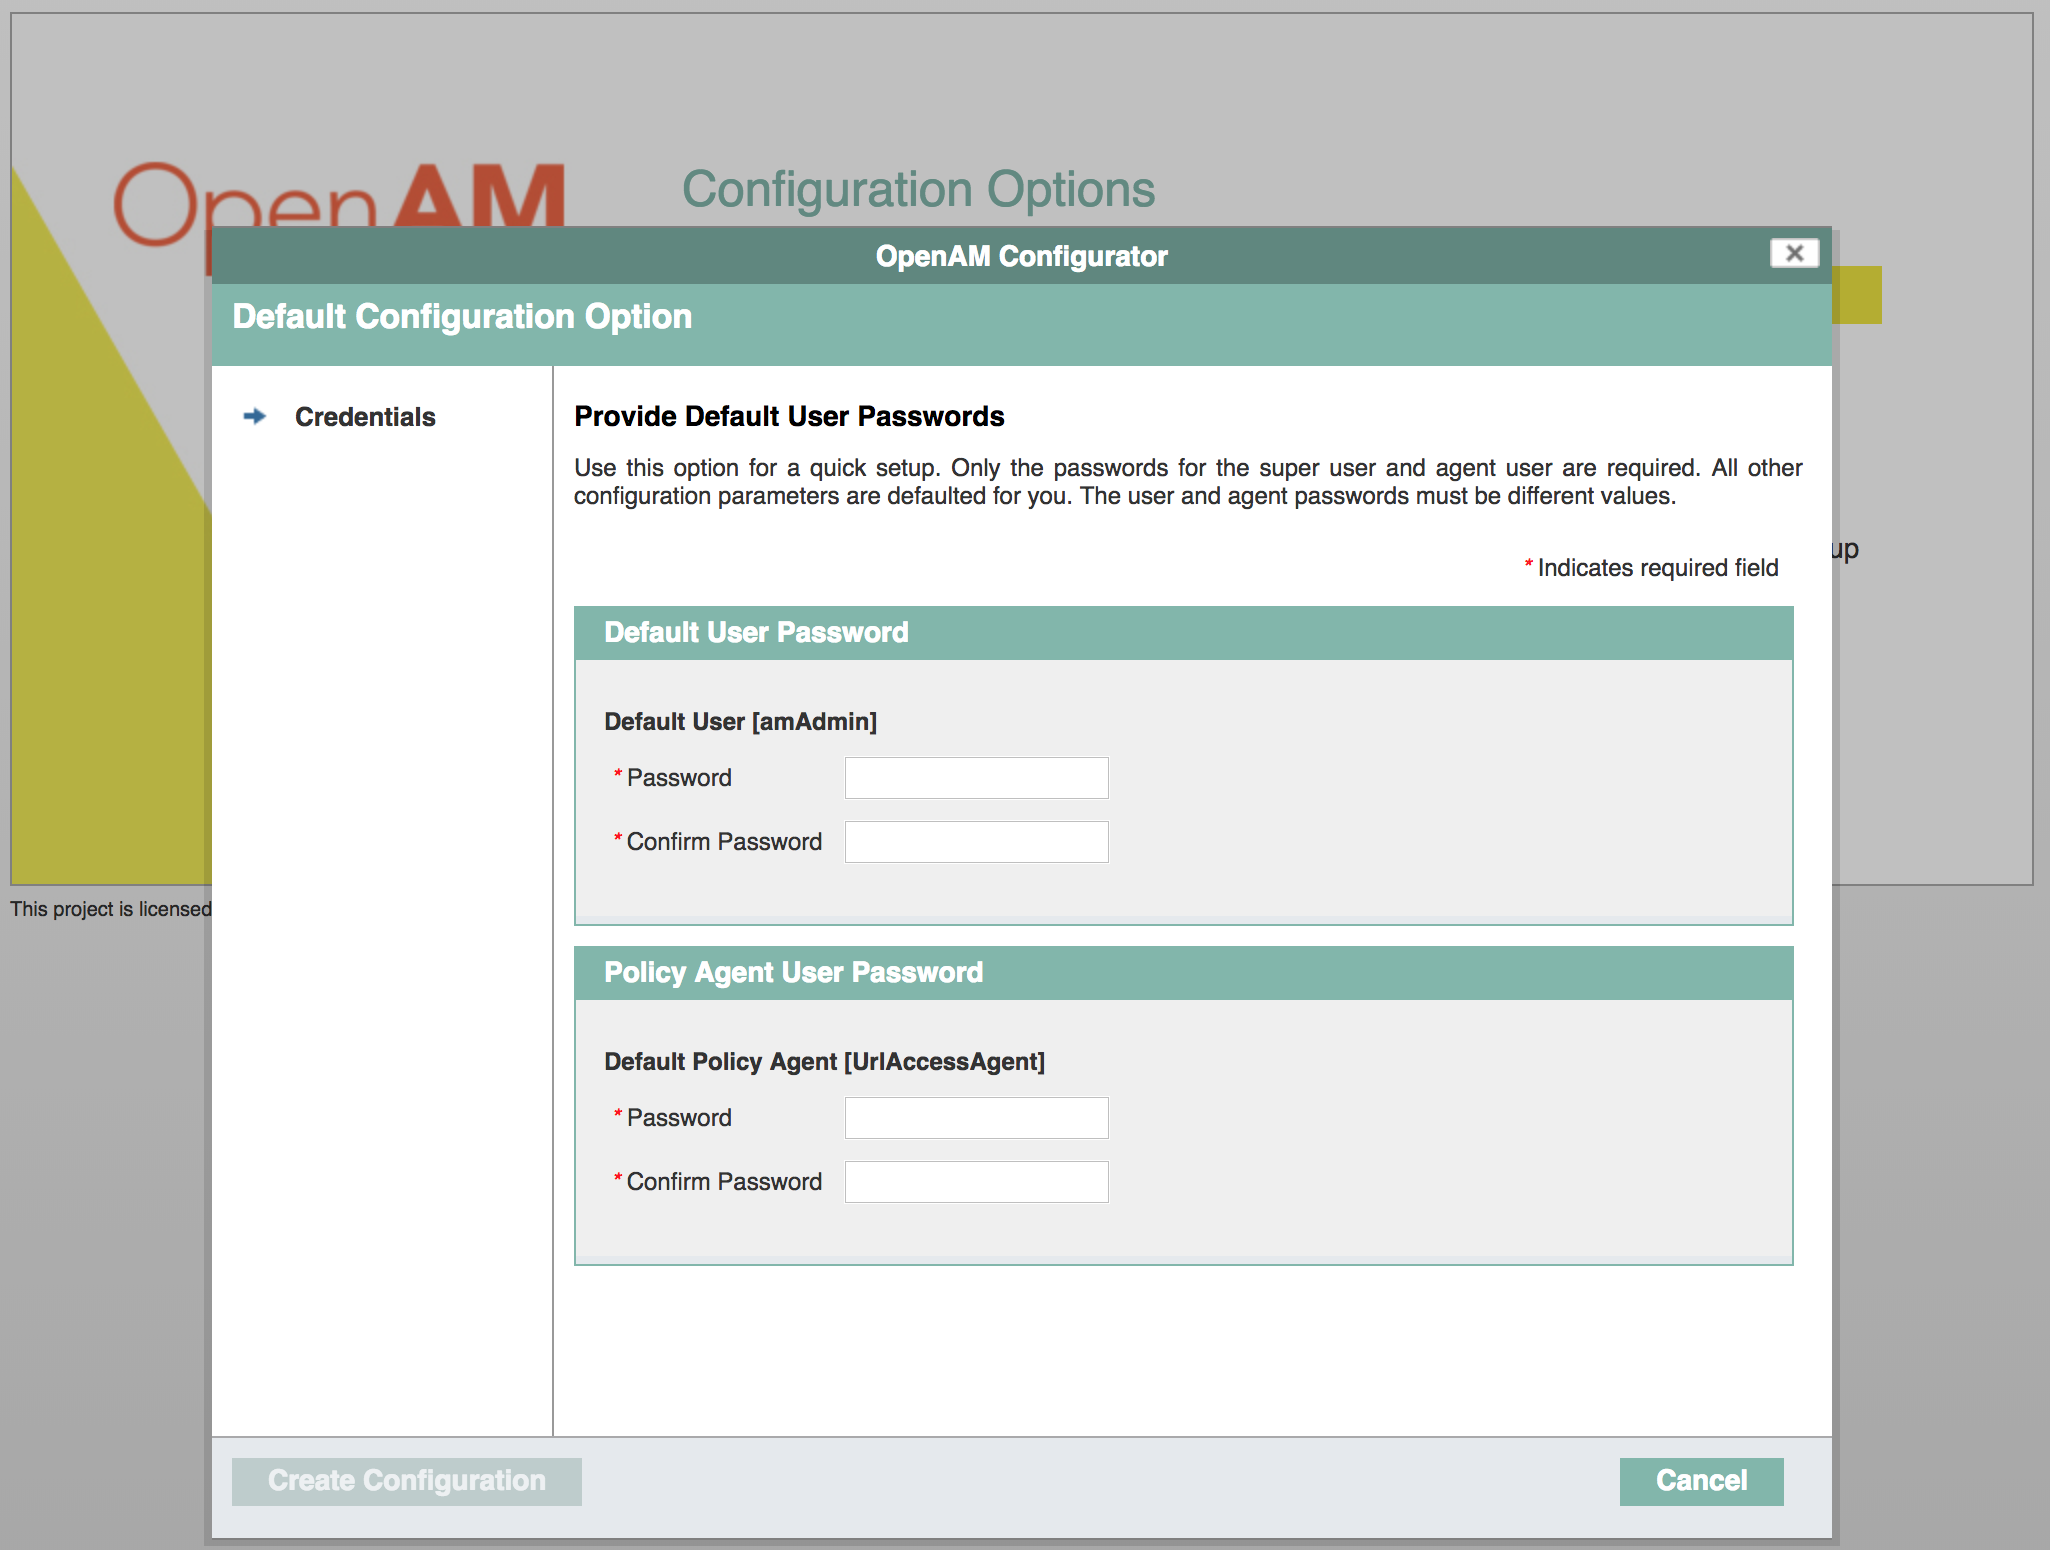
Set password for default admin user and policy agent
Press Create Configuration. After configuration successfully created, press Proceed to Login or open http://openam.example.com:8080/openam/console link in browser.
Policy Configuration
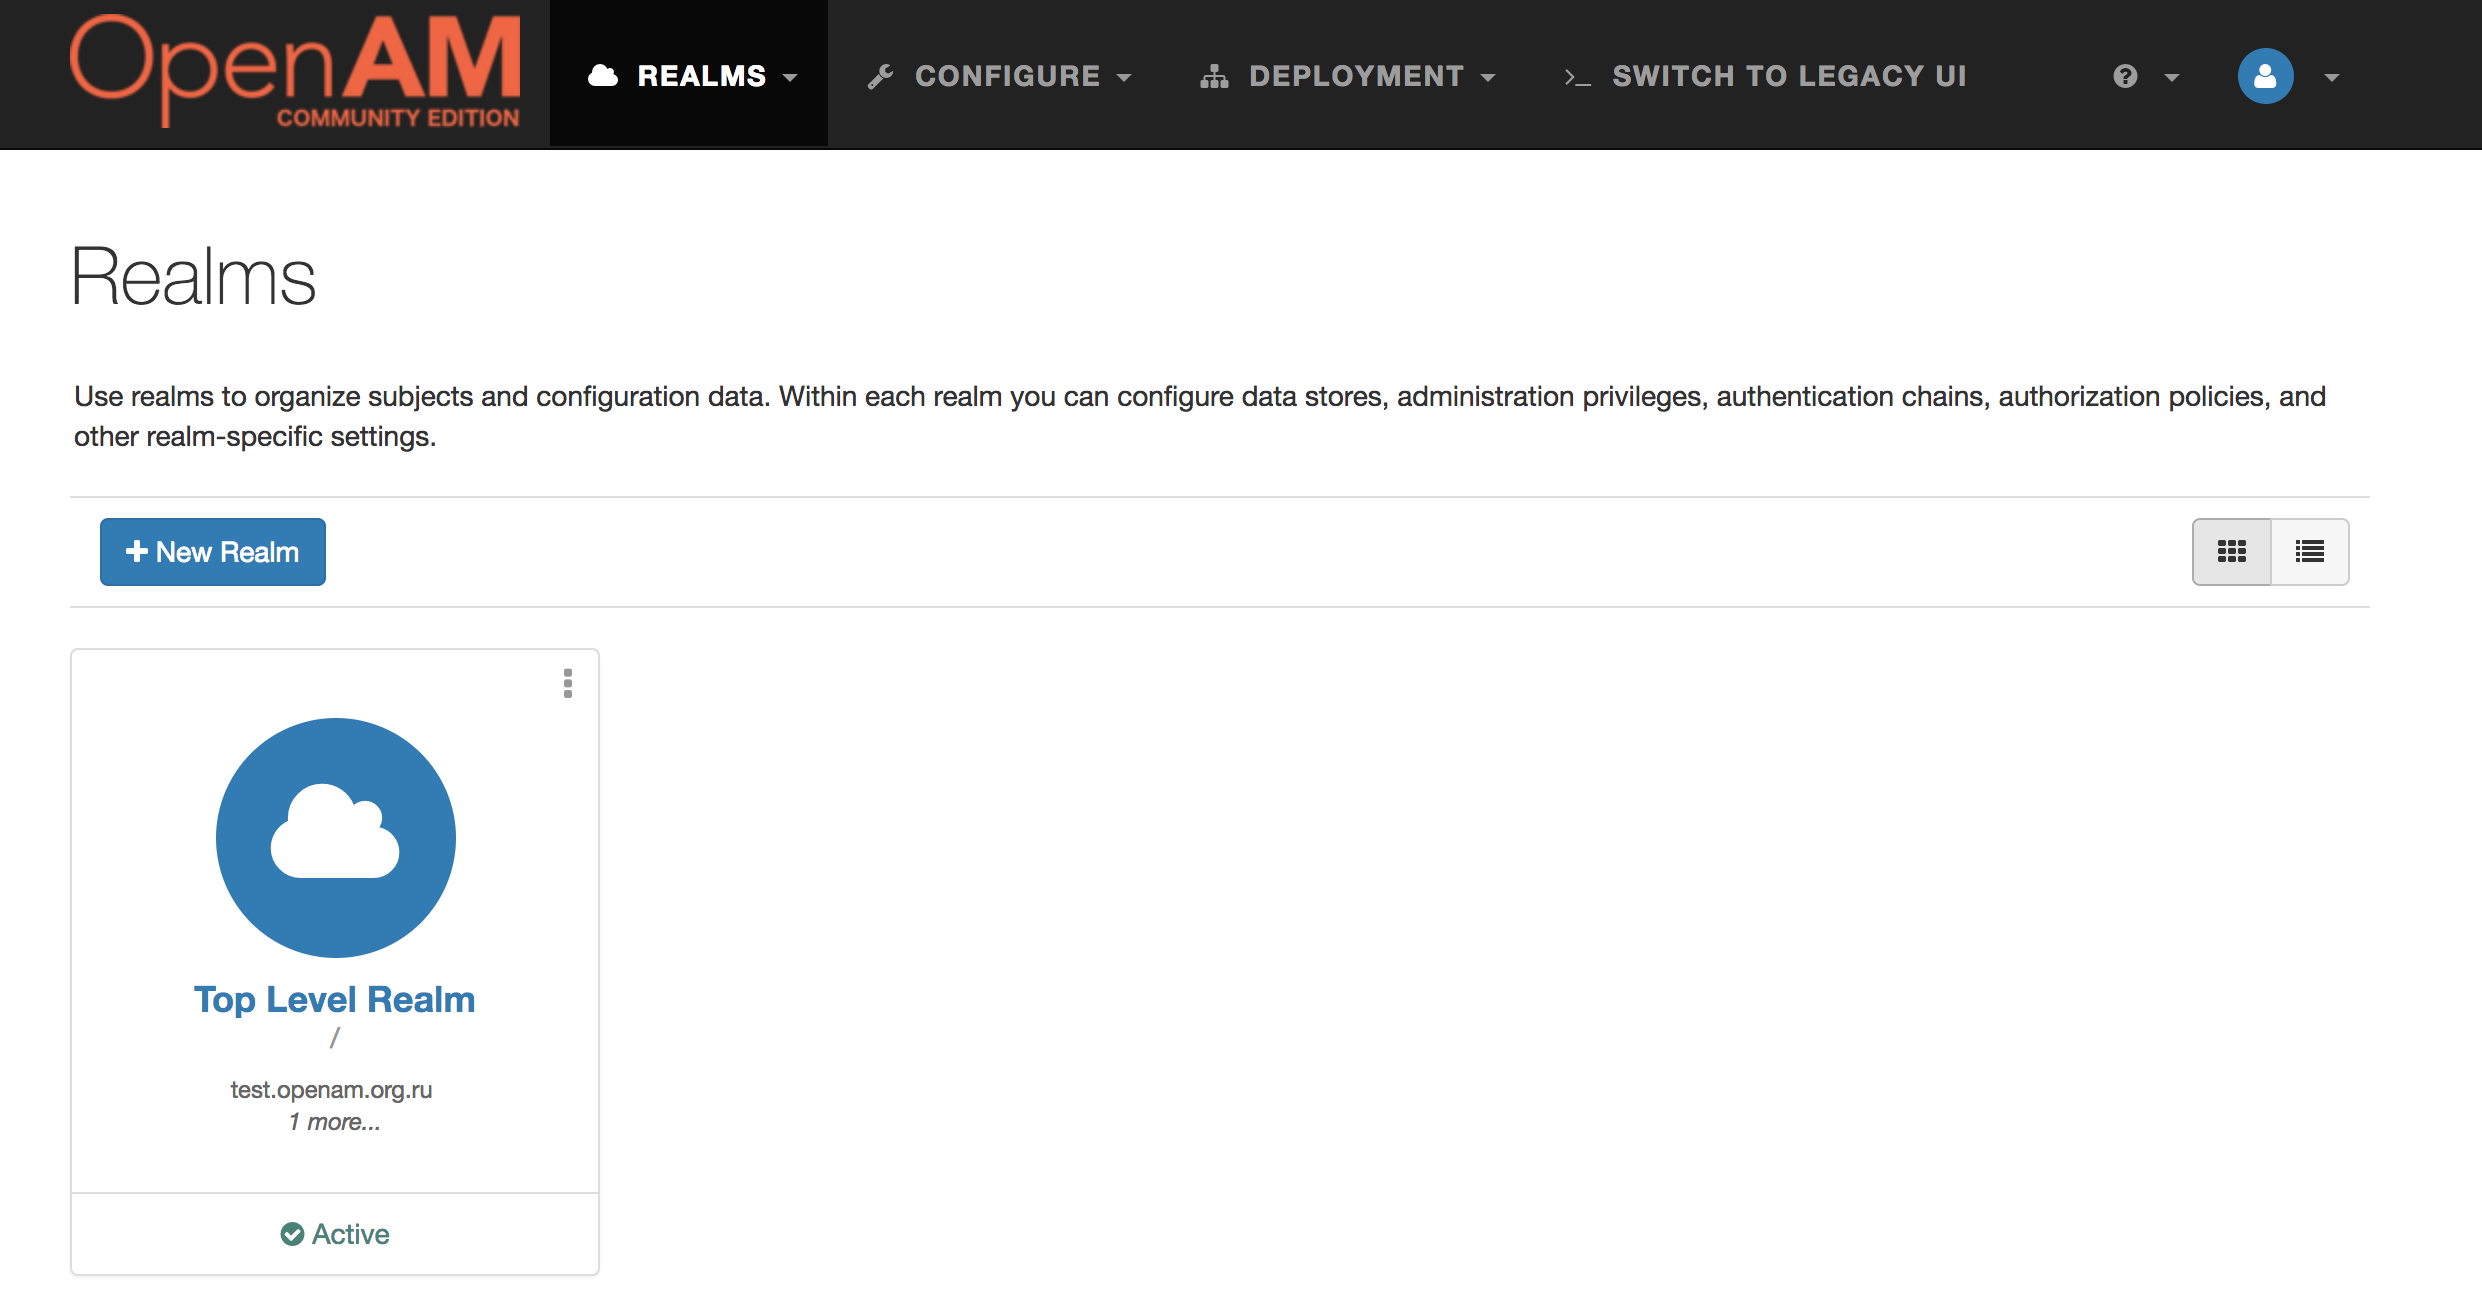
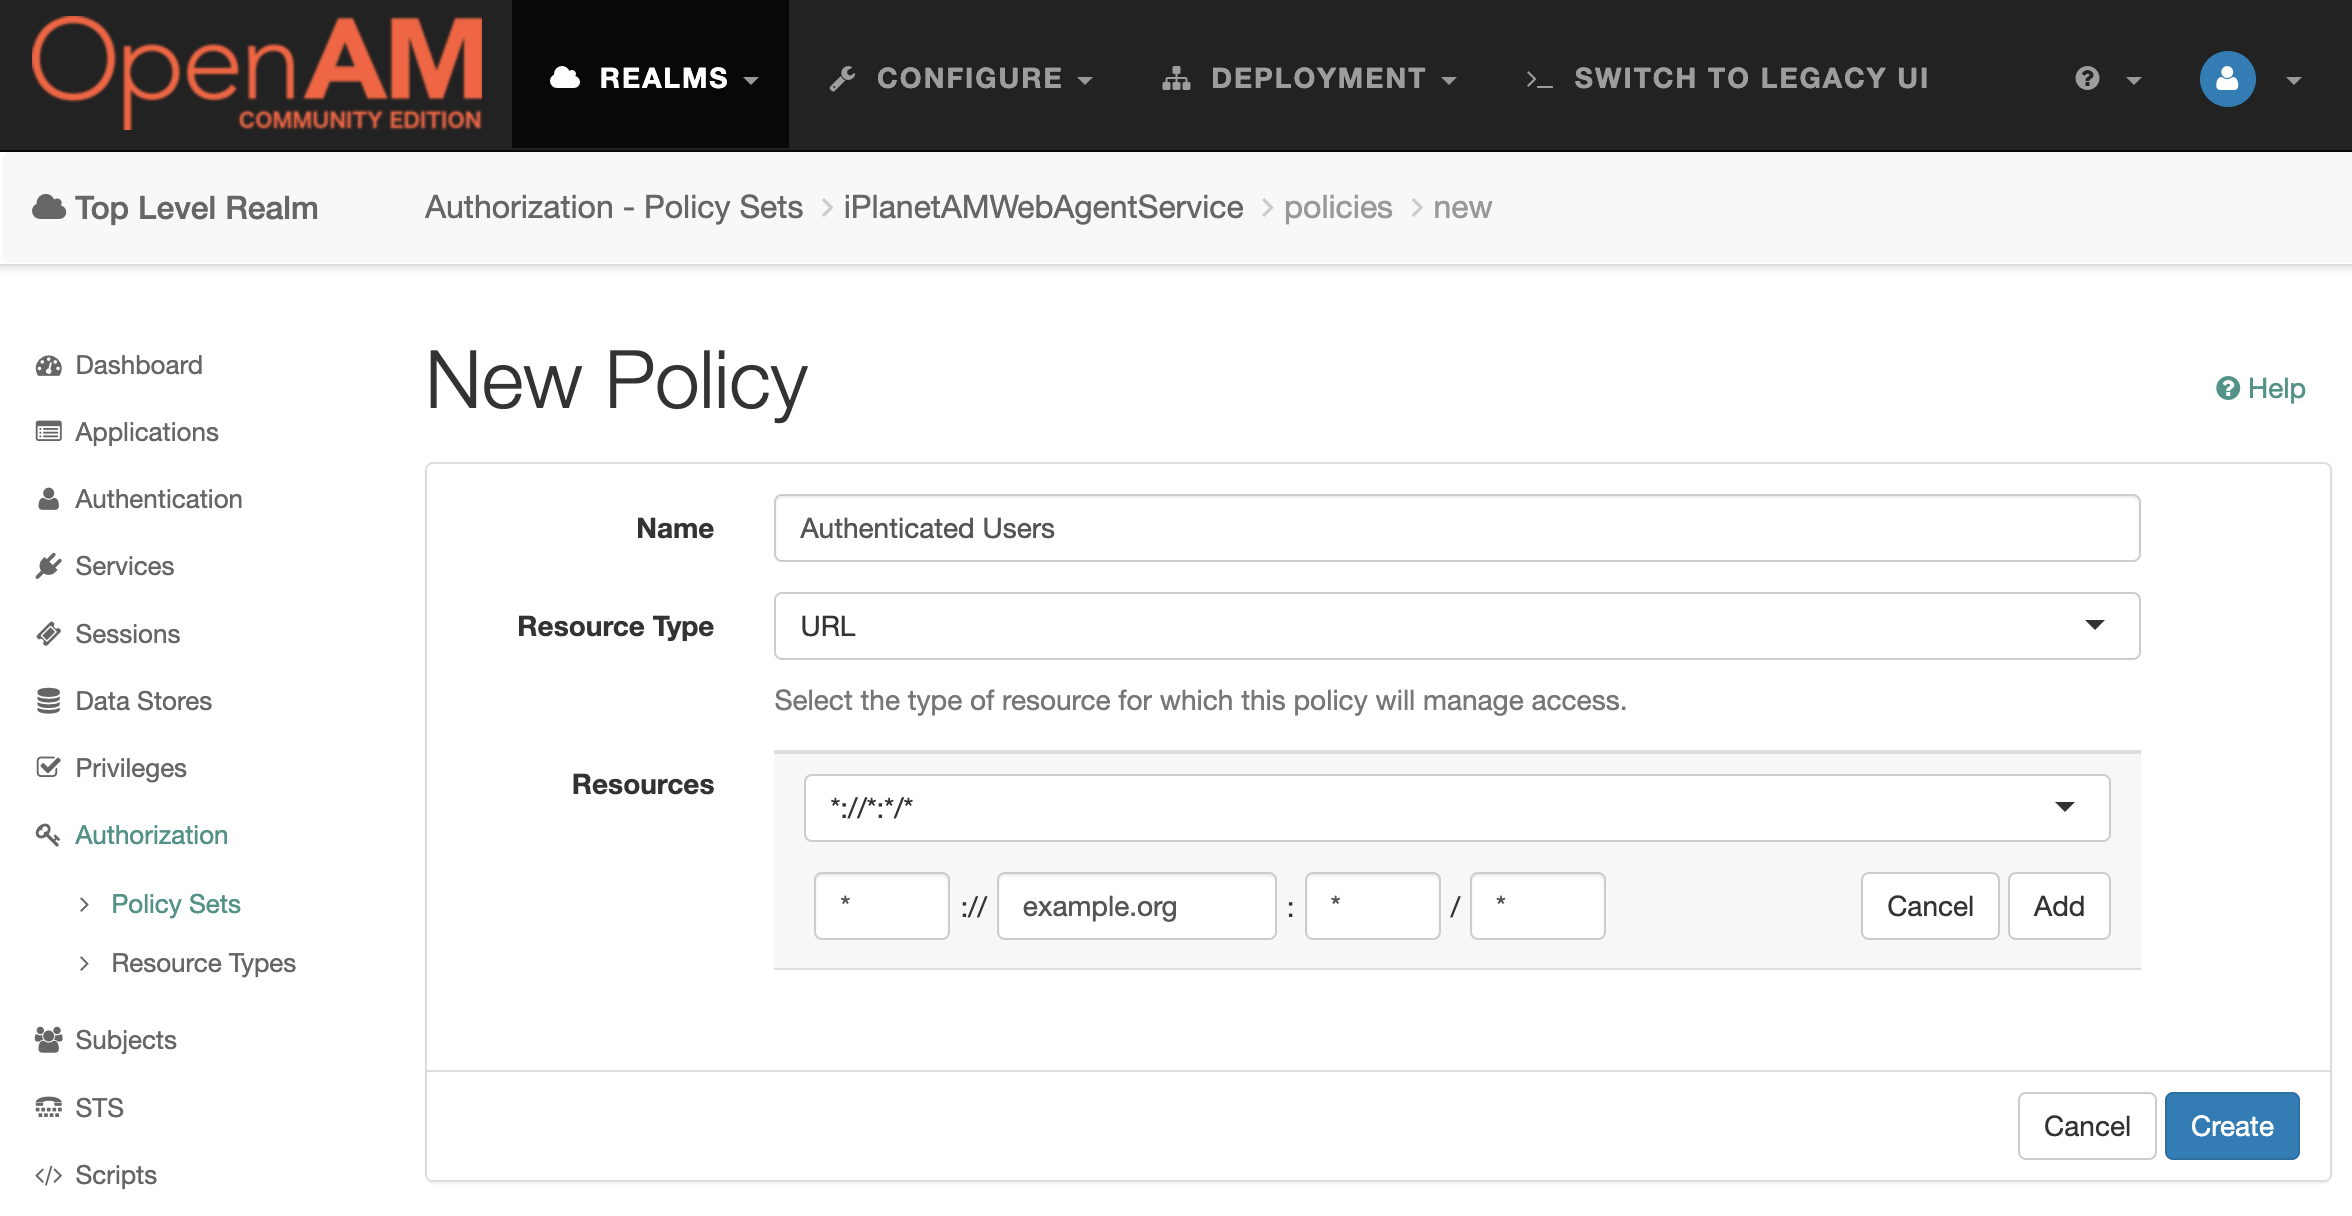
In administration console select realm, then go to Authorization -> Policy Sets, select Default Policy Set and add new Policy
Set Policy Name as you wish, Resource Type set URL, and add new Resource *://example.org:*/* and click Create to save new policy.
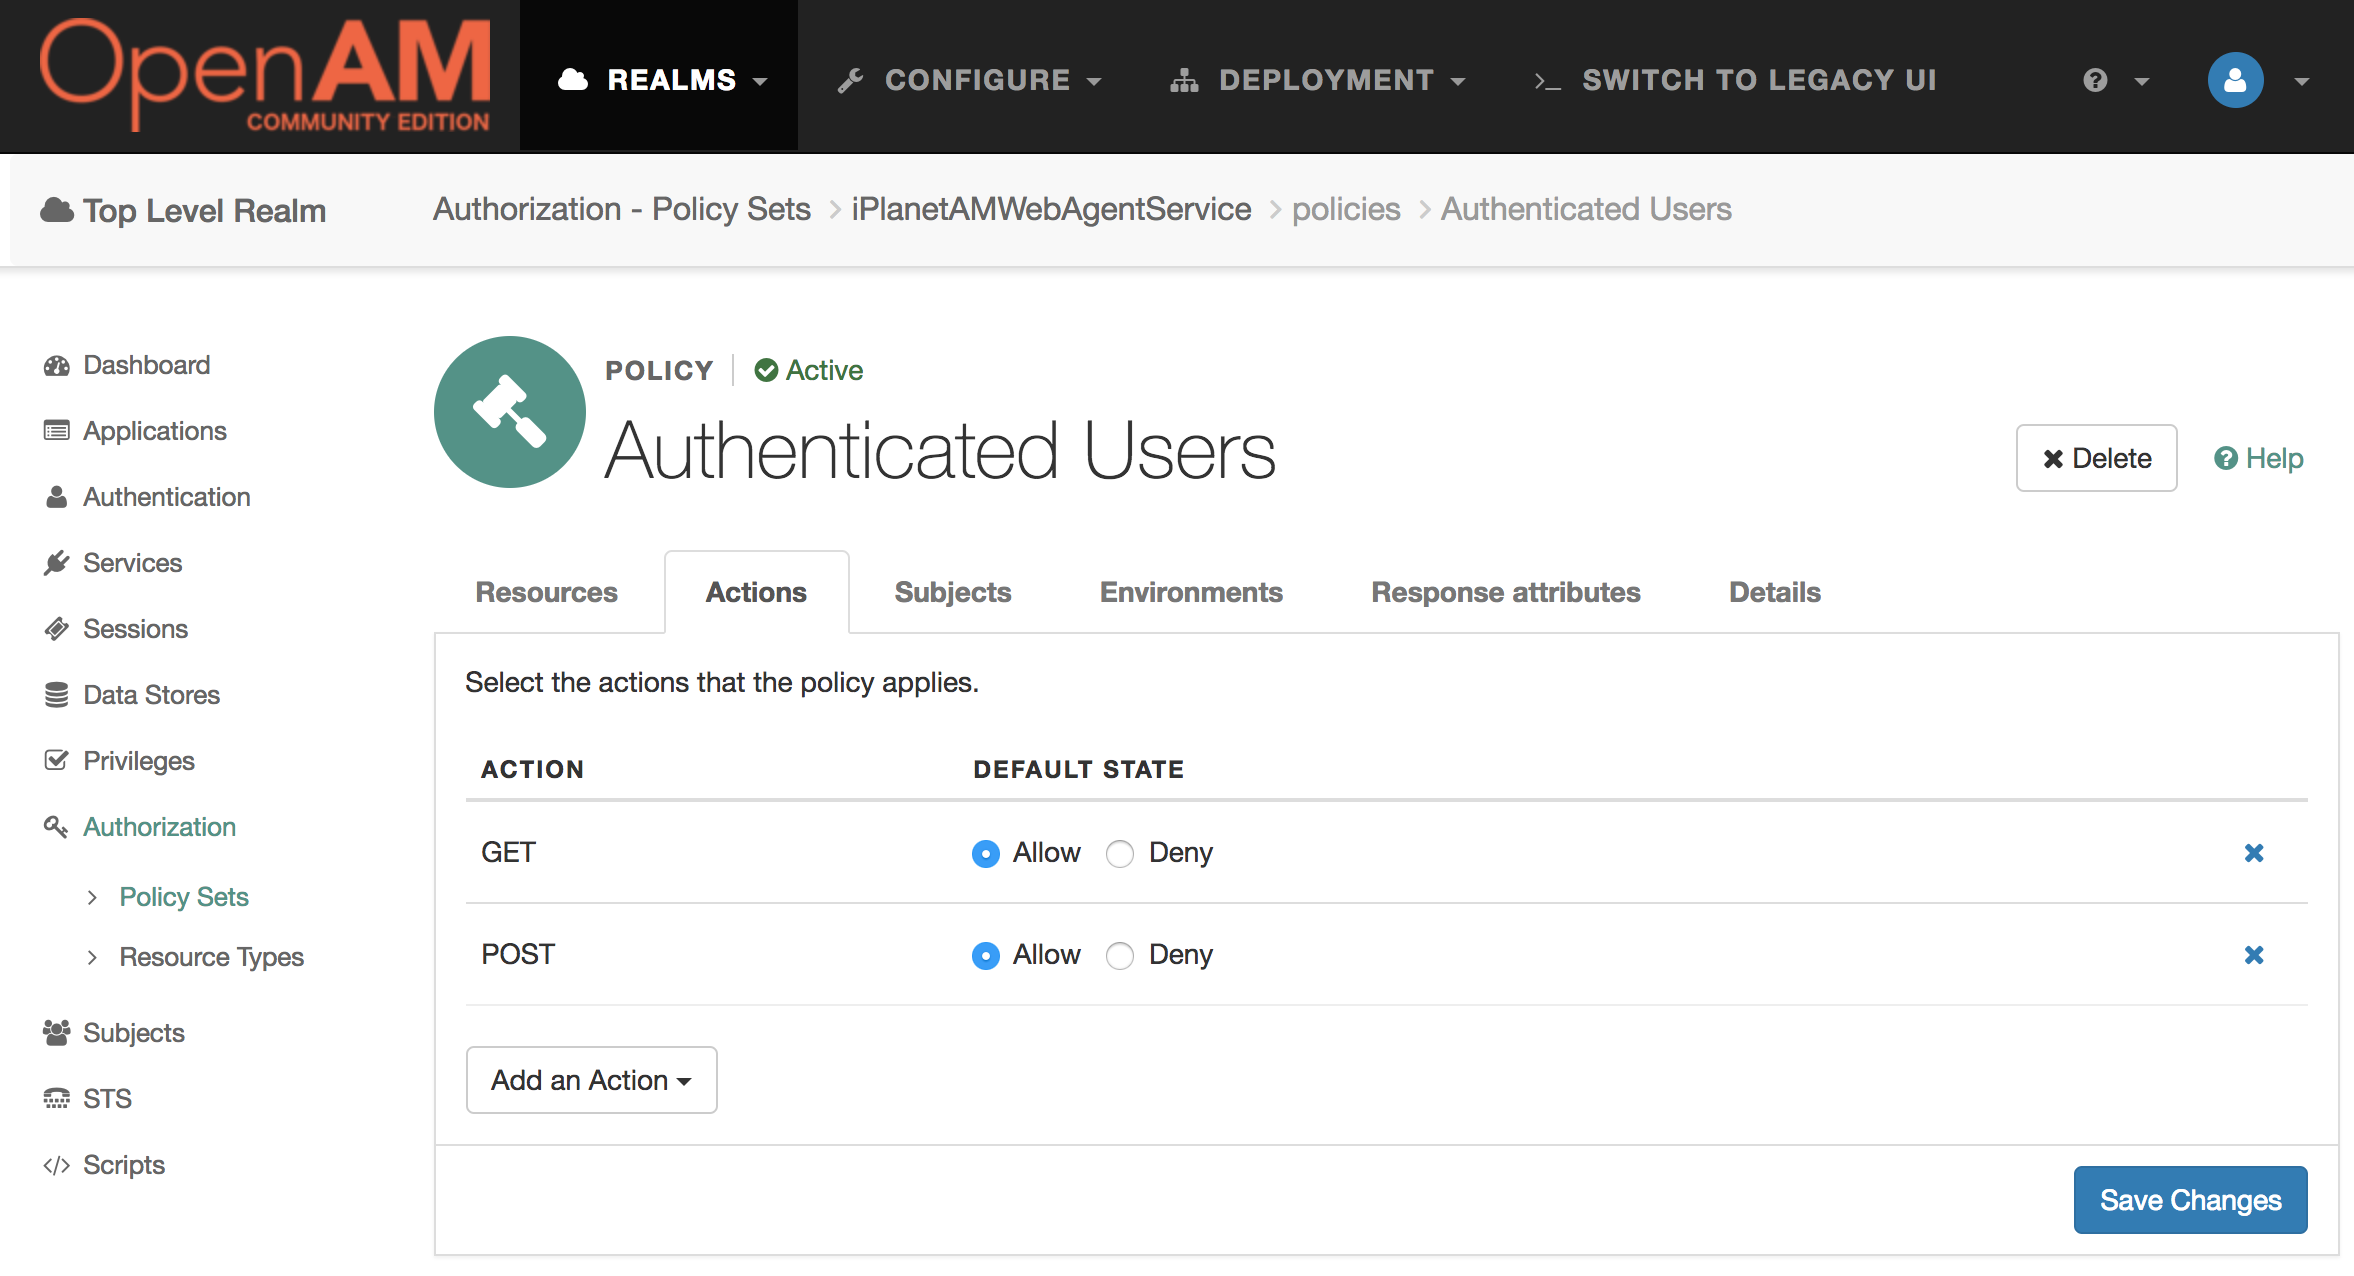
On new policy settings select Actions tab and add two actions GET and POST
Then select Subjects tab and set type to Authenticated Users
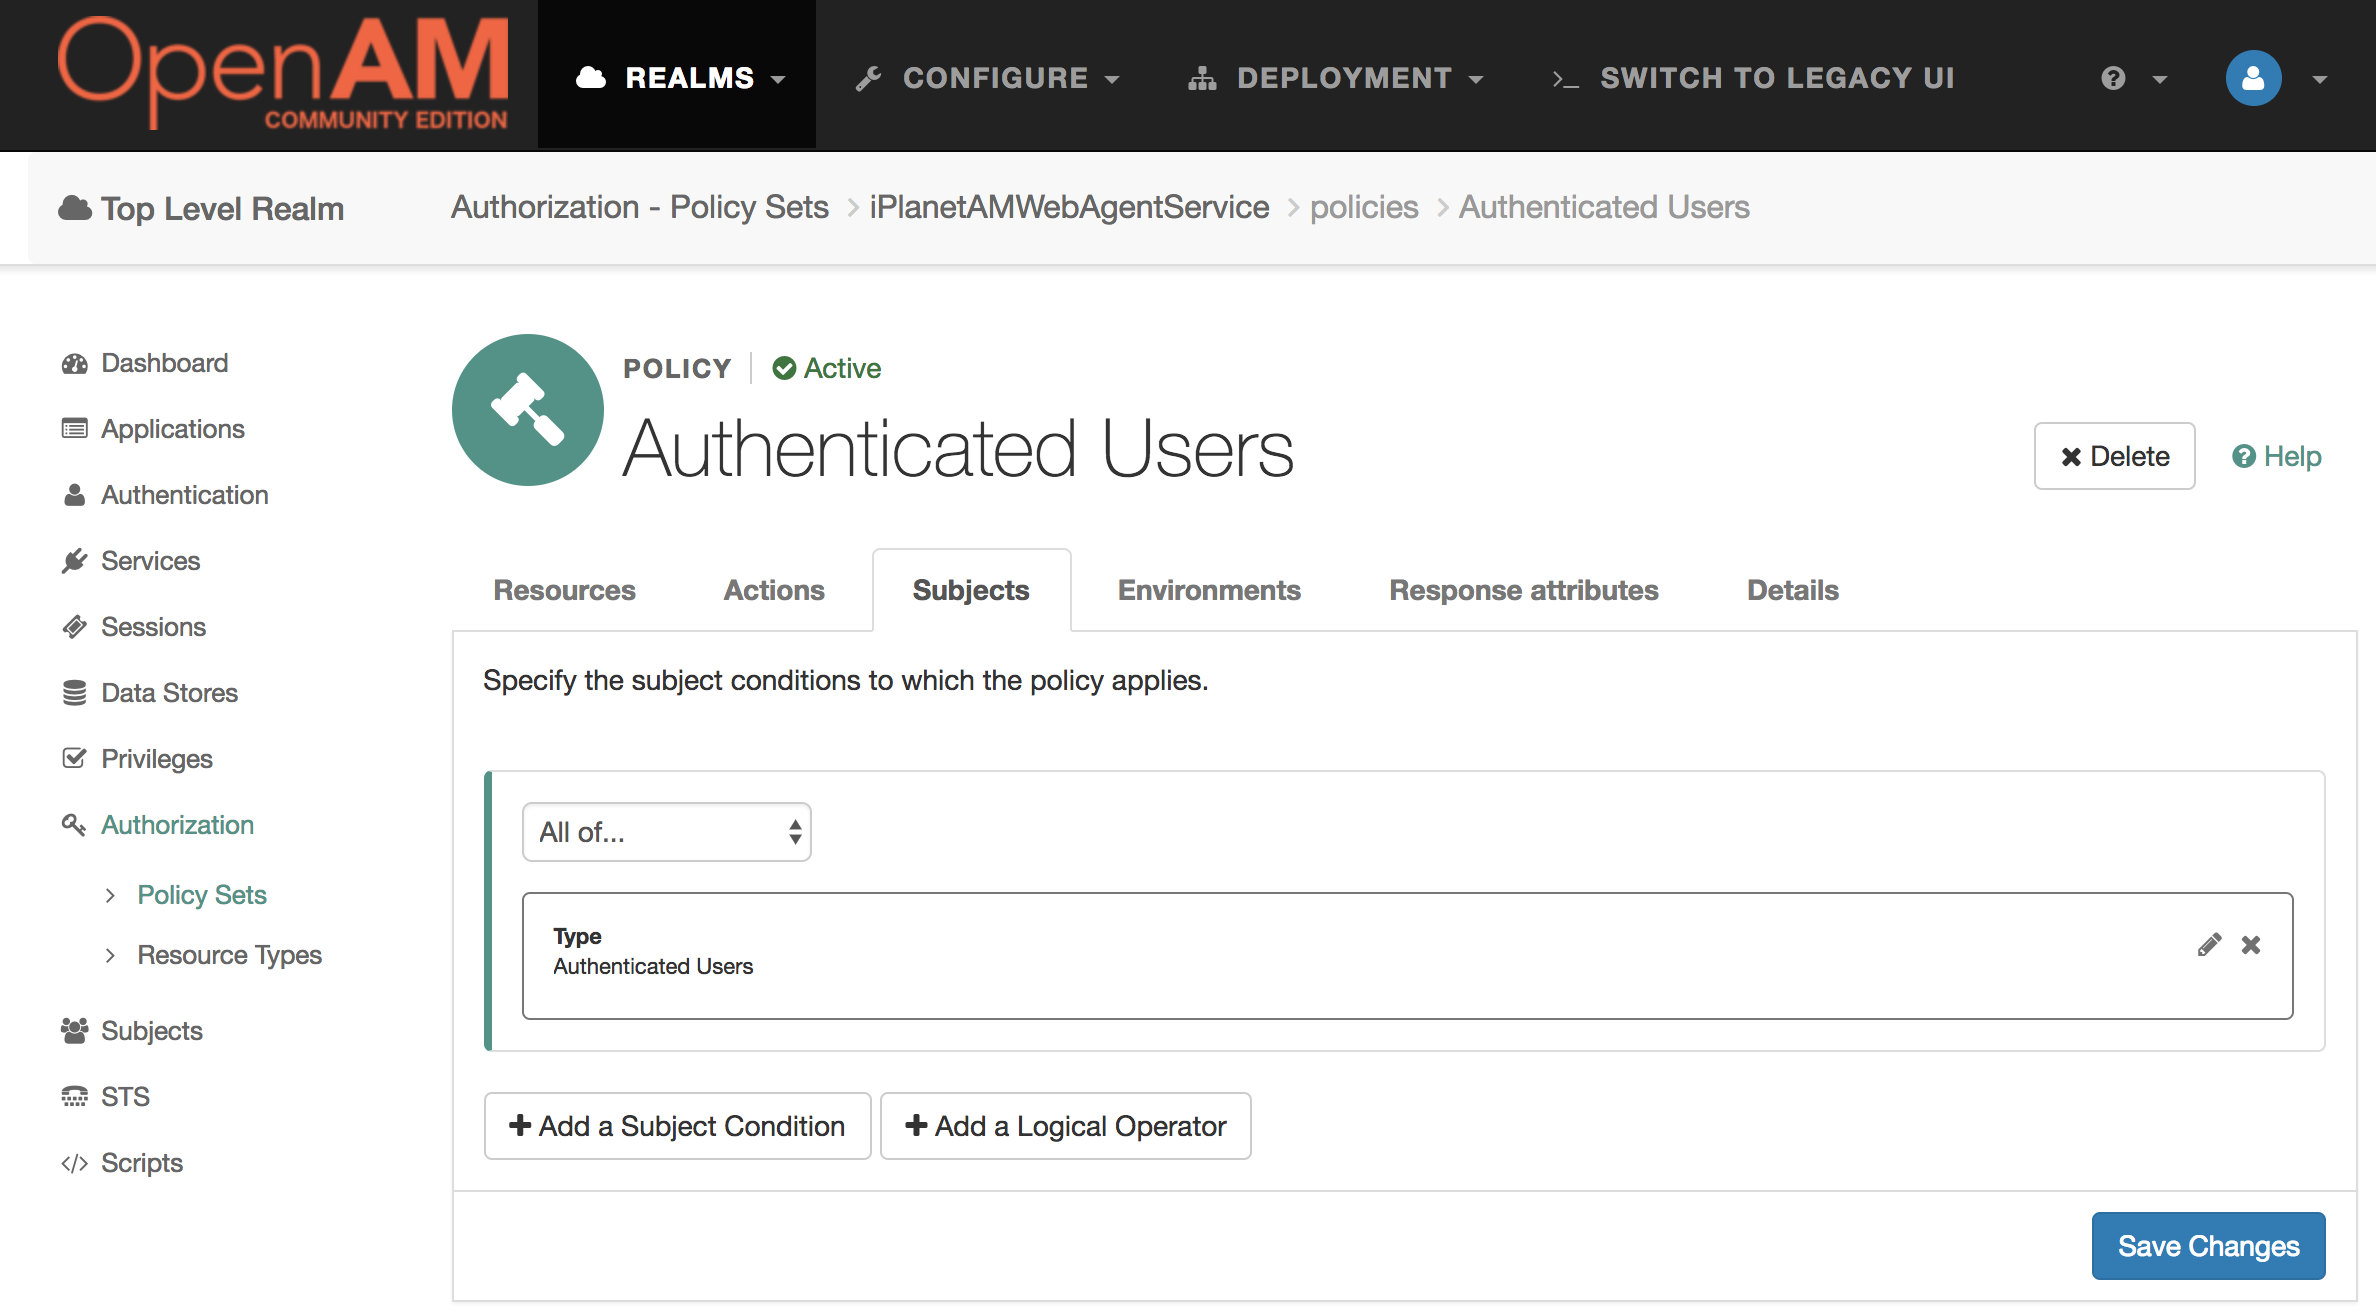
Click Save Changes to save your policy
Agent Configuration
Then, in left menu, go to Applications -> Web Agents and create new Agent
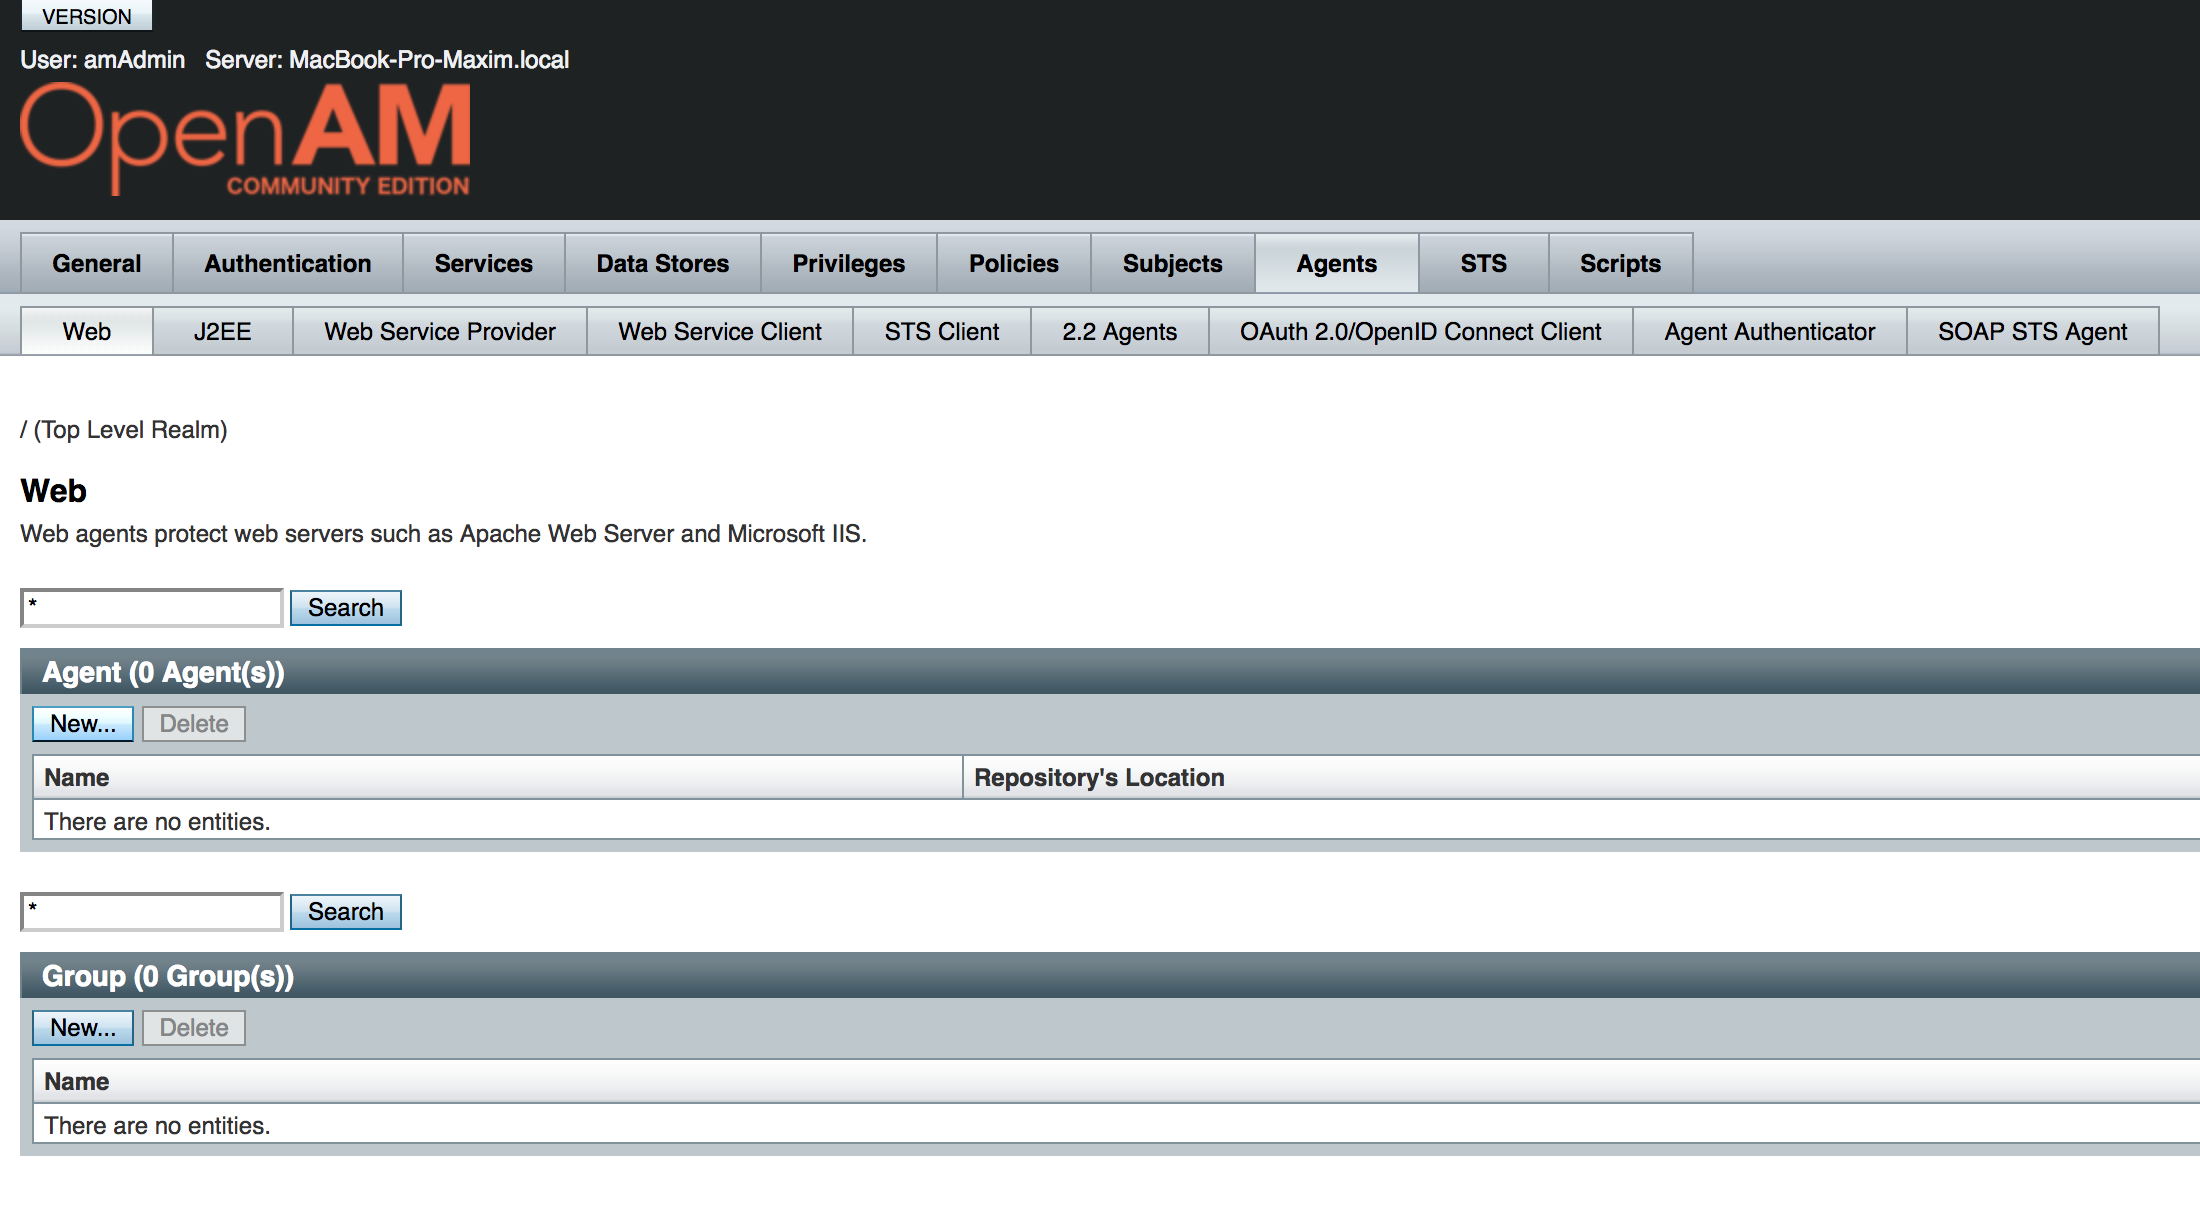
Set name as you wish, for example apache_agent, set agent password.
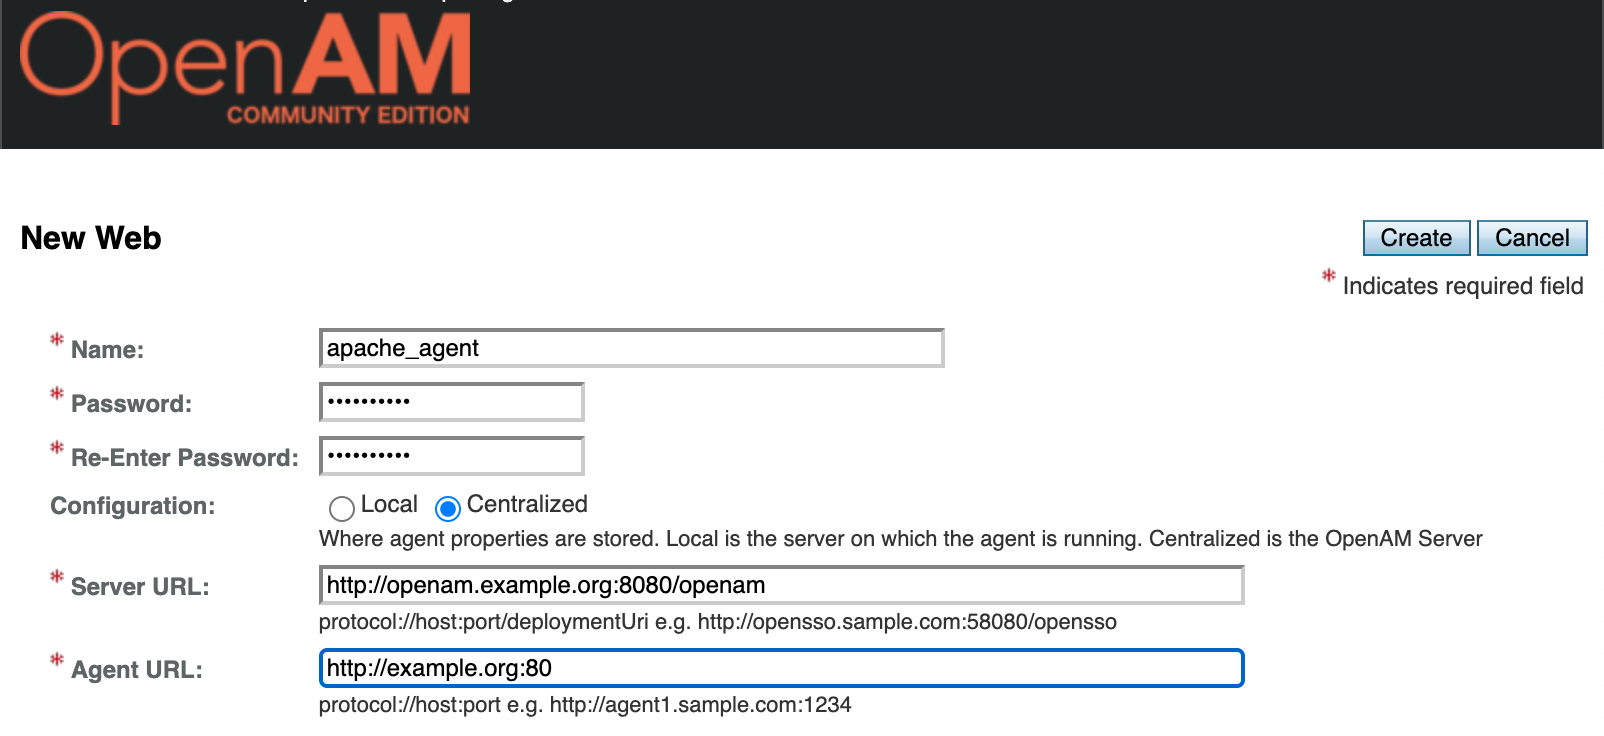
Server URL set http://openam.example.org:8080/openam
Agent URL set http://example.org:80
Click Create to save new Web Agent
Click General tab to return to main menu.
Cookie Domain Configuration
Navigate to Configure -> Global Services -> Platform -> Cookie Domain.
Set cookie domain to .example.org, save your settings.
Apache HTTP Server Configuration
Create Dockerfile in your /home/user/openam-quickstart/apache/ folder with following content
FROM httpd:2.4.34

ENV PA_PASSWORD password

RUN echo "deb [trusted=yes] http://archive.kernel.org/debian-archive/debian/ jessie main" >> /etc/apt/sources.list

RUN apt-get update || true

RUN apt-get install -y curl unzip

RUN curl -L -o /tmp/Apache_v24_Linux_64bit_4.1.1.zip https://github.com/OpenIdentityPlatform/OpenAM-Web-Agents/releases/download/4.1.1/Apache_v24_Linux_64bit_4.1.1.zip

RUN unzip /tmp/Apache_v24_Linux_64bit_4.1.1.zip -d /usr/

RUN rm /tmp/Apache_v24_Linux_64bit_4.1.1.zip

RUN echo $PA_PASSWORD > /tmp/pwd.txt

RUN cat /tmp/pwd.txt

RUN cat /etc/issue

RUN /usr/web_agents/apache24_agent/bin/agentadmin --s "/usr/local/apache2/conf/httpd.conf" "http://openam.example.org:8080/openam" "http://example.org:80" "/" "apache_agent" "/tmp/pwd.txt" --acceptLicence --changeOwner
Set ENV PA_PASSWORD as you previously set for your WebAgent in OpenAm
Build Apache Docker image
docker build --network=host -t apache_agent -f /home/user/openam-quickstart/apache/Dockerfile /home/user/openam-quickstart/apache/
And then run image
docker run -it --name apache_agent -p 80:80 -h example.org --shm-size 2G --network openam-quickstart apache_agent
Change apache_agent to httpd in the above command. apache_agent is not available on docker hub.
Open in browser link http://example.org, and you will be redirected to OpenAM Authentication. After authentication you should see default Apache HTTP Server page
