Login via "Госуслуги РФ" OAuth2 Identity Provider - OpenIdentityPlatform/OpenAM GitHub Wiki
Preparation
Register an Organization on the Gosuslugi Portal
In order to use authentication through the ESIA, you need to register your organization on the Gosuslugi portal. To do this, you need to have a confirmed account of the head of the organization on the portal.
Next, you need to register your information system on the ESIA technology portal. To do this, go to the link https://esia.gosuslugi.ru/console/tech and authenticate with the account of the head of the organization. On the "Информационные системы" tab, click "Добавить систему" and fill in the properties on the link. The main thing to pay attention to is the system mnemonic, i.e. client_id, system URL - a list of allowed URLs to which redirection will be performed after successful or unsuccessful authentication in ESIA, as well as the algorithm of electronic signature formation - must be GOST3410_2012_256.
The process is described in more detail in document https://digital.gov.ru/ru/documents/6190/ section 3.1.1
Send System Registration Application to the Ministry of Digitization
After you have registered an information system, you must obtain a certificate from an accredited certification center (List of accredited certification centers at https://digital.gov.ru/ru/activity/govservices/certification_authority/).
The algorithm of electronic signature formation is GOST R 34.10-2012. The certificate must contain the OGRN of the legal entity that is the operator of the information system and can be issued for the employee of the legal entity or for the organization.
Next, you need to fill an application to gain access to the test environment as described in https://digital.gov.ru/ru/documents/4244/ paragraph 9 and send it to the e-mail address of the Ministry of Digitization.
After your system is registered in the test environment, you can proceed to OpenAM configuration.
OpenAM Installation
If you have already installed OpenAM, you can skip this section. For demonstration purposes, we will configure OpenAM in a Docker container.
Network Setup
Add the OpenAM hostname and IP address to the hosts file
127.0.0.0.1 openam.example.org
On Windows systems, the hosts file is located at C:Windows/System32/drivers/etc/hosts; on Linux and Mac it is located at /etc/hosts.
Install OpenAM in Docker
Start the Docker image of OpenAM by mounting the key and certificate issued earlier to the container.
docker run -h openam.example.org -p 8080:8080 --name openam \
 -v ./openam-esia.key:/usr/openam/esia/openam-esia.key:ro \.
 -v ./openam-esia.pem:/usr/openam/esia/openam-esia.pem:ro openidentityplatform/openam:latest
Once the OpenAM server is running, perform the initial configuration by running the following command and wait for the configuration to complete.
docker exec -w '/usr/openam/ssoconfiguratortools' openam bash -c \
'echo "ACCEPT_LICENSES=true
SERVER_URL=http://openam.example.org:8080
DEPLOYMENT_URI=/$OPENAM_PATH
BASE_DIR=$OPENAM_DATA_DIR
locale=en_US
PLATFORM_LOCALE=en_US
AM_ENC_KEY=
ADMIN_PWD=passw0rd
AMLDAPUSERPASSWD=p@passw0rd
COOKIE_DOMAIN=openam.example.org
ACCEPT_LICENSES=true
DATA_STORE=embedded
DIRECTORY_SSL=SIMPLE
DIRECTORY_SERVER=openam.example.org
DIRECTORY_PORT=50389
DIRECTORY_ADMIN_PORT=4444
DIRECTORY_JMX_PORT=1689
ROOT_SUFFIX=dc=openam,dc=example,dc=org
DS_DIRMGRDN=cn=Directory Manager
DS_DIRMGRPASSWD=passw0rd" > conf.file && java -jar openam-configurator-tool*.jar --file conf.file'
OpenAM Configuration
Setup ESIA Authentication Module
Open the OpenAM administrator console at http://openam.example.org:8080/openam. In the login field enter the amadmin value, in the password field enter the value specified in the ADMIN_PWD setting, in this case passw0rd.
In the console, select the root realm and then select Authentication → Modules from the left menu. In the opened list, click the Add Module button.
Enter the module name, for example, esia and the module type - OAuth 2.0 / OpenID Connect.
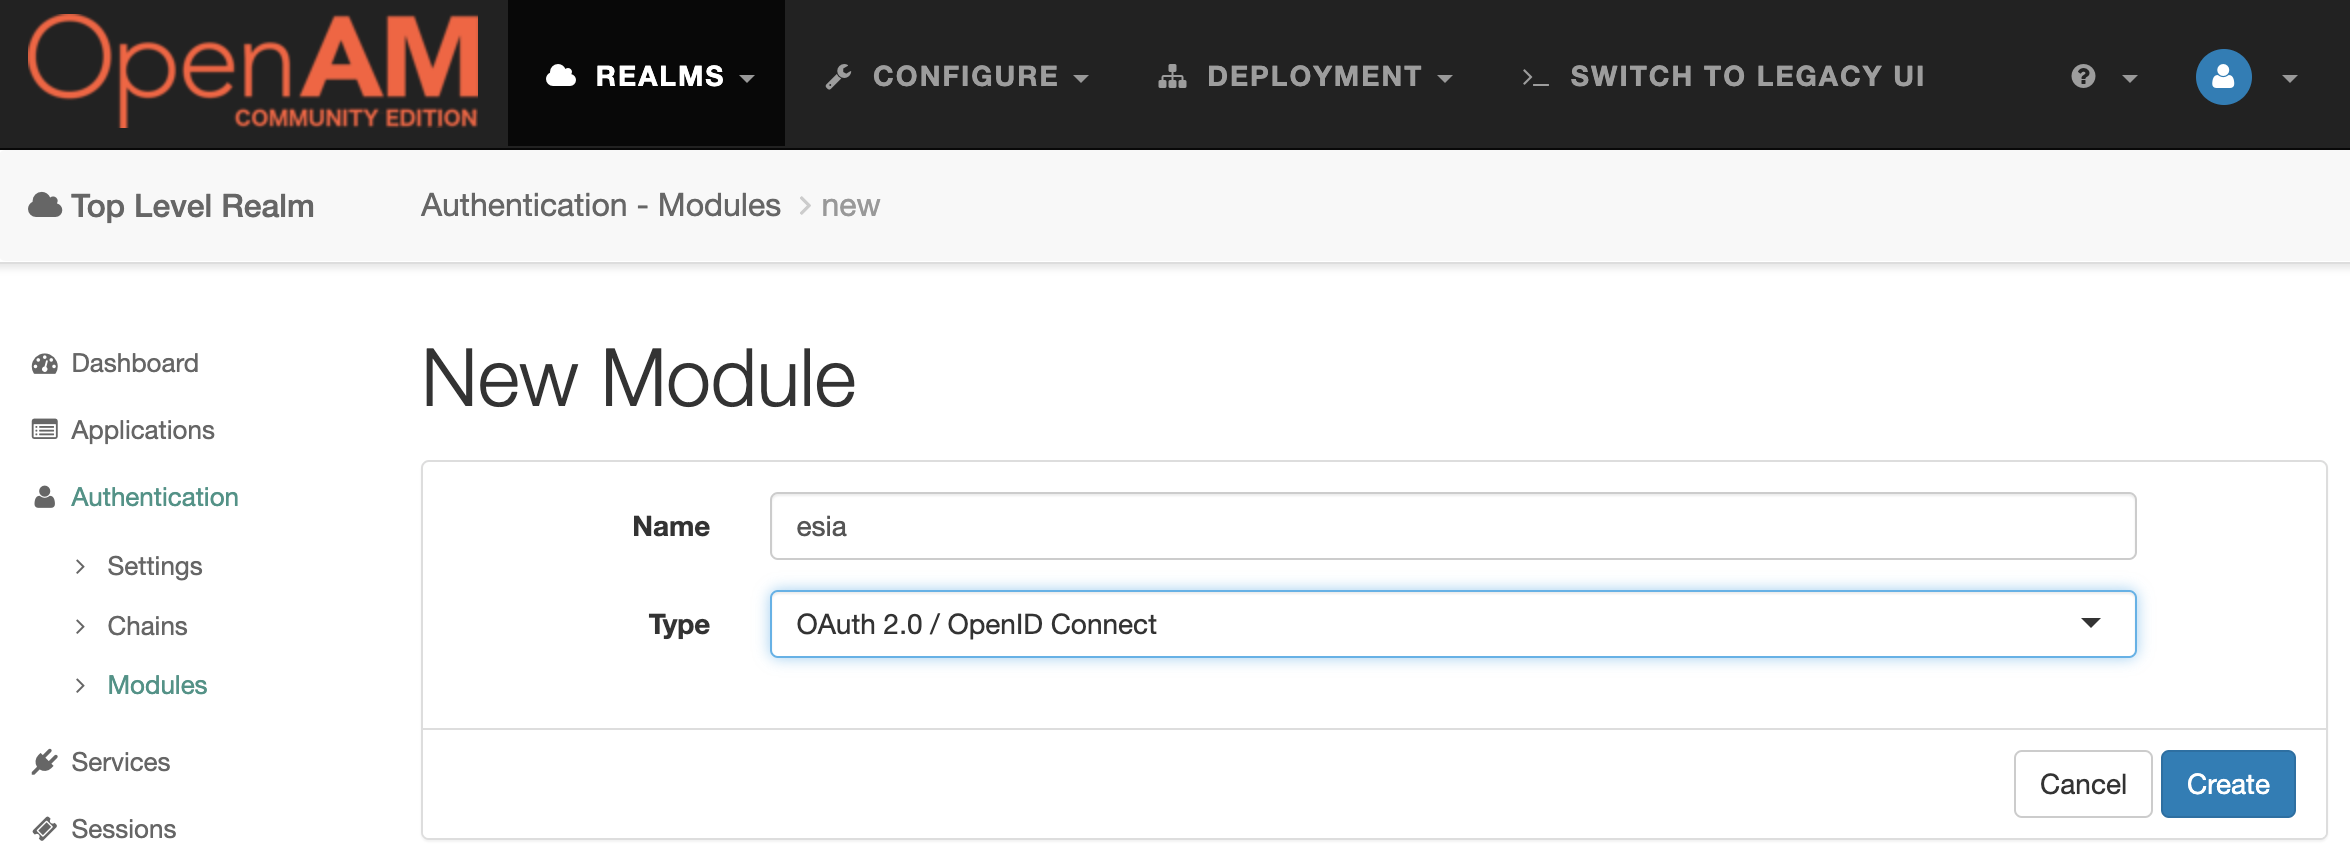
Press the Create button . Fill in the settings according to the table:
| Setting | Value |
|---|---|
| Client Id | Mnemonic of the information system specified in the ESIA technology portal |
| Client Secret | Not to be filled in, client secret is calculated dynamically for ESIA |
| Authentication Endpoint URL | https://esia-portal1.test.gosuslugi.ru/aas/oauth2/ac |
| Access Token Endpoint URL | https://esia-portal1.test.gosuslugi.ru/aas/oauth2/te |
| User Profile Service URL | https://esia-portal1.test.gosuslugi.ru/rs/prns |
| Scope | Scope of the profile, for demonstration purposes we will specify fullname birthdate gender. You can read more about the scope description in the document at https://digital.gov.ru/ru/documents/6186/ |
| OAuth2 Access Token Profile Service Parameter name | access_token |
| Proxy URL | http://openam.example.org:8080/openam/oauth2c/OAuthProxy.jsp |
| Account Provider | org.forgerock.openam.authentication.modules.common.mapping.DefaultAccountProvider |
| Account Mapper | org.forgerock.openam.authentication.modules.common.mapping.JsonAttributeMapper |
| Account Mapper Configuration | oid=uid |
| Attribute Mapper | org.forgerock.openam.authentication.modules.common.mapping.JsonAttributeMapper |
| Attribute Mapper Configuration | oid=uid, remote-json=sn |
| Custom Properties | |
| esia-key-path | path to the private key file, e.g. /usr/openam/esia/openam-esia.key |
| esia-cert-path | the path to the certificate file, e.g. /usr/openam/esia/openam-esia.pem |
| esia-org-scope | organization scope if you want to get information about the organization of the ESIA user |
| esia-org-info-url | URL to retrieve organization information, e.g. https://esia-portal1.test.gosuslugi.ru/rs/orgs/ - for test ESIA |
Configuring the ESIA Authentication Chain
Open the OpenAM admin console, select realm and from the left menu select Authentication → Chains . Click the Add Chain button and enter a name for the chain, for example esia . Click the Create button.

Press the Add a Module button.
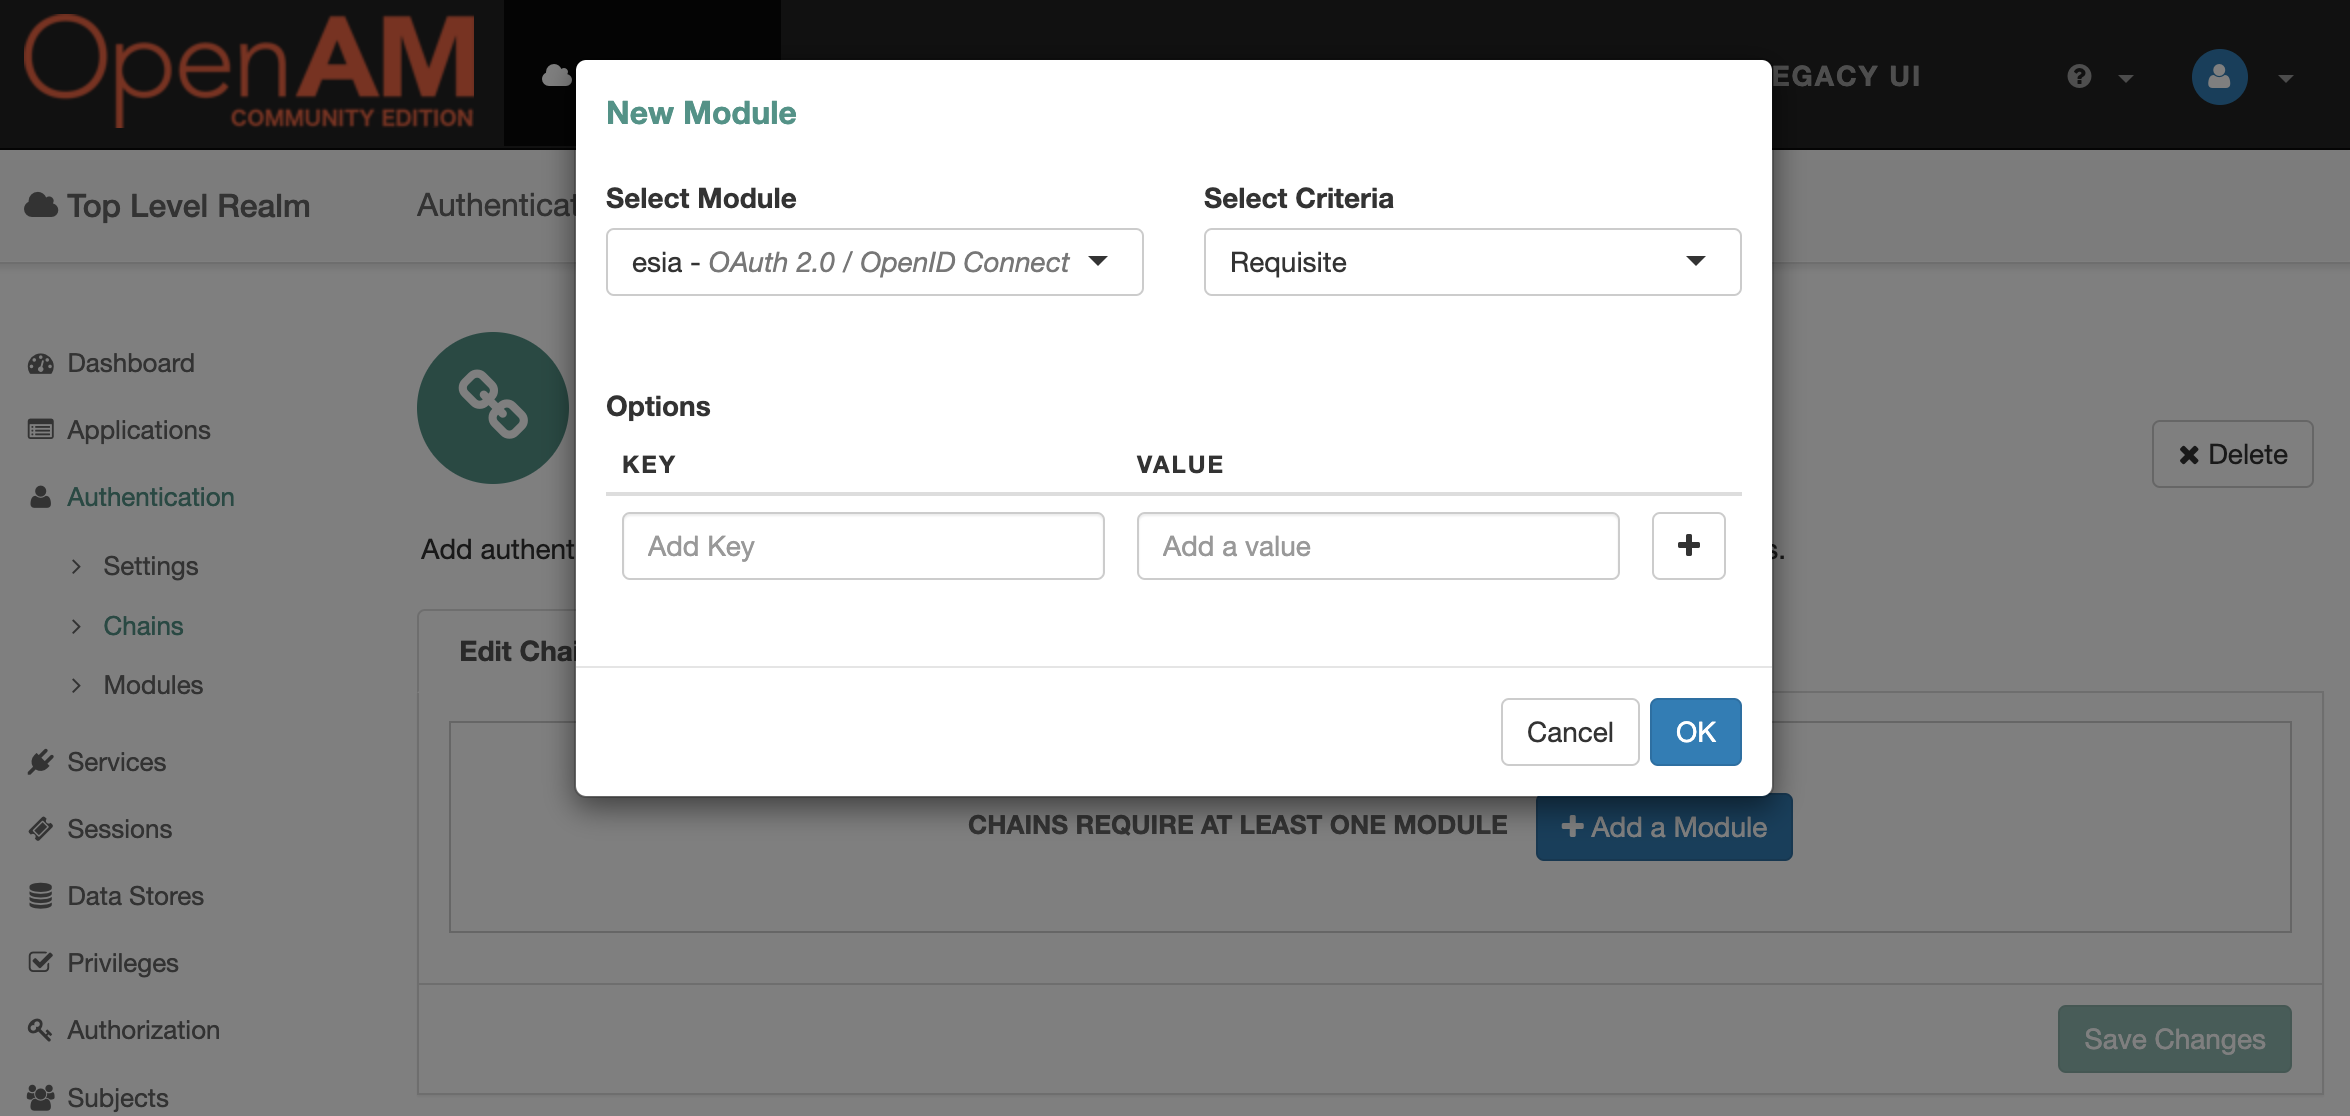
Add module esia , Criteria set to Requisite. Press the `OK button .
Test the solution
Logout the OpenAM admin console, and open the ESUA authentication chain link: http://openam.example.org:8080/openam/XUI/?service=esia. If everything is configured correctly, you will be redirected to the ESIA authentication portal. Enter the user's credentials. After successful authentication to the ESIA, the ESIA will request consent to access the data passed in the scope parameter. After accepting the consent, you will be redirected to the OpenAM console with the user's ESIA credentials.