ToolbarLayout - OneUIProject/OneUI-Design-Library GitHub Wiki
de.dlyt.yanndroid.oneui.layout.ToolbarLayout
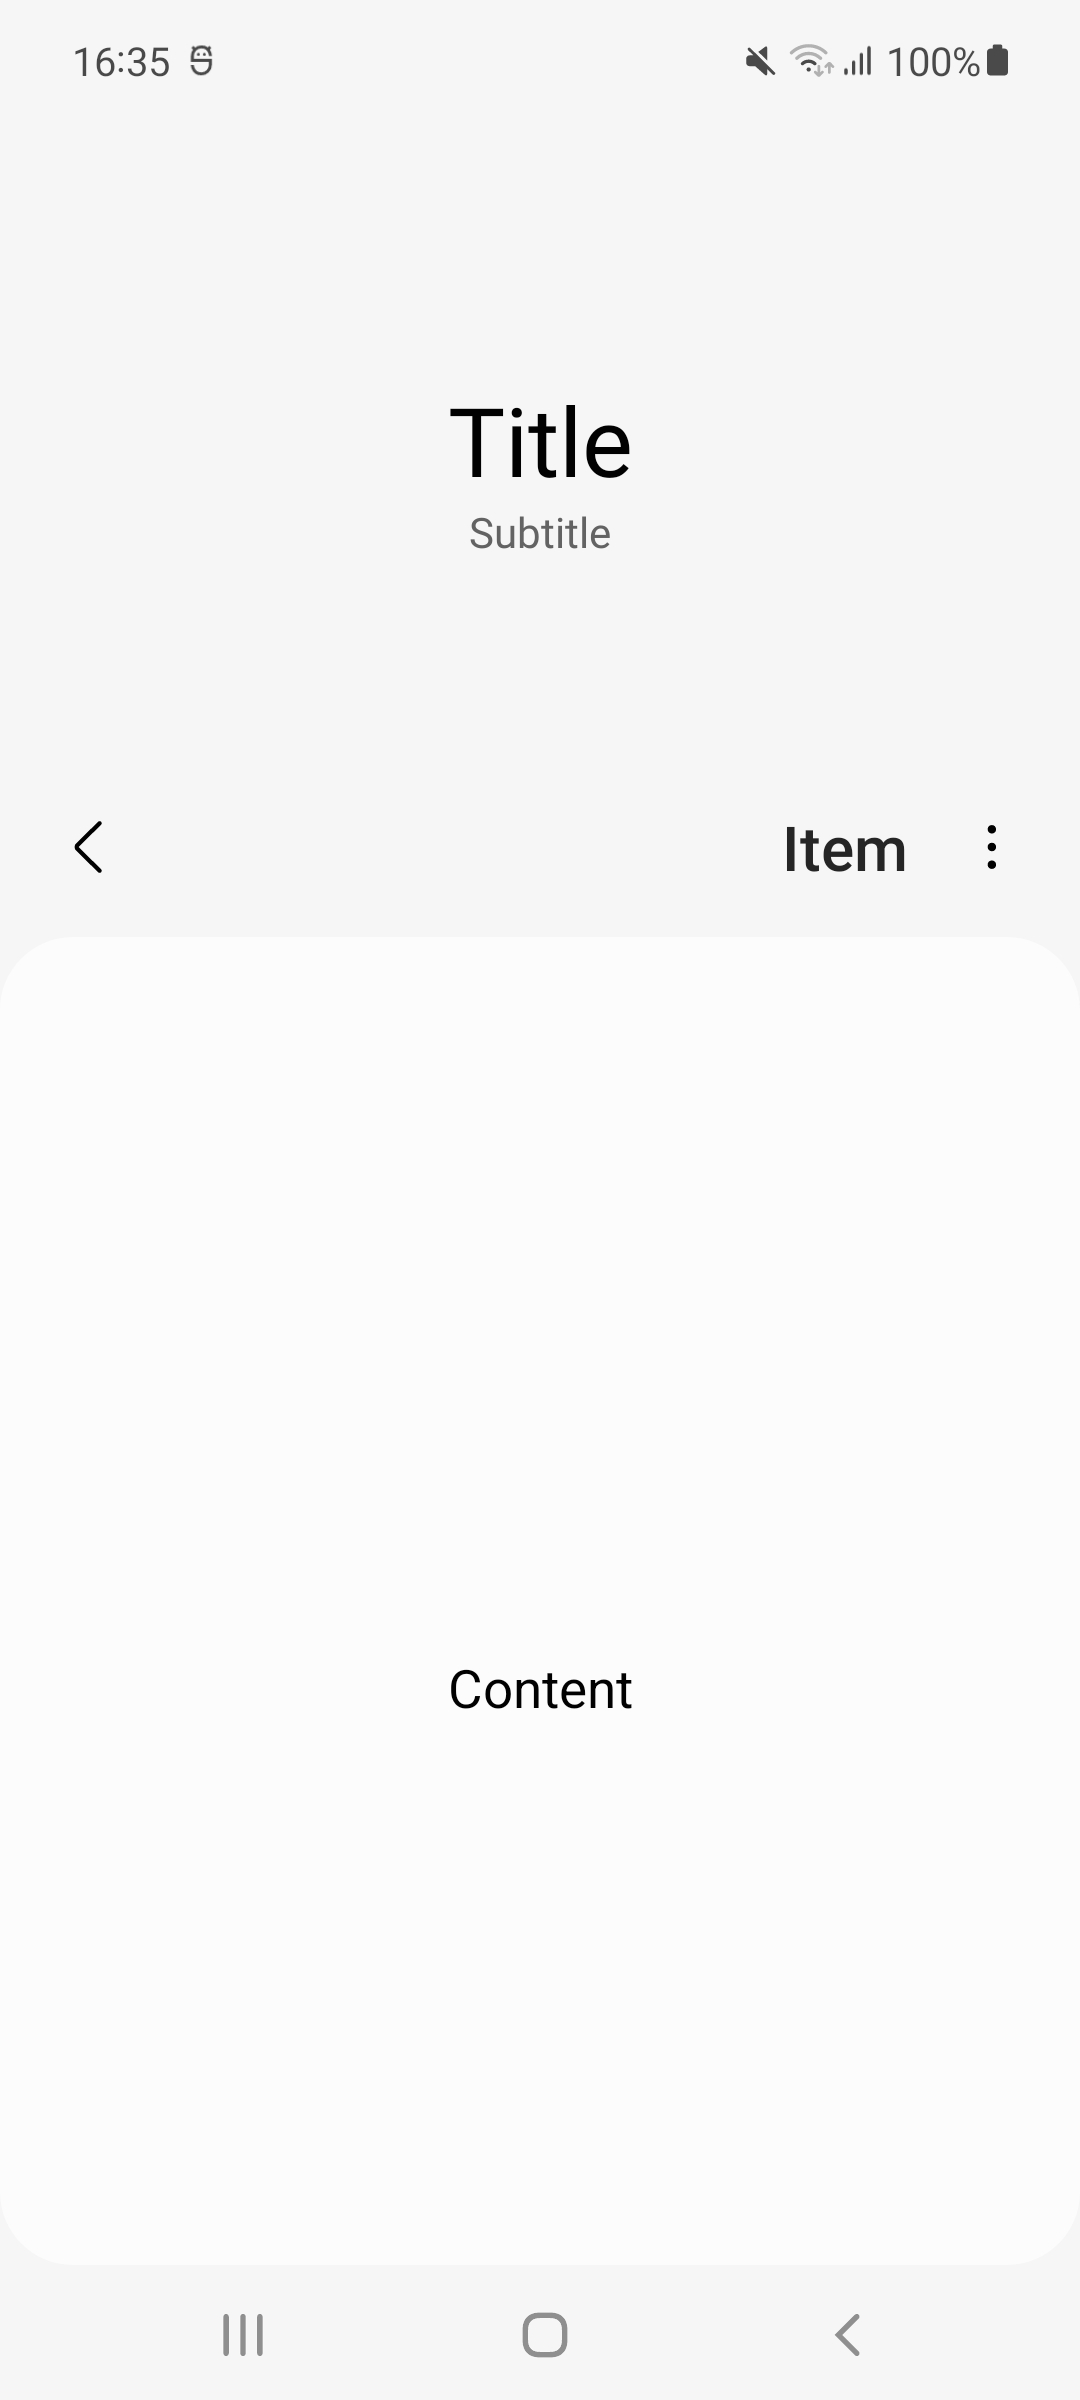
"Ready-to-go" Samsung's AppBar.
<de.dlyt.yanndroid.oneui.layout.ToolbarLayout
    android:layout_width="match_parent"
    android:layout_height="match_parent"
    android:layout="..."
    app:title="..."
    app:subtitle="..."
    app:expandable="..."
    app:expanded="..."
    app:navigationIcon="...">

</de.dlyt.yanndroid.oneui.layout.ToolbarLayout>
The children of this view can be at four different location: on the main screen, in the footer (useful for views like TabLayout), in the appbar header as a custom title or in the root layout (above footer, views like FAB). To specify the location of each child you can set the attribute app:layout_location of the child to either main_content (default), footer, appbar_header or root.
app:title and app:subtitle can be used to set the title and subtitle of the AppBar and Toolbar. The AppBar status is set to expanded by default, you can simply set app:expanded to false if you want it to be collapsed. You can also disable totally the CollapsingToolbar by setting app:expandable to false. On small screens/dpi the toolbar won't expand anyway, and the subtitle will appear in the collapsed toolbar instead.
The drawable in app:navigationIcon="..." is the icon for the Toolbar Navigation Button. There are already a lot of stock OneUI Icons included in the library you can use.
To make sure that AppBar scrolling behavior works correctly, the child set in main_content should either be RecyclerView or NestedScrollView with app:layout_behavior set to @string/sesl_appbar_scrolling_view_behavior. The stock RecyclerView and NestedScrollView might also work but probably won't behave correctly.
For further customization you can use android:layout to apply your own layout to this view, but keep in mind that you should add all the views and ids which are in the default layout, or your app might crash.
Return the Toolbar/Appbar.
public MaterialToolbar getToolbar()
public SamsungAppBarLayout getAppBarLayout()
Set the title of the AppBar/Toolbar.
public void setTitle(CharSequence title)
public void setTitle(CharSequence expandedTitle, CharSequence collapsedTitle)
Set a custom title view for the AppBar which will replace the entire content (equivalent to app:layout_location="appbar_header" on a child).
public void setCustomTitleView(View view)
public void setCustomTitleView(View view, SamsungCollapsingToolbarLayout.LayoutParams params)
Replace the subtitle with a custom view.
public void setCustomSubtitle(View view)Set the subtitle of the AppBar (the collapsed subtitle will show if app:toolbar_expandable is false or the screen/dpi is too small and the app bar can't expand).
public void setSubtitle(CharSequence subtitle)Expand or collapse the AppBar with an optional animation.
public void setExpanded(boolean expanded)
public void setExpanded(boolean expanded, boolean animate)
public boolean isExpanded()
Set the AppBar expandable.
public void setExpandable(boolean expandable)
public boolean isExpandable()
Activate immersive scroll for the AppBar.
public void setImmersiveScroll(boolean activate)
public boolean isImmersiveScroll()
Methods for the NavigationButton. For the badge use a number or ToolbarLayout.N_BADGE for a "N". As a tooltip you can use R.string.sesl_navigate_up ("Navigate Up"), which is the default in all Samsung apps and also translated to 90 languages.
public void setNavigationButtonIcon(Drawable navigationIcon)
public void setNavigationButtonTooltip(CharSequence tooltipText)
public void setNavigationButtonVisible(boolean visible)
public void setNavigationButtonBadge(int count)
public void setNavigationOnClickListener(OnClickListener listener)In the Menu resource file use app:showAsAction="always" to show the item as a Action instead of in the popup menu.
public void inflateToolbarMenu(Menu menu)
public void inflateToolbarMenu(@MenuRes int menuRes)
public Menu getToolbarMenu()
public void setOnToolbarMenuItemClickListener(OnMenuItemClickListener listener)
Changes the layout of the Toolbar to the one you can see in any Samsung app, when you long click a list item. This will show a "All" checkbox, a "x selected" counter as the title and a bottom menu. In the Menu resource file for the bottom menu use app:showAsAction="always" to show the item as an Action instead of in the "more" menu.
public void showSelectMode()
public void dismissSelectMode()

public void setSelectModeCount(int count)
public void setSelectModeAllChecked(boolean checked)
public void setSelectModeAllCheckedChangeListener(CompoundButton.OnCheckedChangeListener listener)

public void setSelectModeBottomMenu(Menu menu, OnMenuItemClickListener listener)
public void setSelectModeBottomMenu(@MenuRes int menuRes, OnMenuItemClickListener listener)
public Menu getSelectModeBottomMenu()
Changes the layout of the Toolbar to a Search layout, with a text field and a voice input icon and hides the content of the footer.
public void showSearchMode()
public void dismissSearchMode()
public boolean isSearchMode()
public void setSearchModeListener(SearchModeListener listener)private ActivityResultLauncher<Intent> activityResultLauncher;
//onCreate:
activityResultLauncher = registerForActivityResult(new ActivityResultContracts.StartActivityForResult(), result -> toolbarLayout.onSearchModeVoiceInputResult(result));
//setSearchModeListener - onVoiceInputClick
activityResultLauncher.launch(intent);Also add this in your manifest for api 30+:
<queries>
    <intent>
        <action android:name="android.speech.action.RECOGNIZE_SPEECH" />
    </intent>
</queries>