Home - Omkar9089/Omkar1 GitHub Wiki
GitHub
GitHub is a code hosting platform for version control and collaboration. It lets you and others work together on projects from anywhere. You’ll create your own repository and learn GitHub’s Pull Request workflow, a popular way to create and review code. Step 1. Create a Repository A repository is usually used to organize a single project. Repositories can contain folders and files, images, videos, spreadsheets, and data sets – anything your project needs. We recommend including a README, or a file with information about your project. GitHub makes it easy to add one at the same time you create your new repository. It also offers other common options such as a license file. Your hello-world repository can be a place where you store ideas, resources, or even share and discuss things with others. To create a new repository
- In the upper right corner, next to your avatar or identicon, click and then select New repository.
- Name your repository hello-world.
- Write a short description.
- Select Initialize this repository with a README.
 Click Create repository.
Step 2. Create a Branch
Branching is the way to work on different versions of a repository at one time.
By default your repository has one branch named main which is considered to be the definitive branch. We use branches to experiment and make edits before committing them to main.
When you create a branch off the main branch, you’re making a copy, or snapshot, of main as it was at that point in time. If someone else made changes to the main branch while you were working on your branch, you could pull in those updates.
This diagram shows:
• The main branch
• A new branch called feature (because we’re doing ‘feature work’ on this branch)
 Here at GitHub, we use branches for keeping bug fixes and feature work separate from our main (production) branch. When a change is ready, they merge their branch into main.
To create a new branch
- Go to your new repository hello-world.
- Click the drop down at the top of the file list that says branch: main.
- Type a branch name, readme-edits, into the new branch text box.
- Select the blue Create branch box or hit “Enter” on your keyboard.
 Now you have two branches, main and readme-edits. They look exactly the same, but not for long! Next we’ll add our changes to the new branch.
Step 3. Make and commit changes
On GitHub, saved changes are called commits. Each commit has an associated commit message, which is a description explaining why a particular change was made. Commit messages capture the history of your changes, so other contributors can understand what you’ve done and why. Make and commit changes
- Click the README.md file.
- Click the pencil icon in the upper right corner of the file view to edit.
- In the editor, write a bit about yourself.
- Write a commit message that describes your changes.
- Click Commit changes button.
 These changes will be made to just the README file on your readme-edits branch, so now this branch contains content that’s different from main.
Step 4. Open a Pull Request
Pull Requests are the heart of collaboration on GitHub. When you open a pull request, you’re proposing your changes and requesting that someone review and pull in your contribution and merge them into their branch. Pull requests show diffs, or differences, of the content from both branches. The changes, additions, and subtractions are shown in green and red. As soon as you make a commit, you can open a pull request and start a discussion, even before the code is finished. You can even open pull requests in your own repository and merge them yourself. It’s a great way to learn the GitHub flow before working on larger projects.
Steps:-
1.Click the Pull Request tab, then from the Pull Request page, click the green New pull request button.

2.In the Example Comparisons box, select the branch you made, readme-edits, to compare with main (the original).

3.Look over your changes in the diffs on the Compare page, make sure they’re what you want to submit.

4.When you’re satisfied that these are the changes you want to submit, click the big green Create Pull Request button.

5.Give your pull request a title and write a brief description of your changes.

When you’re done with your message, click Create pull request!
Step 5. Merge your Pull Request
In this final step, it’s time to bring your changes together – merging your readme-edits branch into the main branch.
- Click the green Merge pull request button to merge the changes into main.
- Click Confirm merge.
- Go ahead and delete the branch, since its changes have been incorporated, with the Delete branch button in the purple box.

Reviewing proposed changes in a pull request
In a pull request, you can review and discuss commits, changed files, and the differences (or "diff") between the files in the base and compare branches.
About reviewing pull requests
You can review changes in a pull request one file at a time. While reviewing the files in a pull request, you can leave individual comments on specific changes. After you finish reviewing each file, you can mark the file as viewed. This collapses the file, helping you identify the files you still need to review. A progress bar in the pull request header shows the number of files you've viewed. After reviewing as many files as you want, you can approve the pull request or request additional changes by submitting your review with a summary comment.
Starting a review
-
Under your repository name, click Pull requests.

-
In the list of pull requests, click the pull request you'd like to review.
-
On the pull request, click Files changed.

-
Hover over the line of code where you'd like to add a comment, and click the blue comment icon. To add a comment on multiple lines, click and drag to select the range of lines, then click the blue comment icon.

-
In the comment field, type your comment.

-
Optionally, to suggest a specific change to the line or lines, click , then edit the text within the suggestion block.
-
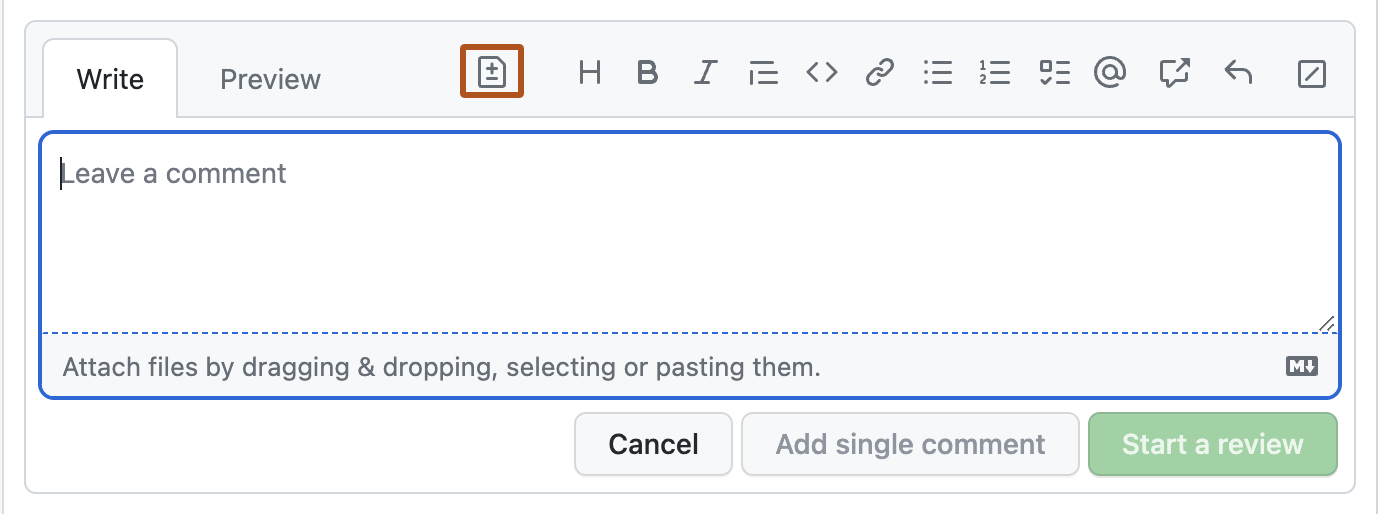
When you're done, click Start a review. If you have already started a review, you can click Add review comment.

Before you submit your review, your line comments are pending and only visible to you. You can edit pending comments anytime before you submit your review. To cancel a pending review, including all of its pending comments, scroll down to the end of the timeline on the Conversation tab, then click Cancel review.

Reviewing dependency changes
If the pull request contains changes to dependencies you can use the dependency review for a manifest or lock file to see what has changed and check whether the changes introduce security vulnerabilities. For more information, see "Reviewing dependency changes in a pull request."
-
On the pull request, click Files changed.
-
On the right of the header for a manifest or lock file, display the dependency review by clicking the rich diff button.

3.You may also want to review the source diff, because there could be changes to the manifest or lock file that don't change dependencies, or there could be dependencies that GitHub can't parse and which, as a result, don't appear in the dependency review.
To return to the source diff view, click the button.

Marking a file as viewed
After you finish reviewing a file, you can mark the file as viewed, and the file will collapse. If the file changes after you view the file, it will be unmarked as viewed.
-
On the pull request, click Files changed.
-
On the right of the header of the file you've finished reviewing, select Viewed.

Submitting your review
After you've finished reviewing all the files you want in the pull request, submit your review.
-
On the pull request, click Files changed.
-
Above the changed code, click Review changes.

-
Type a comment summarizing your feedback on the proposed changes.

-
Select the type of review you'd like to leave:

Select Comment to leave general feedback without explicitly approving the changes or requesting additional changes. Select Approve to submit your feedback and approve merging the changes proposed in the pull request. Select Request changes to submit feedback that must be addressed before the pull request can be merged.
- Click Submit review.