SharePoint configuration - OfficeDev/microsoft-teams-apps-newemployeeonboarding GitHub Wiki
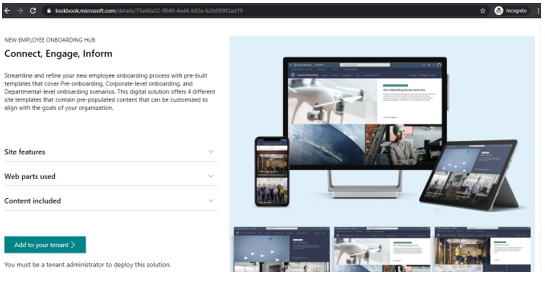
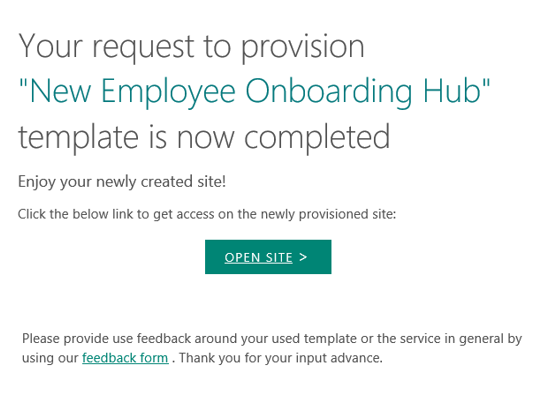
Go to below URL to do site provisioning:
https://lookbook.microsoft.com/details/388a159f-475b-4557-9088-c9073a26c576
- Login with your tenant admin credentials.
- Click on “Add to your tenant” button.
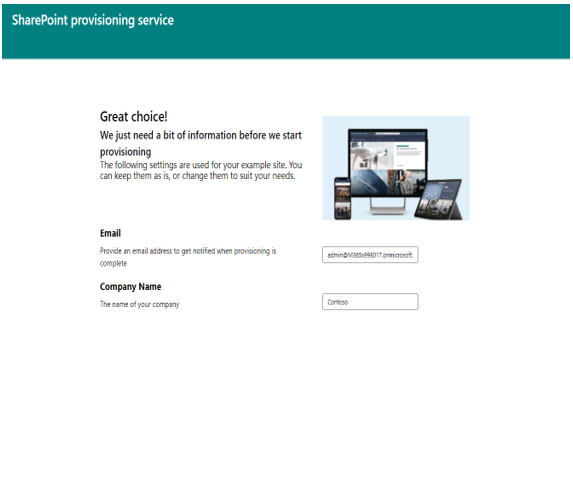
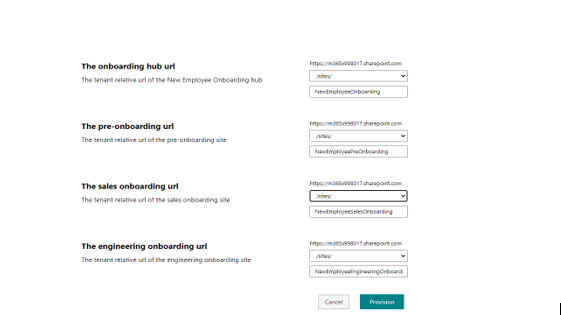
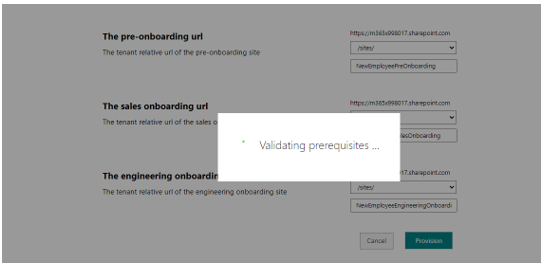
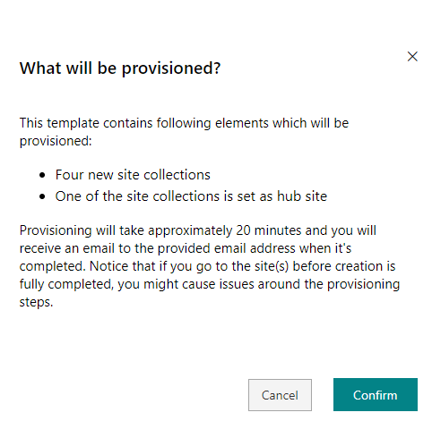
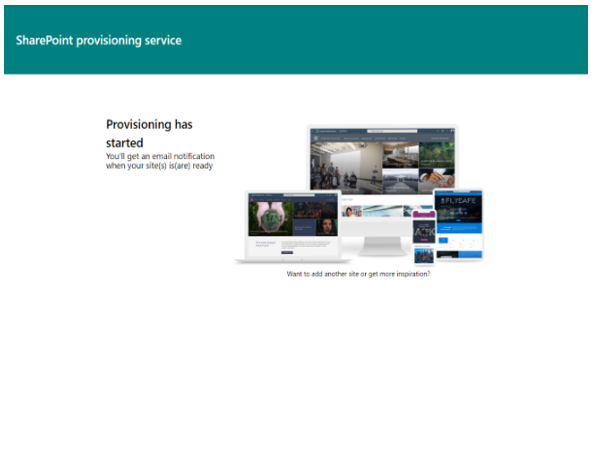
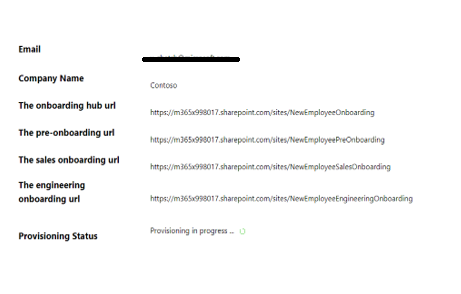
- Provide above details & click on Provision button.
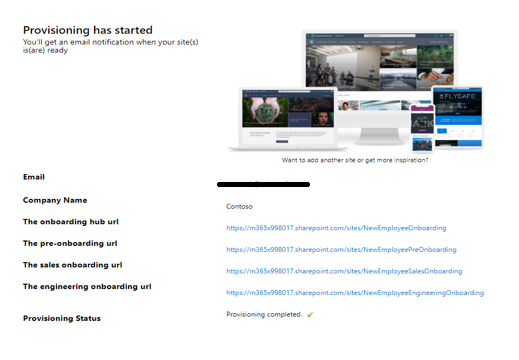
We recommend that you copy site name and tenant name from onboarding hub URL. for eg: https://m365x998017.sharepoint.com/sites/NewEmployeeOnboarding sitename refers to "NewEmployeeOnboarding" and tenant name will be "m365x998017.sharepoint.com", using an application like Notepad. We will need these values later for ARM deployment.
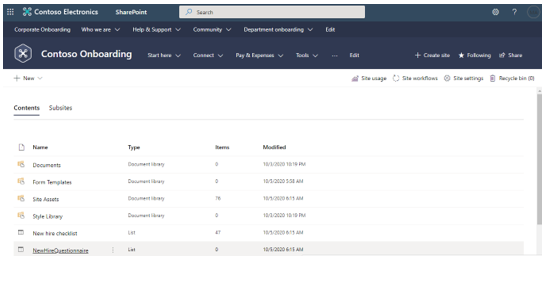
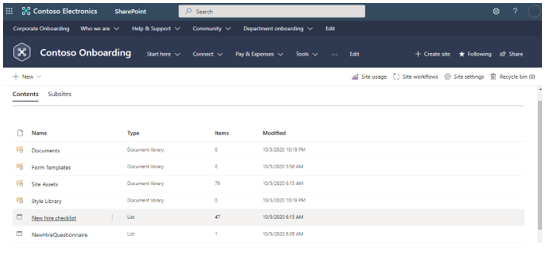
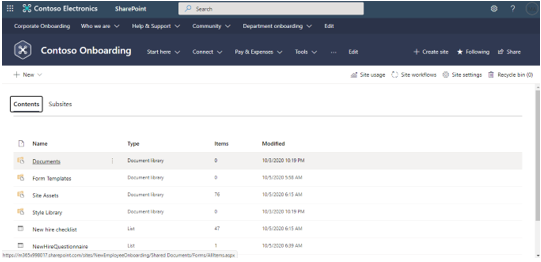
To get introduction question list and new hire checklist name, Go to site contents and copy the list names New hire checklist as "New hire check list name" and NewHireQuestionnaire as "New hire question list name" into Notepad.
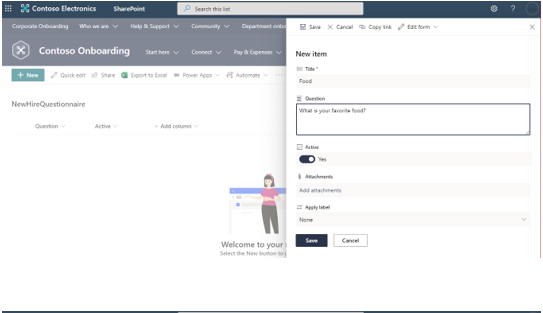
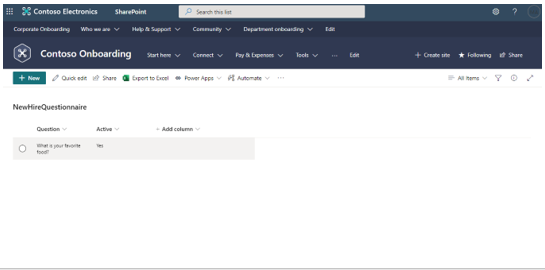
- Configure new hire introduction questions:
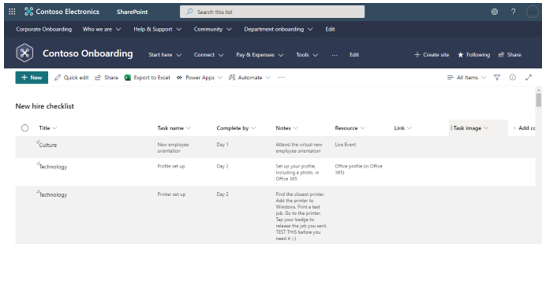
- New hire checklist content:
We recommend that you copy New hire checklist content URL as "Complete learning plan URL" value into a text file, using an application like Notepad. We will need these values later for ARM deployment.
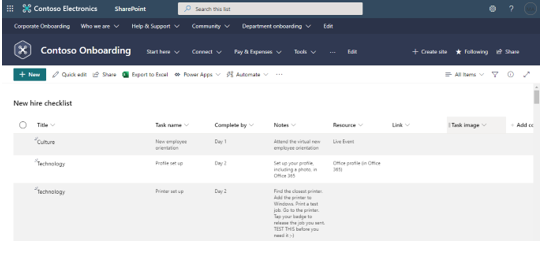
Note: Make sure the site list New hire checklist contains below columns & column names should also be same:
1) Title
2) Task name
3) Complete by
4) Notes
5) Resource
6) Link
7) Task image
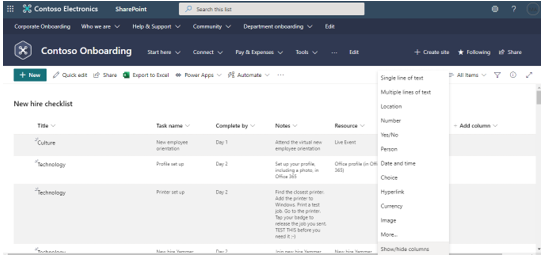
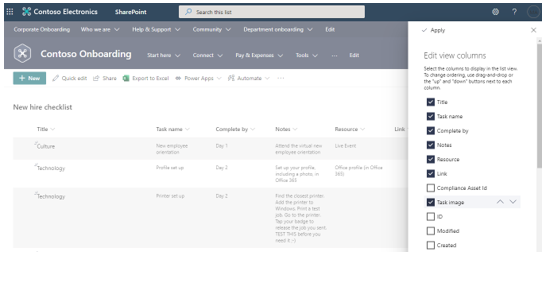
If not visible any of the column names Go to Add column & Show/hide columns section.
Select columns and click on Apply button to show all the columns.
Your column will be added to the list like below:
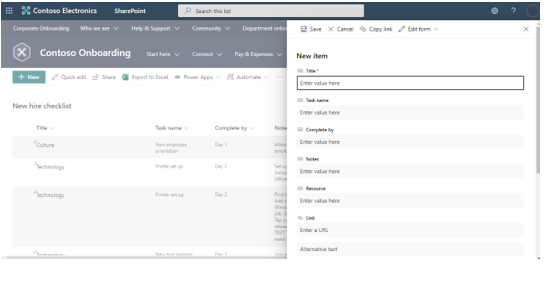
Add new content to the list:
- Click on New button to add item to the list like below:
- Provide the Task image column URL:
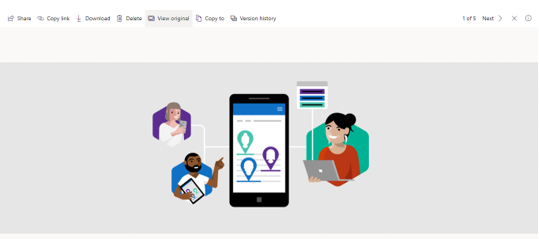
a) Go to documents folder & click on any uploaded image.
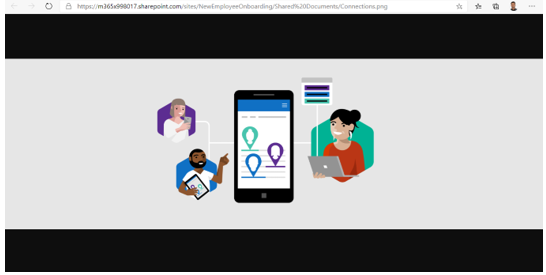
b) Click on View original & copy the content URL & provide it’s value in Task image column while adding the item in list:
Add Resource Link value in "Link" column.
Copy the document link URL like .pdf/.png from Documents folder if not uploaded any file before follow below step to add files to document & put it in Link column
After filling the details, click on “Save” button.
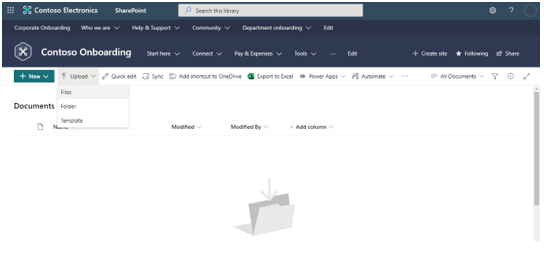
Upload files:
- Click on upload button to upload the images or documents:
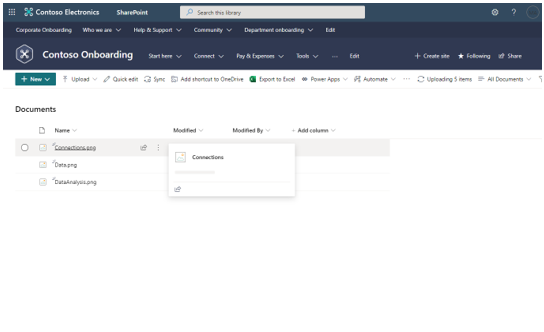
- Browse & upload the files:
