{Debug} FAQ - OfficeDev/TeamsFx GitHub Wiki
Teams Toolkit allows you to debug your Teams app locally by leveraging Visual Studio Code debugging features. After pressing F5, several components of the app will be automatically started. The Teams web client will then be launched in your browser. Specifically, the following components may be started according to your app capabilities:
- Tab: a react app required by Teams Tab capability
- Auth: an authentication service acting as a proxy between the app and Microsoft Entra
- Function: a Azure Functions app that may be needed by Tab
- Bot: a bot server required by Teams Bot capability
- Ngrok: a tunneling service required by Teams Bot that forwards local address to public address
Note: Teams Toolkit downloads npm package [email protected] which contains NGROK v2.3.X. Customer must have a valid license to use NGROK software. Microsoft does not license use of the NGROK.
During debugging, a localhost development certificate will also be automatically generated and installed to your system after your confirmation.
Some frequently asked questions are listed bellow.
| Component | Port |
|---|---|
| Tab | 53000, or 3000 (for Teams Toolkit version < 3.2.0) |
| Auth | 55000. or 5000 (for Teams Toolkit version < 3.2.0) |
| Function | 7071 |
| Node inspector for Function | 9229 |
| Bot / Messaging Extension | 3978 |
| Node inspector for Bot / Messaging Extension | 9239 |
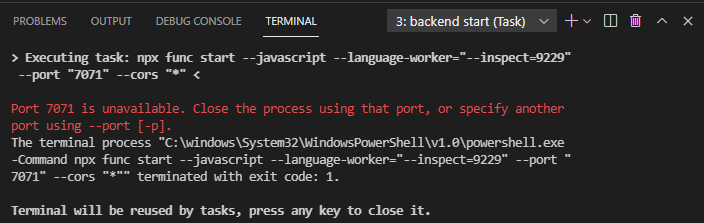
This is mainly because this port was not successfully closed after last debug.
You can follow the scripts below to find the process that occupies this port, and to kill that process. After the process is killed, start debugging again.
For Windows, in cmd or powershell:
> netstat -ano | findstr <port>
> tskill <process id>
For Linux or OSX, in shell:
$ lsof -i:<port>
$ kill <process id>You can add your own debug environment variables for frontend (tabs/), function (api/) and bot (bot/) components. There may already be a .env.teamsfx.local file under each component folder, with following content:
# TeamsFx will overwrite the following variable values when running debug
M365_CLIENT_ID=xxx
M365_CLIENT_SECRET=xxx
...
# Following variables can be customized or you can add your owns
# FOO=BAR
...
Just append your own local environment variables to that file.
Or, if there's no .env.teamsfx.local file in your project (e.g., migrated from legacy project), feel free to create .env.teamsfx.local file under tabs/ or api/ or bot/ folder with your own environment variables. Teams Toolkit does add values to .env.teamsfx.local but will reserve yours.
What to do if I want to use my own tunneling service instead of the built-in one for Bot or Messaging Extension?
Since Bot and Messaging Extension requires a public address as the messaging endpoint, ngrok will be used by default to automatically create a tunnel connection forwarding localhost address to public address.
Following mitigation is for project created by Teams Toolkit (<= 4.0.6). For project created by Teams Toolkit (>= 4.1.0), see How to use my own bot messaging endpoint.
To use your own tunneling service, you should set siteEndpoint configuration in .fx/configs/config.local.json under the project root.
{
    "bot": {
        "siteEndpoint": "https://02f6-2404-f801-9000-1a-908c-79ca-3a8-ee86.ngrok.io"
    }
}
Please note that the botEndpoint should use https protocol.
You should also close the ngrok validation during debugging.
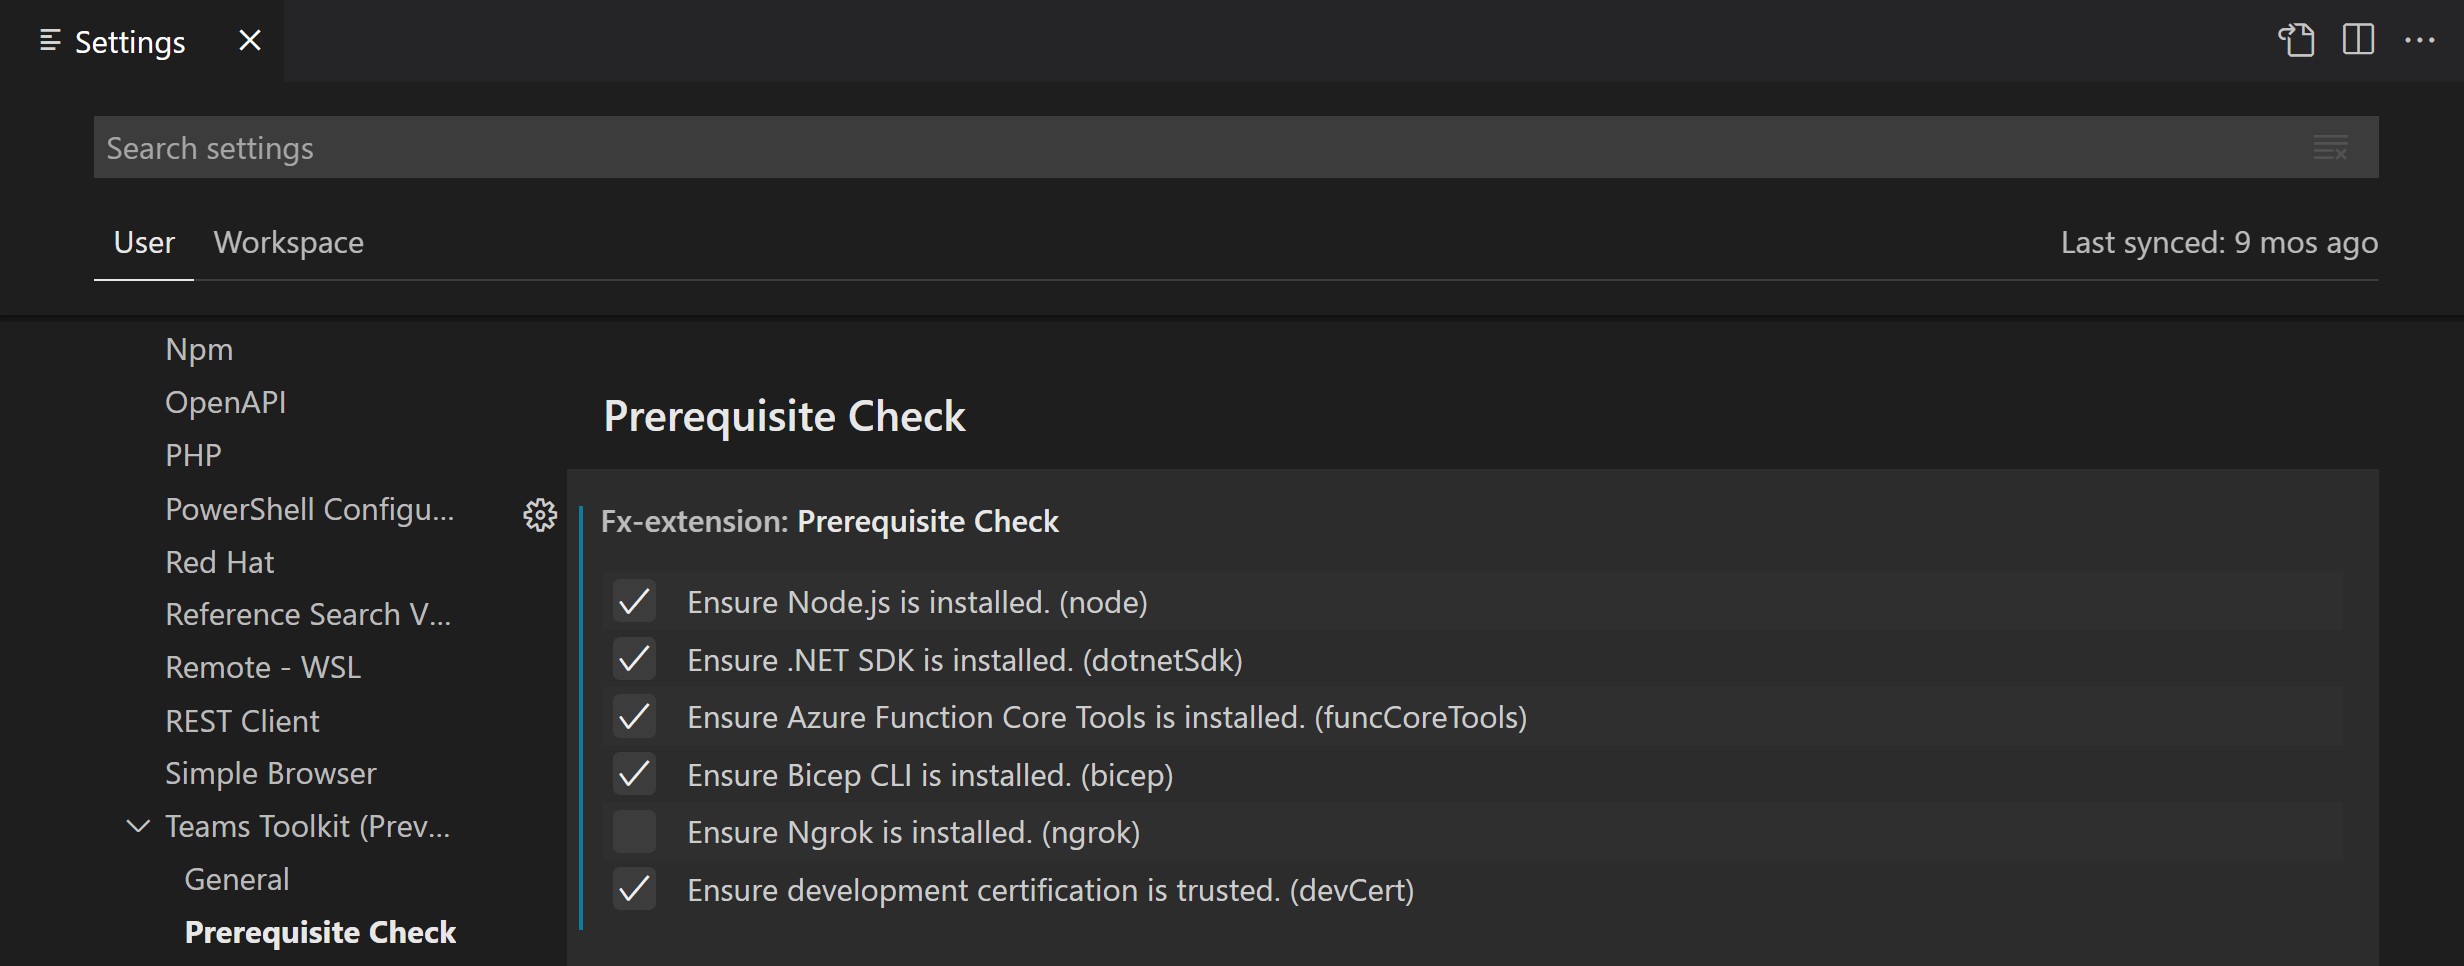
For VSCode, you should set the setting fx-extension.prerequisiteCheck.skipNgrok to be false.
 For CLI, you should run command
 teamsfx config set validate-ngrok off.
Ngrok tunnel is not connected. Check your network settings and try again.
Please ensure that your network connection is stable and then try again.
Or you can use your own tunneling service by following the configuration.
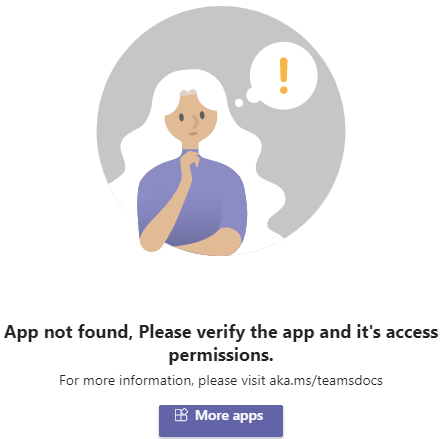
This is mainly because the Teams account you logged in when the Teams web client is opened is different from the M365 account you logged in when developing the Teams app.
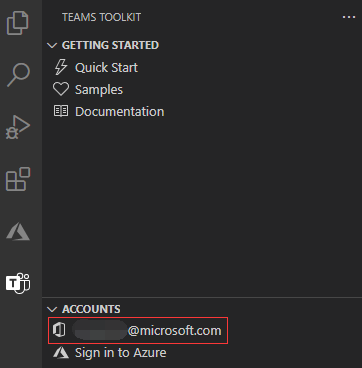
Please make sure you use the same M365 account. After logging in the correct account, start debugging again. You can see which M365 account you logged in via Teams Toolkit, like:

This is mainly because there is some error in manifest.
Please open an issue with enough context and information.
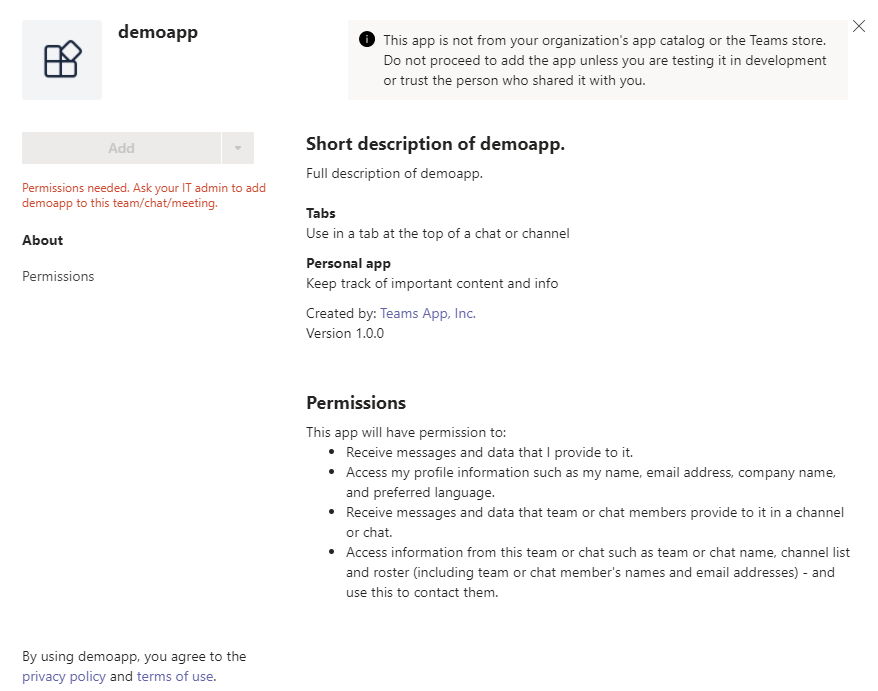
This is mainly because the custom app uploading is not turned on for your Teams tenant.
You can follow this document to turn it on.
Since Teams requires https Tab hosting endpoint, a localhost development certificate will be automatically generated and installed to your system after your confirmation. The confirmation window will be popped up during debugging, like:
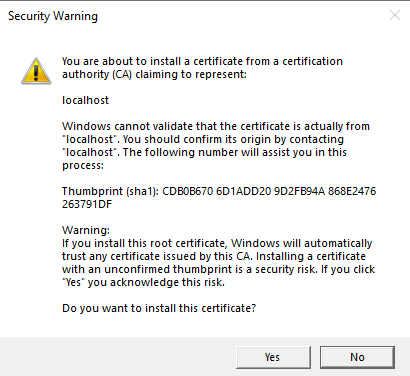
We recommend you to install the development certificate. However, if you do not want to install the development certificate and do not want the confirmation window to pop up every time during debugging, you can follow the script bellow to disable the development certificate.
Close the trust development certificate setting, then start debugging.
For VSCode, you should set the setting fx-extension.prerequisiteCheck.devCert to be false.
 For CLI, you should run command
 teamsfx config set trust-development-certificate off.
If so, an error will show in the Tab page of your app, look like:
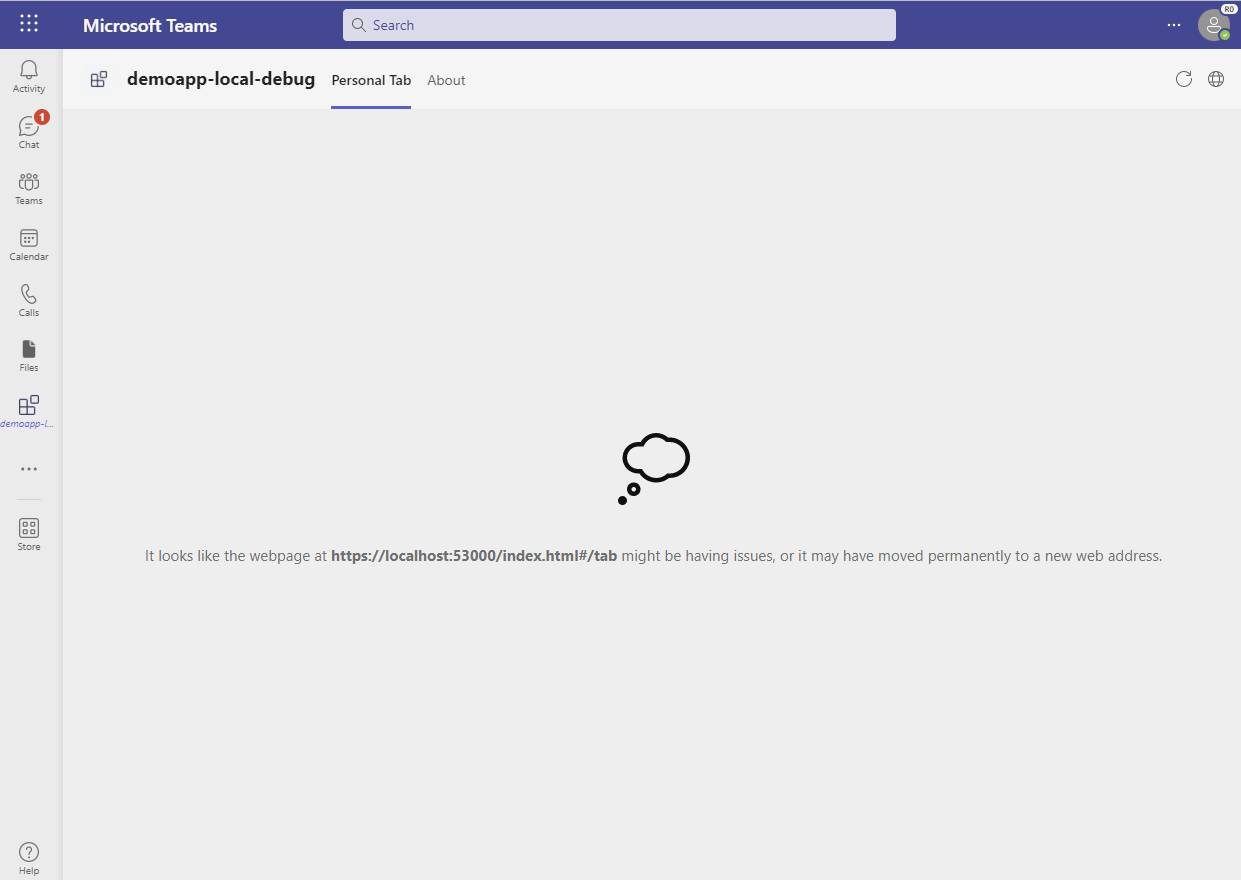
To resolve this issue, open a new tab in the same browser, go to https://localhost:53000/index.html#/tab, click the "Advanced" button and then select "Proceed to localhost (unsafe)". After doing this, refresh the Teams web client.
Since Teams requires https Tab hosting endpoint, a localhost development certificate will be automatically generated when you launch debug. Teams toolkit runs on WSL but the browser runs on Windows, so the dev certificate will not be automatically installed. If the development certificate is not installed, debug will fail after adding app to Teams.
This method is simpler but only takes effect for current browser. You need to repeat these steps for each browser you use to debug your app.
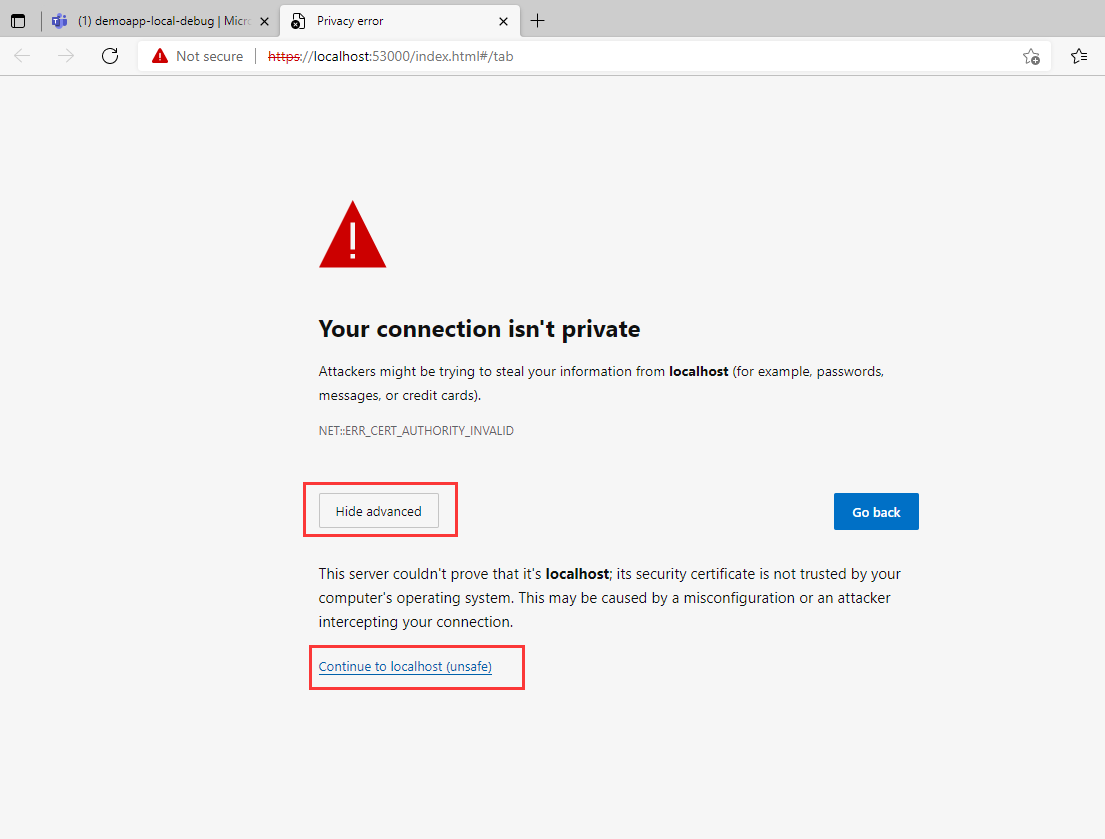
- Open a new tab in the same browser, go to https://localhost:53000/index.html#/tab.
- Click the "Advanced" button and then select "Proceed to localhost (unsafe)".
- Refresh the Teams web client.
This method is a little bit more complex but it takes effect globally. You only need to do once for all browsers.
-
Open the certificate folder of your WSL distribution in Windows Explorer (example path:
\\wsl$\{DISTRO_NAME}\home\{USER_NAME}\.fx\certificate).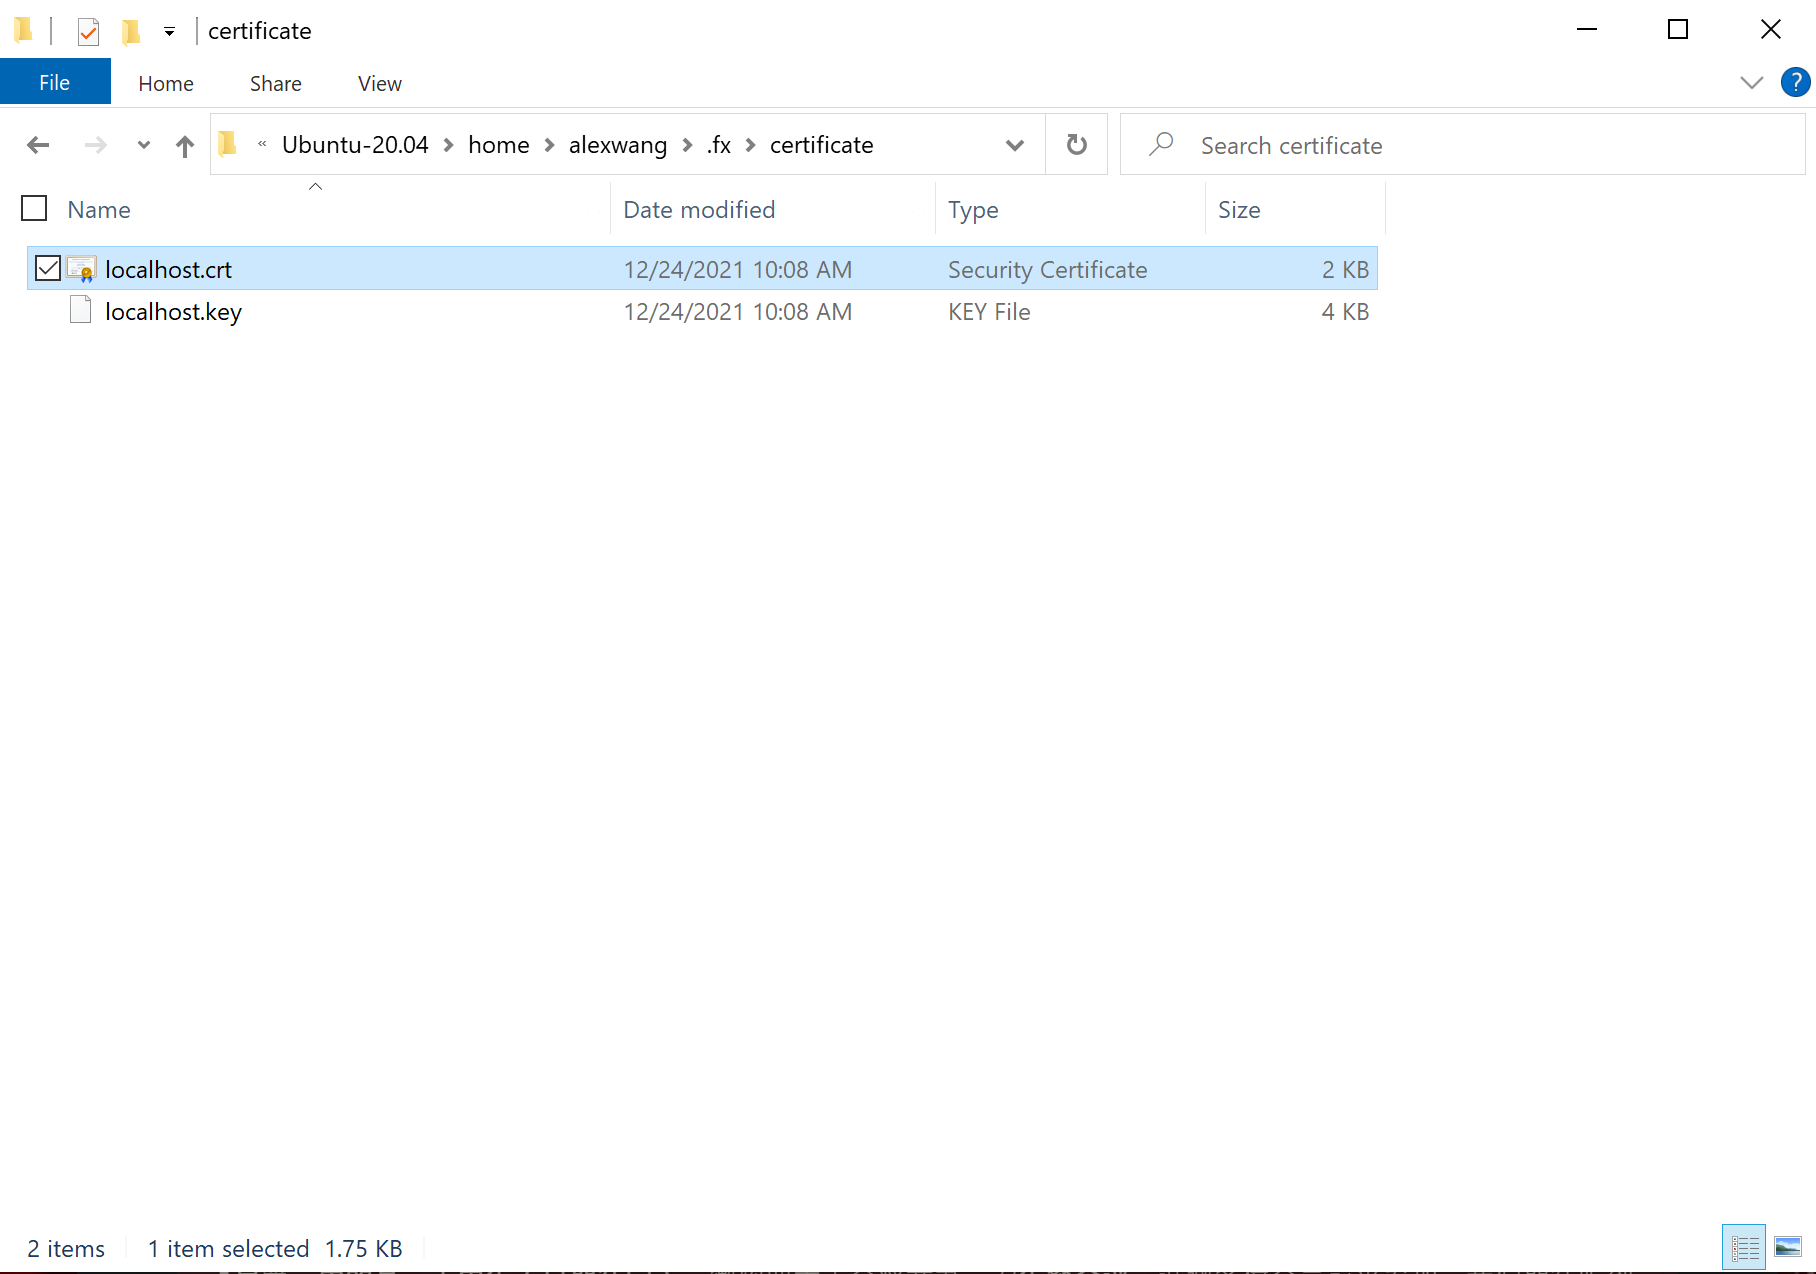
-
Open "localhost.crt" and click "Install Certificate...".

-
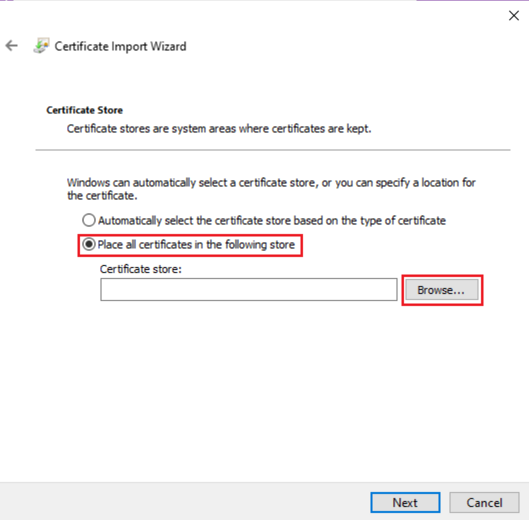
In the "Certificate Import Wizard", select "Next".

-
Select "Place all certificates in the following store" and click "Browse".
-
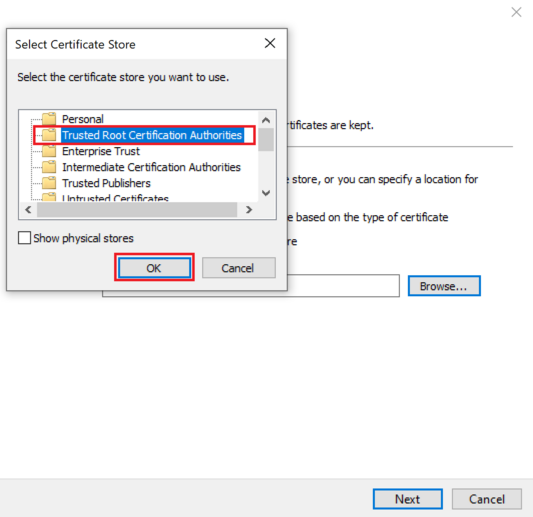
Select "Trusted Root Certification Authorities", click "OK" and then click "Next".
-
Click "OK" to confirm importing the certificate.
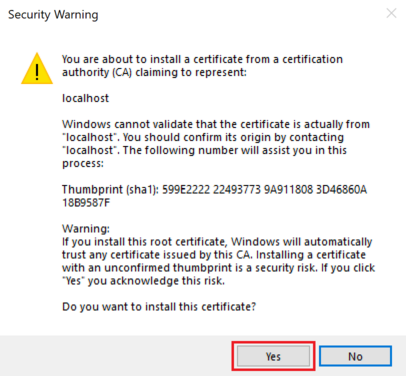
-
You will see a confirmation that the import process has succeeded.
-
Restart your browser to take effect.
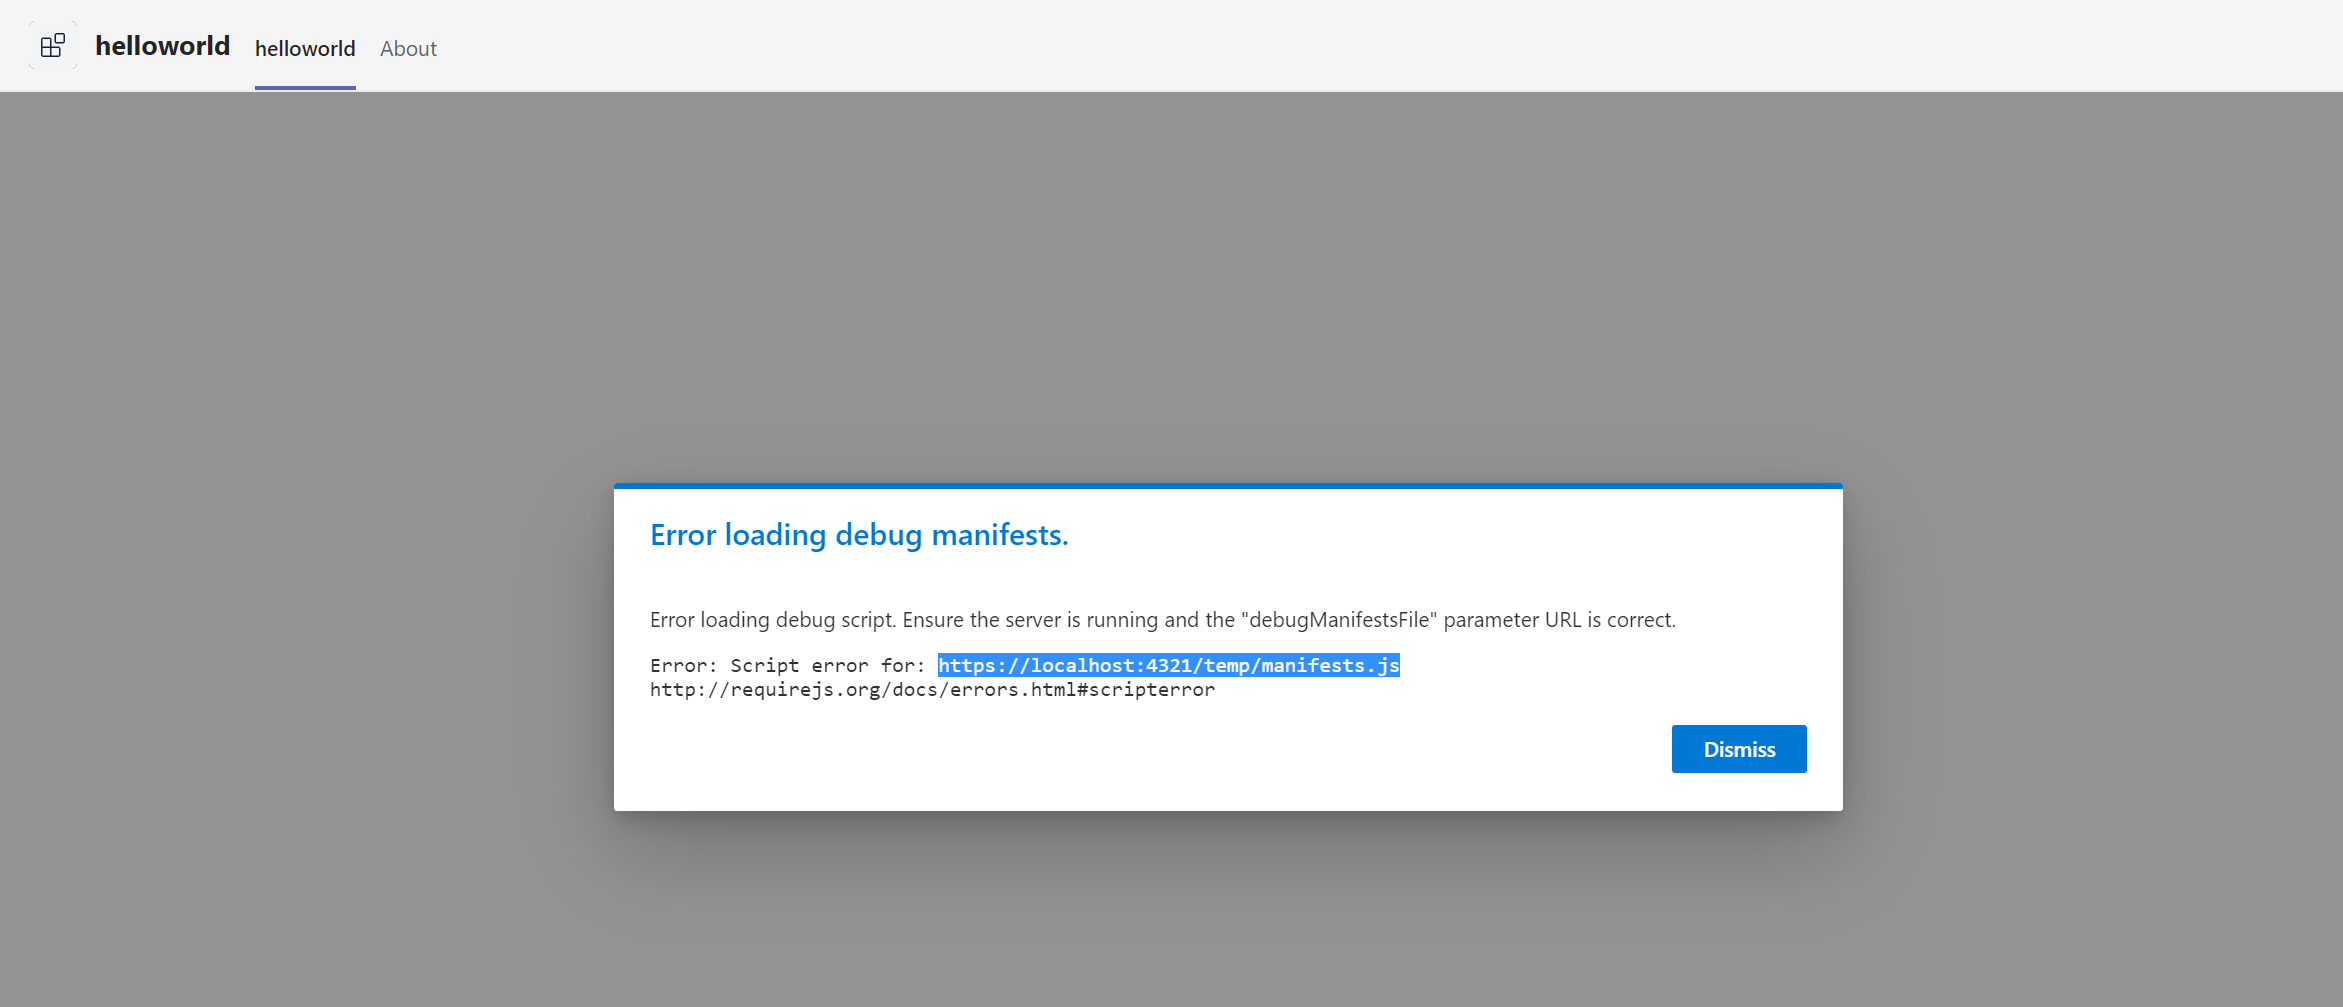
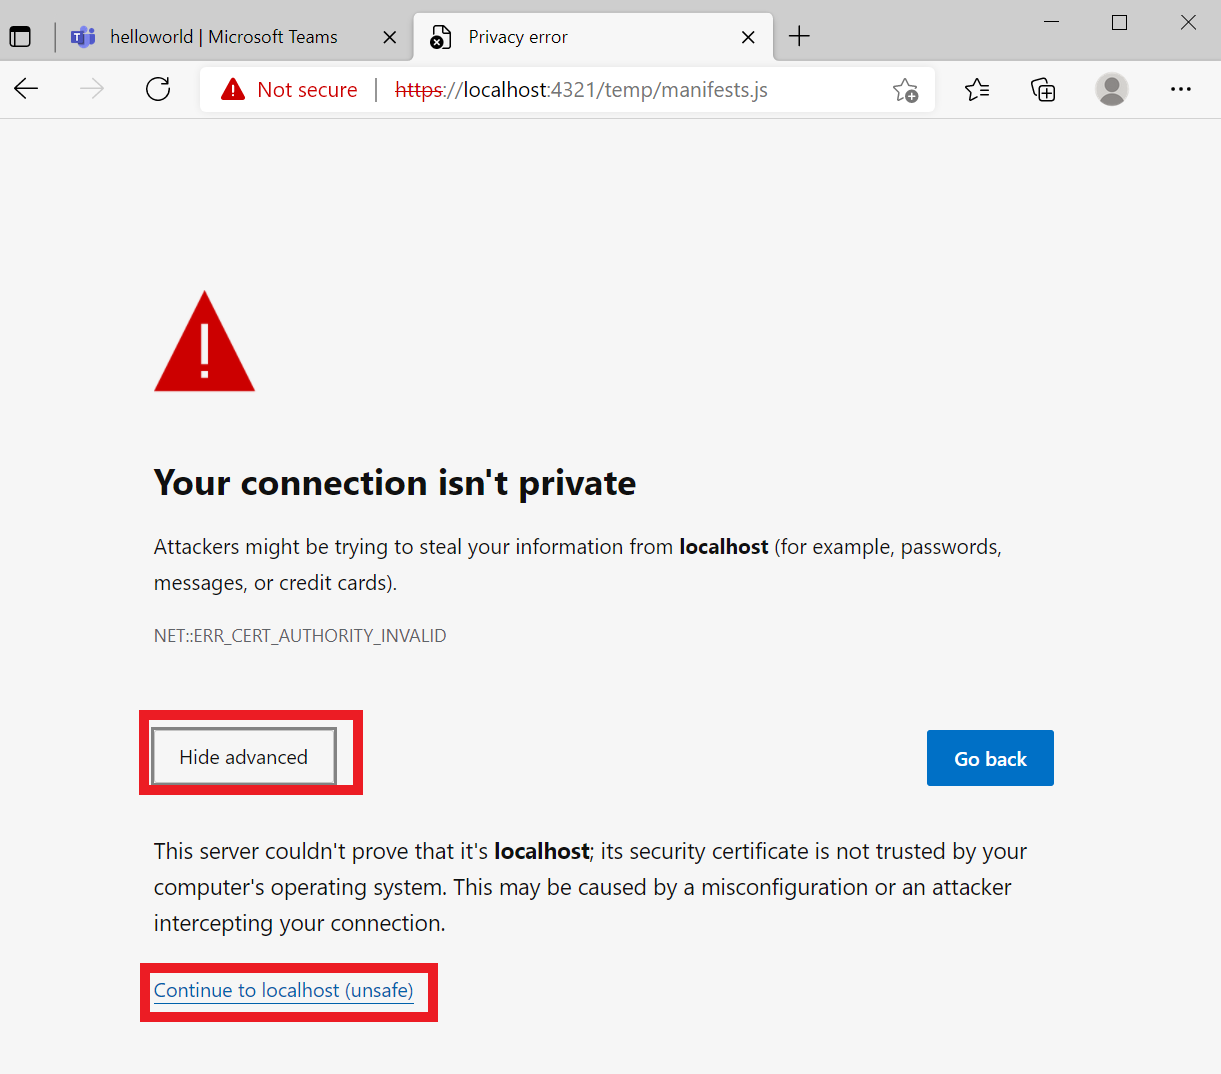
For SPFx project, our toolkit will also help install the development certificate but it may be invalid on macOS/Linux system, thus on Teams workbench debug, it will fail to connect the debug manifest url.
To resolve this issue, open a new tab in the same browser, go to https://localhost:4321/temp/manifests.js, click the "Advanced" button and then select "Proceed to localhost (unsafe)". After doing this, refresh the Teams web client.

Azure Functions Core Tools will download required dependencies on the first execution. This error occurs when there's failure during the dependency downloading period.
To resolve this issue, ensure your network connection is stable when launching local service, and try again.
If still fail with the same error, try:
- Set Azure Functions log level to "Debug" to get more detailed logs when starting.
// host.json of your azure functions
{
  "version": "2.0",
  "logging": {
    ...
    "logLevel": {
      "default": "Debug"
    }
  },
  ...
}
- Clear Azure Functions Core Tools local cache at
${HOME}/.azure-functions-core-tools/.

In order to visit auth-start.html, you need to set the ngrok auth token.
- Stop debugging in Visual Studio Code.
- Sign up an ngrok account in https://dashboard.ngrok.com/signup.
- Copy your personal ngrok authtoken from https://dashboard.ngrok.com/get-started/your-authtoken.
- Run the following commands in Visual Studio Code terminal.
cd ~/.fx/bin/ngrok ngrok authtoken <your-personal-ngrok-authtoken>` - Start debugging the project again by hitting the F5 key in Visual Studio Code.