Lab 06: Azure Release Pipelines - OT-TRAINING/azure-devops-zero-to-hero GitHub Wiki
Releases Pipelines
Till now we have explored the Build Pipelines and its types in our previous labs. In this lab we are going to explore the release or deploy pipeline in Azure Devops.
The beauty of Azure Devops is that it provides different pipelines for Build and Release jobs.
In this lab we will proceed in continuation of our previous pipelines, publish an artifact, copy it in our Deployment Agent Pool, make some changes in the file and deploy it.
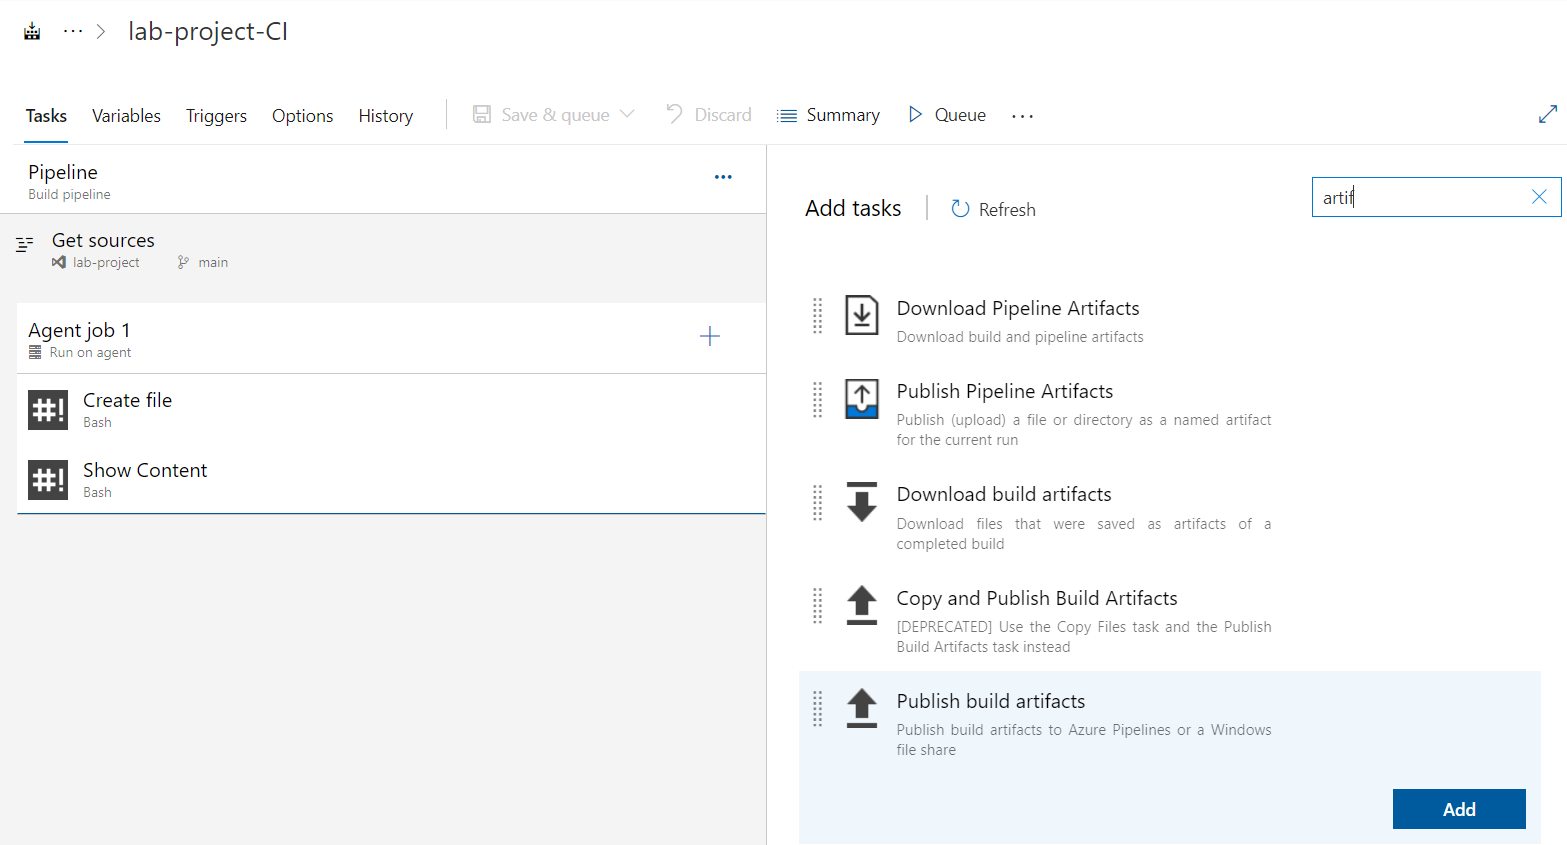
Let's first publish an artifact in our build pipeline.
Add a task to publish artifact.
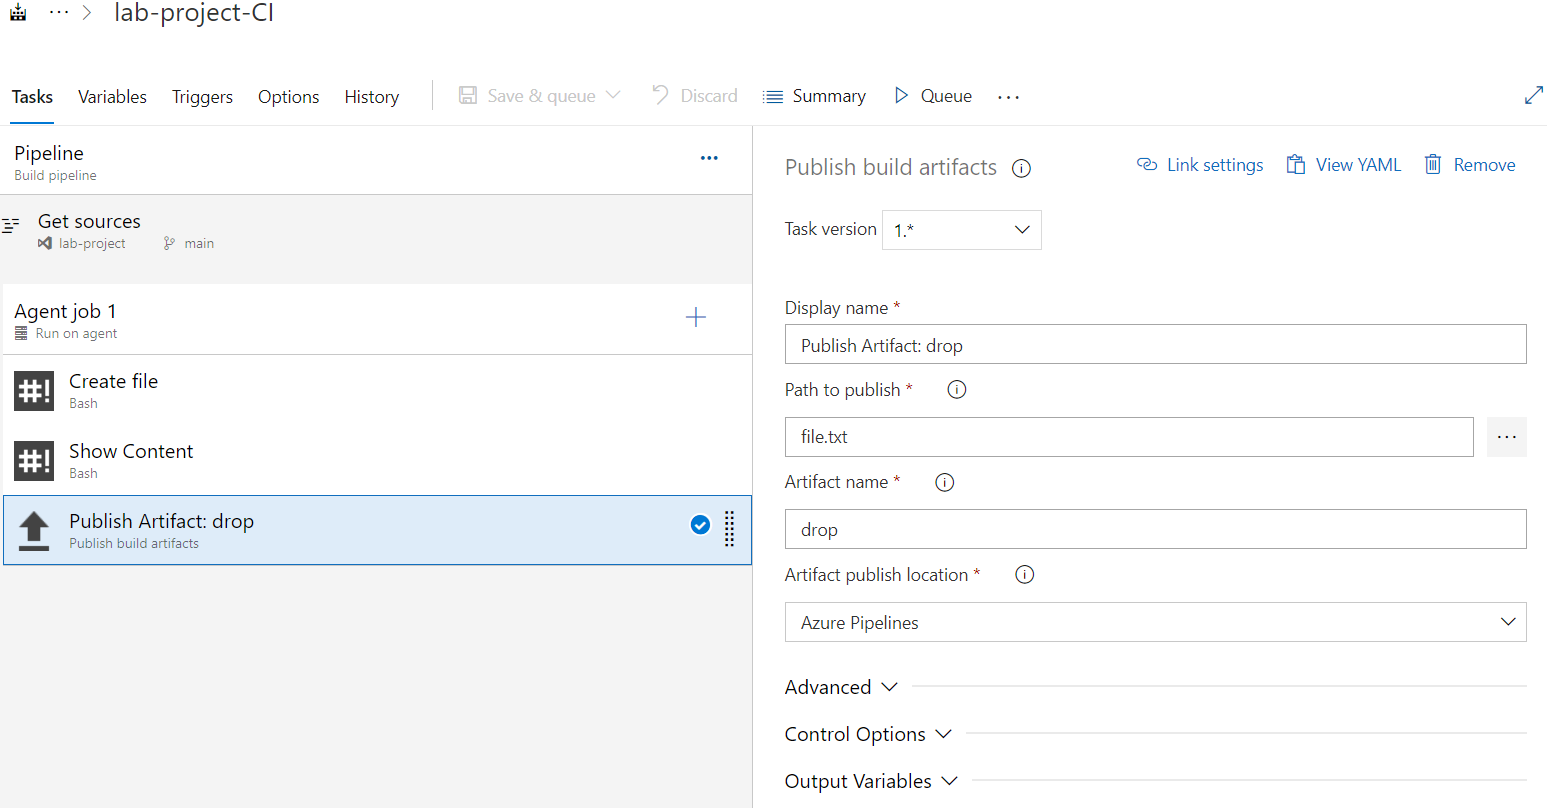
Configure it.
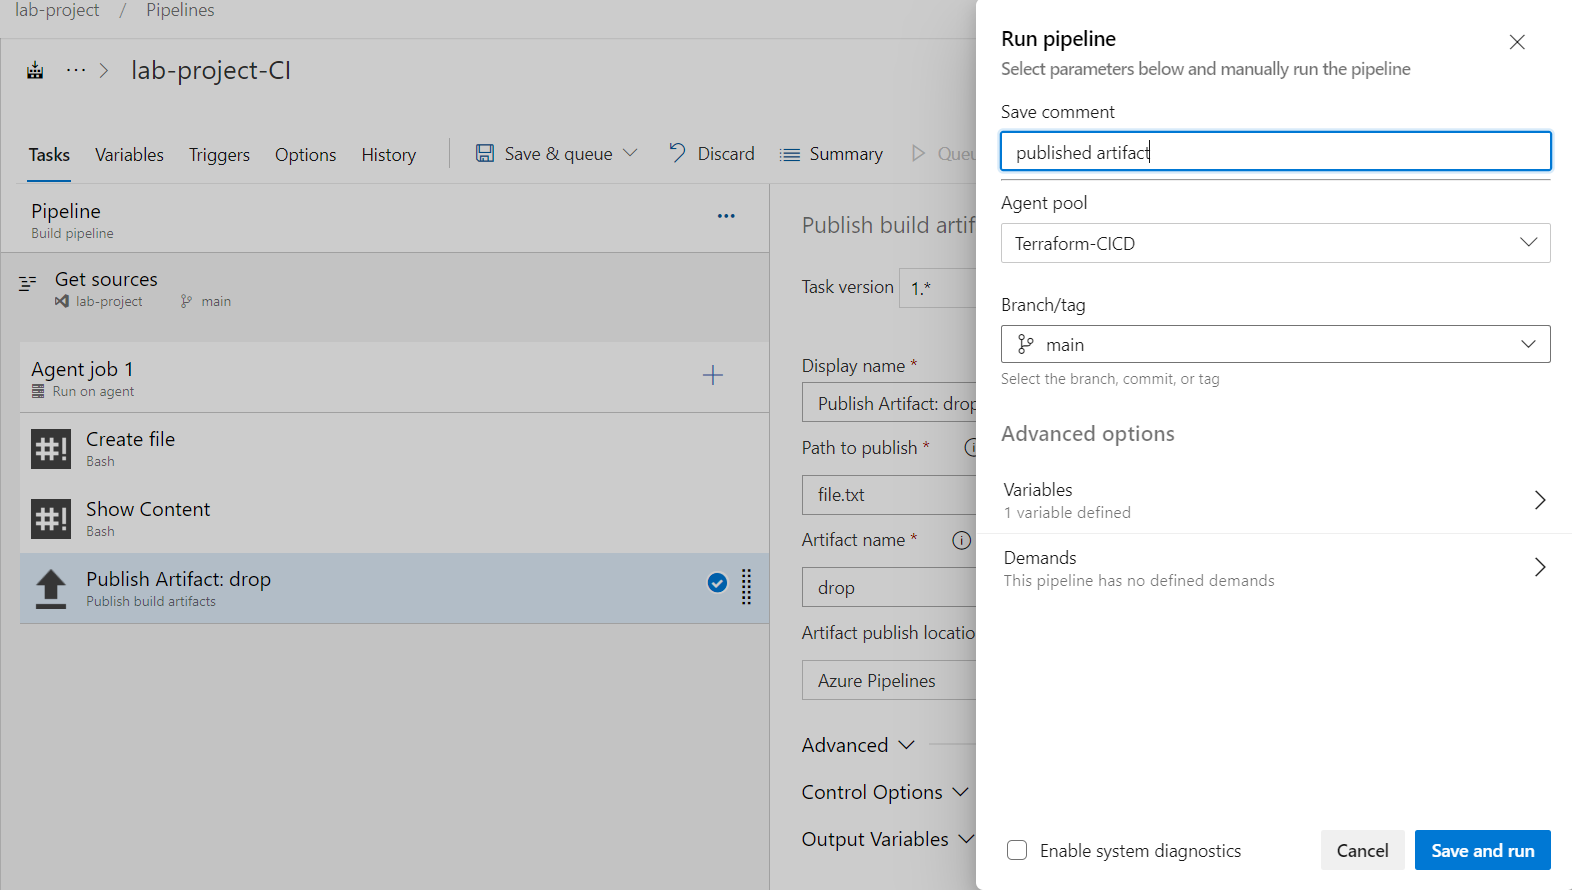
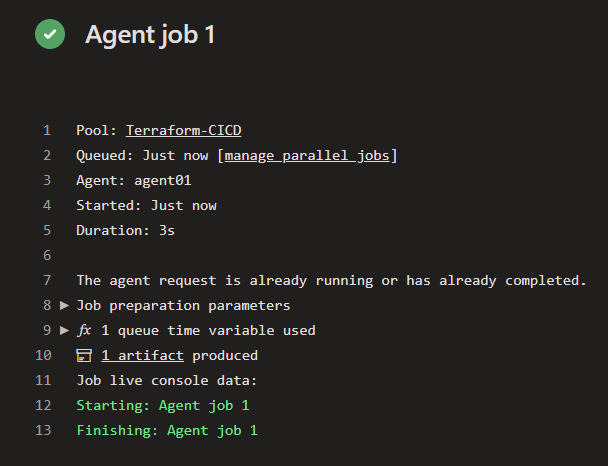
Now let's save and run our pipeline.
This will generate an artifact named drop.

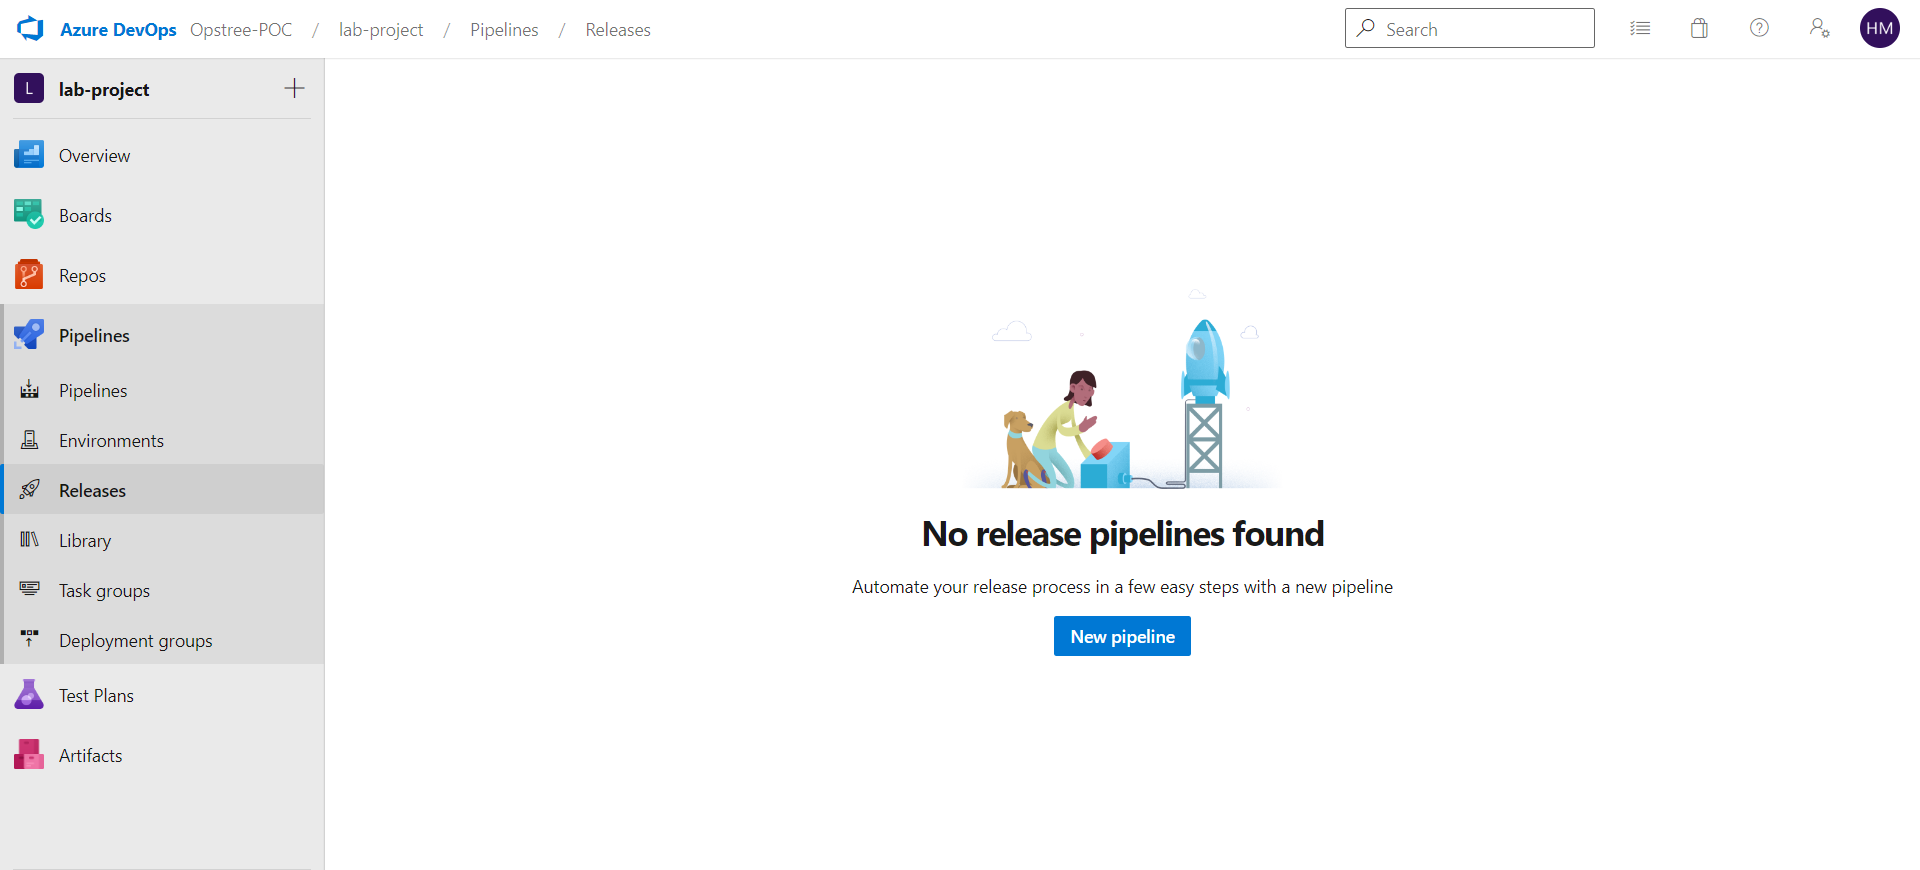
Now let's move to Release Pipelines.
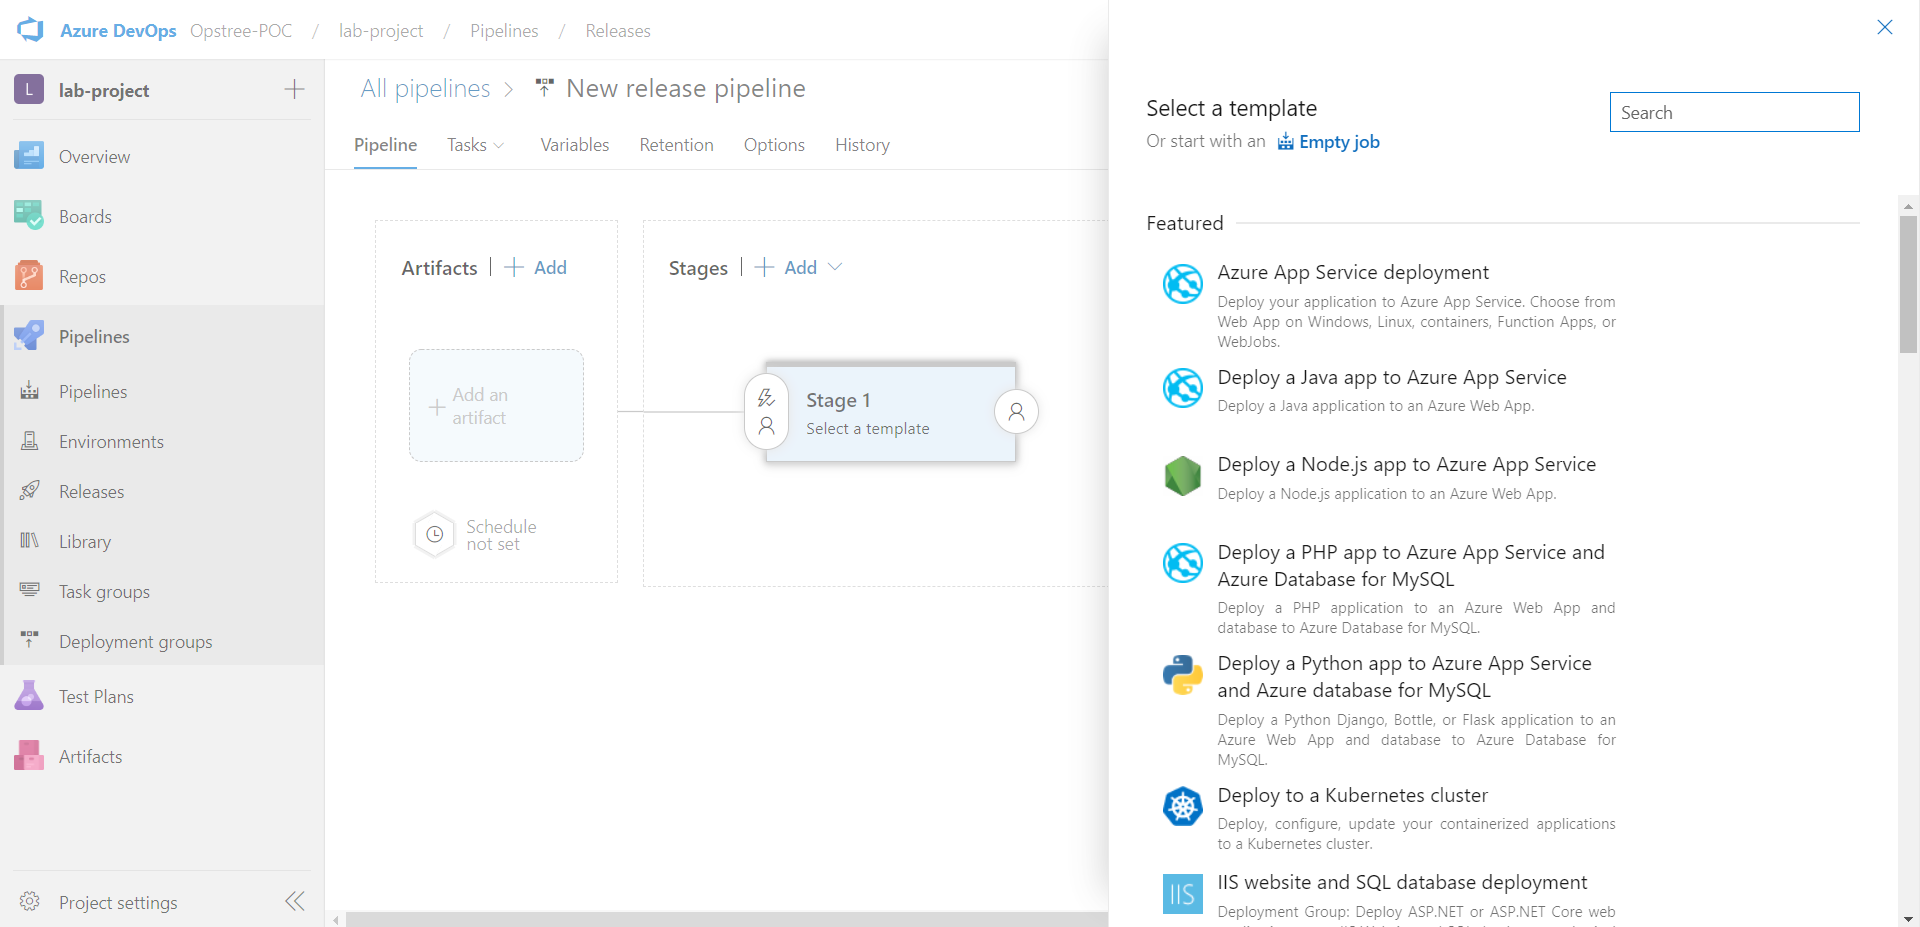
We will start with an Empty Job.
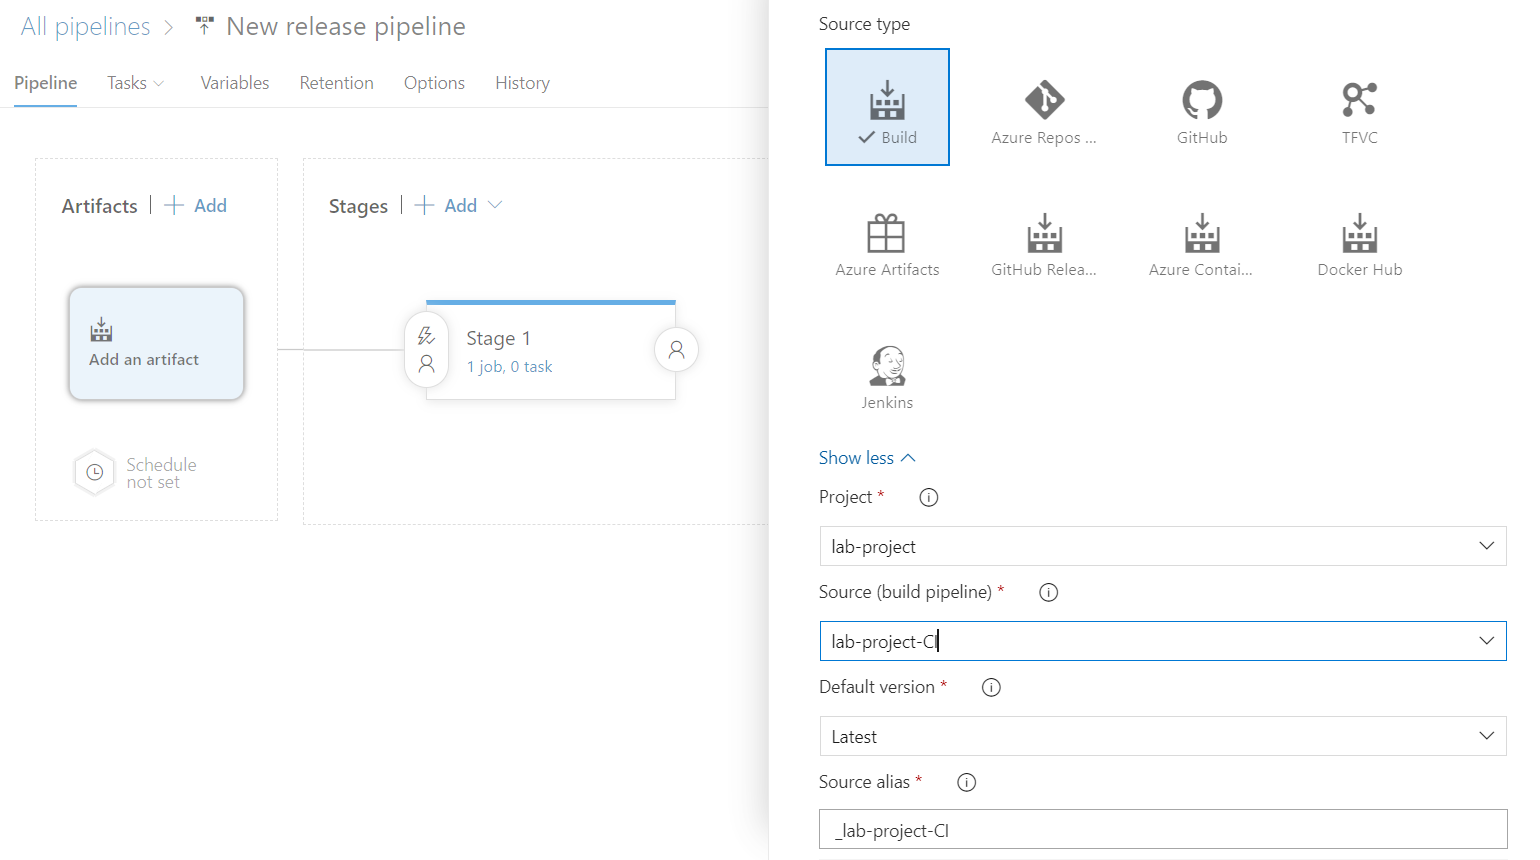
Then go to Add Artifact and fill the following details like Build Pipeline Name, Default Version and Source Alias and then click the Add button.
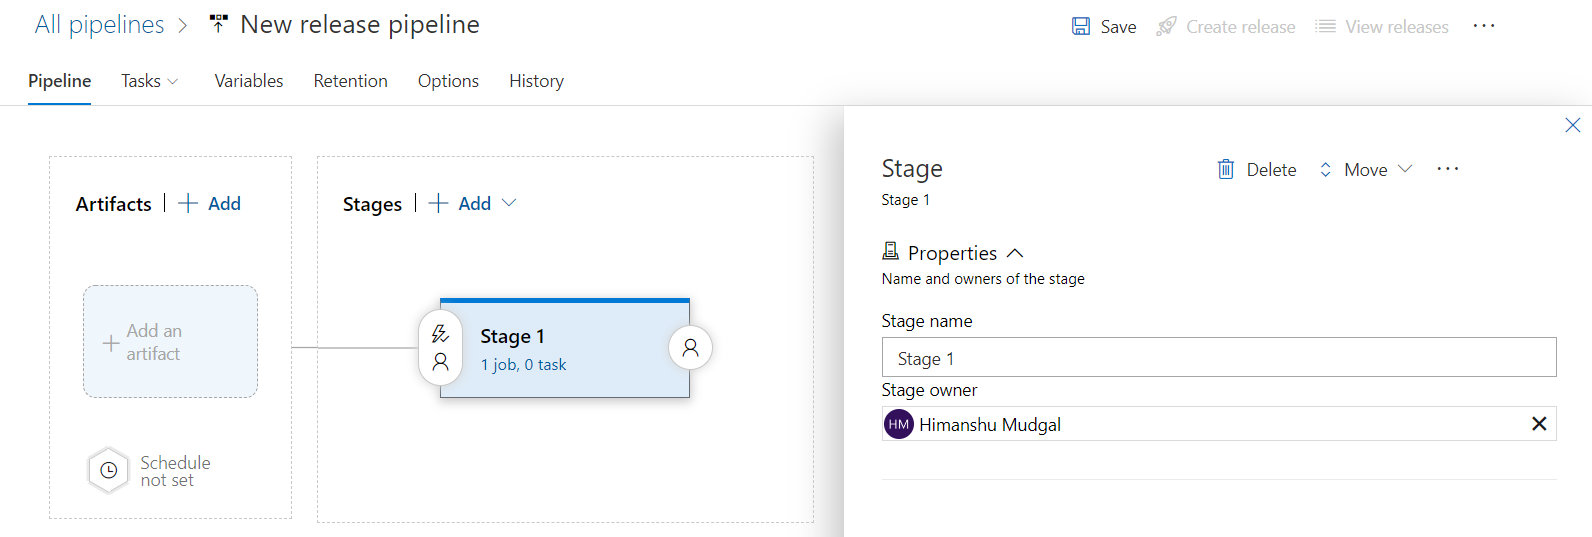
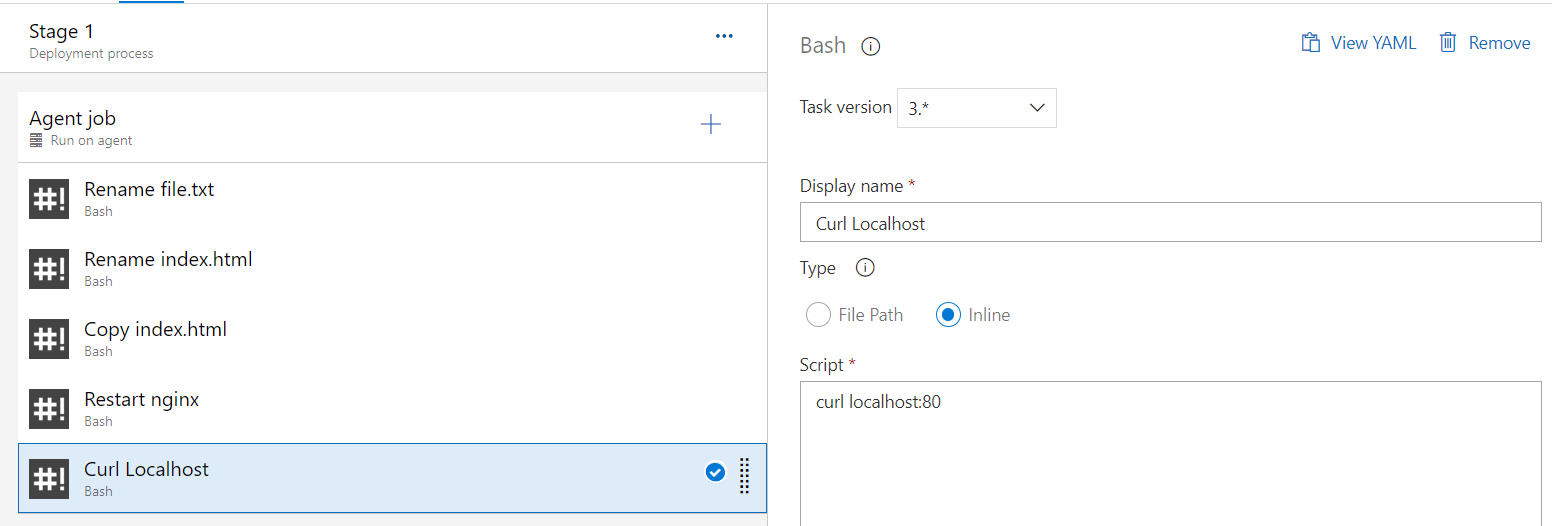
Then move to Stage 1 and configure the task.

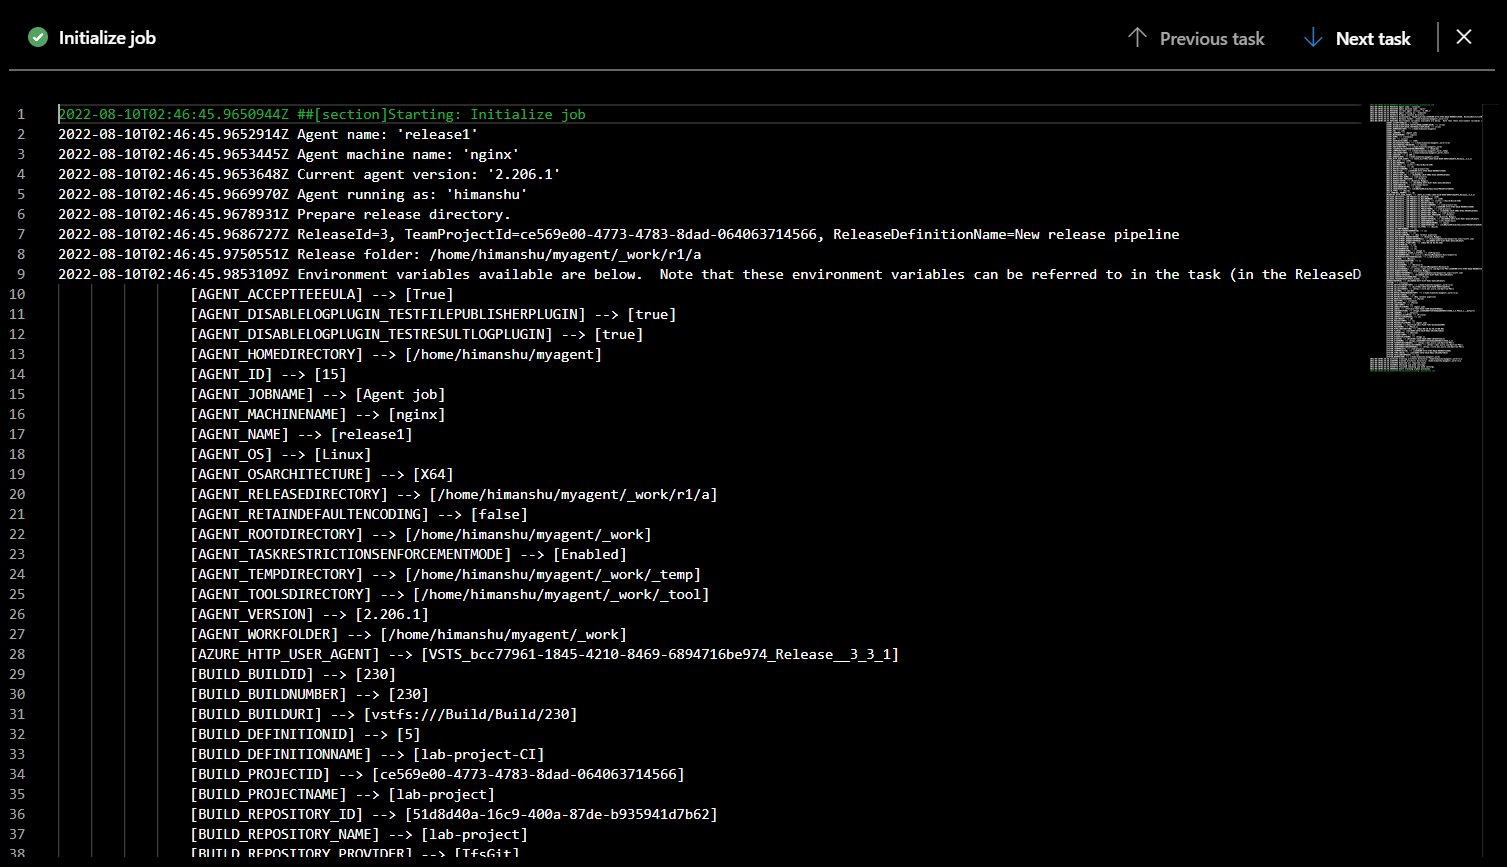
Select the release agent pool.
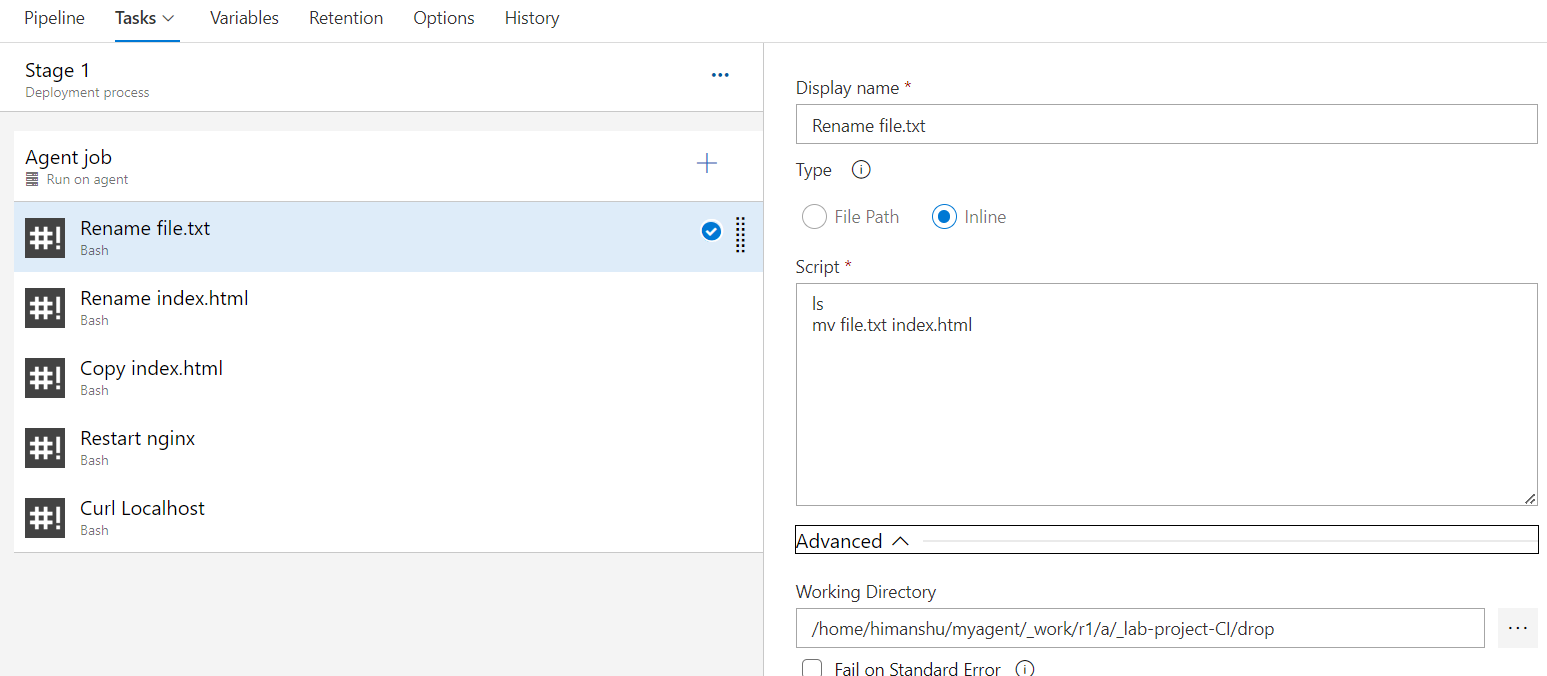
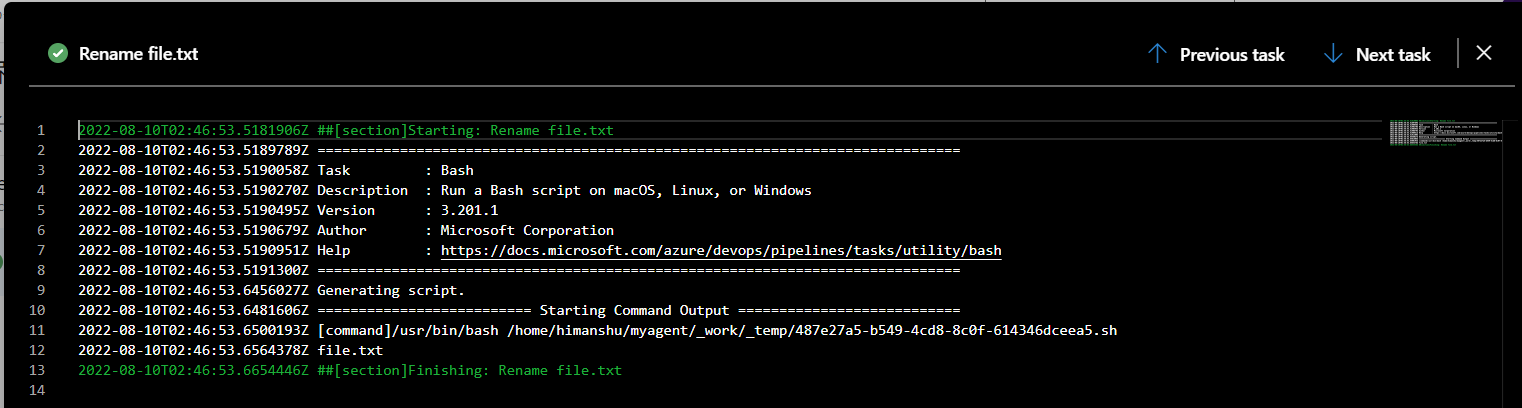
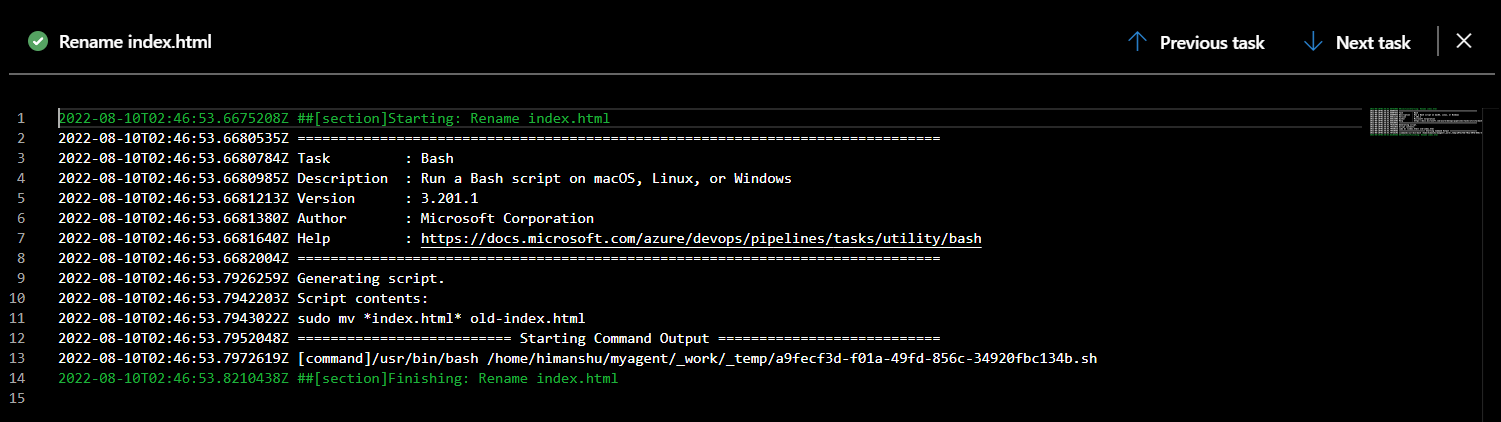
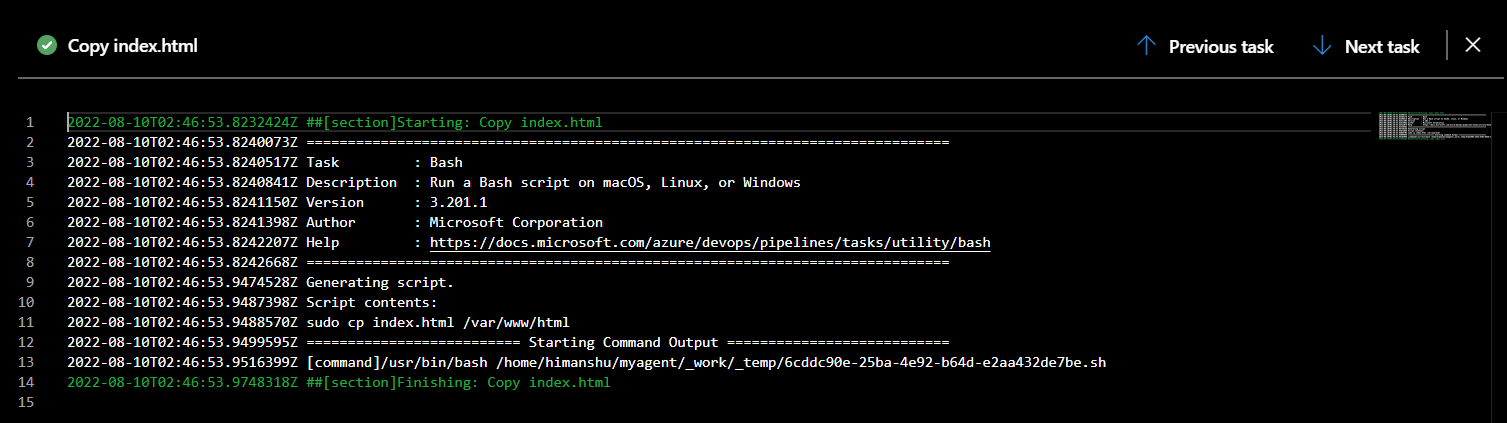
Just for the simplicity of pipeline, we will use bash commands.
Rename the file name file.txt as index.html
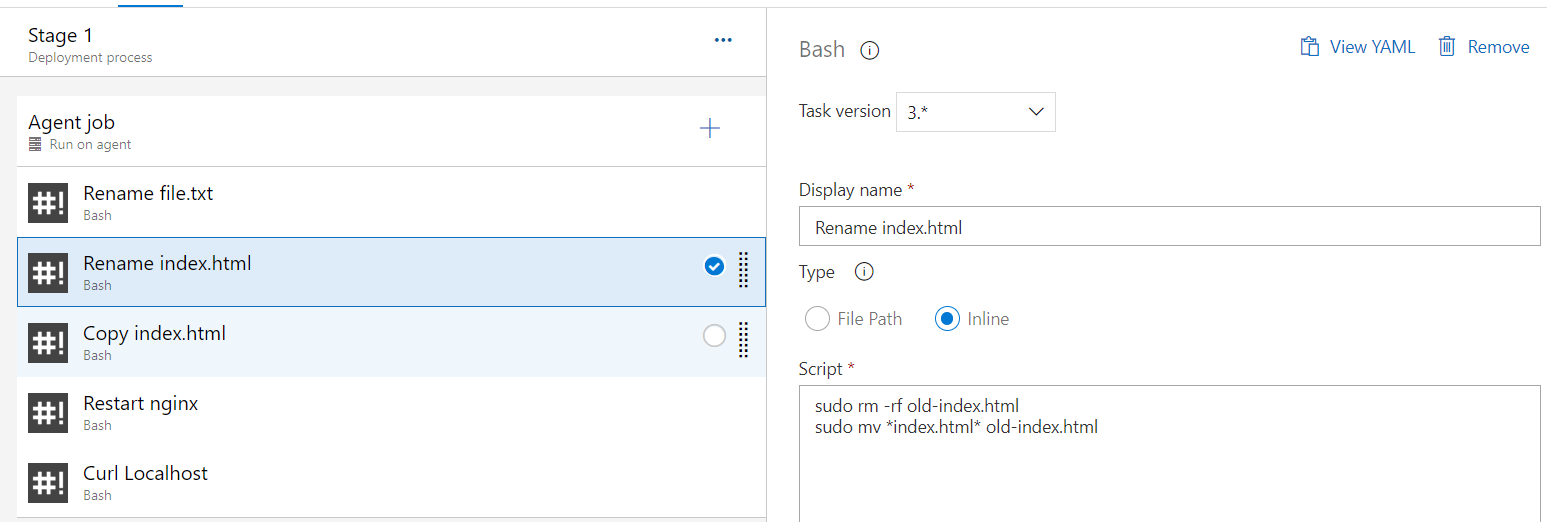
Rename the old file as old-index.html
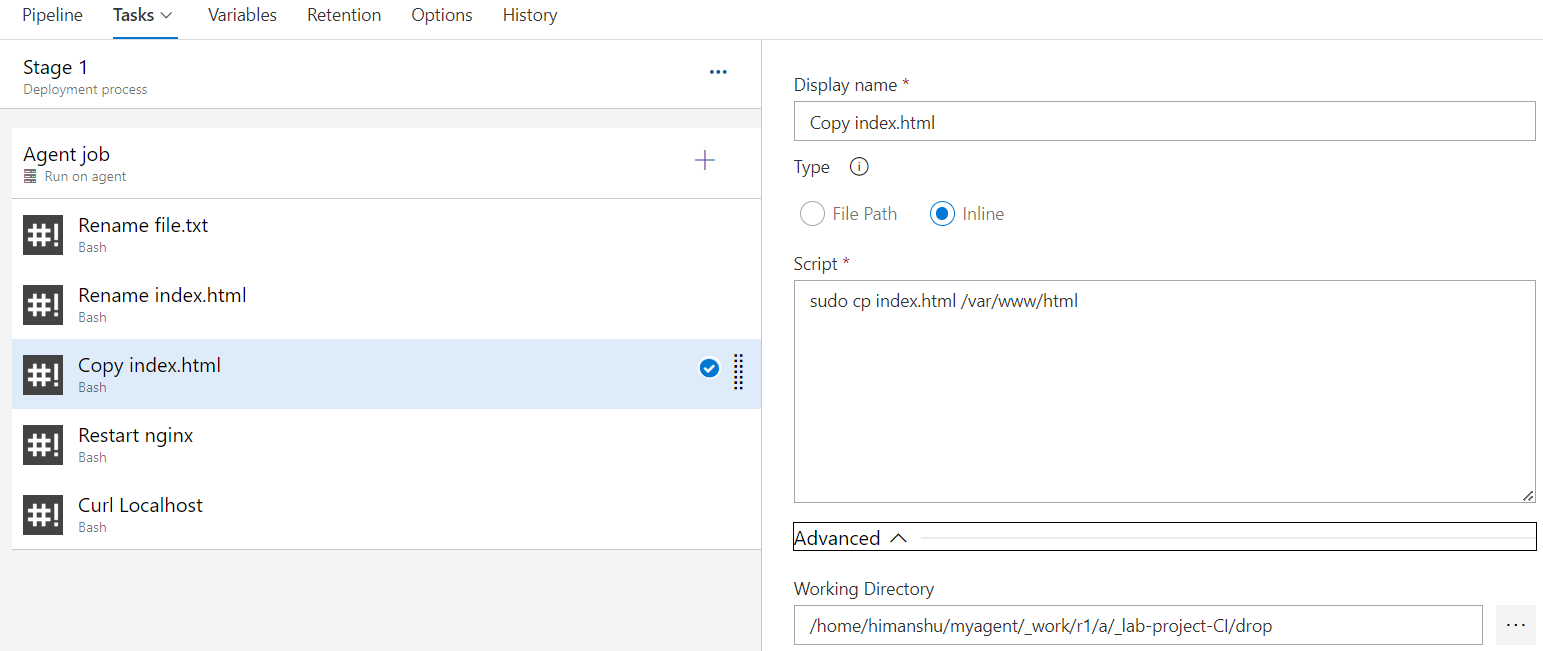
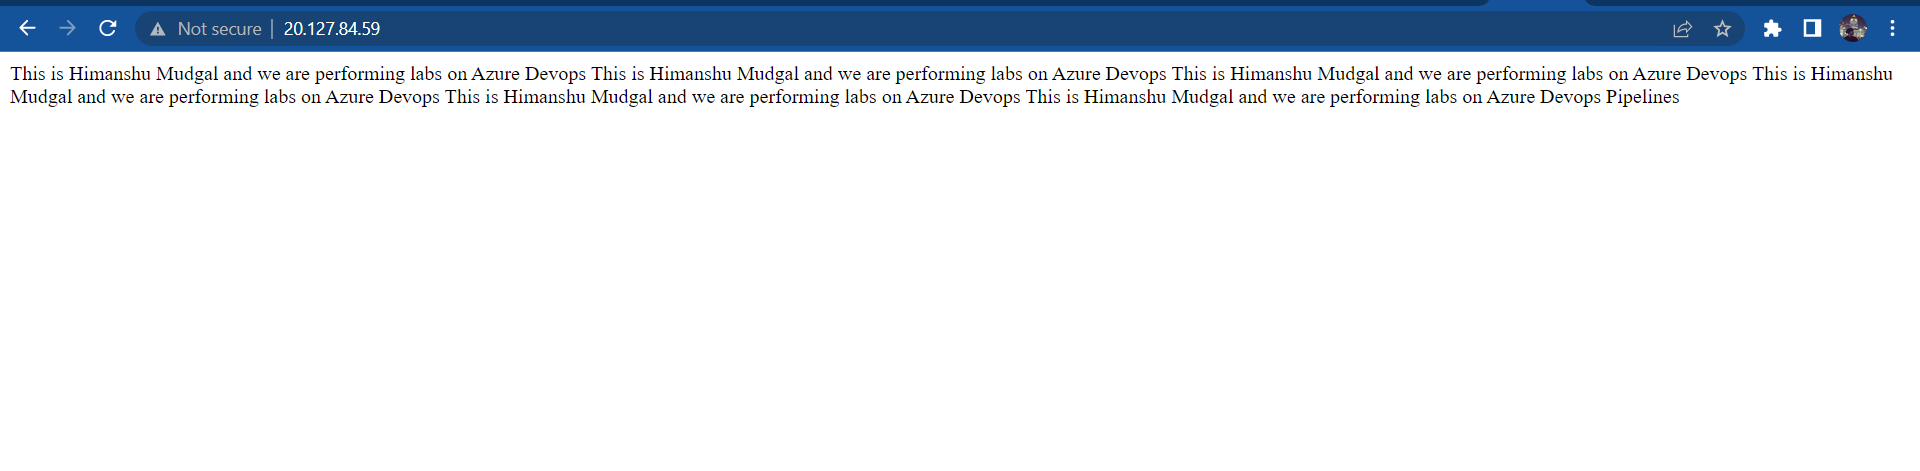
Copy index.html into /var/www/html
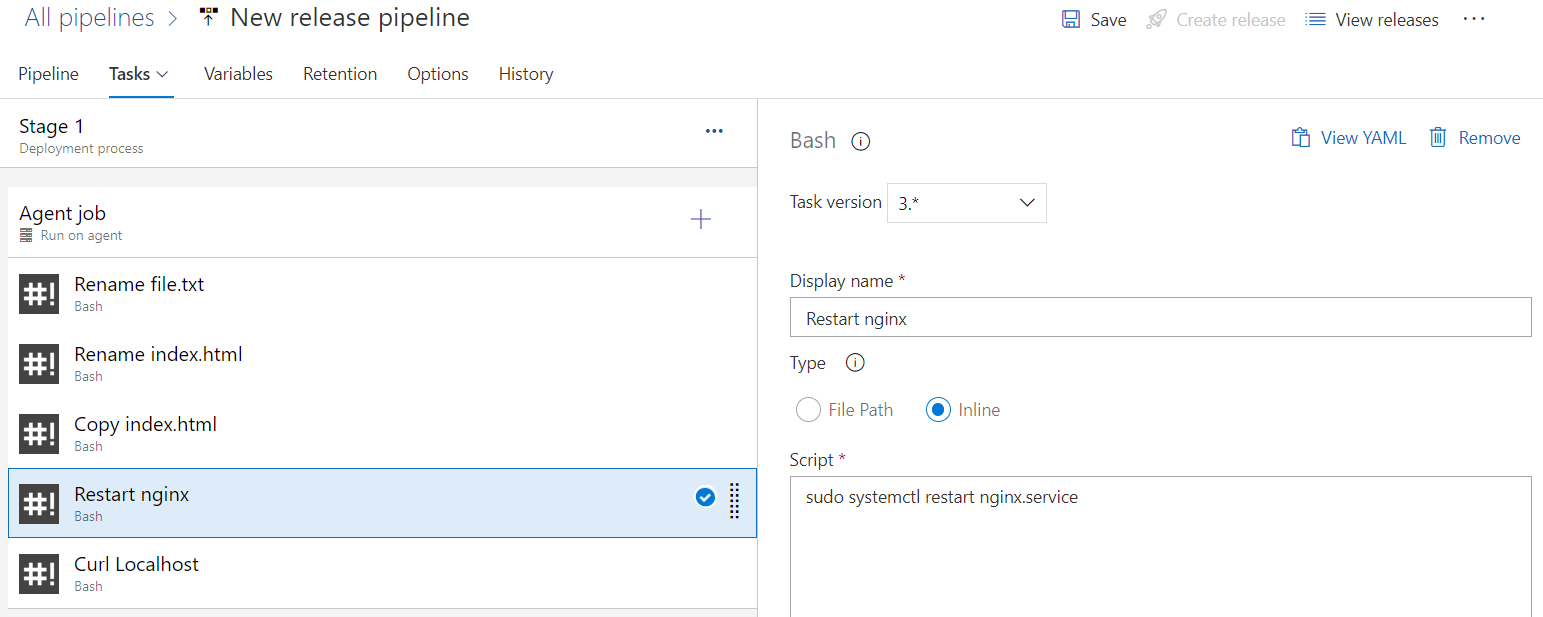
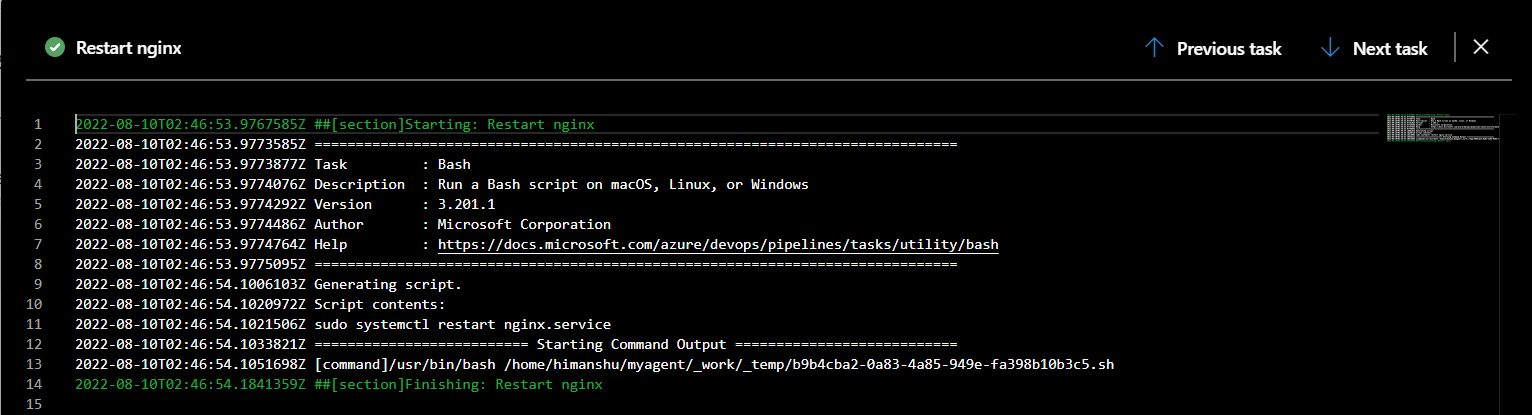
Restarted our nginx service
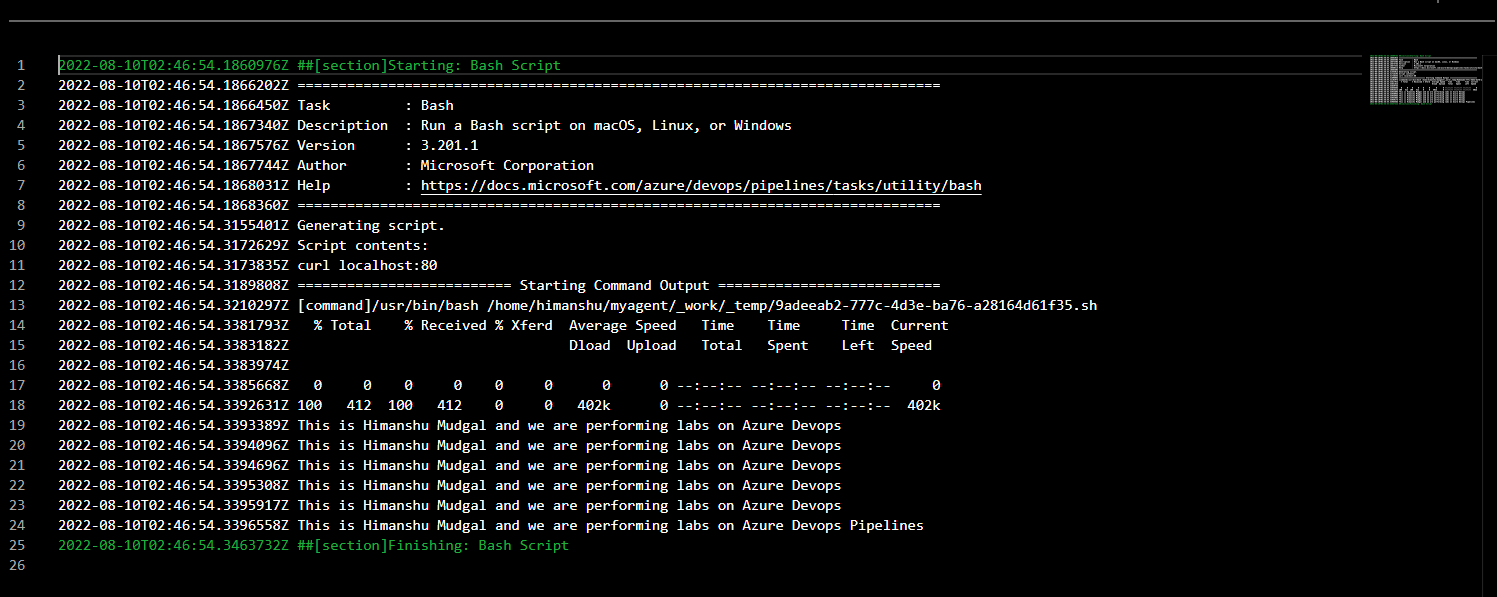
Curl Localhost:80
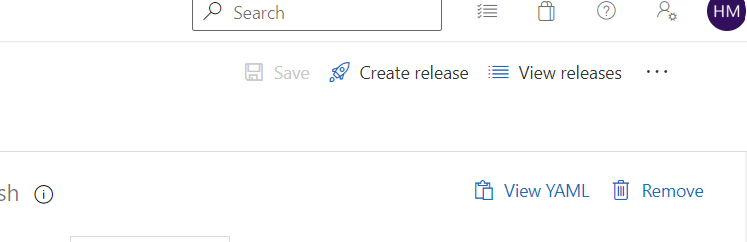
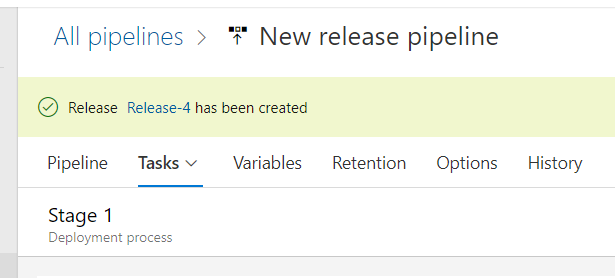
Now let's save the pipeline and create the release
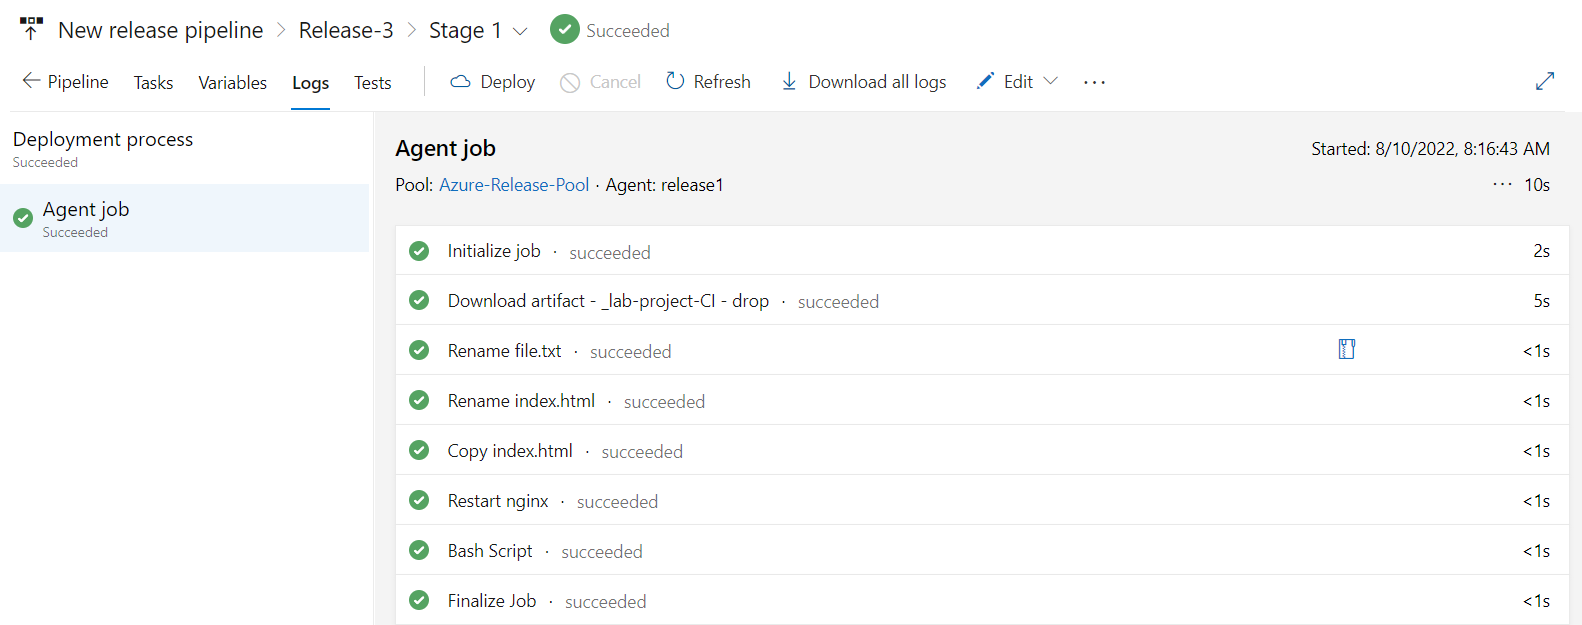
Now go to release to see the logs
You might have guessed it by now that we don't have yet configured for Continuous Integration.
For that we'll go back to our Build pipeline and check the Enable continuous integration box under Triggers. Which will trigger the Build Pipeline after every new pushed changes in the parent repo.
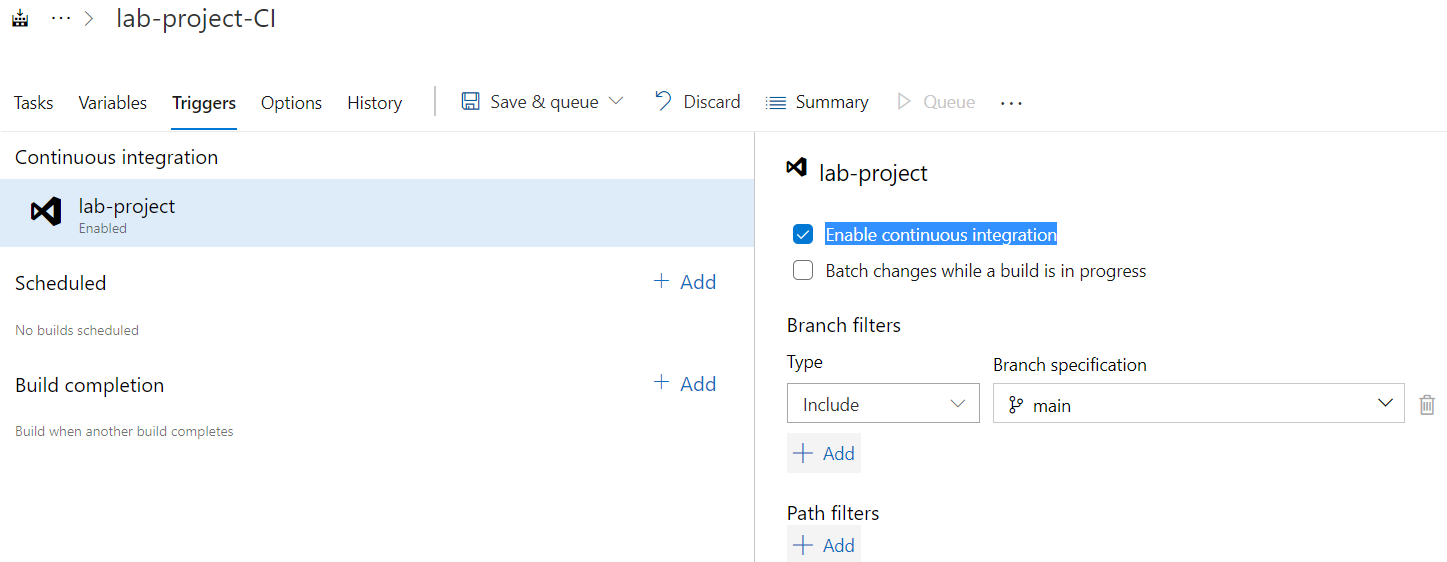
Along with that go to Artifact Triggers option and enable the Continuous Deployment Trigger.
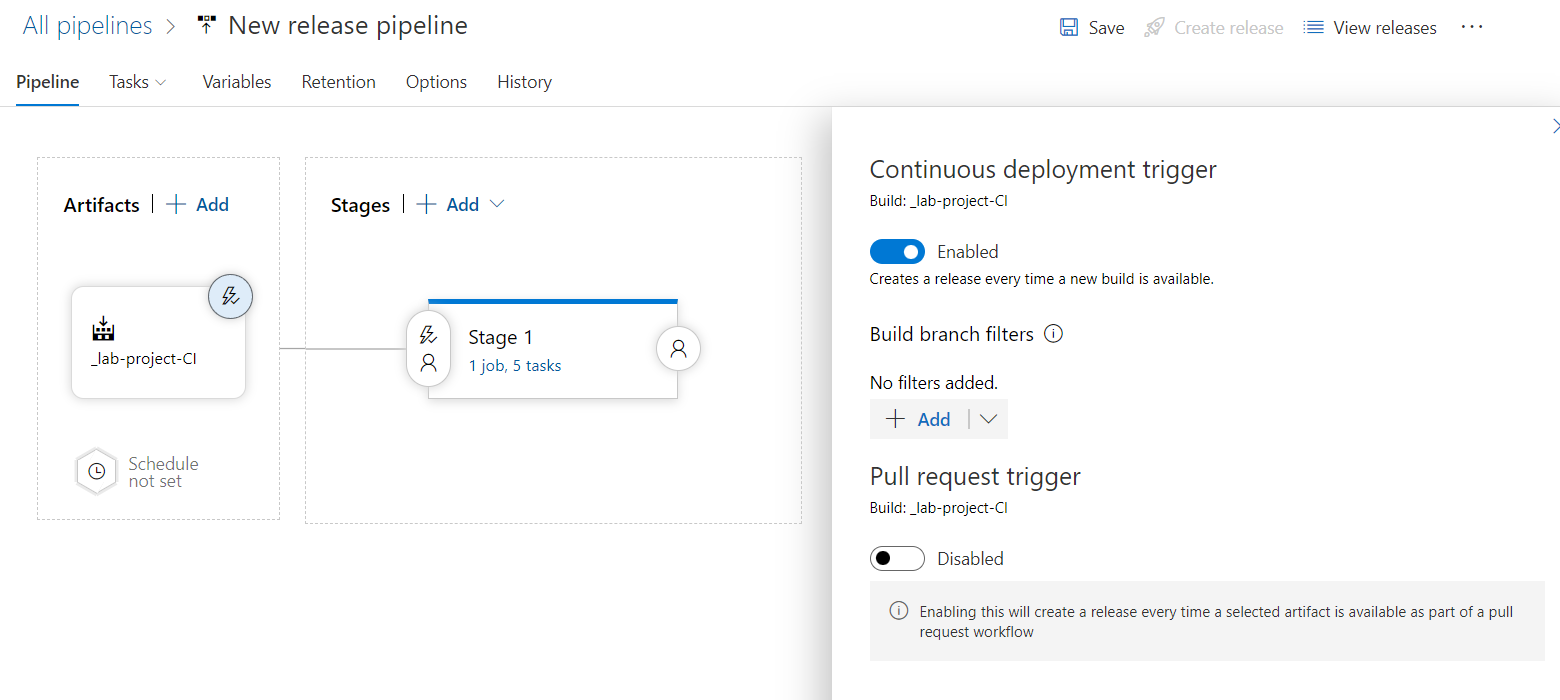
After this our Release pipeline will get triggered after every new and successful build.