Lab 04: Azure Classic Editor Pipelines - OT-TRAINING/azure-devops-zero-to-hero GitHub Wiki
Azure Classic Editor Pipelines
When we talk about DevOps tools be it Azure Devops, Jenkins, Travis-CI, GitHub Actions etc, build and release pipelines are the core or we can say heart of these tools.
Here in Azure Devops we can create Build Pipelines by two methods:
- Classic Editor
- YAML Pipeline
Here in this lab we'll talk about Classic Editor and in the next lab we'll focus on the YAML Pipelines.
Classic Editor Pipelines
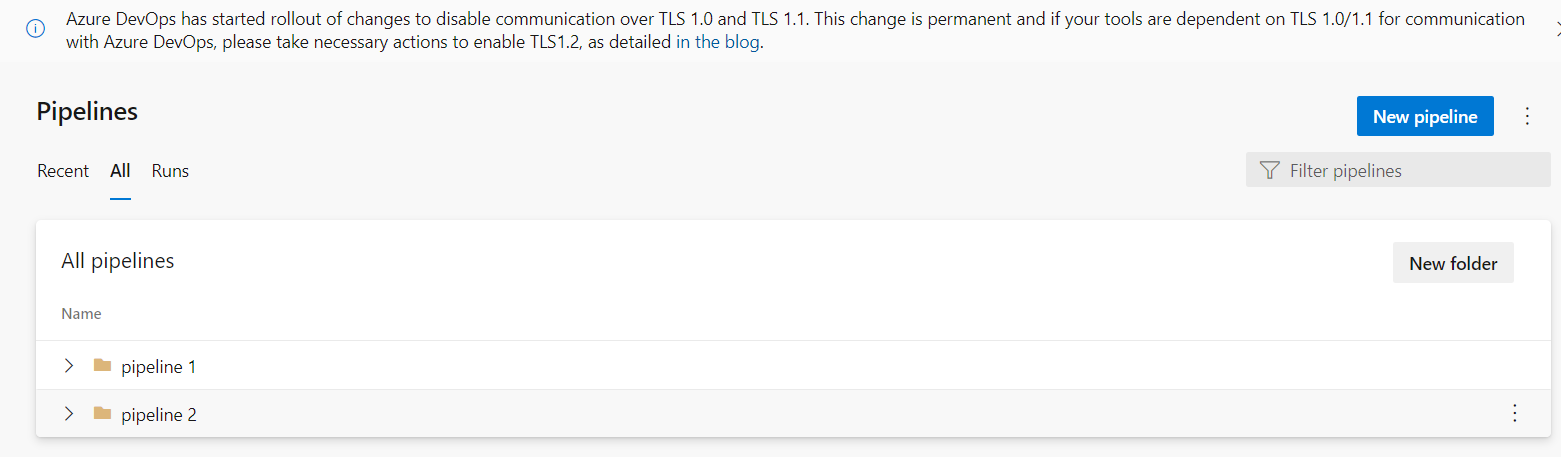
The moment we create a new project and navigate to the pipelines section, we'll get an option to create a new pipeline

From the same dashboard we can segregate our pipelines on the basis of different folders
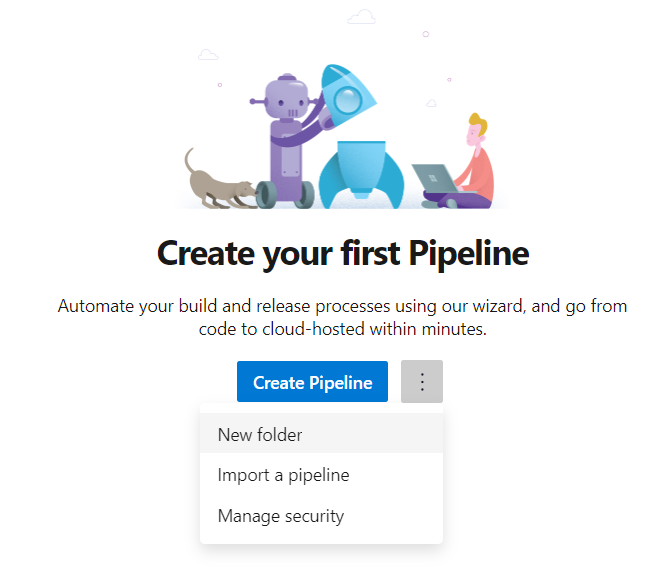
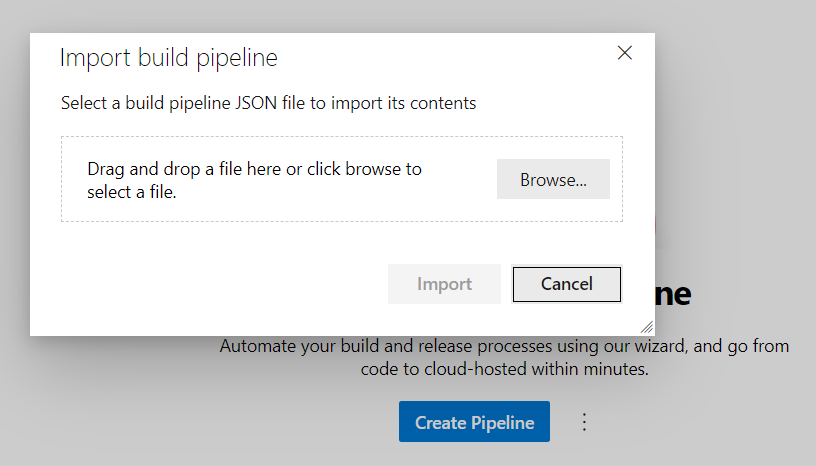
We can also import an already existing pipeline but that must be in a JSON format.
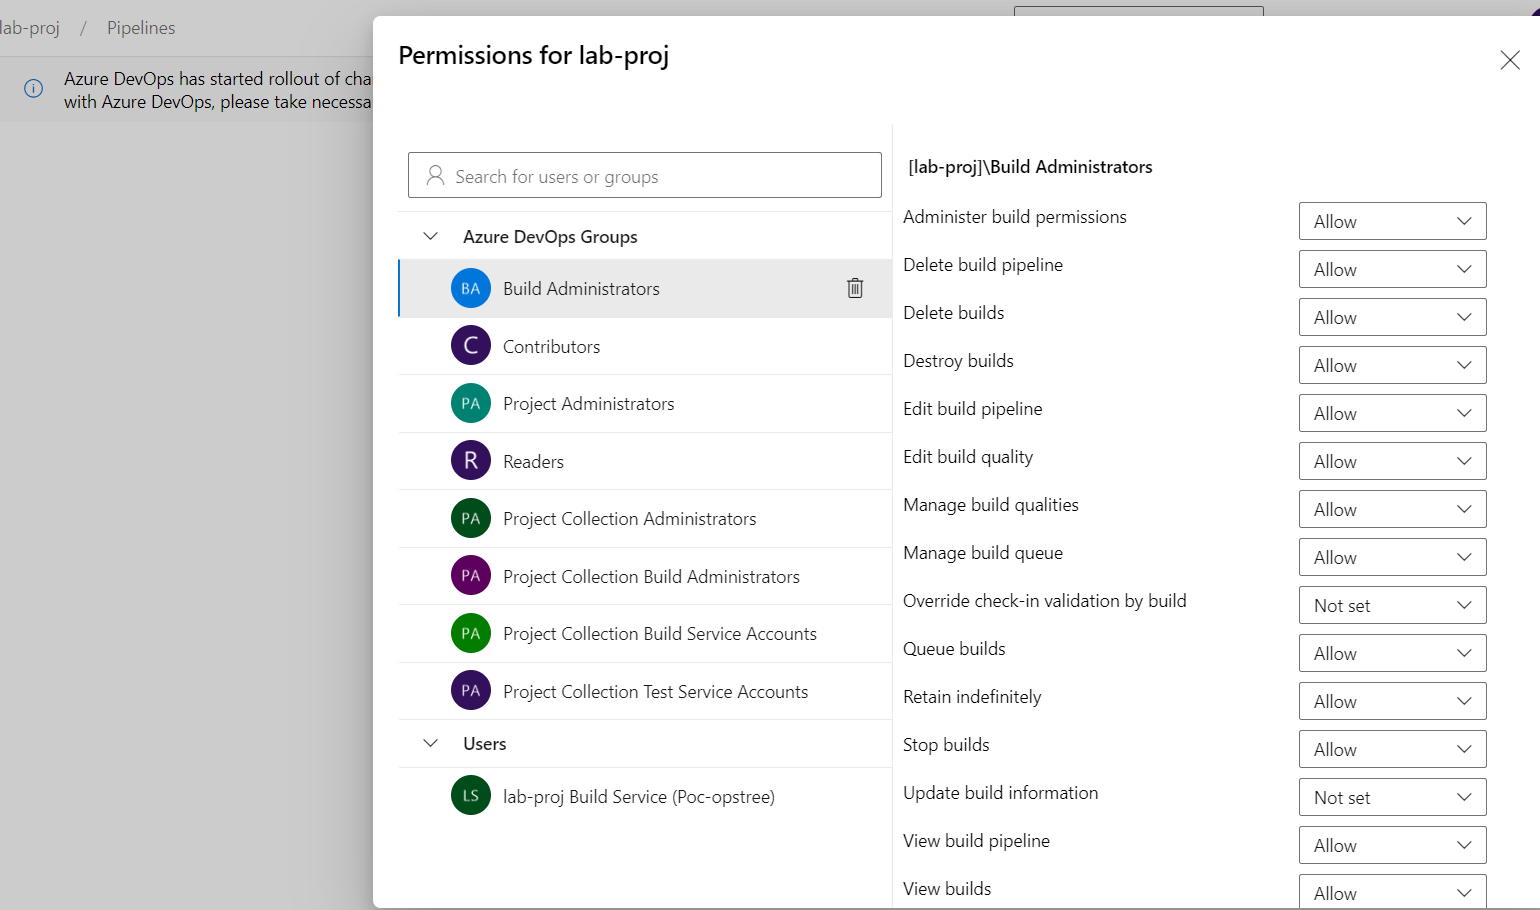
Or we can also manage the User & Group Security from the same dashboard
But all this for some other time, for now let's directly move to the Classic Pipelines.
After clicking the Create Pipeline, we need to go to Use The Classic Editor option.
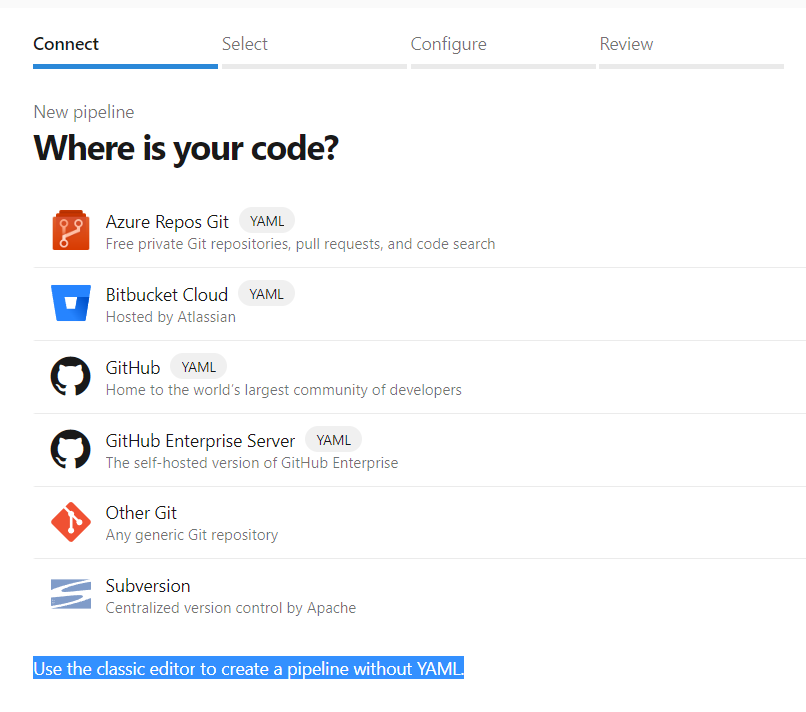
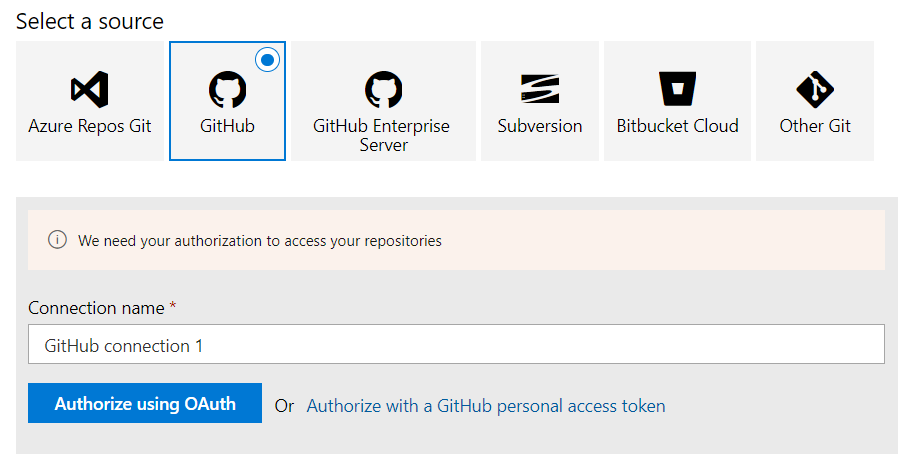
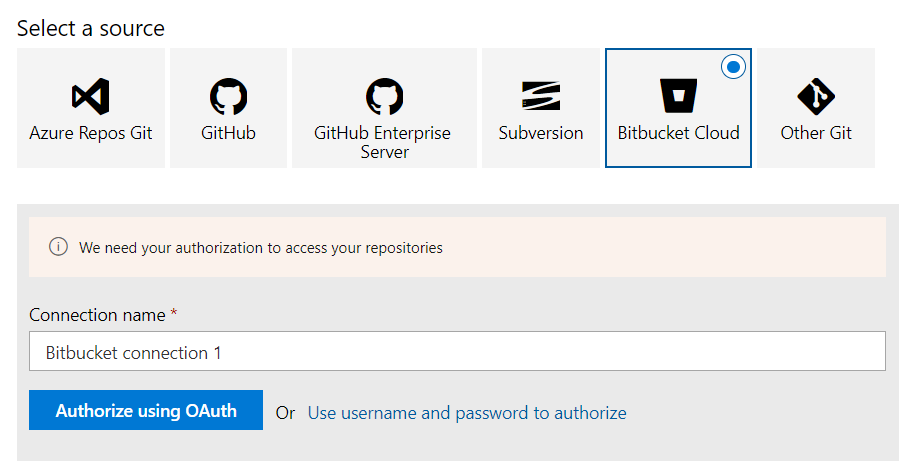
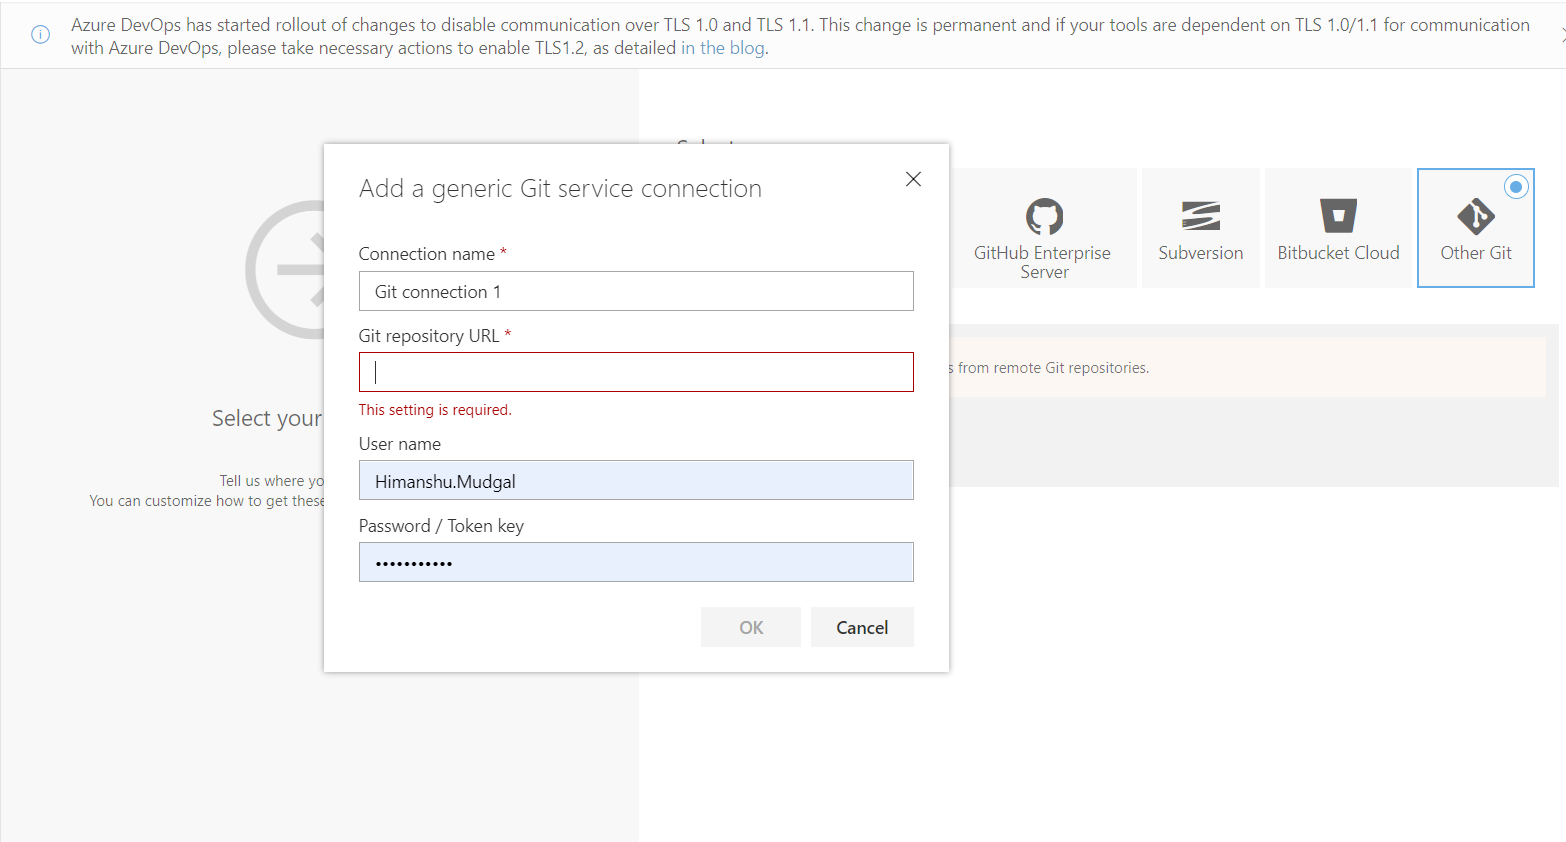
We necessarily need a repository for our pipelines be it GitHub, BitBucket, GitLab or Azure's own Repos.
For that while using any third party git repo other than Azure Repos we need to create a Service Connection or provide Username & Password or provide Personal Access Token depending on the Repo you use to authorize the repository with our Azure Devops.
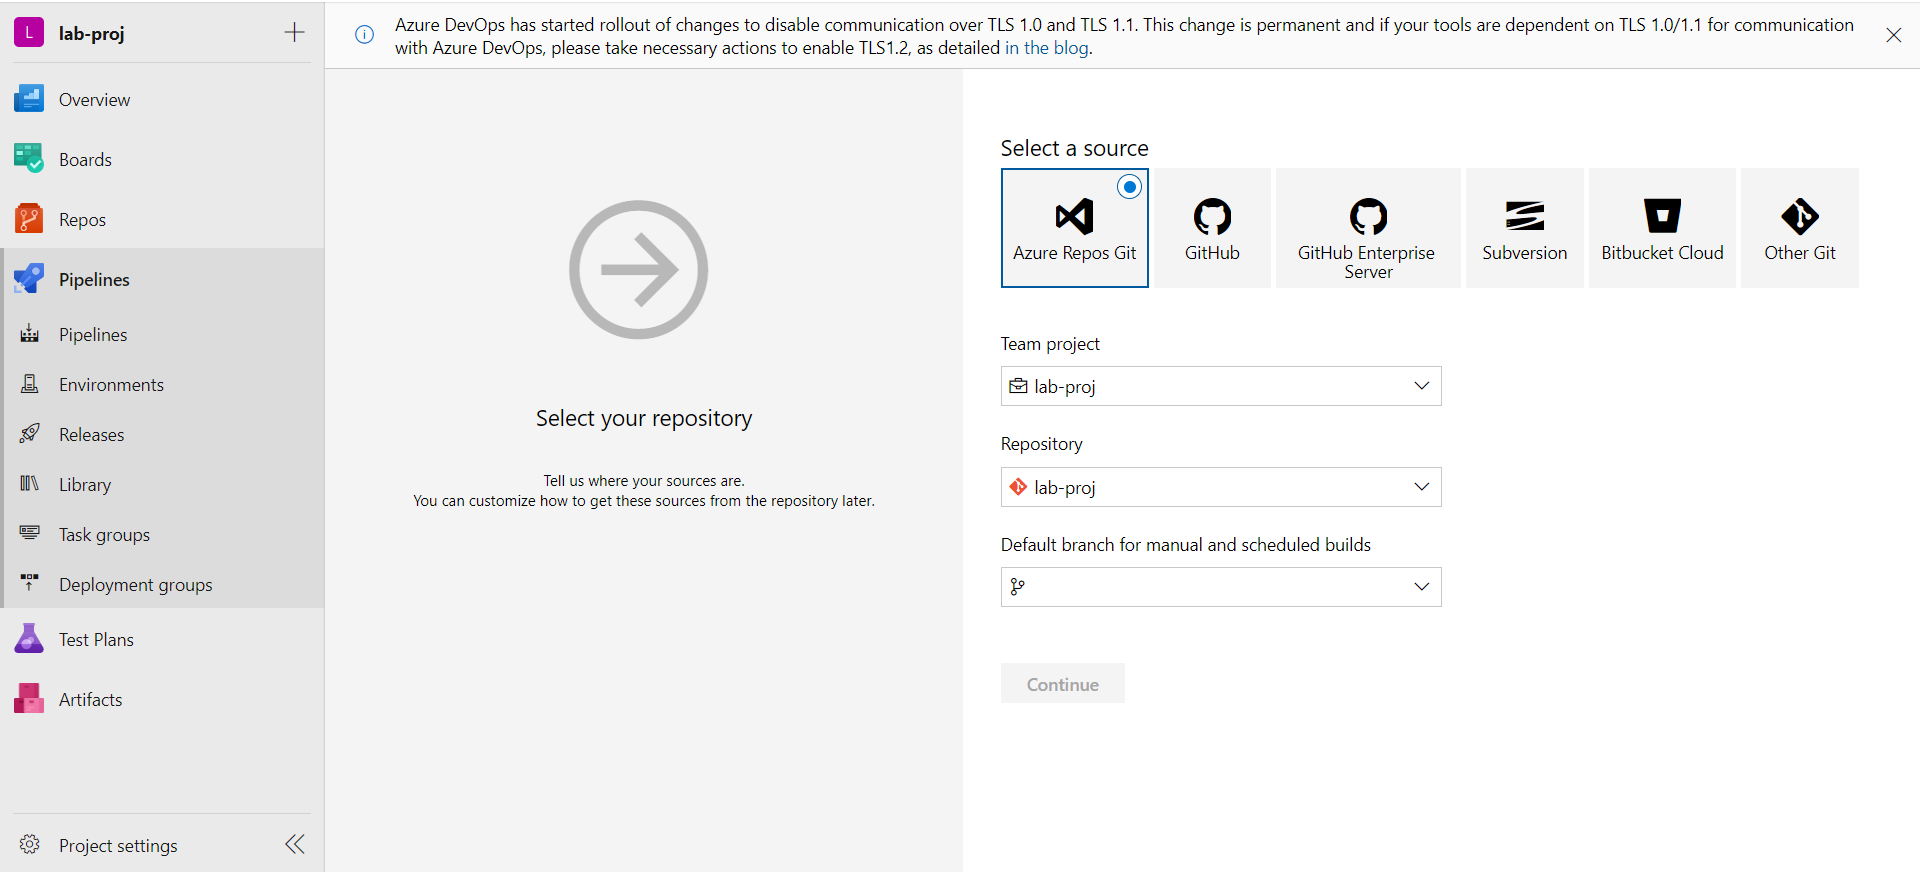
In this lab we'll go forward with Azure Repos. For that we need to necessarily initialize a repository, be it an empty repo.
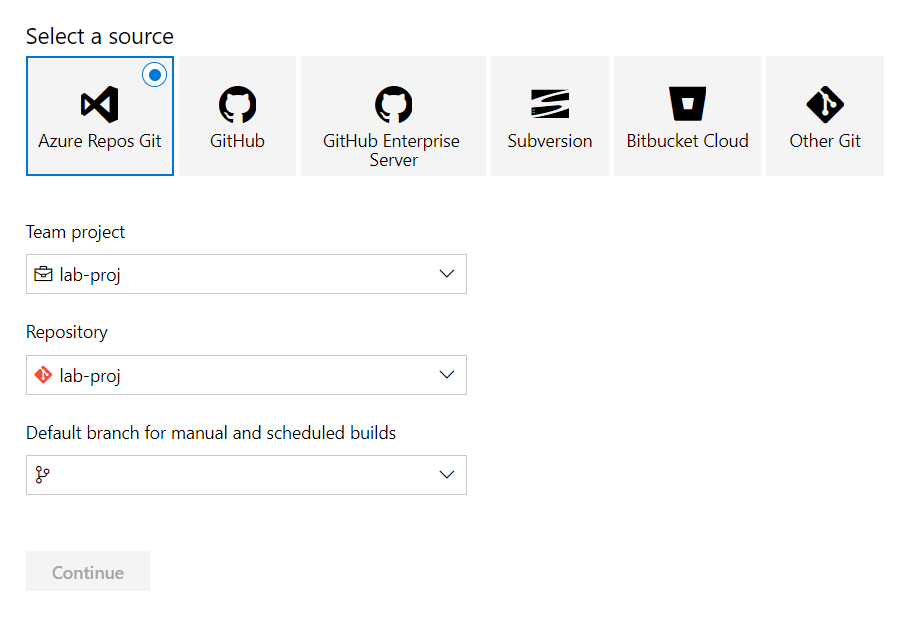
Without that it won't enable the Continue option to move forward to next step. So let's first initialize a repository.
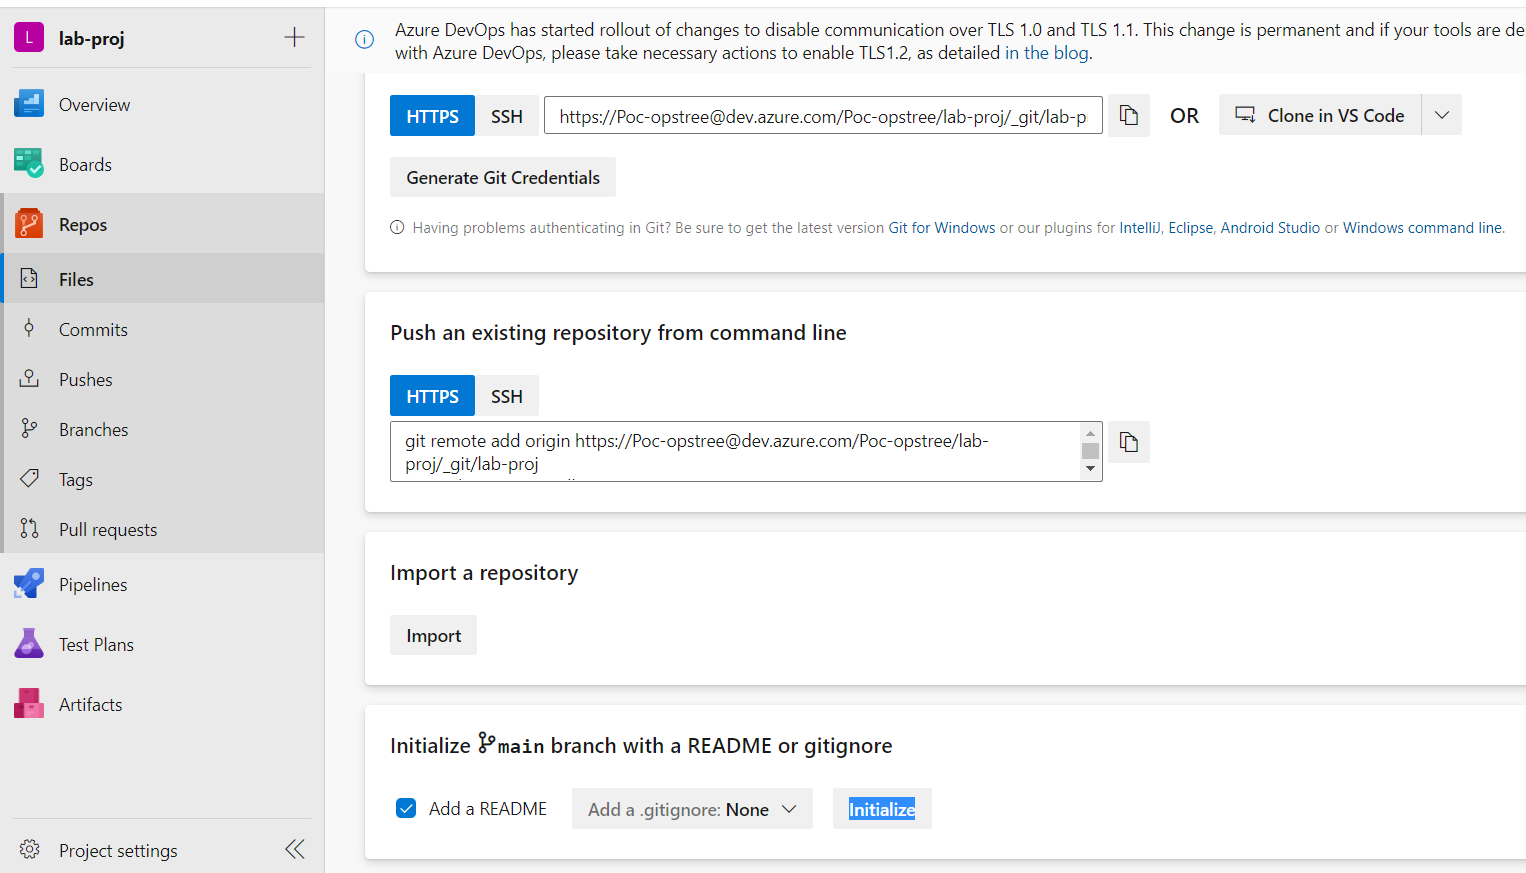
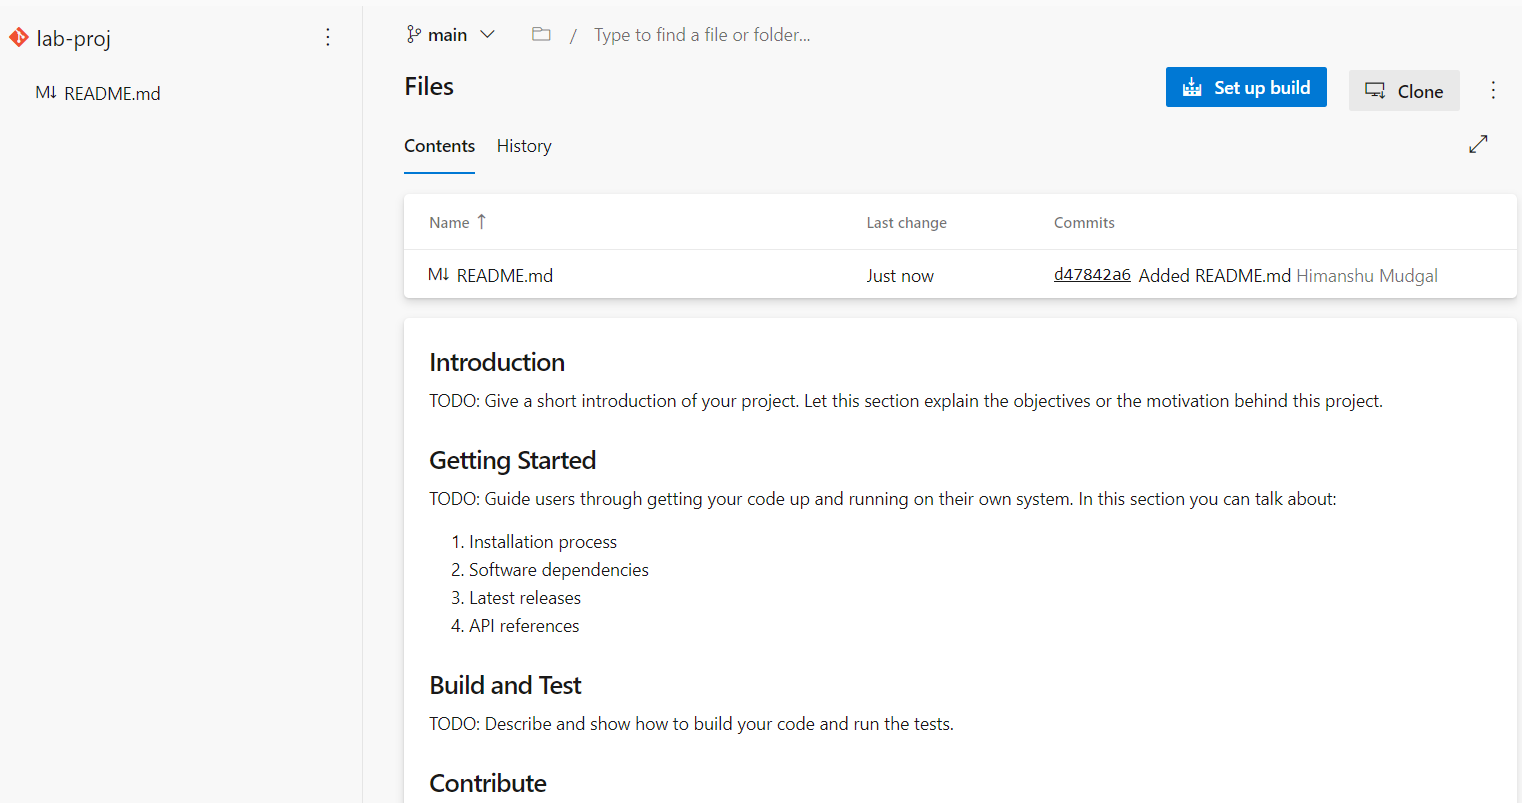
As we've initialize a repo in our Azure Repos, it'll automatically enable the Continue option

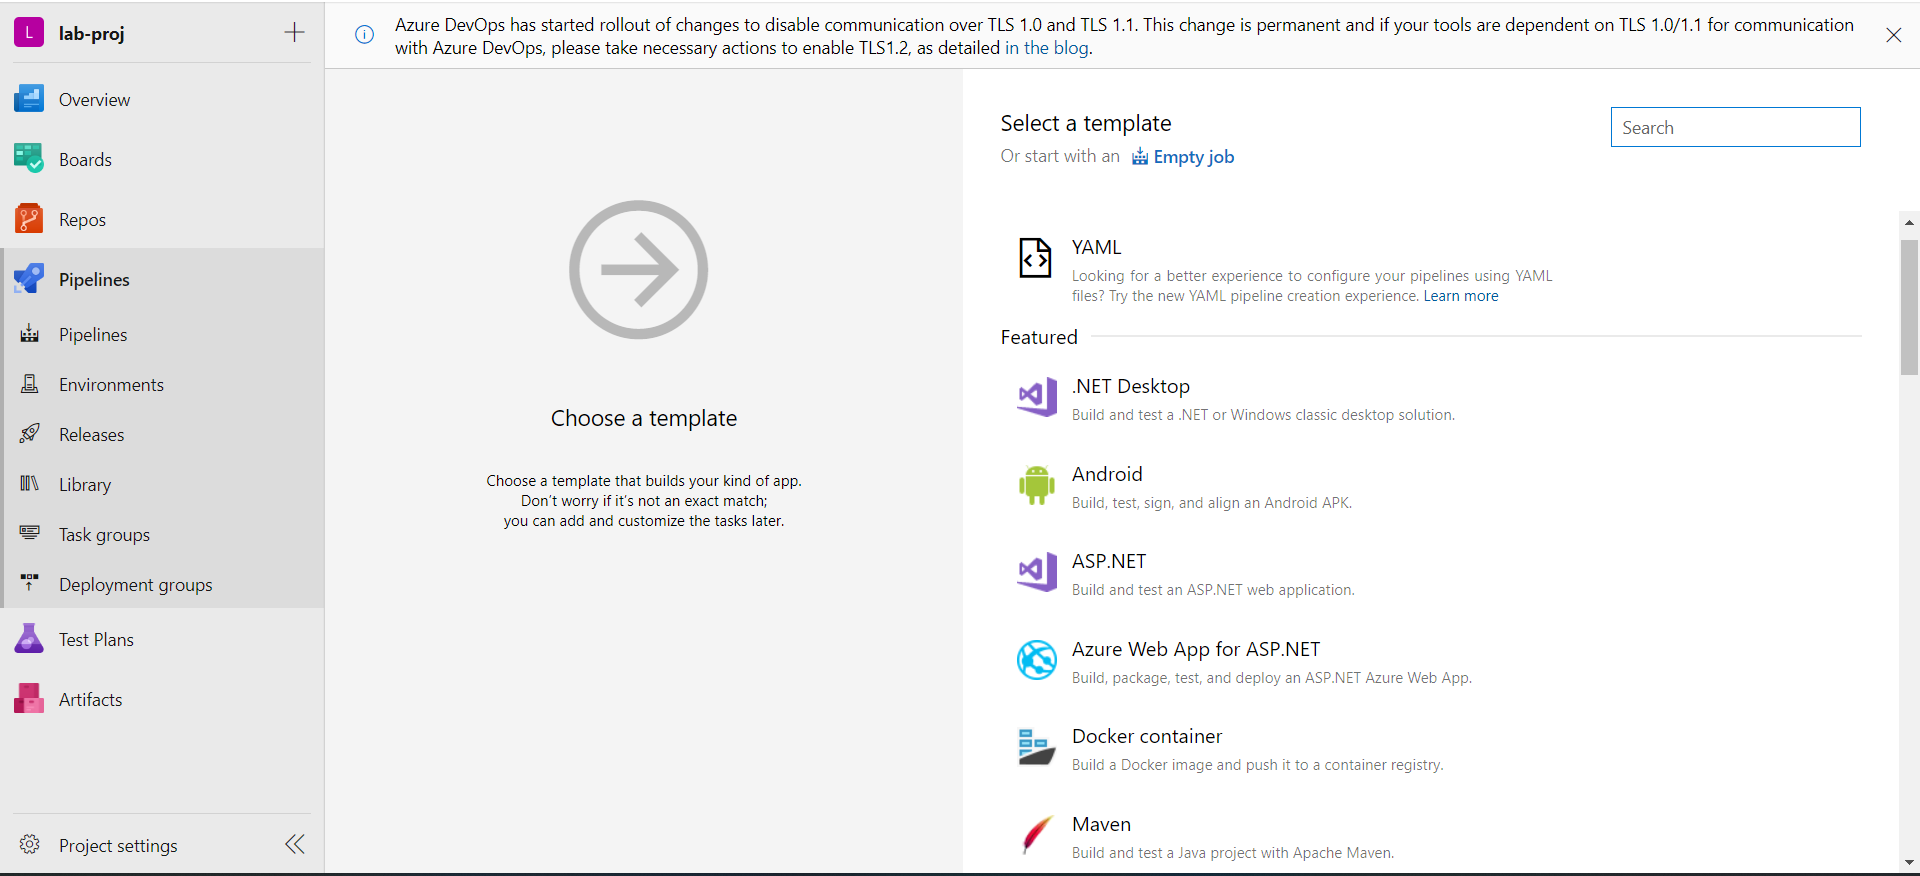
After that we can either choose a pre-configured template for .Net, Docker Container, Maven etc depending on our objectives or go with Configuration As Code ie. YAML or start with an Empty Job.
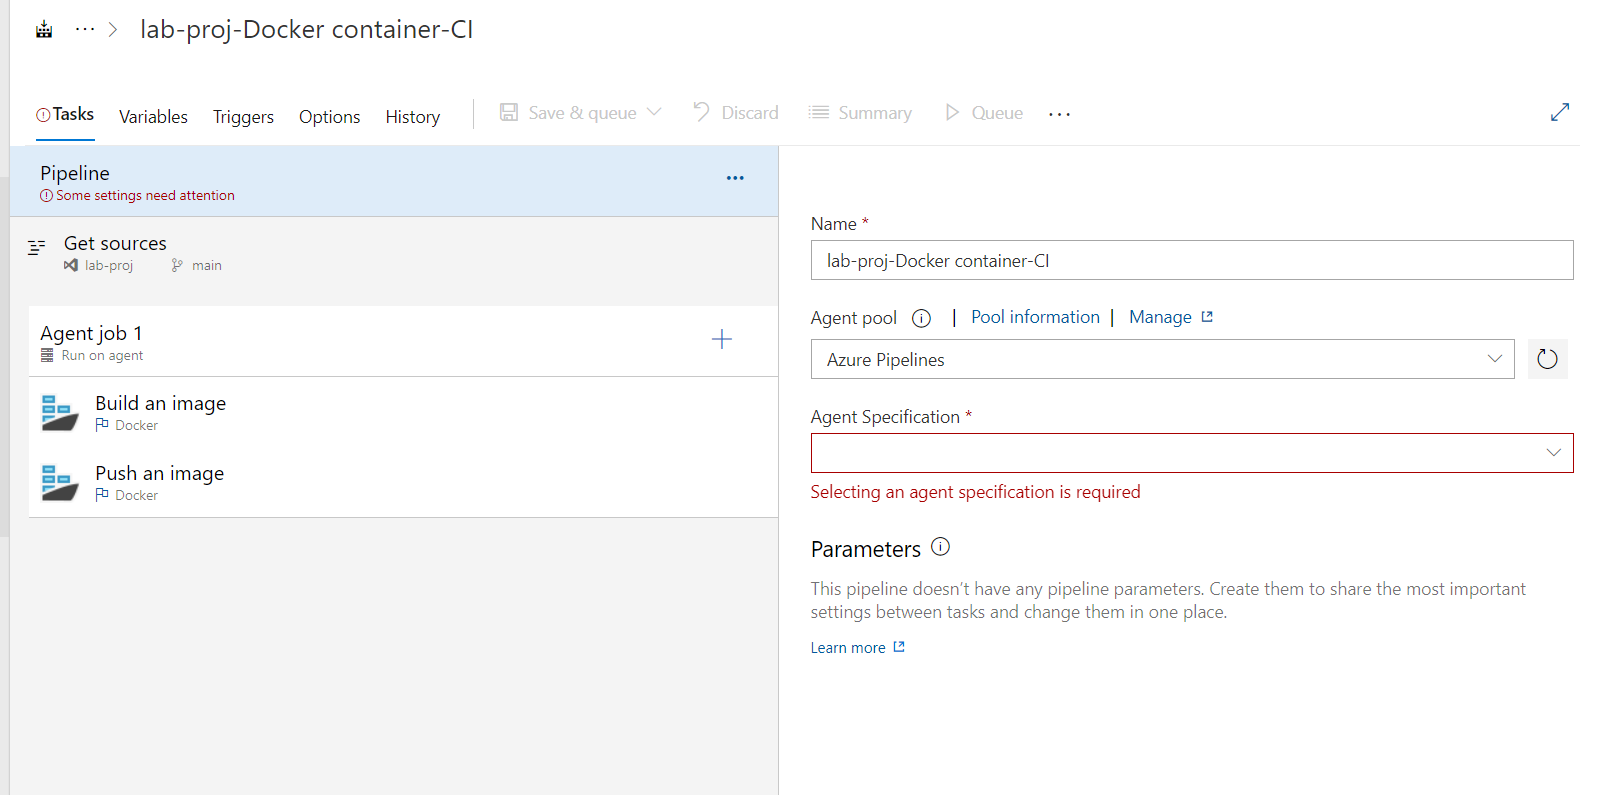
For example a Docker Container Job will look something like this
And most commonly used template to build for JAVA language applications ie. Maven Job will look like this
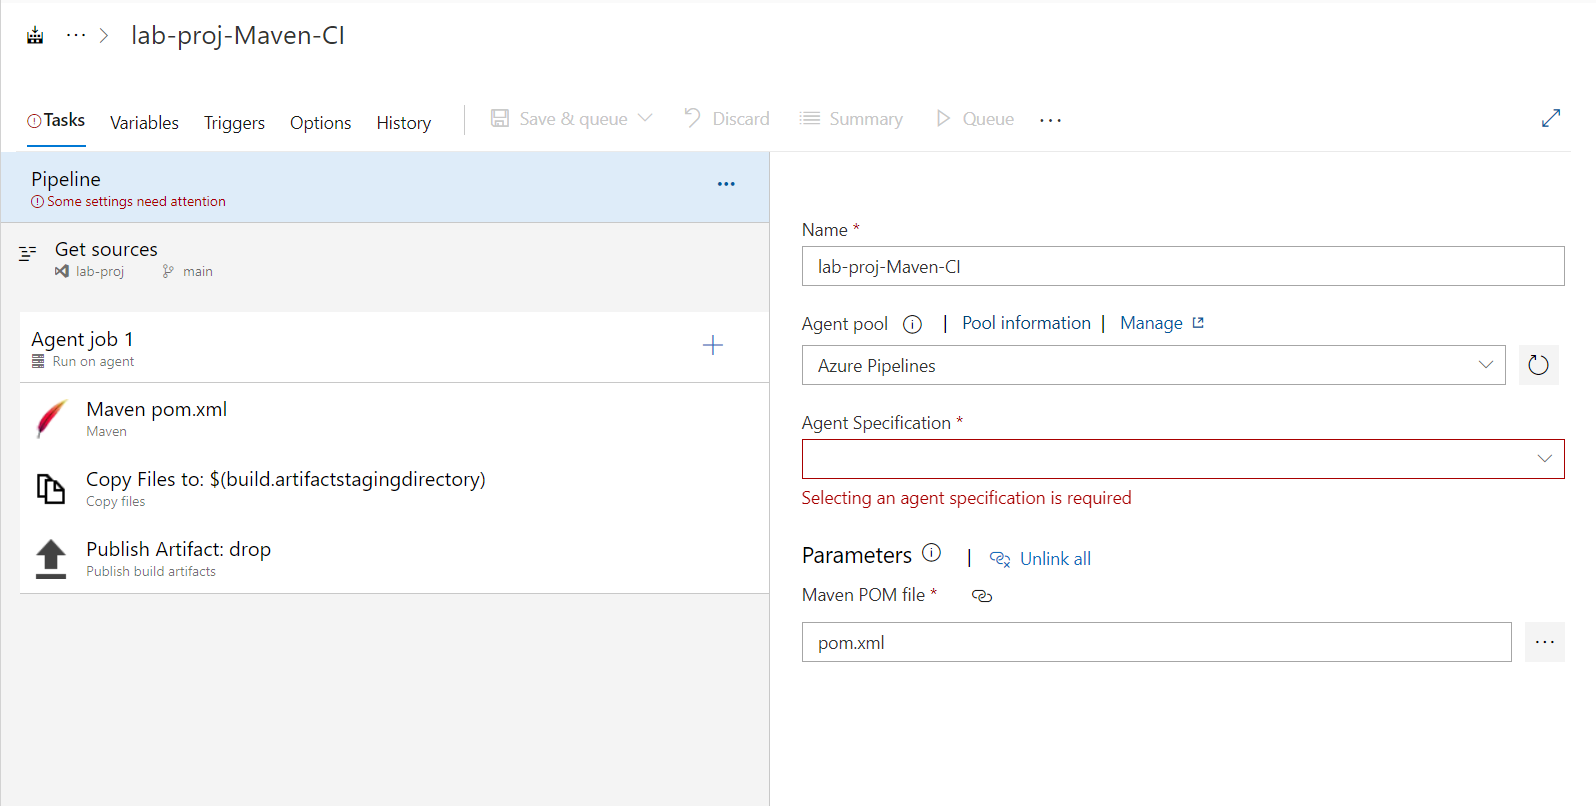
Not to worry about the flexibility of the tasks, we can edit and even customize the steps as per our requirements. Slowly we'll go deeper into that too.
For now let's start from scratch ie. an Empty Job.
Under the Tasks section the whole dashboard can be broadly divided into three parts:
- Pipeline
- Get sources
- Agent Job 1
Other than that Variables, Triggers, Options & History. We'll later go into that too.
Pipelines
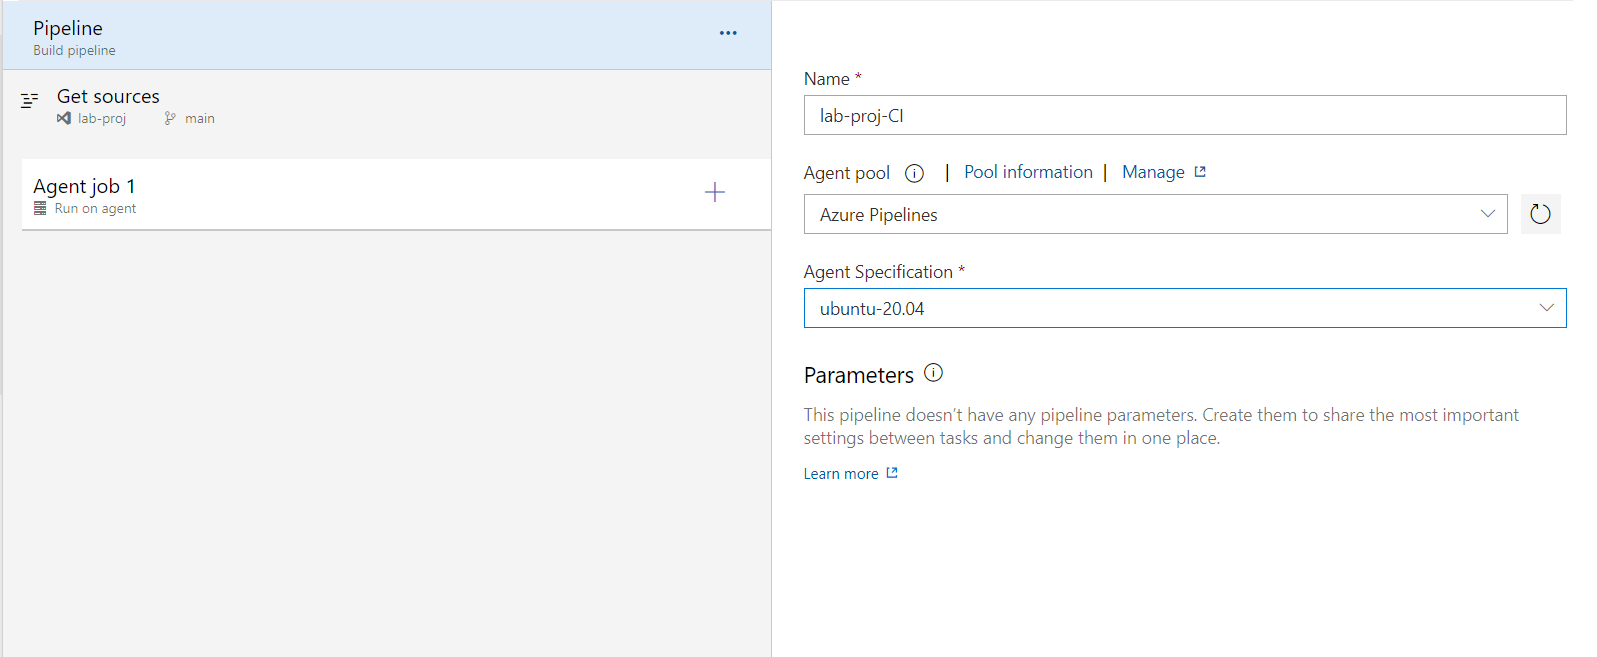
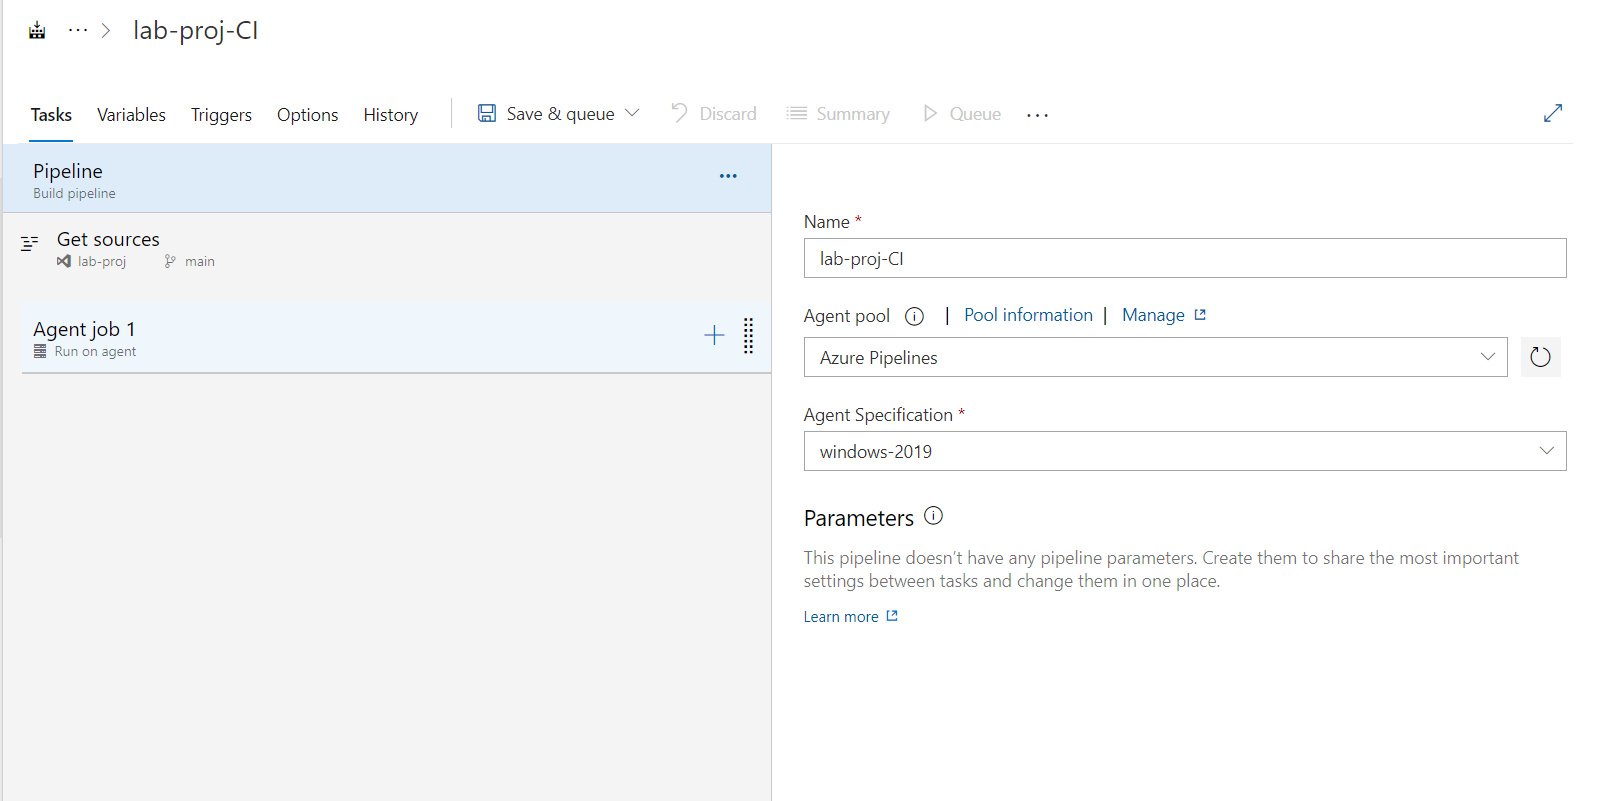
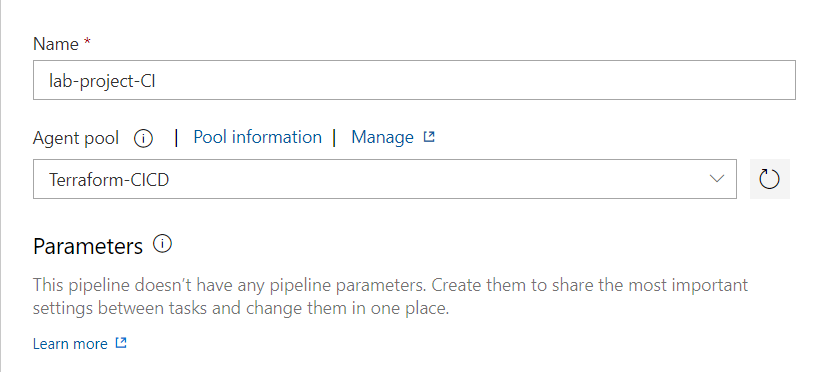
We can Name our pipeline and choose the Agent Pool & Agent for our pipeline. Now what is this Agent and Agent Pool, right?
Till now we could have easily figured out that Azure Devops is a Software-as-a-Service (SaaS) and not Platform-as-a-Service (PaaS) unlike Jenkins. When comparing Azure Devops with Jenkins, Jenkins works on a Master-Slave or what we can better frame as a Master-Node architecture in today's world. Being a PaaS service, while setting up Jenkins it already has a server or agent where Jenkins User can run the commands in the background, that is identified as Master server.
On the other hand when we talk about Azure Devops, being a SaaS it is not configured with an Agent or Node to run its commands in the background. That's why we need to provide the Azure Devops with a node or machine to work upon. Here in Azure Devops we call it Agent.
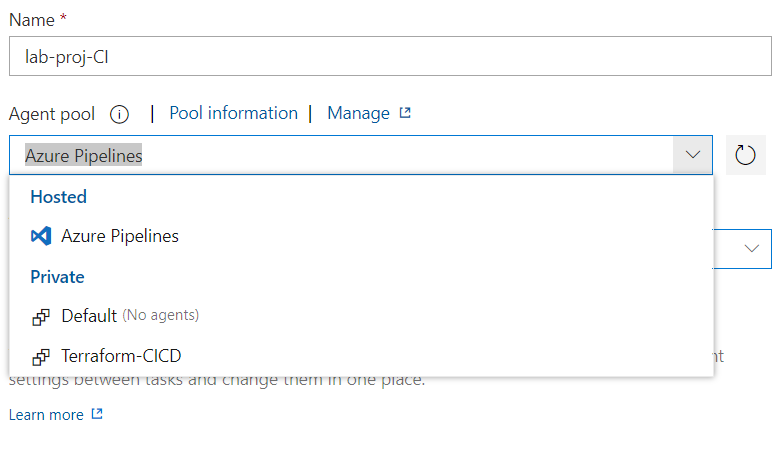
An Agent can be Self/Manually Configured or we can also use the Hosted Agents that lives for a short duration, till the completion of our pipeline job.
We'll learn how to configure a Self Hosted Agents further in our lab, but for now we'll use the Azure Hosted Agents. In Azure Devops we can configure any kind of Agent, from CentOS to Ubuntu to Windows and that too with different versions.
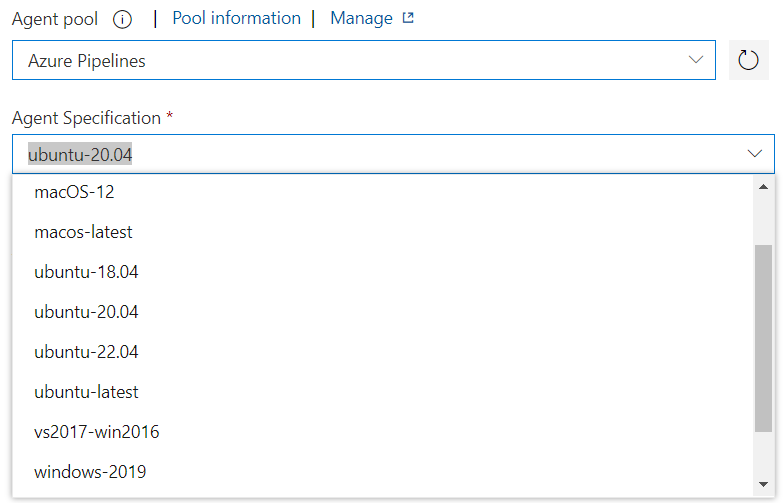
Let's use a Self Hosted Agent.
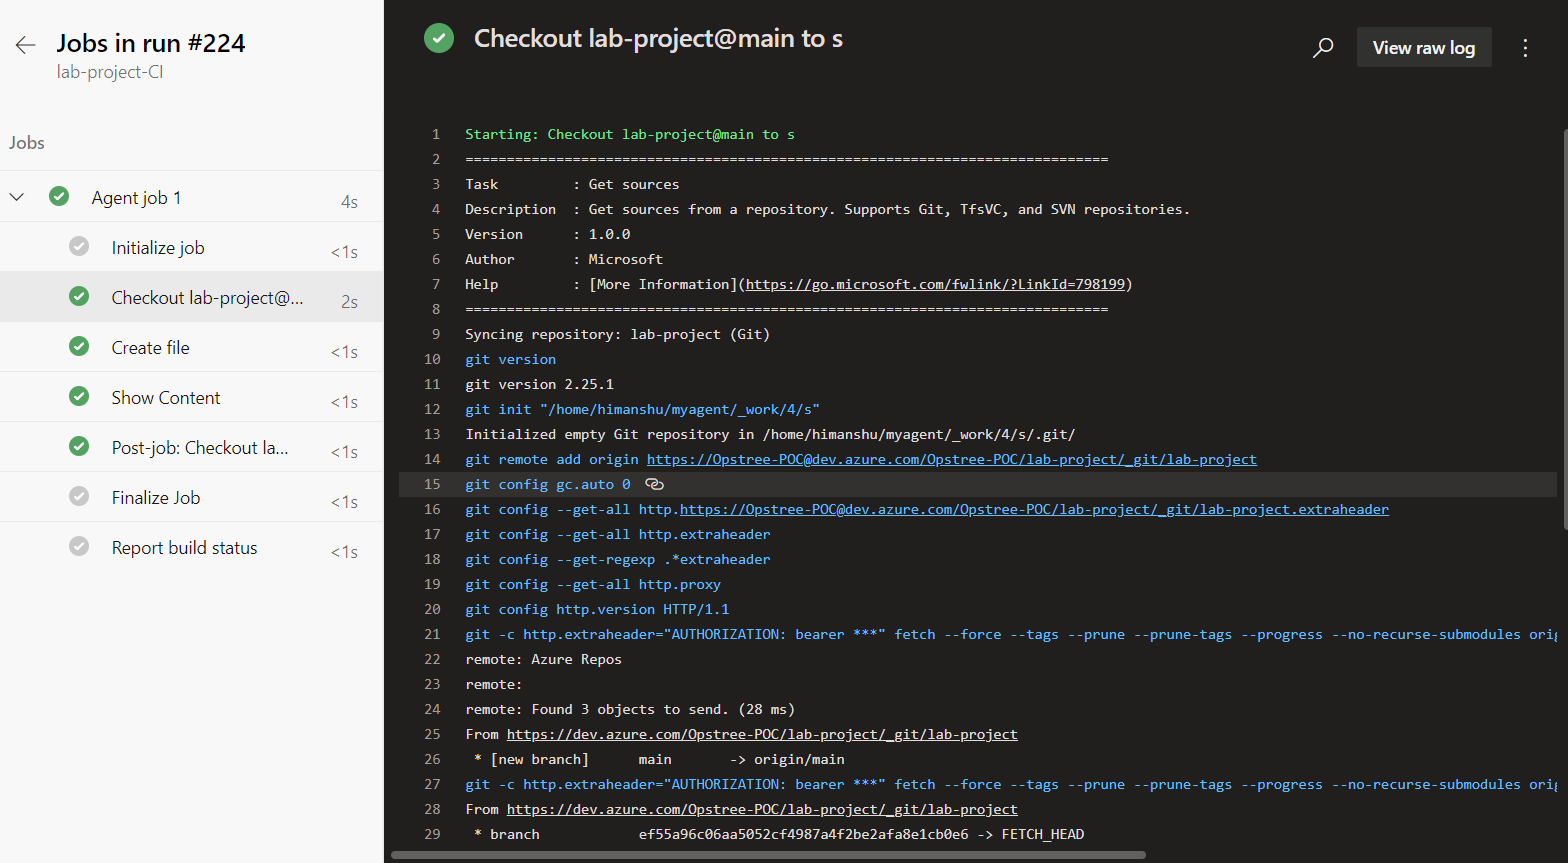
Getting Sources
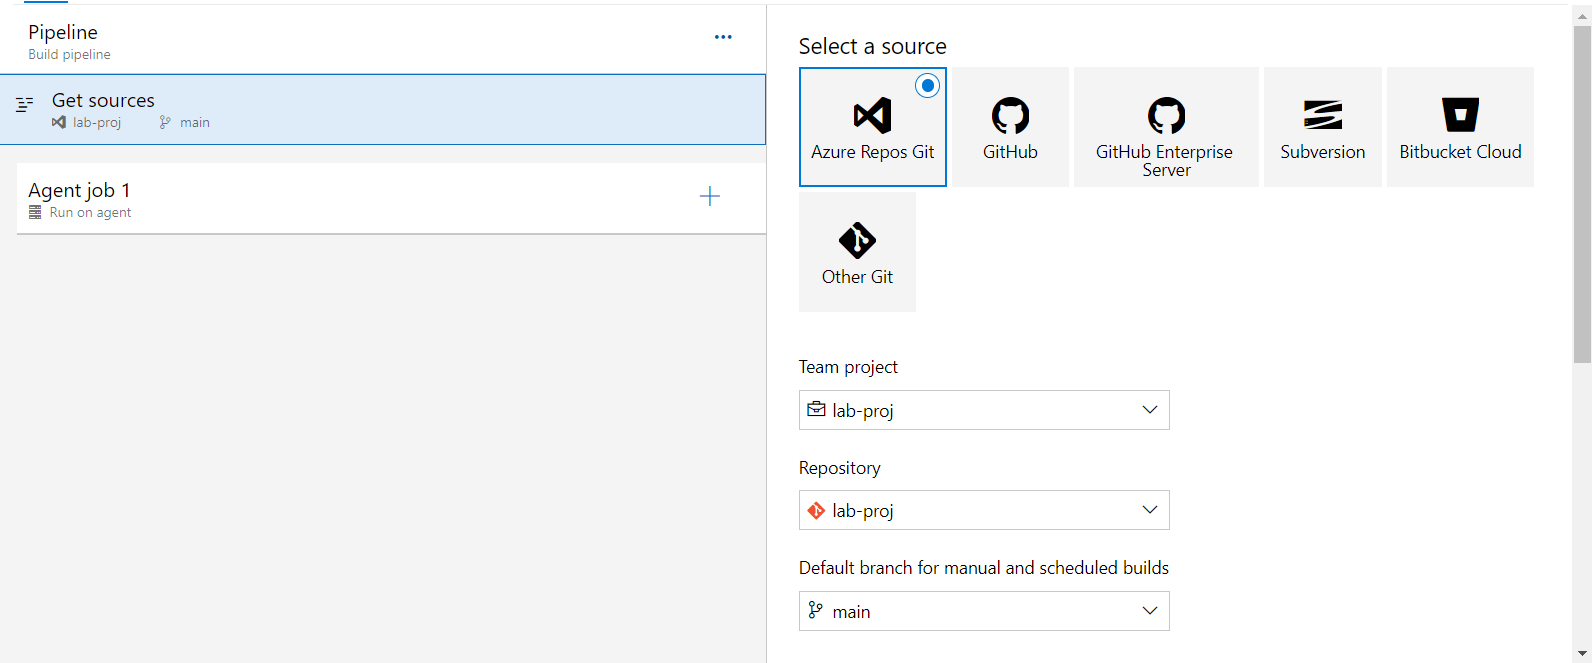
This part is just the 'git checkout' stage of Jenkins where we checkout the repo into our Agent. We've already discussed how to configure the repository.
Other than that we get few more options to customize our checkout step

From here we can choose the branch to build upon, Tag the Sources, Clean Workspace, Checkout Submodules and explore other options provided by Azure Devops.
Agent Job 1
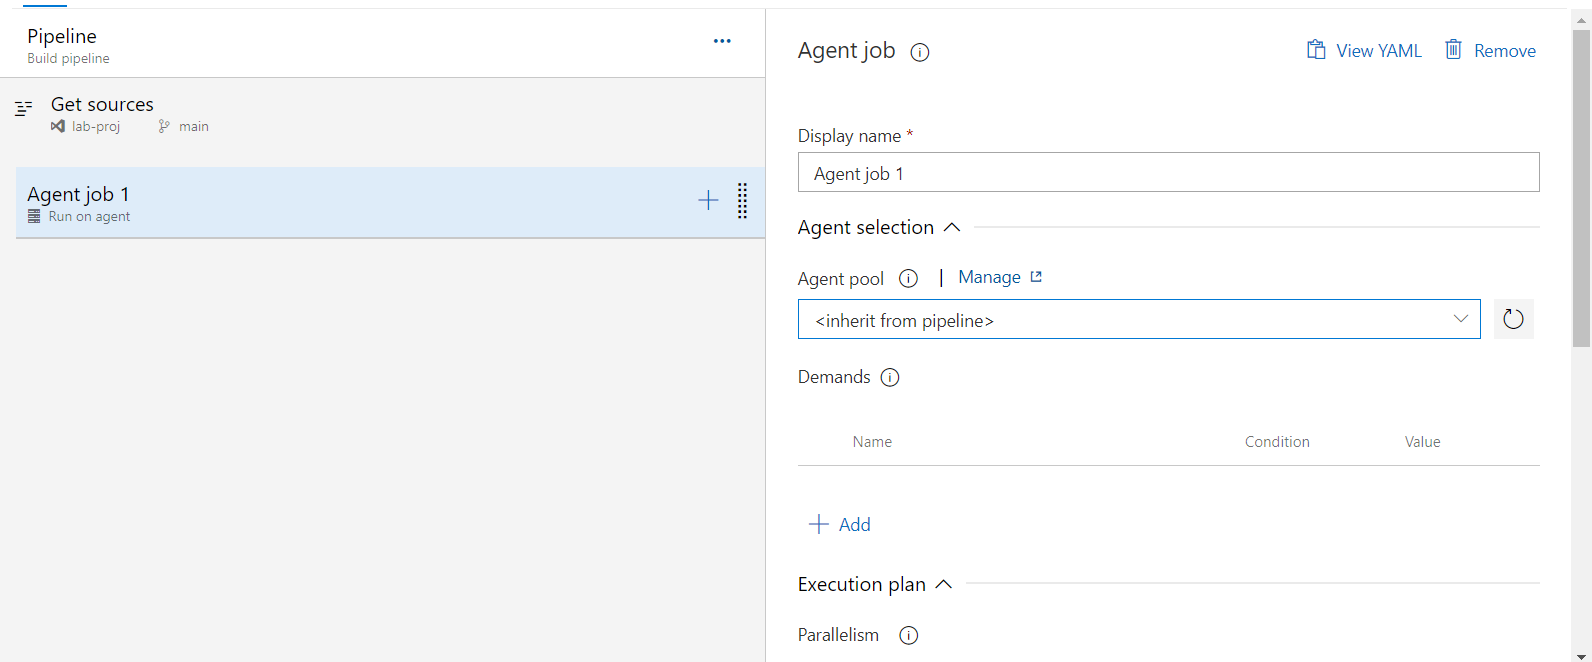
Now coming straight into our Steps part. Basically Agent Job 1 is just a Default name, it is the name of the job that we are going to create. We can create multiple jobs within a same pipeline.
Azure Devops Pipeline is something like this: A pipeline can have one or more Stage, a Stage contains one or more Jobs, Jobs can have few Steps and Steps holds Tasks.
- Pipeline
- Stage1
- Job1
- Step1
- Task1
- Task2
- Step2
- Task1
- Task2
- Task3
- Step1
- Job2
- Step1
- Task1
- Task2
- Step1
- Job1
- Stage2
- Job1
- Step1
- Task1
- Task2
- Step2
- Task1
- Task2
- Task3
- Step1
- Job1
- Stage1
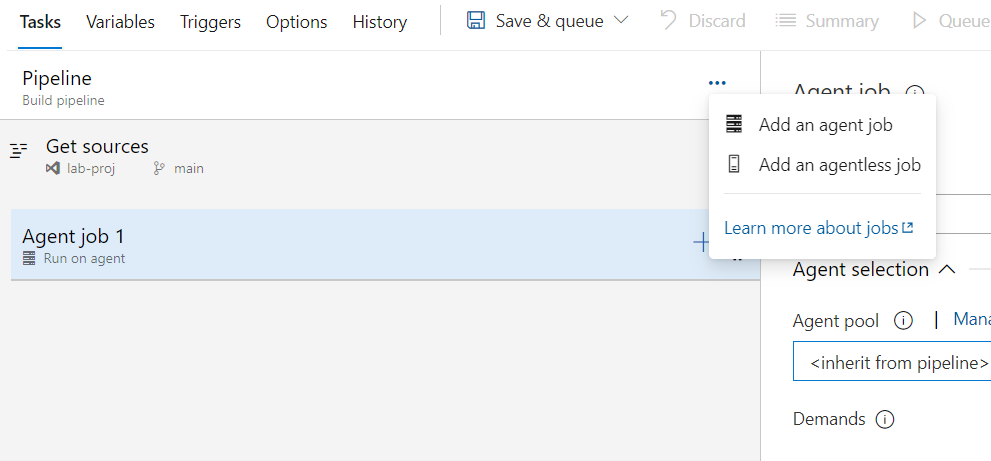
A job is a logical grouping of tasks that defines the runtime target on which the tasks will execute. An agent job executes tasks on an agent in an agent pool. We can add an Agent Job & Agentless job in the same pipeline.
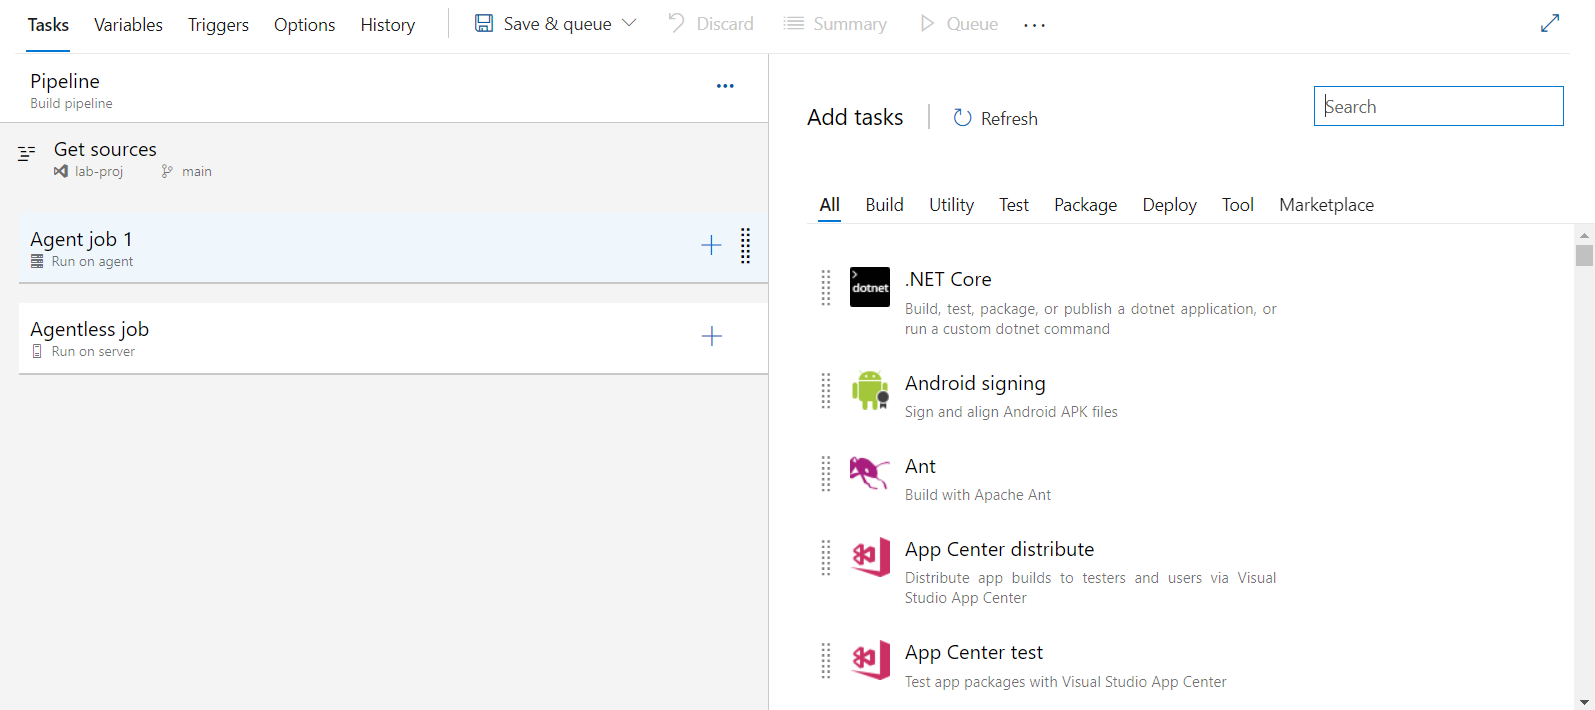
Steps of an Agent Job will look like
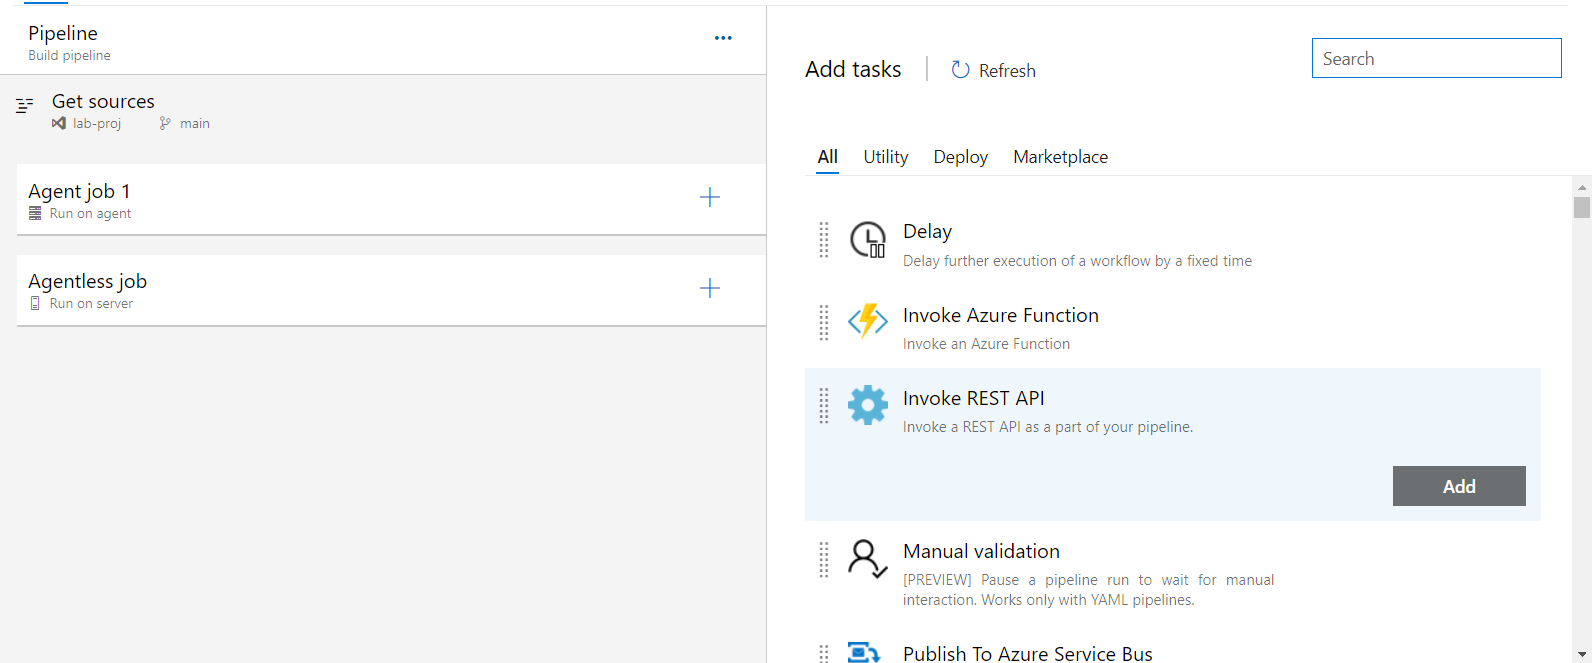
Whereas steps of an agentless job will look like
Now Let's add some steps into our Agent Job Tasks are further categorized into Build, Utility, Test, Package, Deploy, Tool & Marketplace.
Marketplace in Azure Devops is somewhat like Plugins in Jenkins, just a bit easier and user friendly though!!
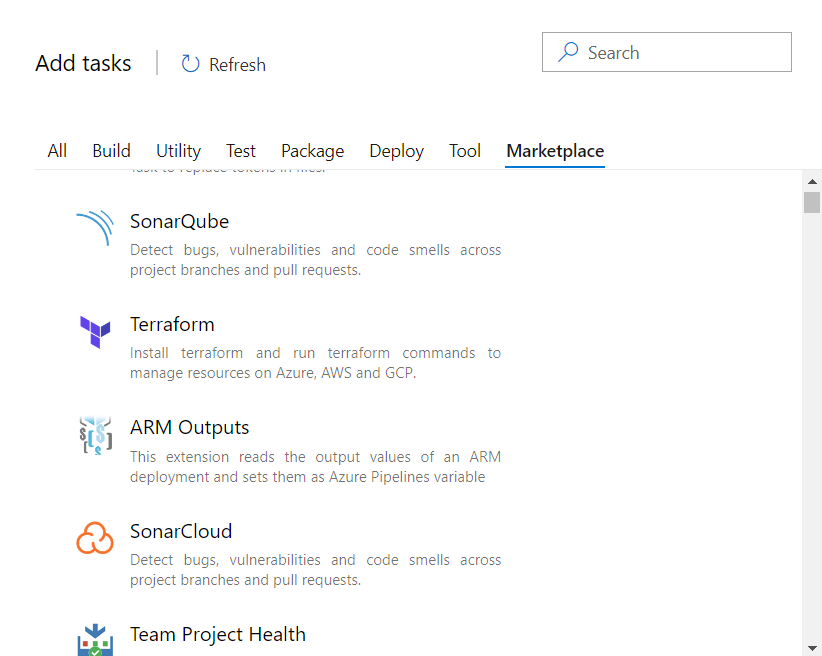
We can configure new features in our pipelines according to our requirements using the marketplace section.
We can search for the steps as per our requirements and add the task into our pipeline.
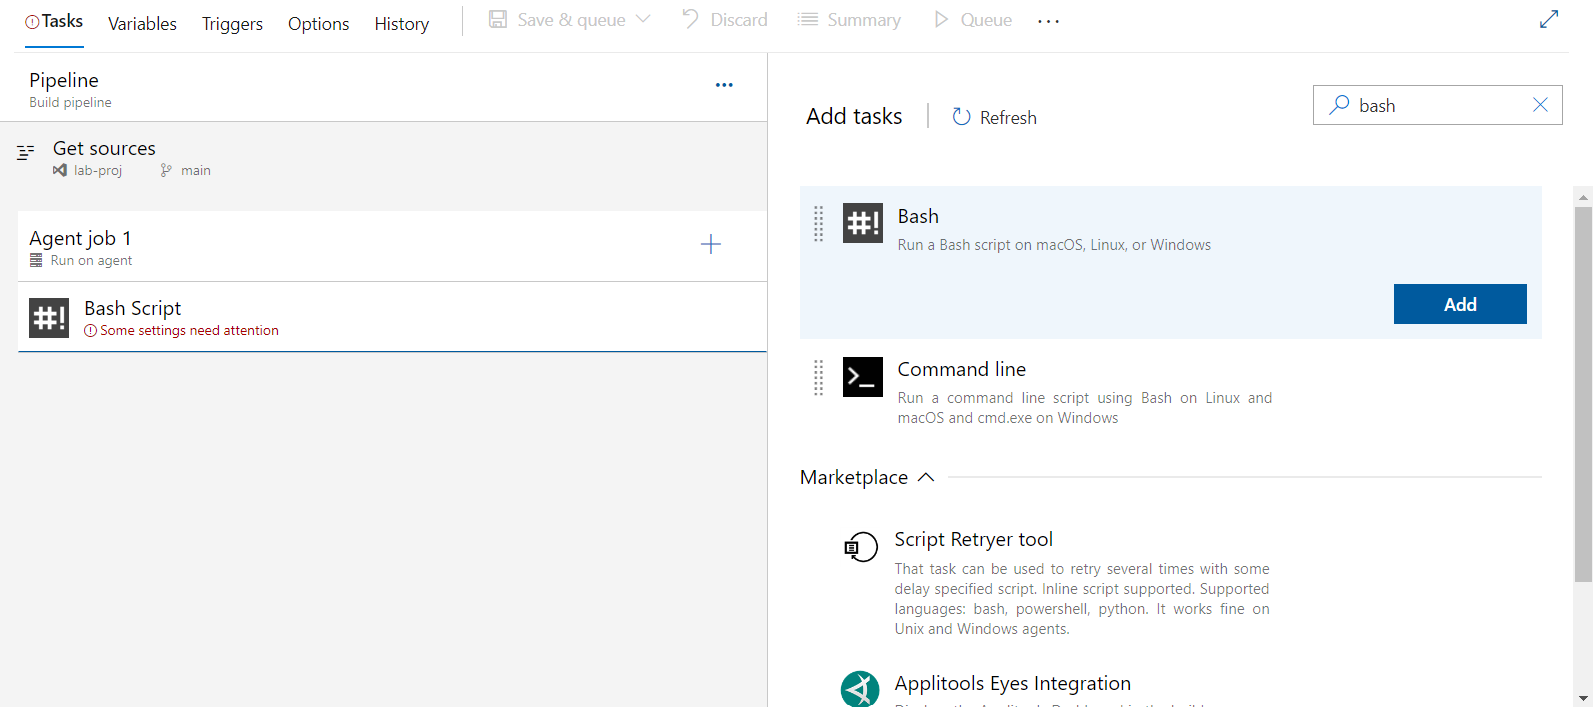
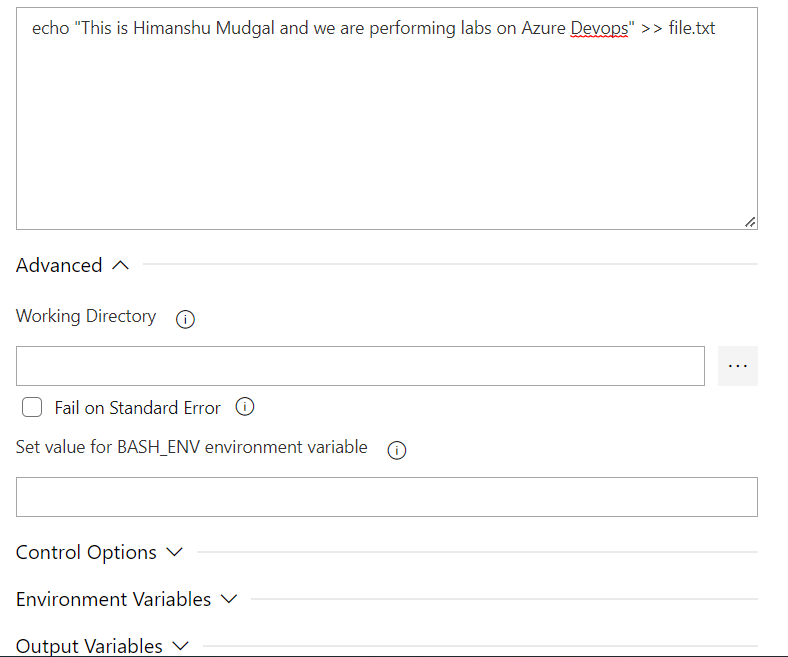
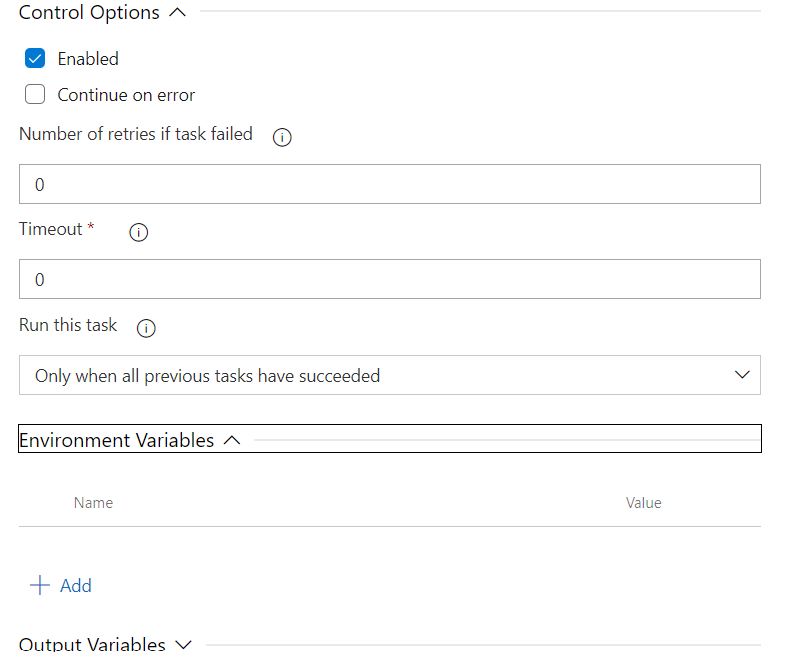
Different Tasks have different required configurations required to be filled.
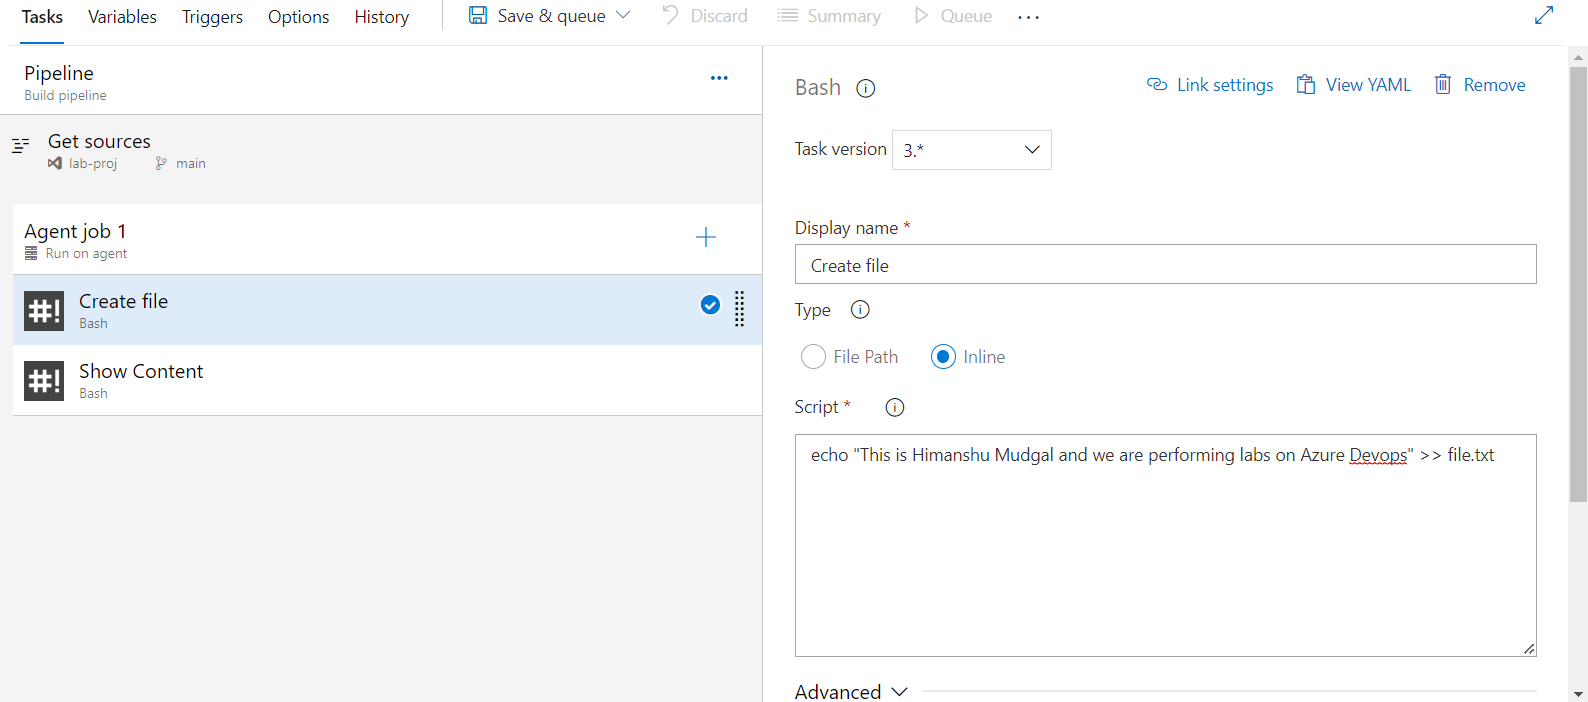
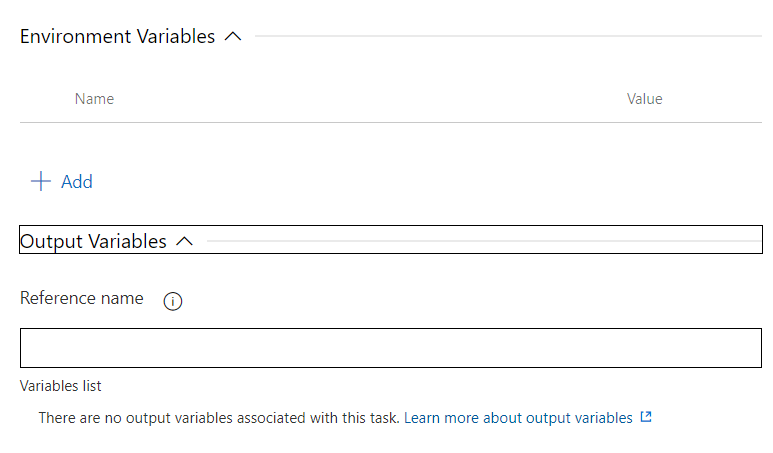
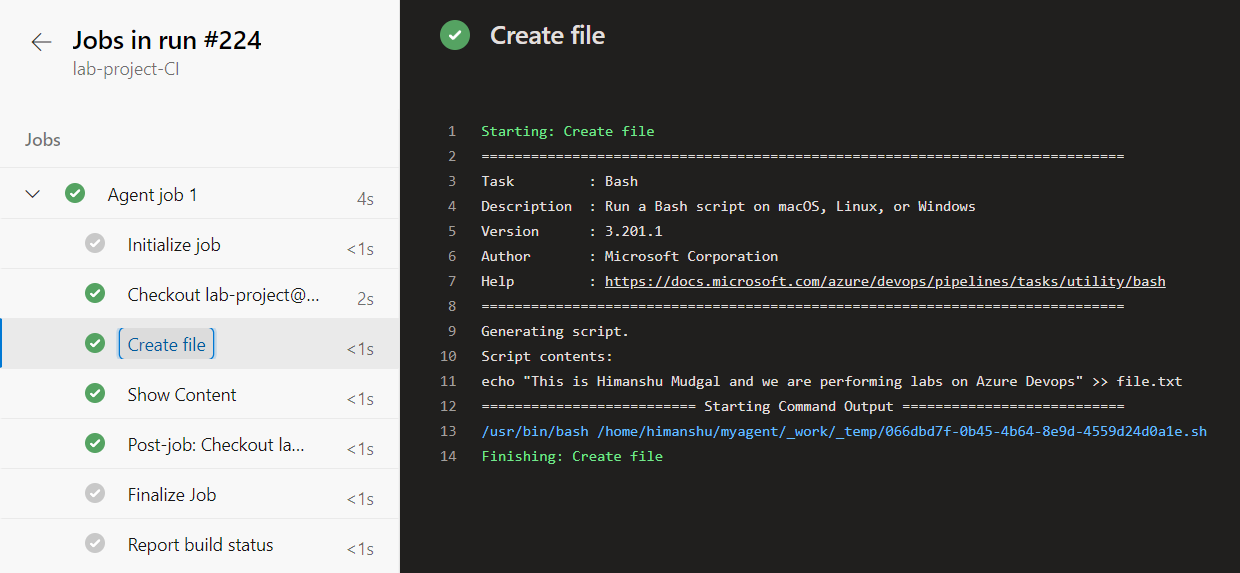
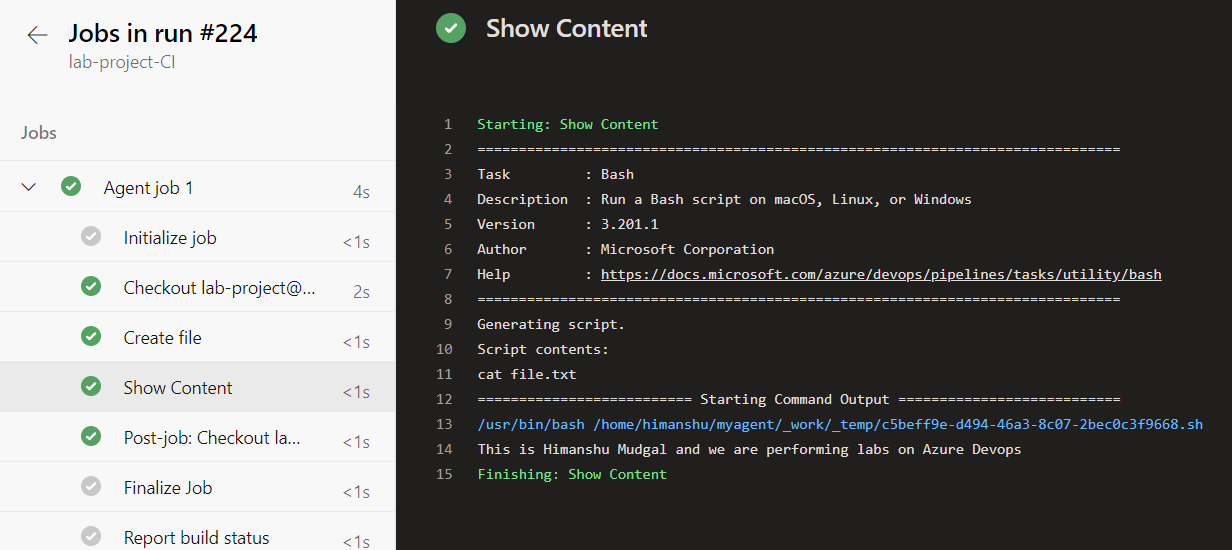
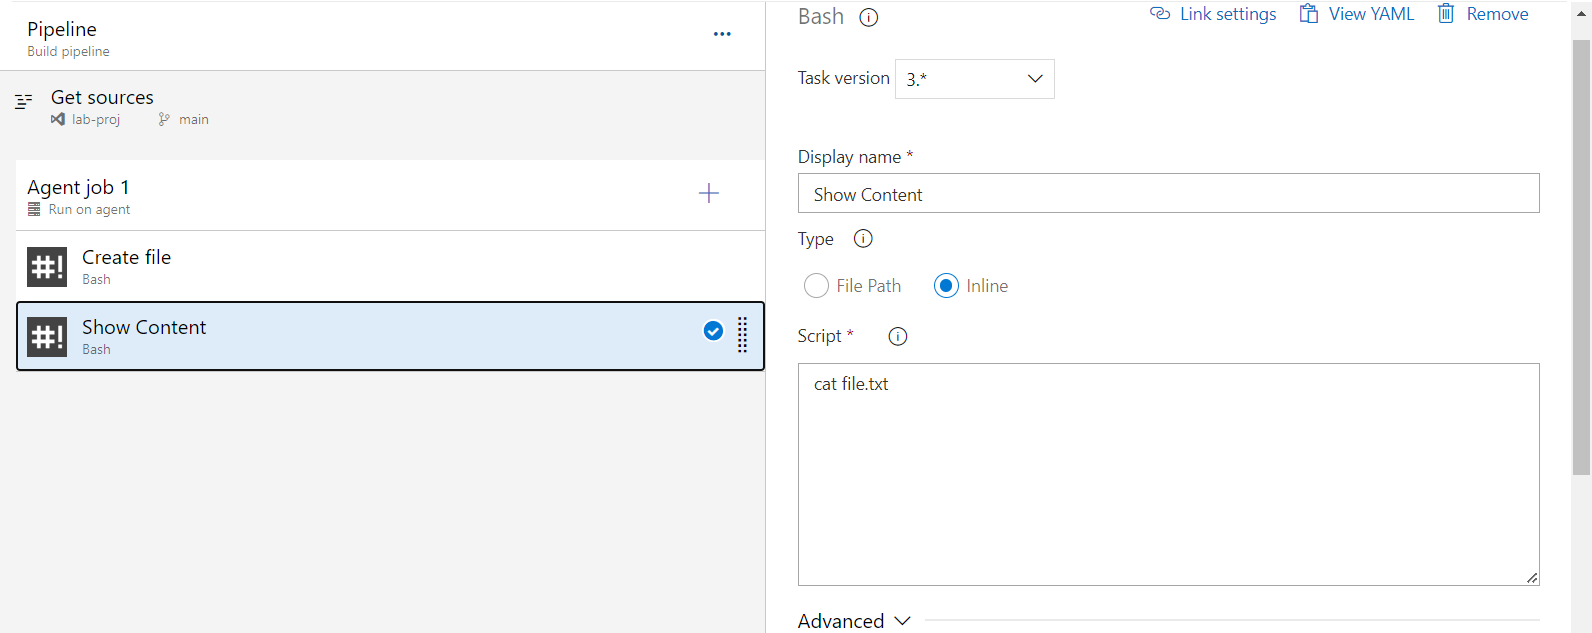
Let's create a simple job to create a file, add some content into it and show its content.
We can either just save the pipeline or save and queue.
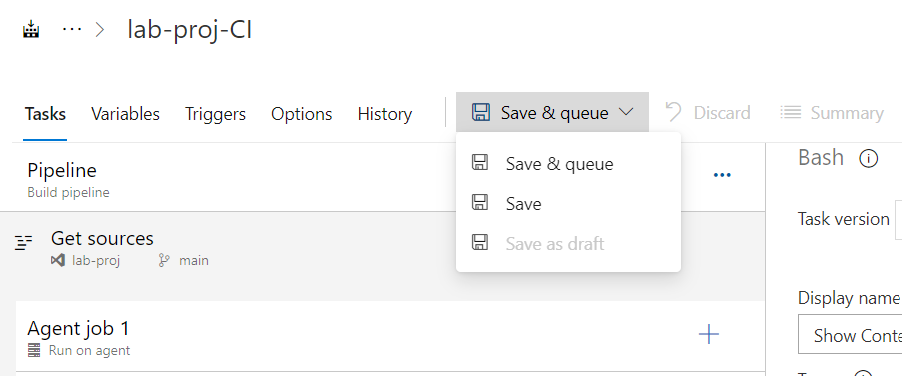
Let's save and queue the pipeline and run our job.
ADO again provides the option to Save Comment, Choose Agent configuration and the repo branch.
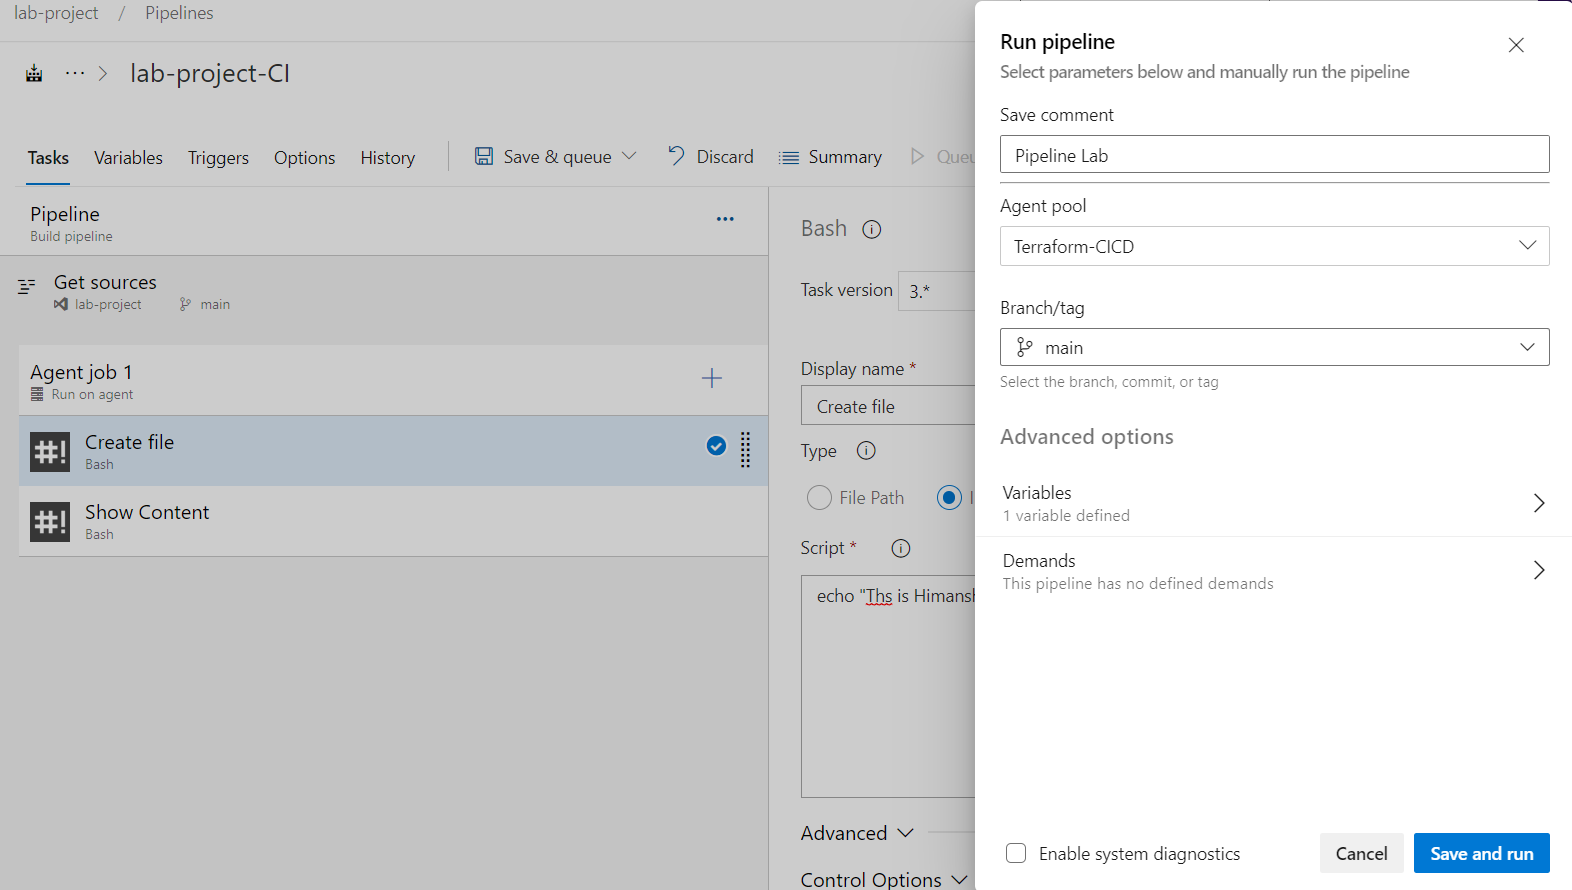
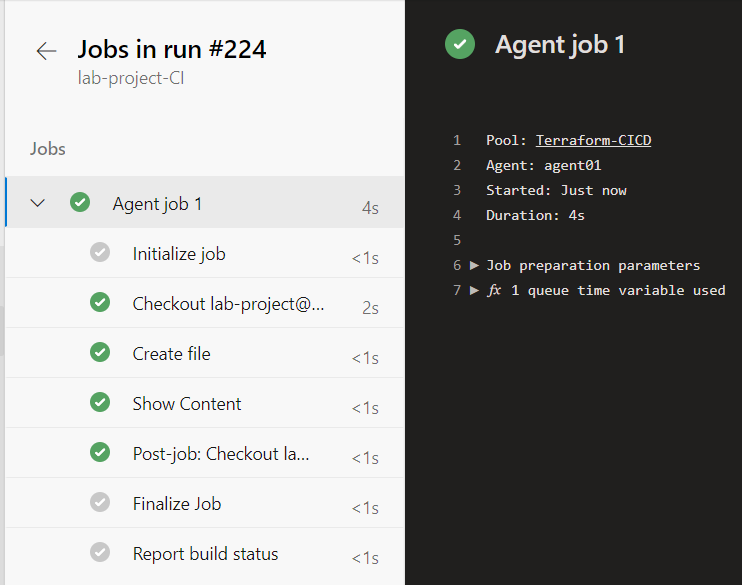
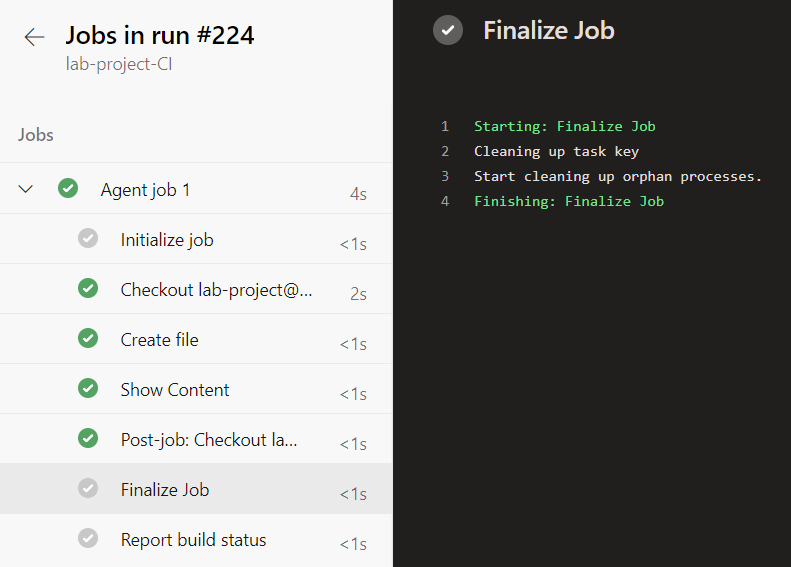
After Save & Run.
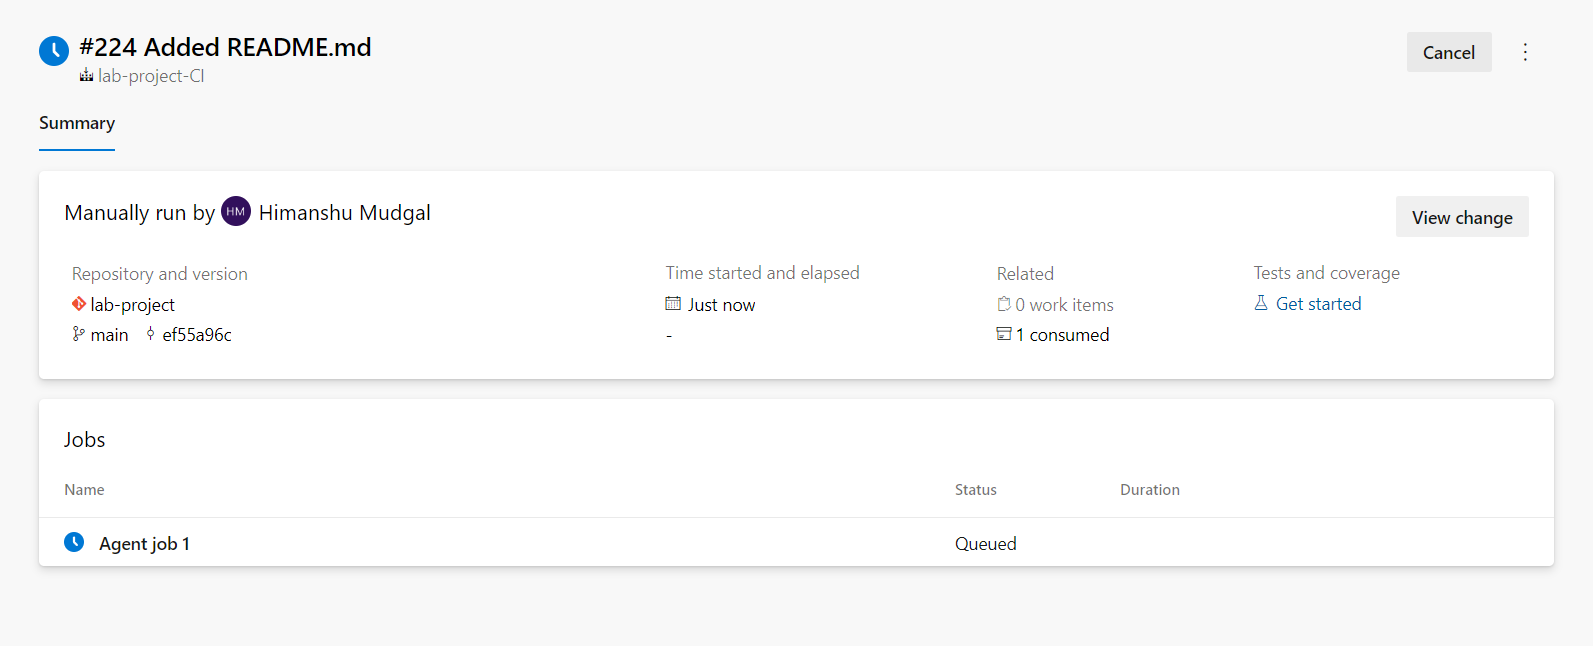
And that's how a successful pipeline job will look like