Getting Set Up - NSBLab/MATLAB-connectome-intro GitHub Wiki
Python on MASSIVE
First, select your IDE of choice (Integrated Development Environment).
This is the software interface for Python that you’ll use to interact with your code. MASSIVE already has PyCharm and Spyder installed, so it’s easy to get started with these IDEs specifically when setting up your virtual environment (venv) on MASSIVE.
To use PyCharm on MASSIVE:
-
Login to MASSIVE desktop
-
Go To Applications > Full List of Apps > PyCharm
-
Once PyCharm is up and running, select File, New Project
-
You will be presented with the Create Project window. Click on the arrow next to ‘Project Interpreter’

-
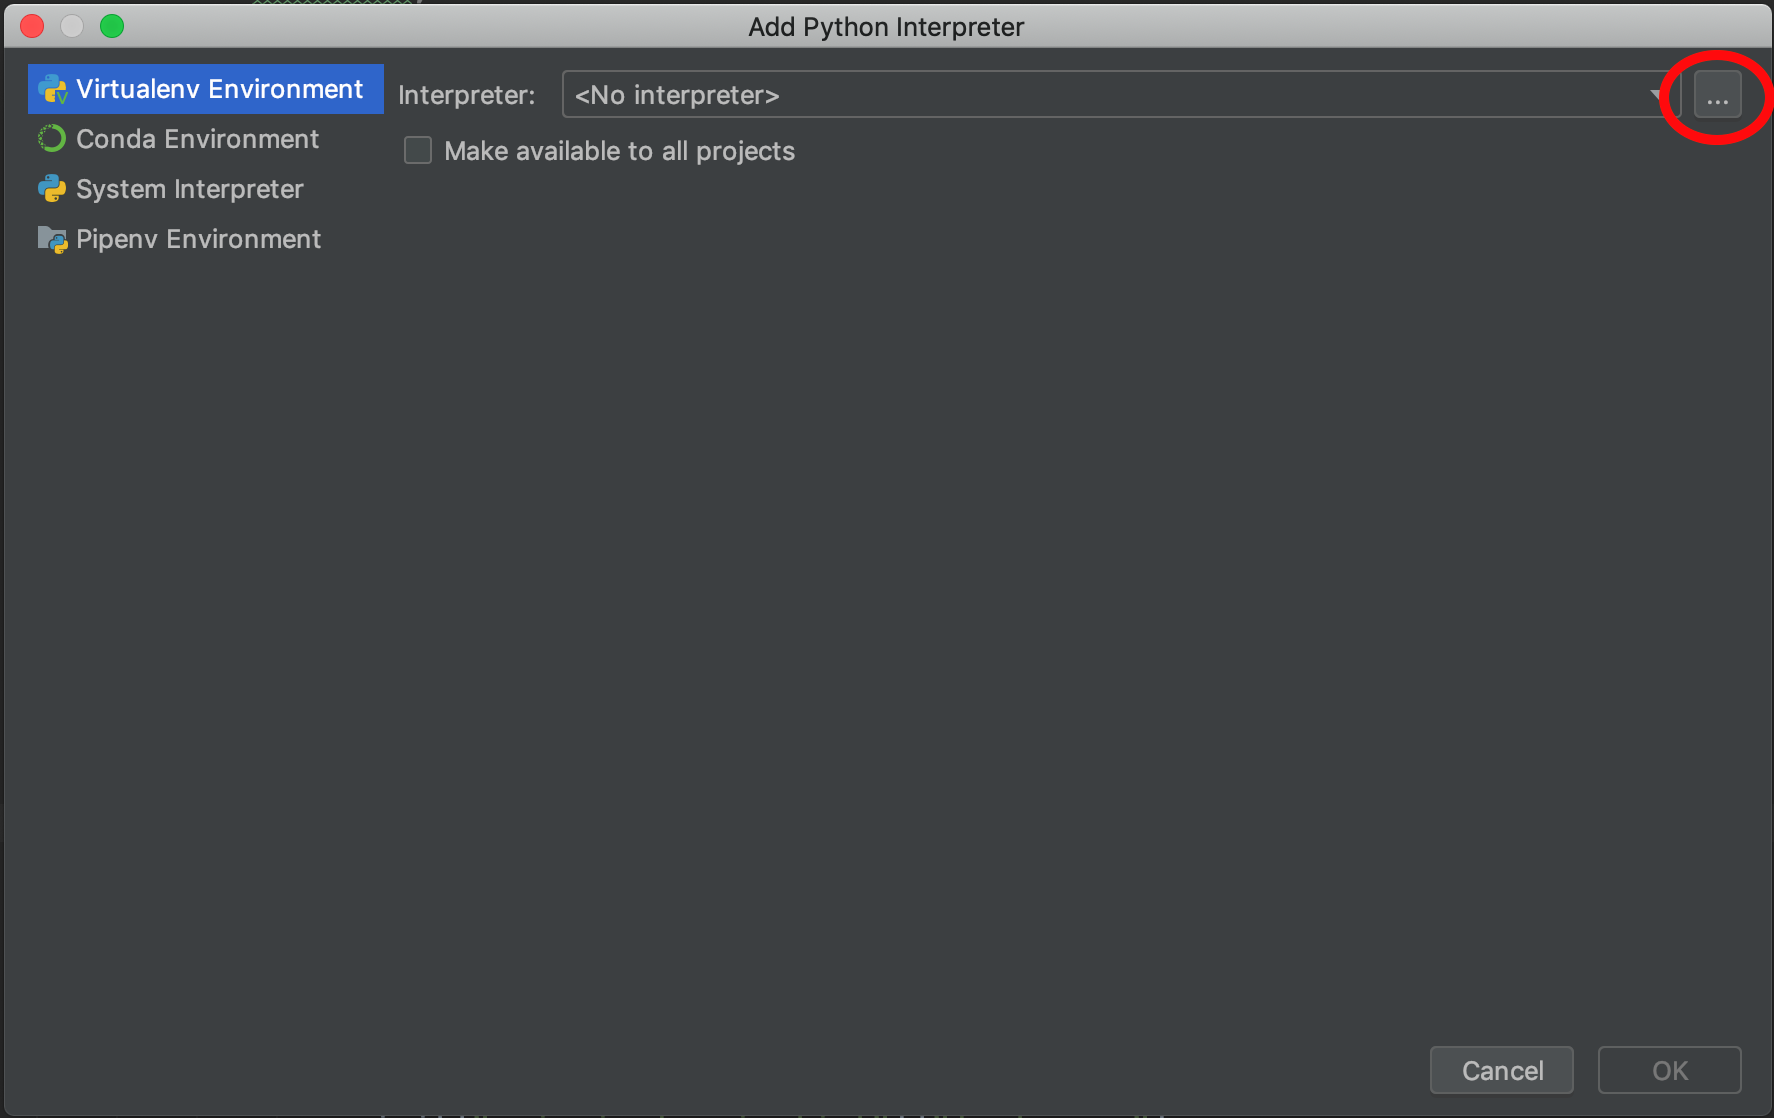
Select ‘Existing interpreter’ and click the ‘browse’ icon.

-
Browse to the location where you created your virtual environment, enter the ‘bin’ folder, then select the ‘python’ executable. Click OK.

-
Click OK

-
Back on the Create Project window, enter the new project name. Click OK. You now have a PyCharm project setup using your new virtual environment.
To use conda on MASSIVE:
Miniconda (conda)
Miniconda allows you to manage multiple Python environments with conda. Detailed instructions to install Miniconda on M3 can be found at Running Miniconda on M3.
Miniconda is the MASSIVE team's preferred Python install method on M3 because: They provide a user-friendly script to install your own copy of Miniconda on M3, minimising installation difficulty. Installing Miniconda using our script automatically creates an environment called jupyterlab which can be used with the JupyterLab option in Strudel2. Miniconda installs a reduced set of initial packages, ensuring you only install packages you intend to use. Using our Miniconda install script also ensures that if you need any assistance, our team has more clarity on how best to help.
Anaconda (conda)
Anaconda allows you to manage multiple Python environments with conda. Detailed instructions to install Anaconda are found at Running Anaconda on M3.
Anaconda installs more initial packages than Miniconda, and we do not provide an installation script for Anaconda.
Virtual Environments (venv)
M3 offers static Python builds which can be used to create a virtual environment (venv). A Python virtual environment effectively creates your own copy of Python, allowing you to install any Python packages you require. You are able to have multiple virtual environments, each with different packages installed; pip will manage the packages. Detailed instructions to set up a virtual environment are found at Running Python Virtual Environments on M3.
The difference between a virtual environment and a conda install is that conda will manage your packages and environments, and allows you to use languages other than Python. You may find virtual environments offer everything you need, or prefer conda for its additional features.