Access the full results dataset using SQLite Studio - NAVADMC/ADSM GitHub Wiki
ADSM is using a SQLite relational database management system to store both the input parameter data and the outputs that are created as results. Each scenario creates a distinct database instance. The data is stored in tables in the underlying database. There are several free SQL editors that can be used to connect to the SQLite databases. SQLite Studio is a portable database manager that can be used to query data. It is located at https://sqlitestudio.pl/index.rvt. Please note that things change rapidly, and we are just users of this tool and not in control of it so let us know if it stops working.
ADSM is using the concept of a managed file system to store files. This means the saved files go into a pre-determined directory, called ADSM_Workspace that is associated with the model. Users may use their file explorer to move files out of (or in to) the pre-determined directory. The application does not allow users to save in other locations on their file systems. Managing files in this fashion facilitates an easy transition in moving the model to cloud computing.
To locate the database files in the managed file system, navigate to the directory under User/documents. The directory is called ADSM_Workspace. Scenarios and population files will be saved in this directory. Database files are identified as “.db”. It is possible that a user could have selected an alternative location for their ADSM Workspace. Use your search functionality in the File explorer if needed to locate the ADSM Workspace. Note that a directory is built for each scenario to hold output files. It does not hold the database file. Sometimes it is necessary to change the view on your File explorer to look for “All Files .” to see the database files, and they sort to the bottom of the list. The database file has the same name that was given to the scenario in the Application.
How to connect to a database using SQLite Manger:
Open the SQlite Studio by double clicking on the application in the location you have downloaded the file. I moved mine into the ADSM Workspace so I could keep track of it.
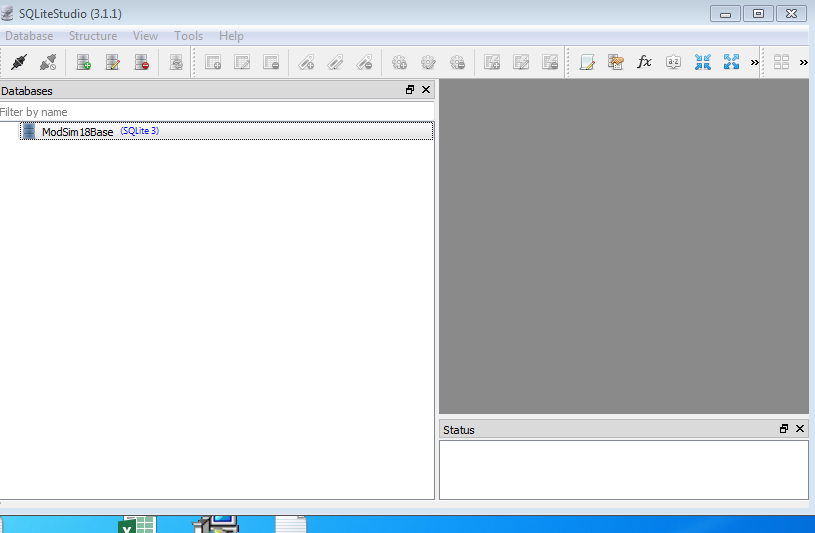
The application will initially open without a connection to a database.
Using the Database menu, select Add a Database.
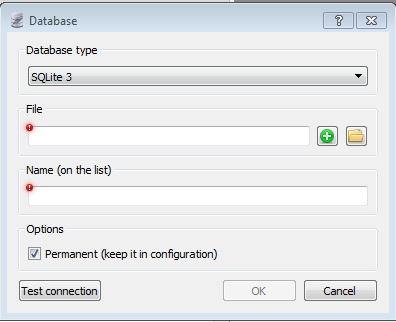
Navigate to the ADSM_Workspace directory as described above. It may be necessary to use the All Files view to see individual scenarios. Select the database of the desired scenario and Open to connect to a given scenario database. Name on the list allows you to give the database an alternative name or alias.
You are able to add multiple database files in this manner. Select the database you wish to connect to, from the Database menu select Connect to the database.
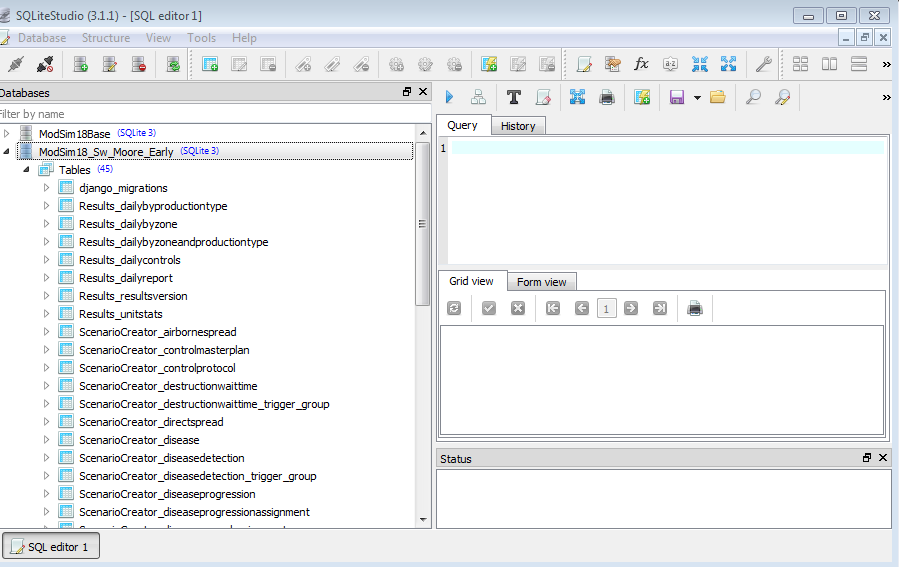
The database window should open. Use the Tools menu to open a SQL Editor.
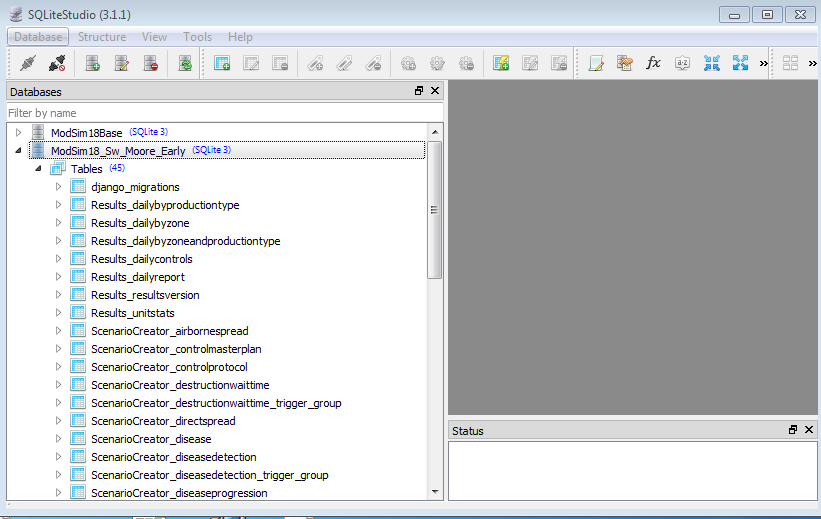
In the example, the database ModSim18_Sw_Moore_Early has been opened. This is noted on the top left . A list of database objects is presented on the left pane. These may be expanded or minimized. Users should be referencing the Tables objects
Files holding output results are prefixed with “Results_“ while parameter inputs have the prefix of “ScenarioCreator”. Modifying the data in the “ScenarioCreator” tables is not recommended, as this modifies parameters used to create the given set of results.
The right pane provides several views: The Query view is where users can write a SQL statement, using ANSI SQL language. Some basic queries are provided in the ADSM Workspace directory named Example Database Queries to provide examples of how tables may be joined. These queries are text files that can be cut and pasted into this editor, or in SQLite Studio can be open directly from the editor. There are many tutorials on the internet that can provide additional details on write SQL queries.
An easy query looks like SELECT * FROM results_dailybyzone. Please note that you can open a database at any time, and results are populated after the scenario has been run in the ADSM application.
Once a query has been completed, the user can execute the query using the > button on the toolbar. When results dataset is available, the results can be viewed in the Grid View/Form View below the query. SQLite Studio allows users to save queries. The user can fine-tune the query to provide a useable dataset. Users may choose to save their queries for the ability to use in different scenario databases.
Once the results query dataset is finalized, the data can be exported to a CSV file. Use the Export function. Note there are options to export a full database, a table or a query. While you can quickly export either of the first 2 options, taking a few minutes to learn a little SQL, organizing your output and exporting the query results with a subset of results is highly recommended. Even if you are an expert at MS Excel, a table dump is somewhat difficult to manage. Take advantage of the example queries to help understand a smaller set first. It will save time in the long run.
Steps to Export: Use the Tools, Export option.
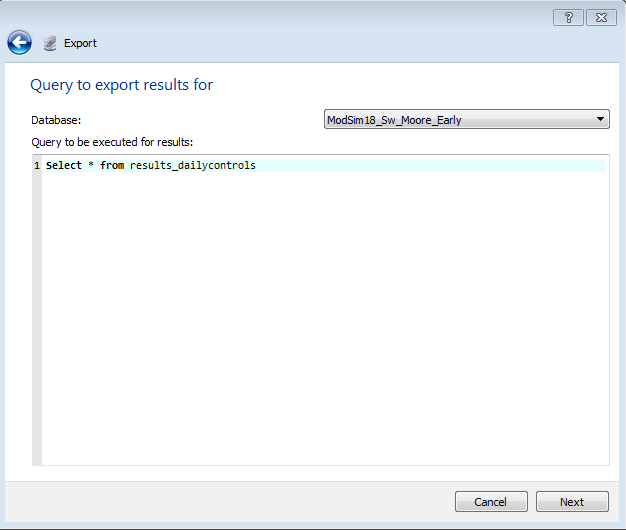
Select (or confirm) the database you wish to export from. Note that all ADSM databases will have the same structure, unless you have modified the structure in some way. If you can modify the database structure, you probably don’t need these instructions.
Export Query window looks like this, type or paste your query into the window:
You will be prompted for details, be sure to check to include column names.

Time of export will vary depending on the size of the output.
When saving file output, a navigation window allows the user to save the file to any location. This action does not require the user to stay within the ADSM_Workspace managed file system. However, for organization purposes, it is suggested that the ADSM_Workspace and scenario-specific directory is used to keep all files together.