Basic portal tutorial - Multiverse/Multiverse-Portals GitHub Wiki
Multiverse-Portals is a complement to Multiverse that is relatively easy to use (like Multiverse-Core). Here is a short outline of how to use Multiverse-Portals to create gateways to your worlds!
Introduction
Multiverse-Portals provides portals between worlds, similar to vanilla portals, except the destination can go ANYWHERE, as opposed to just the nether. Note that the Nether portal blocks (the purple things that make the portals make the weird sound) will not fill these portals, but the portals can have water or lava placed into them for a more authentic experience. If you're seeking a multi-world authentic experience, you should check out Multiverse-NetherPortals.
Making your portal
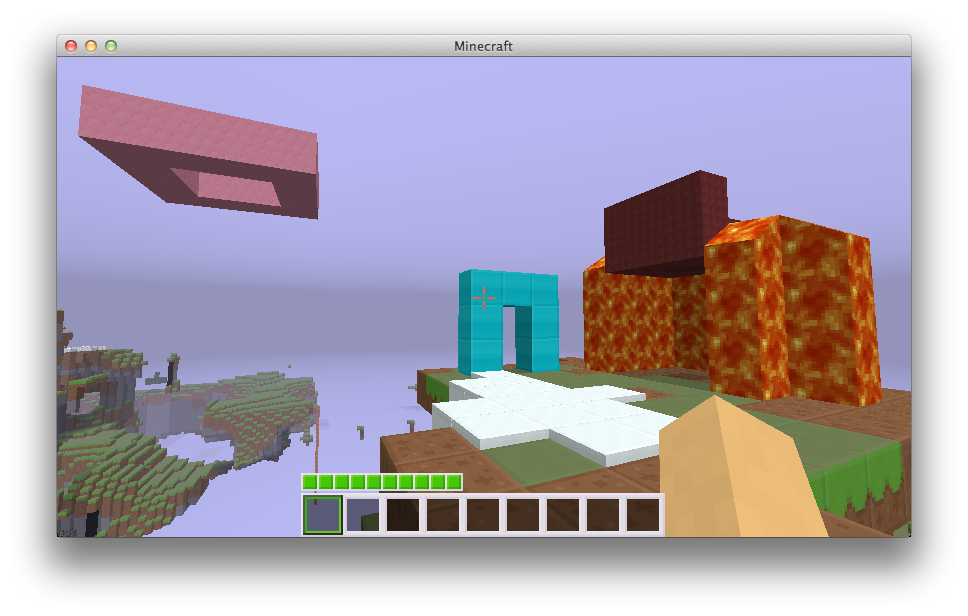
A portal can be constructed out of ANYTHING. Yes. Anything. Even Nothing. Step 1 of creating a Multiverse Portal is to create the 'Portal Frame'. Here are a few examples:
For this tutorial, I will be working with this portal I have made out of wool:
Getting a wand
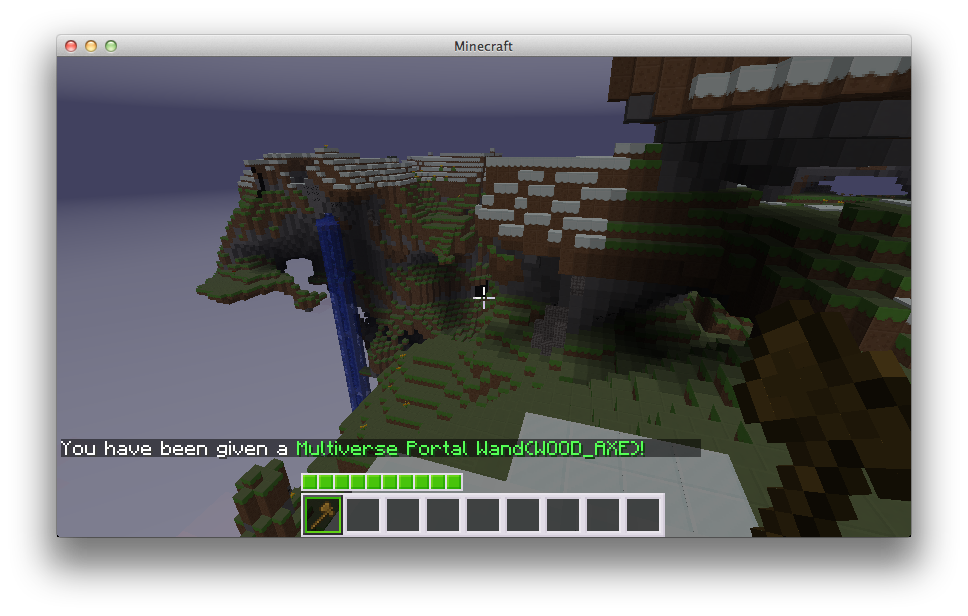
Portals are constructed with a wand. To get one simply type /mvp wand. You should see something like this (but you may not, keep reading):
images/portalwand.png
If you see: images/usingworldedit.png
Then WorldEdit has been detected on your server. If you're using WorldEdit, simply use that plugin to perform your selections!
Making your selection
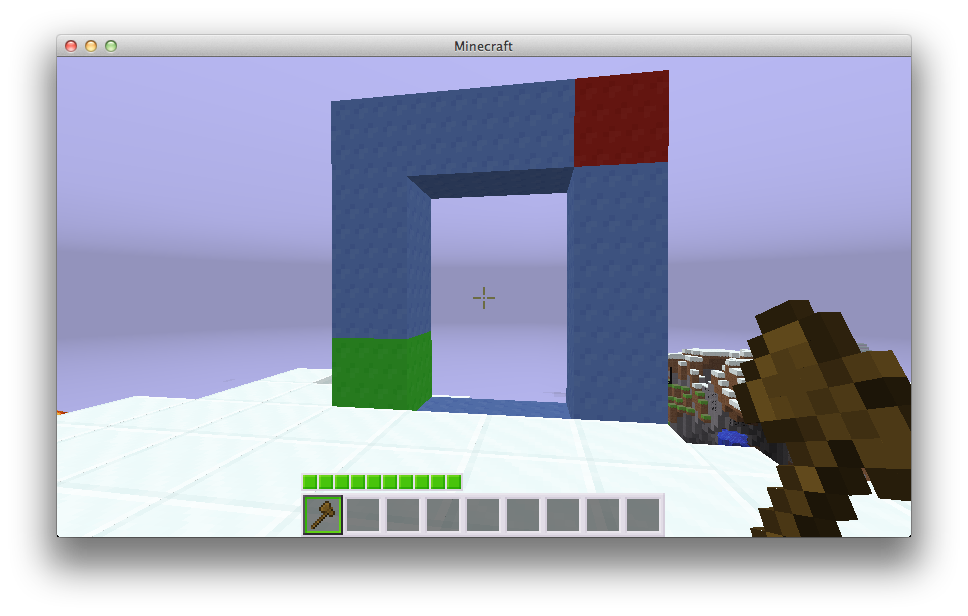
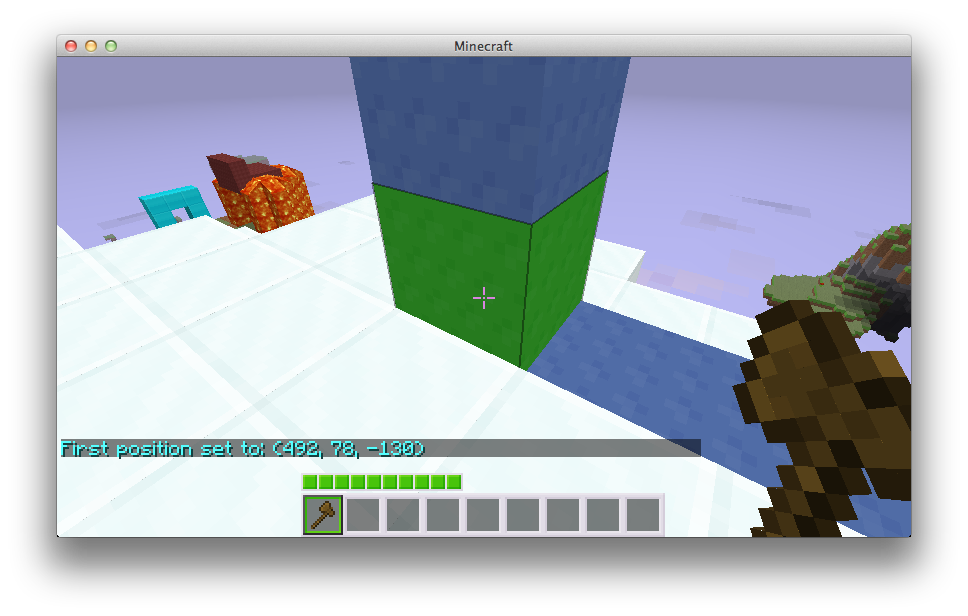
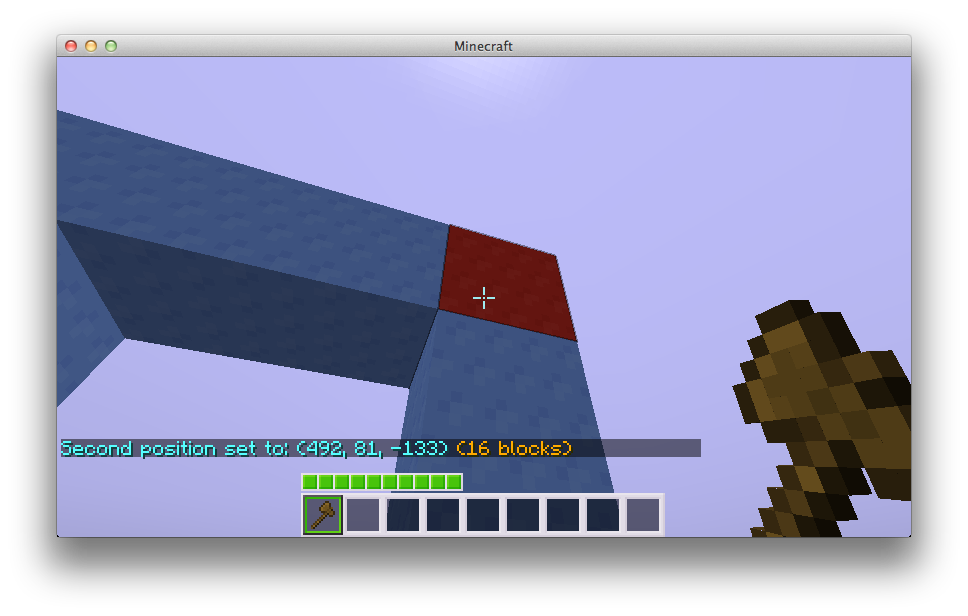
First click on one corner of your portal. In our example, I will be left clicking the green wool block.
images/first.png You should then see 'First position set to...'
Then right click the other corner. In my example, the red wool.
After this you now have your portal selection but the portal is not created yet. Read on.
**NOTE: ** Take note of the value in orange if you're NOT using WorldEdit (although it does this too). This value is the volume of your portal: xyz. If it's several thousand, you most likely started a selection somewhere and forgot about it. Make sure to left and right click until this number is reasonable.
Making the actual portal
Ok, you now have your portal selection. One of the things that felt awkward in MultiVerse 1 was not being able to set a destination on creation. That has changed in MV2. If you have decided where you want your portal to go:
/mvp create newportal w:world:se or /mvp create newportal e:world:23,43,1 or /mvp create newportal p:otherportal
These are just a few examples. Please see the Create Command for more details.
After you type one of these you should receive a message:
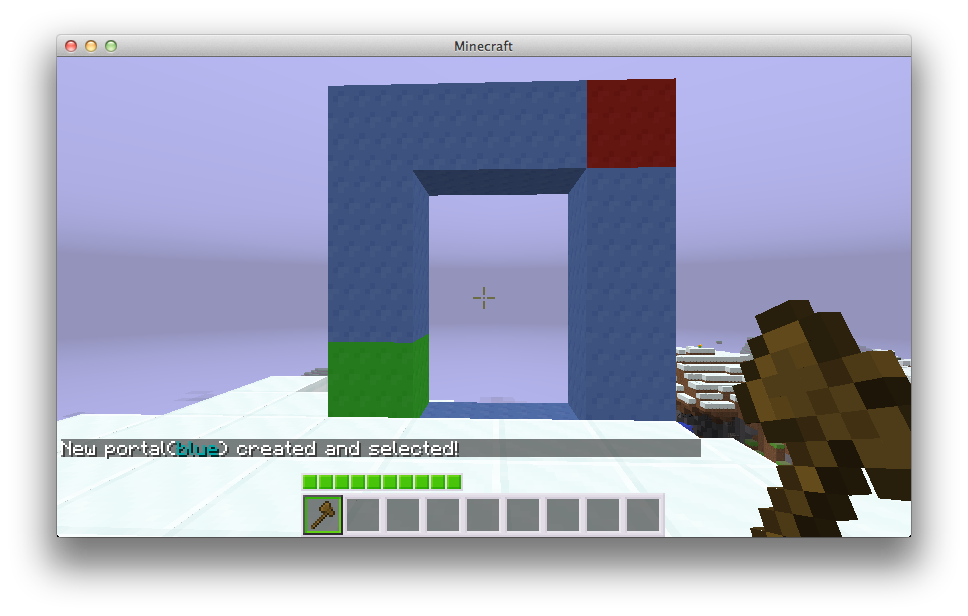
TADA! You have made your first portal!
Make it go somewhere
NOTE: This only applies if you did not set the destination when you created the portal. However, if you ever want to change where a portal goes, this is the same process.
Let's say you create portals portal_a and portal_b. You want them to go to each other. When creating portal_a portal_b did not exist, so you had to type /mvp create portal_a with no destination. Then you created portal_b via /mvp create portal_b p:portal_a.
Now, let's set the destination of portal_a to p:portal_b:
First make sure portal_a is selected. (If you just type /mvp select Multiverse-Portals will tell you what portal you have currently selected.)
/mvp select portal_a
Then set the destination.
/mvp modify dest p:portal_b
Alternatively, you can use w:worldname to make it go to another world's spawn, or here to make the portal go to the position you were at when you ran the command, or other locations: see The Multiverse Destination Guide for more details on all available destinations.
Removing the portal
So you're sick of your portal and want it gone? Well, destroying the edge blocks won't work (this is intentional so you could make a frame, and then delete it to create an invisible portal), but you can do this:
/mvp remove newportal
And your original portal is destroyed. Note all portals linking to it will now be broken!