Installation and configuration of an ESXI host - MorganHolsters/Admin3-TP GitHub Wiki
Sole contributor : Morgan Holsters
Installation
Pre-requisites
- A physical server or a cloud-based server
- A VMware account to log in, activate products, and download the ISO
- Can also be downloaded as a trial version
- An image of the latest ESXI, we are currently on 7.0
- A program to turn the ISO into a bootable USB version
- I recommend using rufus.exe
Create a Bootable USB (Only applies to Physical server)
Physical server
Checklist
- Physical server checklist
- [ x ]Prepare monitor and keyboard/mouse with appropriate cables
- - Plug in the bootable USB from the previous step
- - Power up the server
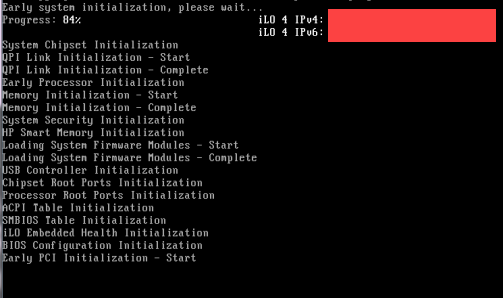
- - Write down the ILO IPV4 address
- Date and time BIOS
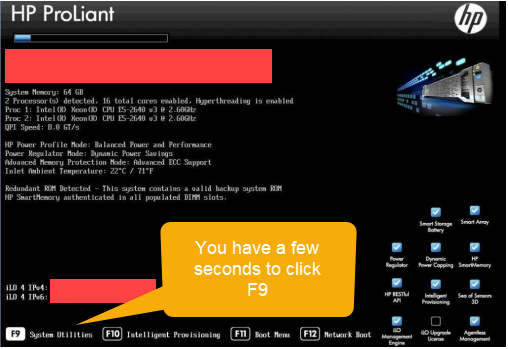
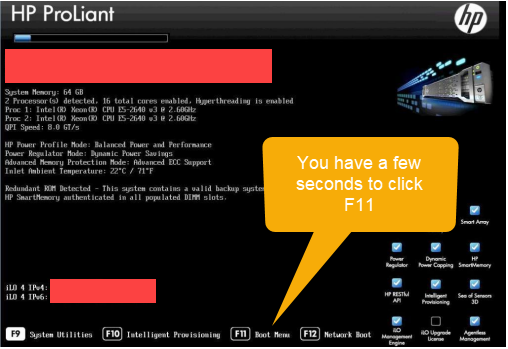
- - When the system displays the "Splash Screen" you must press F9 rapidly to configure the BIOS
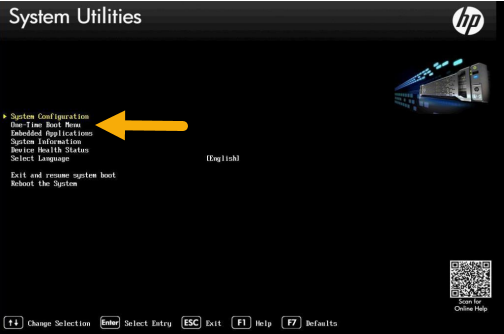
- - When you are on the system utilities you simply select the Date Time Boot Menu
- Configuring RAID array
- - When the system displays the "Splash Screen" you must press F9 rapidly
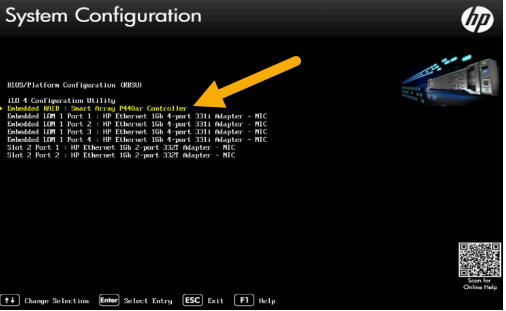
- - Upon entering the system utilities go to System configuration and press enter (navigation is done with the arrow keys and selection is made using the enter key > You may then select smart array
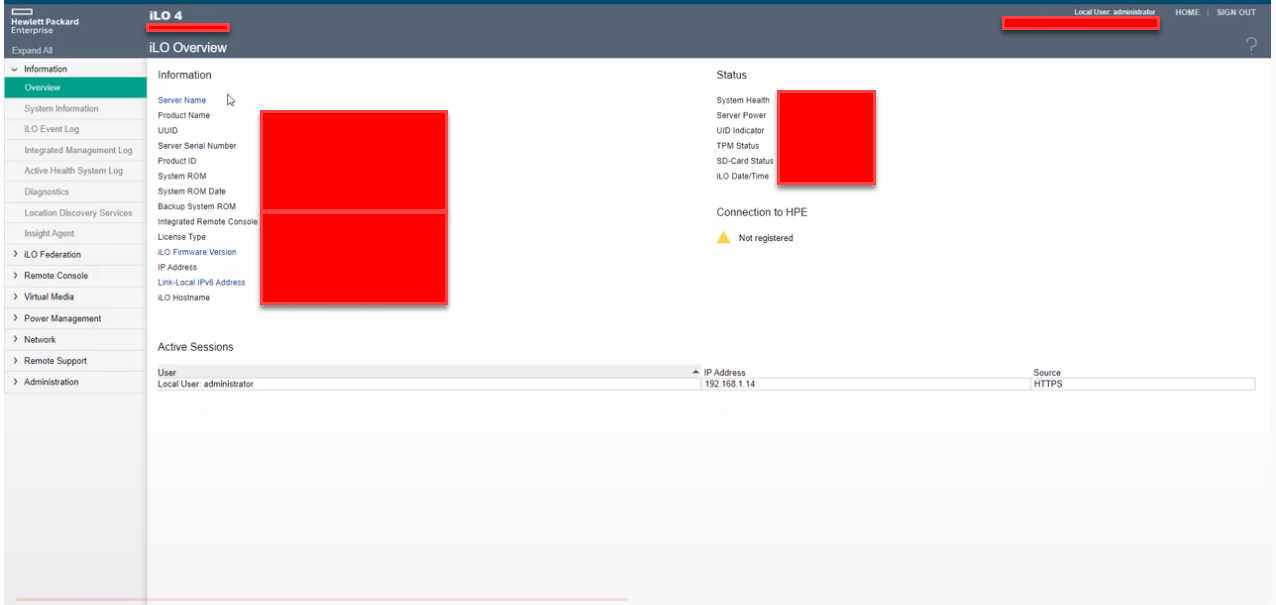
- Configure ILO (HP servers only) This allows you to remotely configure and monitor your physical server and change BIOS settings.
- - Plugin RJ45 cable to the corresponding ILO ethernet port

- - When the system displays the "Splash Screen" you must press F9 rapidly
- - Upon entering the system utilities go to System configuration and press enter (navigation is done with the arrow keys and selection is made using the enter key > You may then select smart array
- - Select the iLO 4 Configuration Utility
- - Set DHCP to OFF and assign an IP (this includes IP, Subnet, Gateway)
- - Reboot server
- - You can now login to the corresponding IP address and enter the username and password located on the label attached to the device
- Installing ESXI from a bootable USB
- - Enter the Boot menu from the "splash screen" using the F11 function key
- - Select the bootable USB containing the ISO for ESXI V7.0
- - Reboot server and let it boot automatically on the USB
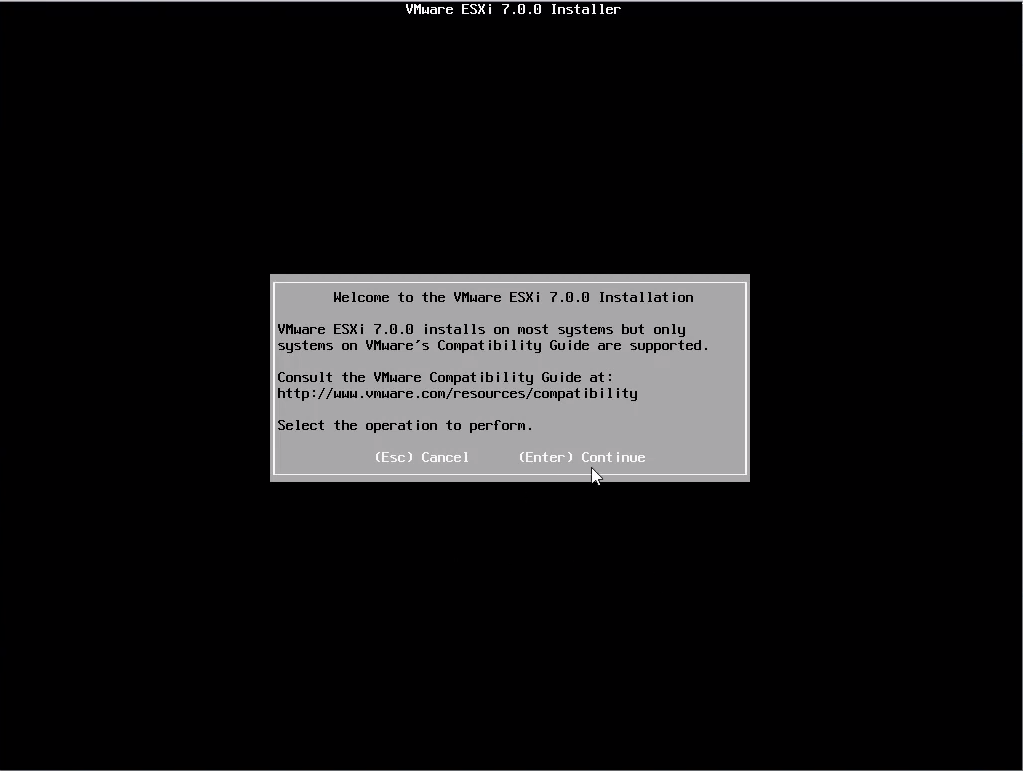
- - Press enter on the ESXI 7 installation prompt
- - Select the drive from which you wish to
installthe ESXI (If you have configured raid as indicated previously you will see all your raid configurations instead)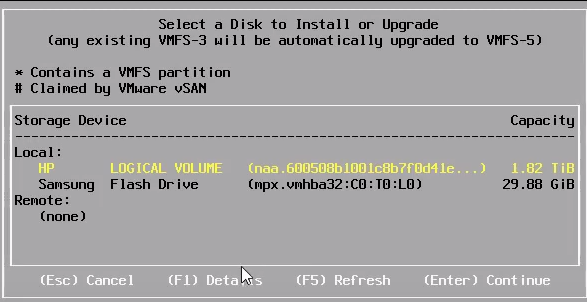
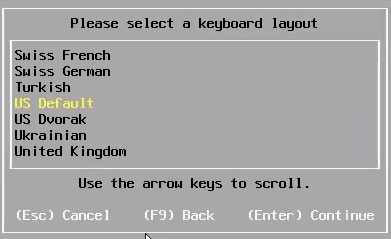
- - Select the keyboard layout you wish to use (default is QWERTY)
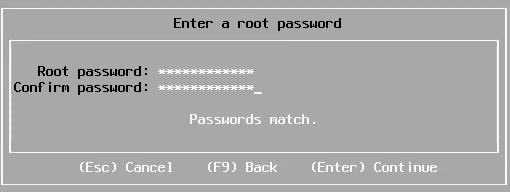
- - Input a root password You will not be able to visualize it
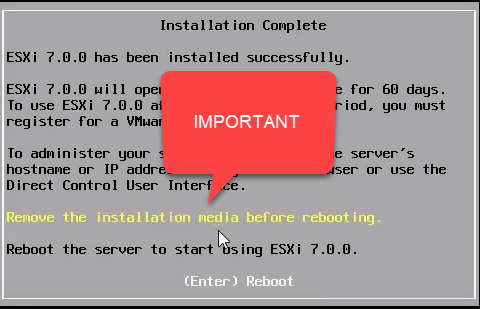
- - When the installation is complete please remove the USB and reboot the server
- - When the server has rebooted it will then go into the ESXI boot and you will receive the following prompt (It gives you the **management IP for the server ** )
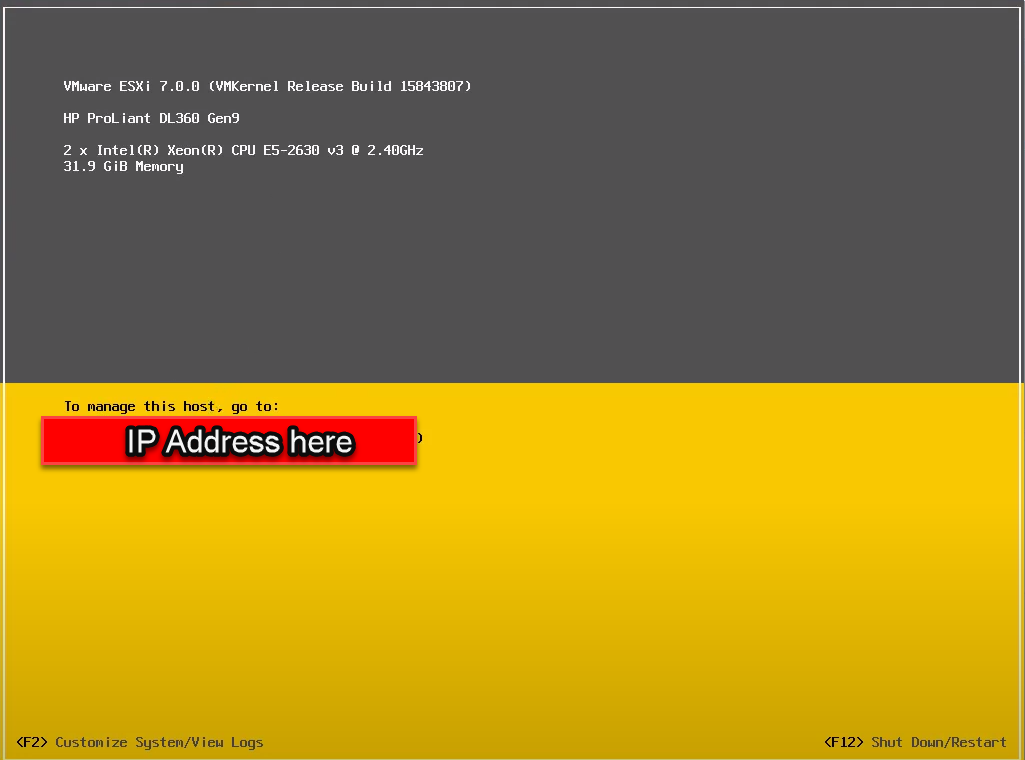
- - Go to any browser and type in the IP address that is displayed and you will land on the page that allows you to configure and monitor
Configuration ESXI 7
Create a VM
Create and manage storage
- -
- -