Adding Custom Backgrounds - Monika-After-Story/MonikaModDev GitHub Wiki
- Intro
- Step 1 - Folders and Files
- Step 2 - Images and Editing
- Step 3 - Image Names and Folders
- Step 4 - Coding Prep
- Step 5 - Background IDs
- Step 6 - MASWeatherMaps
- Step 7 - MASFilterManager
- Step 8 - Unlocking bg and prog points
- Step 9 - Image IDs
- Step 10 - Finishing Up
- Step 11 - Decoration objects
Note: This guide is up-to-date with the sunset update, but is missing information on how to create custom filters.
This guide is intended for those who have little to no coding background. If you have more experience, feel free to skim through for what info/steps you need!
Important!: For the sake of simplicity, I am going to be referring to the main folder where MAS is kept as DDLC. Yours may be named differently (such as DDLC-1.1.1-pc) depending on the version of DDLC you're running or if you renamed the file. It can be any name, just know that it will be referred to as such in this tutorial.
Addendum: The location selector is unlocked by two conditionals.
- You have successfully created a .rpy file for your background(s) of choice.
- You meet a minimum affection requirement (Enamored, or 400+)
This step is most important if you have never added any submods or altered any graphics in MAS. For adding backgrounds, we are going to need to understand just two file directories inside MAS.
The first thing we're doing to do is set up a submod folder. This is where you'll keep any RPYs we make later in this tutorial. This will be located in the game folder of DDLC. So this directory would look like DDLC/game/submods. It should be empty unless you have already added other submods, of course!
The second file we're going to look at is DDLC/game/mod_assets/location. If you look inside this folder, you will see other folders inside, such as one for the spaceroom. We're not going to edit the spaceroom files, but we will be going back to them as a reference point and template for our new locations.
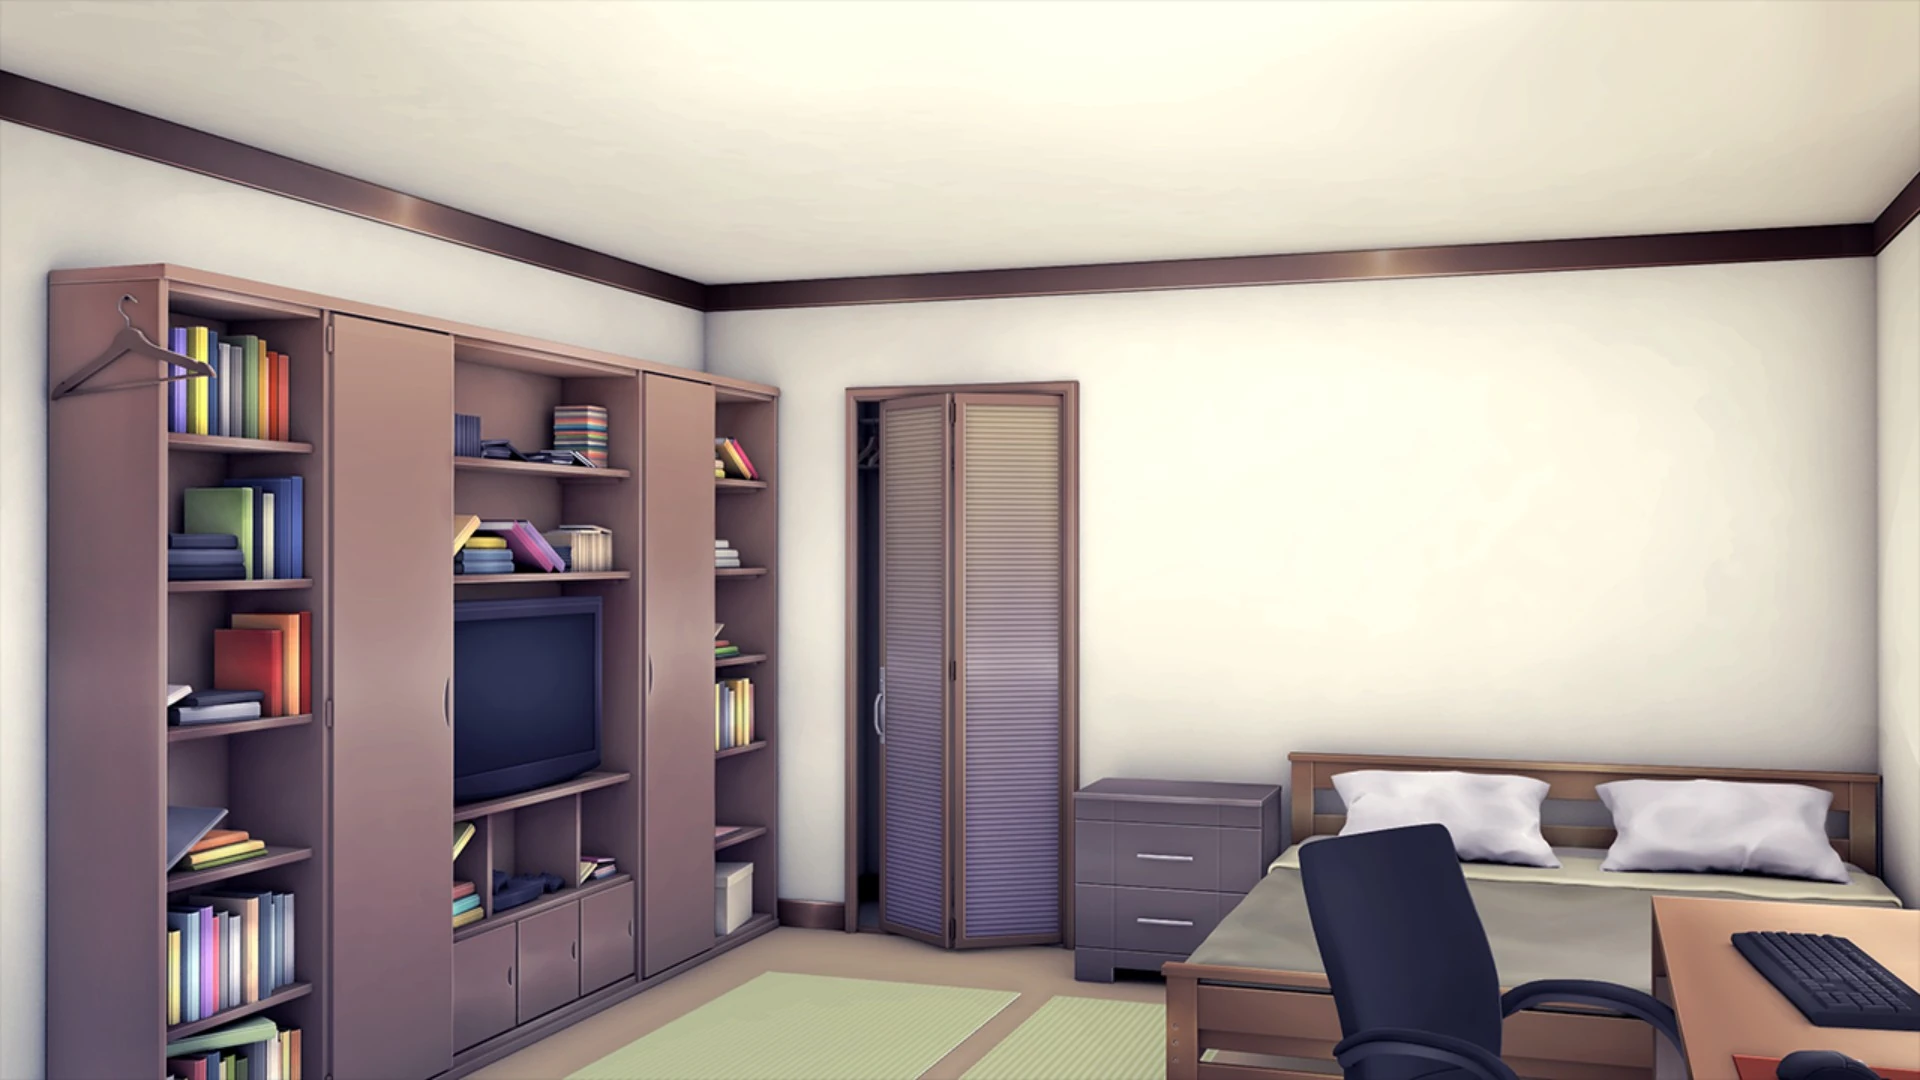
To add a custom background, first we will need to prepare the images themselves. For the sake of this tutorial I’ll be using MC's room, which you can find on the DDLC wiki.
Looking inside the location/spaceroom folder, you can see that there are several variations for different weather and time conditions.
If you would like, you can make your background change dynamically with any kind of weather in the game. However, the only ones that are required are a day and night version. (Sunset can be handled in a later section if you don’t have an image for it.)
Some things you might want to know for your image editing:
- If you have any questions regarding the filters in use (day, night, sunset), or about making your own filter, or about recreating a filter in an image program, please make an issue and tag @ThePotatoGuy. This guide will NOT cover anything about custom filters.
- You should make sure that your images are the same size/resolution to the spaceroom files (1280x720). This is not strictly necessary, but an oddly-sized image may cause graphical glitches or fuzzy resolution.
- Your images should be saved in a format which renpy can use when creating image tags. (Typically these are .png files)
From this point, file locations and names are going to become very important! This is because when we do the coding part, we'll need to tell MAS which files to use for our new backgrounds.
We're going to go back to the DDLC/game/mod_assets/location file now. Then we're going to make a folder with the name of whatever location you want to use. Inside this folder, we're going to add your day and night variants (and other weathers if you have them.)
Then we're going to make the names match the files in the spaceroom folder.
For example, the default night spaceroom image is called spaceroom-n.png
My bedroom file would then be bedroom-n.png
So at the end of this, I have DDLC/game/mod_assets/location/bedroom which contains bedroom.png and bedroom-n.png.
This is where we’re going to begin the coding part of adding backgrounds. You’re going to want to make a .rpy file in your preferred program.
This will be placed in your DDLC/game/Submods folder when it’s finished. For now it should be entirely blank.
First, we’re going to have a look at the zz_backgrounds.rpy that exists in MAS. To find the section where the in-game backgrounds are defined, you’ll want to search for START: bg defs We’re going to use the spaceroom’s code as a template and build our background in the same way.
There’s quite a lot of code there, but we’re going to break it up into understandable chunks.
The first step is simple. On the spaceroom background we can see:
init -1 python:
    #Default spaceroom
    mas_background_def = MASFilterableBackground(
        # ID
        "spaceroom",
        "Spaceroom",
Note: Any lines with a # symbol in front of them are comments, and don’t affect the code. You can erase them or leave them in, it makes no difference.
This chunk of code is where you’ll name and ID your background.
mas_background_def = MASFilterableBackground( is essentially there to tell the game that this is a background that works with the filter framework. You’ll want to keep that line how it is.
These can be the same or different to one another, but the first line (“spaceroom”,) should be unique to any other backgrounds in MAS (so don’t name another background “spaceroom”)
To avoid your submod conflicting with any future updates, you might want to add something like "custom" or "submod" to your ID.
The second line is how the room will show up in the background selector dialogue, including uppercase lettering. These can be duplicates, so you can name them whatever you like.
For the sake of our example with MC’s room, we’ll be calling it “Bedroom” so in our .rpy we should currently have something like this:
init -1 python:
    mas_background_def = MASFilterableBackground(
        "submodbedroom",
"Bedroom",Next in our template we’ll see a big chunk of code. Despite being long it’s very easy to understand.
        # mapping of filters to MASWeatherMaps
        MASFilterWeatherMap(
            day=MASWeatherMap({
                store.mas_weather.PRECIP_TYPE_DEF: "monika_day_room",
                store.mas_weather.PRECIP_TYPE_RAIN: "monika_rain_room",
                store.mas_weather.PRECIP_TYPE_OVERCAST: "monika_rain_room",
                store.mas_weather.PRECIP_TYPE_SNOW: "monika_snow_room_day",
            }),
            night=MASWeatherMap({
                store.mas_weather.PRECIP_TYPE_DEF: "monika_room",
                store.mas_weather.PRECIP_TYPE_SNOW: "monika_snow_room_night",
            }),
            sunset=MASWeatherMap({
                store.mas_weather.PRECIP_TYPE_DEF: "monika_ss_room",
                store.mas_weather.PRECIP_TYPE_RAIN: "monika_rain_room_ss",
                store.mas_weather.PRECIP_TYPE_OVERCAST: "monika_rain_room_ss",
                store.mas_weather.PRECIP_TYPE_SNOW: "monika_snow_room_ss",
            }),
        ),
If we break this down, we can see that it’s separated into different times and weathers. These are assigning an image ID to each type of weather that you have a unique image for. The ID can be any name you want and does not have to correspond with your image file's name, but it must be something unique (Similarly to the room ID, you might want to include something like “submod” or “custom” in your name to make sure there will not be name overlap if backgrounds are added to the base game.)
If a weather for Day or Night times do not have a unique image, and you don’t assign it an ID, it will default to the TYPE_DEF image.
So if you only have default weather images, you can omit the alternative weather lines.
In my bedroom example, this will look something like this.
        MASFilterWeatherMap(
            day=MASWeatherMap({
                store.mas_weather.PRECIP_TYPE_DEF: "submod_day_mcbedroom",
            }),
            night=MASWeatherMap({
                store.mas_weather.PRECIP_TYPE_DEF: "submod_night_mcbedroom",
            }),
            sunset=MASWeatherMap({
                store.mas_weather.PRECIP_TYPE_DEF: "submod_ss_mcbedroom",
            }),
        ),
If you would like to use the same image for multiple weathers other than default (for example, using the same image for Rain and Overcast weathers) you will want to use the same ID name for both. (As seen on the spaceroom template with sunset rain and overcast.)
At this point, our file will look like this.
init -1 python:
    mas_background_def = MASFilterableBackground(
        "submodbedroom",
        "Bedroom",
        MASFilterWeatherMap(
            day=MASWeatherMap({
                store.mas_weather.PRECIP_TYPE_DEF: "submod_day_mcbedroom",
            }),
            night=MASWeatherMap({
                store.mas_weather.PRECIP_TYPE_DEF: "submod_night_mcbedroom",
            }),
            sunset=MASWeatherMap({
                store.mas_weather.PRECIP_TYPE_DEF: "submod_ss_mcbedroom",
            }),
), # filter manager
MASBackgroundFilterManager(
MASBackgroundFilterChunk(
False,
None,
MASBackgroundFilterSlice.cachecreate(
store.mas_sprites.FLT_NIGHT,
60
)
),
MASBackgroundFilterChunk(
True,
None,
MASBackgroundFilterSlice.cachecreate(
store.mas_sprites.FLT_SUNSET,
60,
30*60,
10,
),
MASBackgroundFilterSlice.cachecreate(
store.mas_sprites.FLT_DAY,
60
),
MASBackgroundFilterSlice.cachecreate(
store.mas_sprites.FLT_SUNSET,
60,
30*60,
10,
),
),
MASBackgroundFilterChunk(
False,
None,
MASBackgroundFilterSlice.cachecreate(
store.mas_sprites.FLT_NIGHT,
60
)
)
),The MASBackgroundFilterManager determines what filter should be shown at a certain time. This object consists of 3 MASBackgroundFilterChunk objects:
- The first FilterChunk represents the time between midnight and the user-set sunrise time
- The second FilterChunk represents the time between the user-set sunrise and the user-set sunset
- The third FilterChunk represents the time between the user-set sunset and the next midnight
Each FilterChunk can contain an arbitrary amount of MASBackgroundFilterSlice objects, which allows for any sort of filter pattern you want. You also do not need to worry about exact times since the FilterManager will organize the filters based on whatever time is available based on the user-set suntimes.
FilterManager Structure
MASBackgroundFilterManager(
    <FilterChunk object>, # FilterChunk that represents time between midnight and user-set sunrise
    <FilterChunk object>, # FilterChunk that represents time between user-set sunrise and user-set sunset
    <FilterChunk object>, # FilterChunk that represents time between user-set sunset and the next midnight
    <prog point> # OPTIONAL - allows you to run code between chunk transitions. May not always run. See the MASBackgroundFilterManager's constructor documentation for more info (in `zz_backgrounds.rpy`)
)
FilterChunk Structure
MASBackgroundFilterChunk(
    <boolean>, # pass True if this is a "day" chunk, False if this is a "night" chunk. This is important for determining appropriate dialogue as well as UI. In general, setting the 1st and 3rd chunks as night chunks and the second chunk as a day chunk is sufficient.
    <prog point>, # allows you to run code between FilterSlice transitions. May not always run. Pass in None if you don't want to run any progpoints. See the MASBackgroundFilterChunk's constructor documentation for more info (in `zz_backgrounds.rpy`)
    *slices # arbitrary number of FilterSlice objects, ordered in the exact order the filters should be shown during a time chunk.
)
FilterSlice Structure
MASBackgroundFilterSlice.cachecreate( # NOTE: this function caches slices so we don't make extra ones if a slice is identical. Always use this.
    <name>, # the filter to associate with this time slice
    <minlength>, # the shortest number of seconds this filter can exist for
    <maxlength>, # OPTIONAL - the maxiumum number of seconds this filter can exist for. If not set, then this FilterSlice is unbounded and can have as much length as needed
    <priority> # OPTIONAL - how important this slice is from 1-10. Larger numbers are more important. If not set, then this FilterSlice has a priority of 10.
)
The FilterManager will appropriately size the FilterSlices until they span the FilterChunk. This is why the the only available options for FilterSlices are minimum and maxiumum lengths, which effectively bound how short or long a filter can be shown for. If there are too many FilterSlices for a FilterChunk, the FilterManager will omit FilterSlices with a lower priority.
If you're copying the vanilla spaceroom filters, your .rpy will currently look a bit like this.
init -1 python:
    mas_background_def = MASFilterableBackground(
        "submodbedroom",
        "Bedroom",
        MASFilterWeatherMap(
            day=MASWeatherMap({
                store.mas_weather.PRECIP_TYPE_DEF: "submod_day_mcbedroom",
            }),
            night=MASWeatherMap({
                store.mas_weather.PRECIP_TYPE_DEF: "submod_night_mcbedroom",
            }),
            sunset=MASWeatherMap({
                store.mas_weather.PRECIP_TYPE_DEF: "submod_ss_mcbedroom",
            }),
        ),
        MASBackgroundFilterManager(
            MASBackgroundFilterChunk(
                False,
                None,
                MASBackgroundFilterSlice.cachecreate(
                    store.mas_sprites.FLT_NIGHT,
                    60
                )
            ),
            MASBackgroundFilterChunk(
                True,
                None,
                MASBackgroundFilterSlice.cachecreate(
                    store.mas_sprites.FLT_SUNSET,
                    60,
                    30*60,
                    10,
                ),
                MASBackgroundFilterSlice.cachecreate(
                    store.mas_sprites.FLT_DAY,
                    60
                ),
                MASBackgroundFilterSlice.cachecreate(
                    store.mas_sprites.FLT_SUNSET,
                    60,
                    30*60,
                    10,
                ),
            ),
            MASBackgroundFilterChunk(
                False,
                None,
                MASBackgroundFilterSlice.cachecreate(
                    store.mas_sprites.FLT_NIGHT,
                    60
                )
            )
), unlocked=True,
entry_pp=store.mas_background._def_background_entry,
exit_pp=store.mas_background._def_background_exit,
)We should make sure unlocked is set to True, so that your background will show up in the selector. entry_pp and exit_pp can be used for advanced customization, such as locking or unlocking topics specific to this background. These will not be covered in this guide, and can be left as-is for a basic background.
This is also the section where you can set several other variables. hide_calendar = True will remove the calendar in this background. disable_progressive = True will prevent the weather from changing on its own. hide_masks = True will disable the animated weather outside. If you have a window in your background, you'll want to set hide_masks = False.
We’re almost done! We just have one last bit of code to look at.
#START: Image definitions
#Spaceroom
image monika_day_room = "mod_assets/location/spaceroom/spaceroom.png"
image monika_room = "mod_assets/location/spaceroom/spaceroom-n.png"
image monika_ss_room = MASFilteredSprite(
store.mas_sprites.FLT_SUNSET,
"mod_assets/location/spaceroom/spaceroom.png"
)Most of this will stay the same, but we should look at where Image definitions start. As you can see, now we’re going to tell MAS where to find each image we assigned an ID to in Step 6. As you can see, we don’t necessarily need a sunset-filtered image for sunset. You can simply put the day image with the MASFilteredSprite code.
image submod_day_mcbedroom = "mod_assets/location/mcbedroom/mcbedroom.png"
image submod_night_mcbedroom = "mod_assets/location/mcbedroom/mcbedroom-n.png"
image submod_ss_mcbedroom = MASFilteredSprite(
store.mas_sprites.FLT_SUNSET,
"mod_assets/location/mcbedroom/mcbedroom.png"
)Last but not least, we'll review our file and double-check for any errors.
init -1 python:
mas_background_def = MASFilterableBackground(
"submodbedroom",
"Bedroom",
MASFilterWeatherMap(
day=MASWeatherMap({
store.mas_weather.PRECIP_TYPE_DEF: "submod_day_mcbedroom",
}),
night=MASWeatherMap({
store.mas_weather.PRECIP_TYPE_DEF: "submod_night_mcbedroom",
}),
sunset=MASWeatherMap({
store.mas_weather.PRECIP_TYPE_DEF: "submod_ss_mcbedroom",
}),
),
MASBackgroundFilterManager(
MASBackgroundFilterChunk(
False,
None,
MASBackgroundFilterSlice.cachecreate(
store.mas_sprites.FLT_NIGHT,
60
)
),
MASBackgroundFilterChunk(
True,
None,
MASBackgroundFilterSlice.cachecreate(
store.mas_sprites.FLT_SUNSET,
60,
30*60,
10,
),
MASBackgroundFilterSlice.cachecreate(
store.mas_sprites.FLT_DAY,
60
),
MASBackgroundFilterSlice.cachecreate(
store.mas_sprites.FLT_SUNSET,
60,
30*60,
10,
),
),
MASBackgroundFilterChunk(
False,
None,
MASBackgroundFilterSlice.cachecreate(
store.mas_sprites.FLT_NIGHT,
60
)
)
),
        unlocked=True,
        entry_pp=store.mas_background._def_background_entry,
        exit_pp=store.mas_background._def_background_exit,
    )
#Now load data
store.mas_background.loadMBGData()
image submod_day_mcbedroom = "mod_assets/location/mcbedroom/mcbedroom.png"
image submod_night_mcbedroom = "mod_assets/location/mcbedroom/mcbedroom-n.png"
image submod_ss_mcbedroom = MASFilteredSprite(
    store.mas_sprites.FLT_SUNSET,
    "mod_assets/location/mcbedroom/mcbedroom.png"
)Make sure your file is saved as .rpy, and you can set it into your MAS folder. When you next launch MAS, you should have a dialogue option under “Hey, Monika… > Location”
Enjoy your new backgrounds!
If you want to show decoration objects (like how we decorate the spaceroom on holidays), you will need to register the decorations for your backgrounds. See The Deco Framework for Backgrounds for info on how to do this.