Zigbee Switching Between Applications - Jim-tech/IoT-Developer-Boot-Camp GitHub Wiki
Table of Contents
This example demostrates how we put two Zigbee applicaiton images into one SoC (EFR32MG12) and switch between them.
In this case, we use a part with 1MB flash and divide it into two area:
| Area | Address |
|---|---|
| 0 | 0x0 ~ 0x80000 |
| 1 | 0x80000 ~ 0x100000 |
The bootloader selects the corresponding start address to boot according to the user command. By default, it boots from address 0x0.
In section 7.1.2 of UG266, there is another approach of support multiple applicaiton images in a single SoC. In this approach, we divide the internal flash into two parts.
- The application area where the running application will be put in.
- Storage area. This area can be configured as multiple slots.
When we need to switch between applications, the bootloader will choose one storage slot, and then copy the application image from this slot to the application area.

Comparing to the approach in UG266, the approach in this example is more efficient on ultilizing storage space.
Gecko SDK Suite 2.7.
- Wireless Starter Kit Main Board (BRD4001)
- EFR32MG12 2400/915 MHz 19 dBm Dual Band Radio Board (BRD4164A)
NA
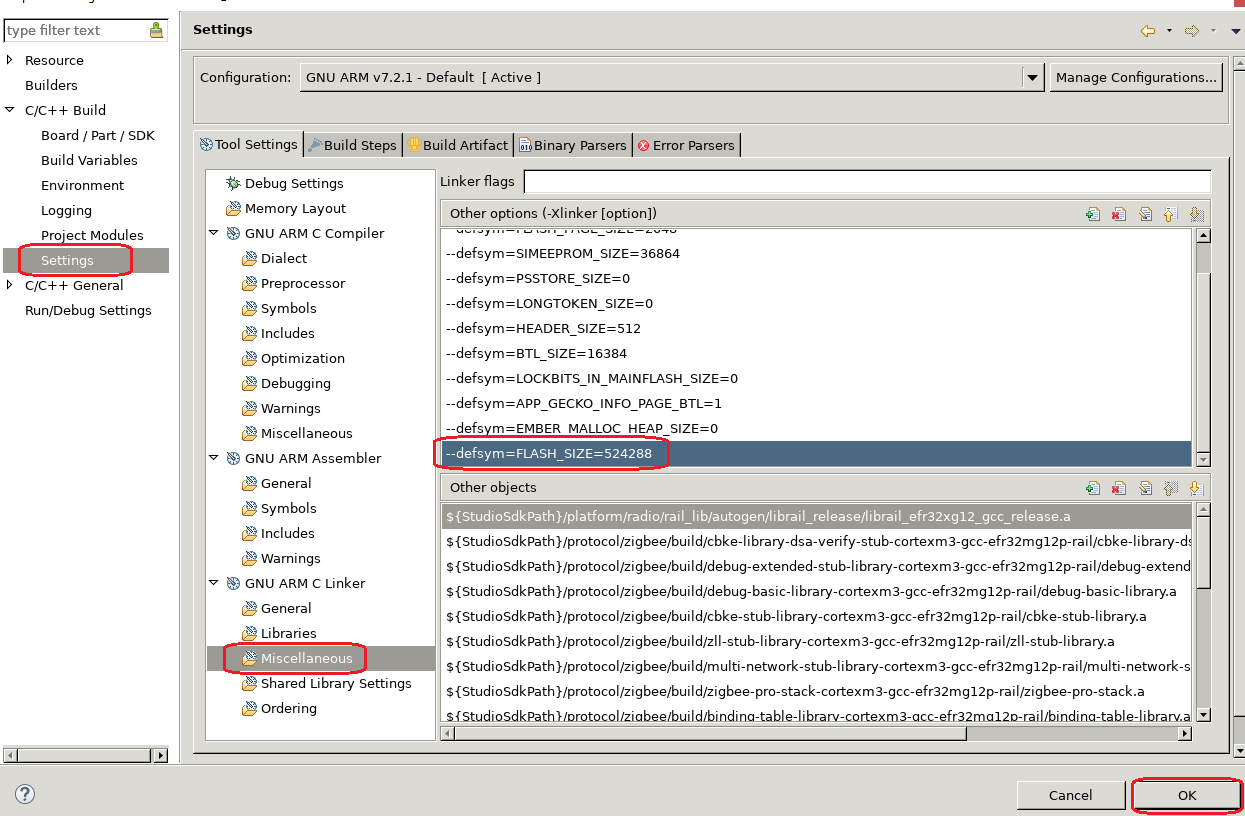
Create a ZigbeeMinimal project, generate, then select this project and right click, "properties", change the symbol "FLASH_SIZE" to 512KB, so that this application will only use the flash space from 0x0 to 0x80000.
After that, build it and flash the generated image into the kit.
Notes: If you regenerate your project, you need to check and configure the symbol "FLASH_SZE" again.
Create a ZigbeeMinimal project, generate, then select this project and right click, "properties", change the symbol "FLASH_SIZE" to 512KB as well.
After that, we need to change the linker file so that this application can run from a different address other than the default (0x0).
Copy file "C:/SiliconLabs/SimplicityStudio/v4/developer/sdks/gecko_sdk_suite/v2.7/platform/base/hal/micro/cortexm3/efm32/gcc-cfg.ld" to "C:/SiliconLabs/SimplicityStudio/v4/developer/sdks/gecko_sdk_suite/v2.7/platform/base/hal/micro/cortexm3/efm32/gcc-cfg1.ld", then modify the file gcc-cfg1.ld:
MFB_BOTTOM          = 0x00000000;   ---> change to 0x80000
MFB_TOP             = MFB_BOTTOM + FLASH_SIZE - 1;
Then build it and flash the generated image into the kit.
In both the applications, add a custom command "custom test <area>" to switch between the two applications. The source code is:
void custom_test_cmd()
{
	uint8_t area = emberUnsignedCommandArgument(0);

	if (0 == area) {
		halInternalSysReset(0xDCBA);
	} else {
		halInternalSysReset(0xABCD);
	}
}

EmberCommandEntry emberAfCustomCommands[] = {
    emberCommandEntryAction("test", custom_test_cmd, "u", ""),
    emberCommandEntryTerminator()
};In bootloader, modify the source file "btl_main.c".
- Remove the "const" attribute of the global variable "mainStageTable".
- Modify the function SystemInit2. Find the source code started with "add by jim".
/**
 * This function gets executed before ANYTHING got initialized.
* So, no using global variables here!
*/
void SystemInit2(void)
{
  // Initialize debug before first debug print
  BTL_DEBUG_INIT();

  // Assumption: We should enter the app
  bool enterApp = true;
  // Assumption: The app should be verified
  bool verifyApp = true;

  // Check if we came from EM4. If any other bit than the EM4 bit it set, we
  // can't know whether this was really an EM4 reset, and we need to do further
  // checking.
#if defined(RMU_RSTCAUSE_EM4RST) && defined(APPLICATION_VERIFICATION_SKIP_EM4_RST)
  if (RMU->RSTCAUSE == RMU_RSTCAUSE_EM4RST) {
    // We came from EM4, app doesn't need to be verified
    verifyApp = false;
  } else if (enterBootloader()) {
    // We want to enter the bootloader, app doesn't need to be verified
    enterApp = false;
    verifyApp = false;
  }
#else
  if (enterBootloader()) {
    // We want to enter the bootloader, app doesn't need to be verified
    enterApp = false;
    verifyApp = false;
  }
#endif

  //add by jim
  // *INDENT-OFF*
  #if defined(EMU_RSTCAUSE_SYSREQ)
    if (EMU->RSTCAUSE & EMU_RSTCAUSE_SYSREQ) {
  #else
    if (RMU->RSTCAUSE & RMU_RSTCAUSE_SYSREQRST) {
  #endif
      if (0xABCD == reset_classifyReset()) {
        mainStageTable.startOfAppSpace = (BareBootTable_t *)(0x80000);
      } else {
        mainStageTable.startOfAppSpace = (BareBootTable_t *)(0x0);
      }
    }
  //end add


  uint32_t startOfAppSpace = (uint32_t)mainStageTable.startOfAppSpace;

  // Sanity check application program counter
  uint32_t pc = *(uint32_t *)(startOfAppSpace + 4);
  if (pc == 0xFFFFFFFF) {
    // Sanity check failed; enter the bootloader
    reset_setResetReason(BOOTLOADER_RESET_REASON_BADAPP);
    enterApp = false;
    verifyApp = false;
  }

  // App should be verified
  if (verifyApp) {
    // If app verification fails, enter bootloader instead
    enterApp = bootload_verifyApplication(startOfAppSpace);
    if (!enterApp) {
      reset_setResetReason(BOOTLOADER_RESET_REASON_BADAPP);
    }
  }

  if (enterApp) {
    BTL_DEBUG_PRINTLN("Enter app");
    BTL_DEBUG_PRINT_LF();
#if defined(BOOTLOADER_WRITE_DISABLE)
    lockBootloaderArea();
#endif

#if defined(BOOTLOADER_ENFORCE_SECURE_BOOT) && defined(APPLICATION_WRITE_DISABLE)
    // The neccessary check of valid signature pointer for application at startOfAppSpace
    // is already done in bootload_verifyApplication.
    bootload_lockApplicationArea(startOfAppSpace, 0);
#endif

    // Set vector table to application's table
    SCB->VTOR = startOfAppSpace;

    bootToApp(startOfAppSpace);
  }
  // Enter bootloader
}
- Flash bootloader
- Flash the built image of zigbee_minimal_soc_0_mg12
- Flash the built image of zigbee_minimal_soc_1_mg12
By default, the bootloader will bootload the application "zigbee_minimal_soc_0_mg12". When the application starts up, you can use the following command to switch between the applications.
custom test 0  -- switch to application in area 0
custom test 1  -- switch to application in area 1
| Project | Comment |
|---|---|
| bootloader_storage_internal_single_mg12.sls | Bootload application in area 0 or 1 according to the reset cause |
| zigbee_minimal_soc_0_mg12.sls | Application runs in area 0 (0x0 ~ 0x80000) |
| zigbee_minimal_soc_1_mg12.sls | Application runs in area 1 (0x80000 ~ 0x100000) |
This example can be used on any parts with 1MB flash. Below are the steps of porting it to other part:
- Import the .sls file into Simplicity Studio
- Open the .isc file of each project, turn to "General" tab, hit button "Edit Architecture", then select the board and part.

If you regenerate your project, you need to check and configure the symbol FLASH_SZE again.
 Home |
 ![]() Zigbee |
Zigbee | ![]() Bluetooth |
Bluetooth | ![]() ZWave |
ZWave | ![]() Proprietary |
Proprietary | ![]() Thread |
Thread | ![]() Matter |
Matter | ![]() Hardware |
Hardware | ![]() Common
Common
All resources of this repository are released under license CC BY-NC-ND 4.0 