Zigbee Debugging Bootloader - Jim-tech/IoT-Developer-Boot-Camp GitHub Wiki
Table of Contents
In this page, we will introduce an approach to add debug print in the Gecko Bootloader. The debug info will be output through VUART. It's recommended to read the page about using the VUART first.
In Gecko Bootloader, there is already a plugin named "Debug". It implemented the debug print interface through SWO.

Please enable the two options:
- Debug prints
- Debug asserts
In the Gecko Bootloader project, it already defined a macro to print debug info.
BTL_DEBUG_PRINTLN(str)
You can use the macro to add your own debug info.
To enable the debug channel through SWO, you need to make some hardware settings.
- Open the .isc file of your project, turn to "HAL" tab, then hit the button "Open Hardware Configurator", enable "GPIO" and config the corresponding pin. This is the pin for SWO.

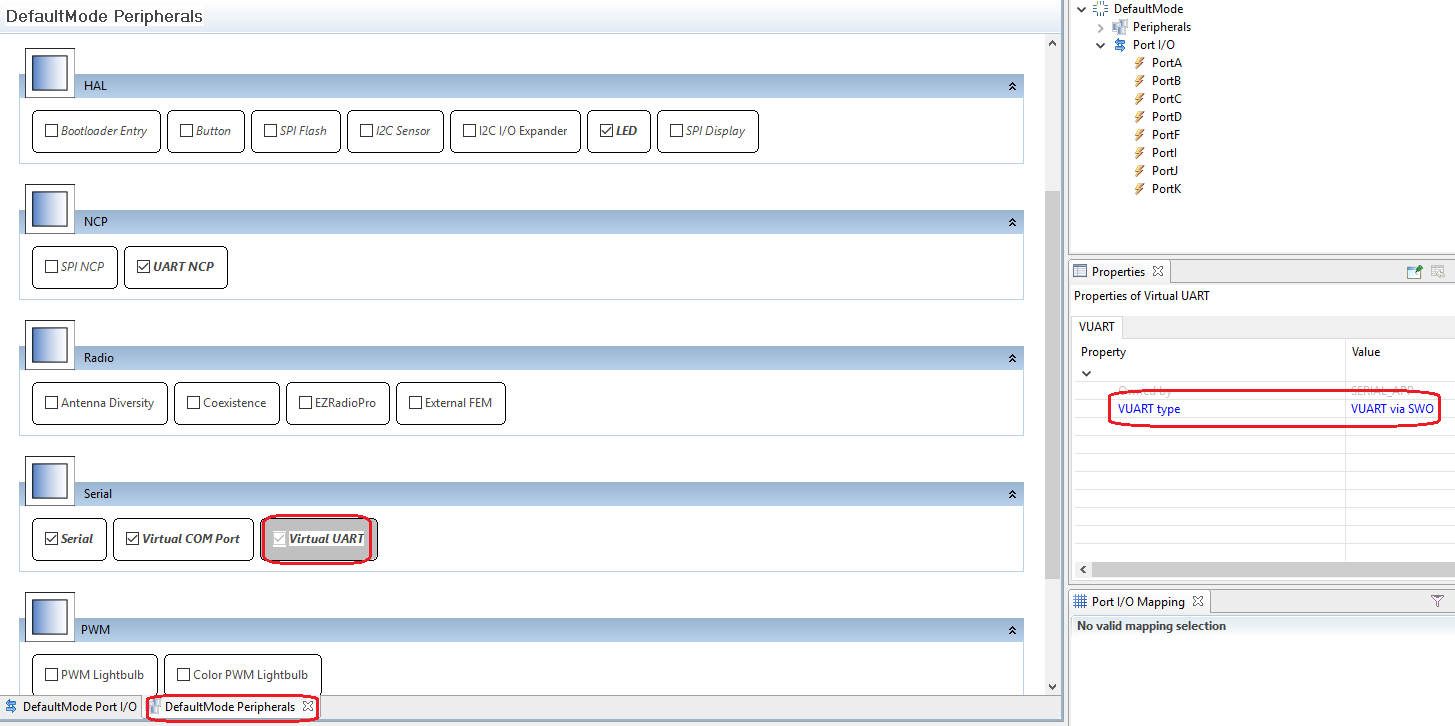
- Enable "Virtual UART". In its properties, select "VUART via SWO" for "VUART Type".

- Save and generate the Gecko Bootloader project, then build it and flash it to the board.
- Setup the VUART connection through SWD following the steps here.
- When the Gecko Bootloader starts up, you will see the debug info printed out.
BTL entry


