Ino Getting Started - Infineon/radar-bgt60 GitHub Wiki
In this quick tutorial we will go through the installation for the Arduino IDE.
- Experience level: beginner
- Basic computer user level
- Basic programming skills (C/C++)
- Basic soldering skills (recommended)
| Name | Picture |
|---|---|
| MCU |
 or other MKR-Boards from Arduino & 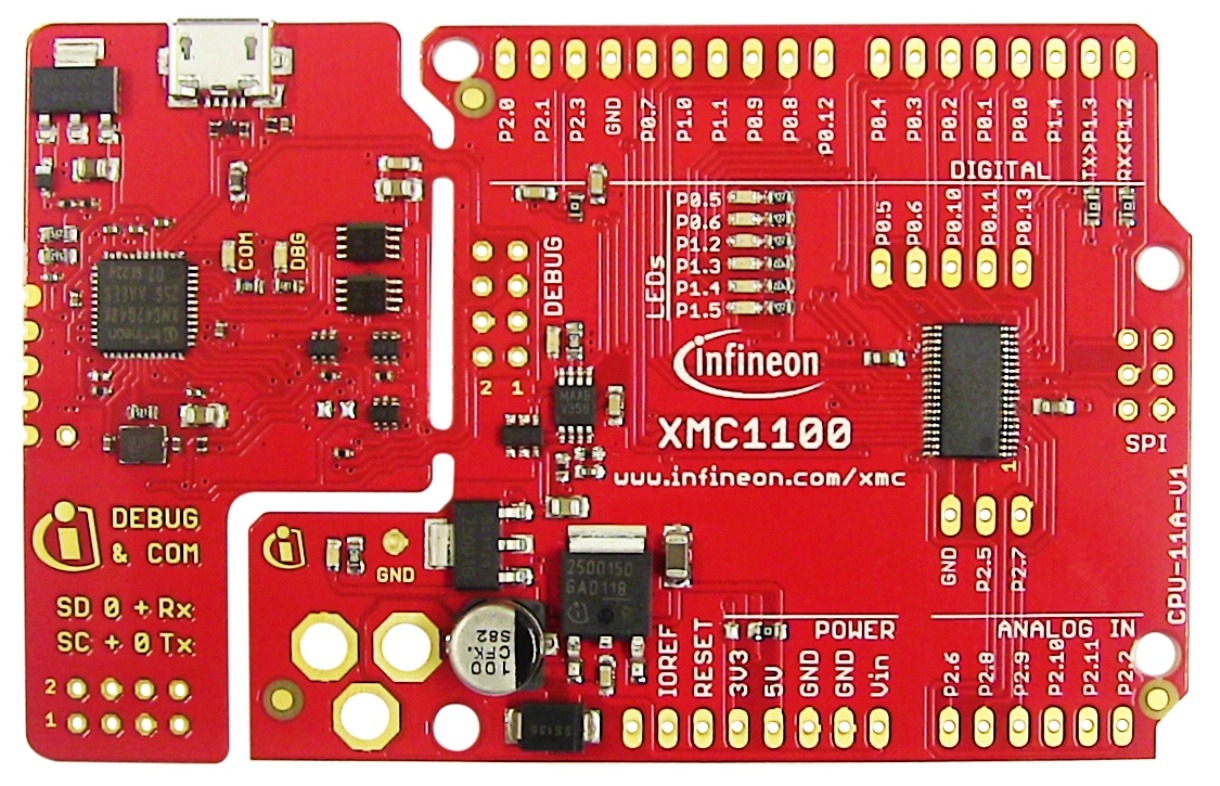 or other XMC-Boards from Infineon |
| 60 GHz Radar Shield |  |
| Pin headers | To solder them to the shield |
| Micro-USB to USB A cable | To connect the Arduino to the computer |
- Segger J-Link either for Windows or Linux
- Arduino IDE either for Windows or Linux
- Installed XMC-for-Arduino for your Arduino IDE (in case you want to use a XMC-Board), for instructions see here
- This library installed in the Arduino IDE, the instructions can be found here
-
Install the Arduino IDE. If you are new to Arduino, please download the program and install it first.
-
Include the XMC boards in the IDE (if a XMC is used). The official Arduino boards are already available in the Arduino software, but other third party boards as the Infineon XMC MCU based, need to be explicitly included. Follow the instructions in the link to add the XMC board family to the Arduino IDE.
-
Install the library. In the Arduino IDE, go to the menu Sketch > Include library > Library Manager. Type radar-bgt60 and install the library.
- Additional. Install additionally the Segger J-Link if you use an Infineon XMC1100 BootKit, XMC4700 RelaxKit or any other XMC-Board.
The BGT60 shield needs to be plugged into the right pin-headers in case you're using a MKR-Board from Arduino. In case you want to use the shield with another MCU, like the XMC1100 BootKit, use jumper cables to connect the shield to board.

As soon as you connected the radar to the controller board you can plug in the microUSB-cable into the controller and connect everything to your computer.
With everything ready, now we are going to upload and run one of the library examples.
-
Example detectMotion
Take the detectMotion example from the File -> Example -> radar-bgt60 -> detectMotion menu and compile the example.
Before you can upload the sketch to your desired MCU board you have to chose the right platform. This can be done under Tools -> Board -> desiredPlatform -> desiredBoard.
In order to upload the sketch now, you also have chose the right COM-Port. There is really easy way to do this. Unplug your connected MCU and then check the available COM-Ports under Tool -> Port. Now connect your MCU again and check the ports again. Now you should see a new one that was not there before. This is the right one.
If everything is set correctly you should be able to upload the code to the board. This can be done in the taskbar via Sketch -> Upload or with the arrow symbol in the upper left corner. These both options should upload the sketch to the board.
Now you can open the terminal from the IDE in the upper right corner (symbol of a magnifier). The serial monitor should tell you that the radar shield is initialized after a short time. Now you can move a object in front of the sensor and the monitor should tell you : "Target in motion detected".
-
Developing you own Sketch
In case you want to write your own sketch, you can include the library of the 60 GHz radar quite easily. The first option would be to take the one of the already existing examples and change the code as desired. Or you create a completely new sketch.
If you choose the second option you have to include the library first. This can be done via Sketch -> Include Library -> radar-bgt60. Now you should see
#include <bgt60-ino.hpp>in your file. This means the header-file of the library is included and you can use it from now on. You can also just write the same line of code yourself. It is not mandatory to use the taskbar for this.Now you can create an object of the class with the following line of code:
Bgt60Ino radar(TD, PD);The first argument is the tDet pin, and the second the pDet pin. If you are using one of the default platform configurations, these will be already set in the
btg60-platf-ino.hppfile. You just need include it in your sketch.With this class you now have access to all the public functions of Arduino API. For more information take a look into the Arduino API section.