Pre Lab Work - Hsanokklis/2022-2023-Tech-journal GitHub Wiki
Summary: Setting up A Windows and Kali Linux VM to be used for future labs
Install Windows 10 VM:
- Open VMWare Workstation Pro.
- Click on Home and then Open a Virtual Machine.
- Open VM: X:\VMs\S23\misc\windows.10.ltsc.f22 (See: importWindowsVM01.PNG)
- Name it: username.Win10
- Save to default location
- When it is done importing, open it (power on).
- login using the user "champuser" and the password "Ch@mpl@1n!22
- Change your password in the VM to something safe and appropriate (Settings->Accounts->Sign in Options->Password). (See: importWindowsVM02.PNG )
- Do all labs that require Window 10 Admin privileges on this VM.

Install Kali Linux VM:
Part 1
- Start VMWare Workstation Pro
- We don’t have admin access to the lab computers, so click Skip this Version.
- Click Home tab and then Create a New Virtual Machine
- Select typical
- Browse to X:\ISOs\S23\sec250 and select kali-linux-2022.3-installer-amd64.iso and then next
- Select Linux
- Set the Virtual machine name to your username.kali. For me, that would be dginter.kali
- Specify a maximum disk size of 20.0 GB (default) and split virtual disk into multiple files (default)
- Choose to customize the hardware
- Change the Network Adapter from NAT to Bridged and click close
- Verify Network Adapter is Bridged and click Finish
Part 2
- Click Power on this virtual machine.
- Select Graphical install
- Select English (language)
- Select United States (location )
- Select American English (keyboard)
- Wait for installation setup. Give your system a hostname of username.kali
- Provide a Full name
- Provide a username
- Provide a reasonably good password and enter it into your password manager.
- Set timezone to Eastern
- Use Guided - use entire disk
- Partition disks: use selected.
- Select All files in one partition
- Finish Partitioning and write changes to disk.
- Select Yes to write the partition to the virtual disk.
- Wait for installation
- Select software. I use the defaults
- Select yes to install grub
- Click the device (/dev/sda) as the location for the boot loader
- Click Continue to reboot and then in the yellow box select I finished installing
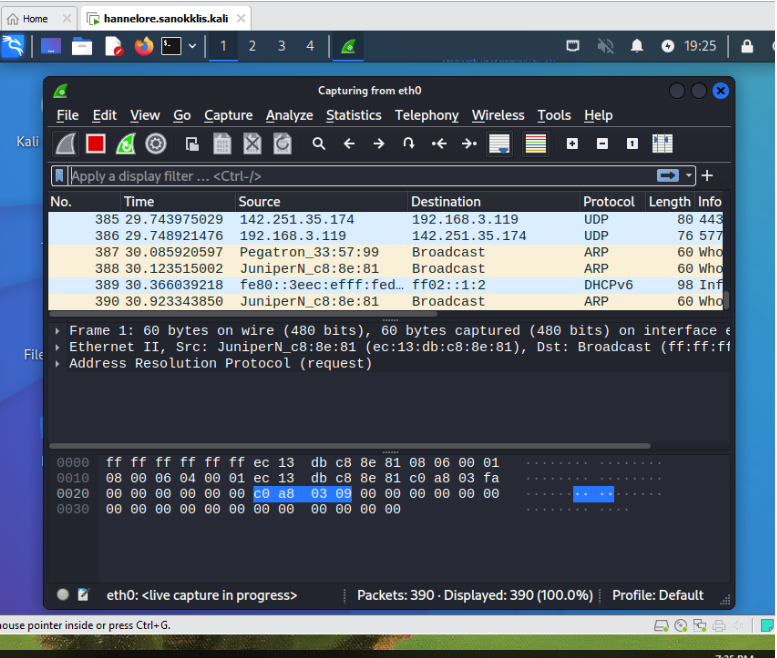
Wireshark running on the Kali VM