Getting Started - HighEncryption/SyncPro GitHub Wiki
Getting Started
This page covers the steps for installing SyncPro and creating your first relationship.
Download and Install SyncPro
If you haven't yet downloaded the installer, you can get it from the project's Releases Page.
Once downloaded, double-click on the installer file. The installation should be quick and only take a few clicks.
The installer will create an icon for SyncPro on the desktop.
images/SyncPro-Desktop-Shortcut.PNG
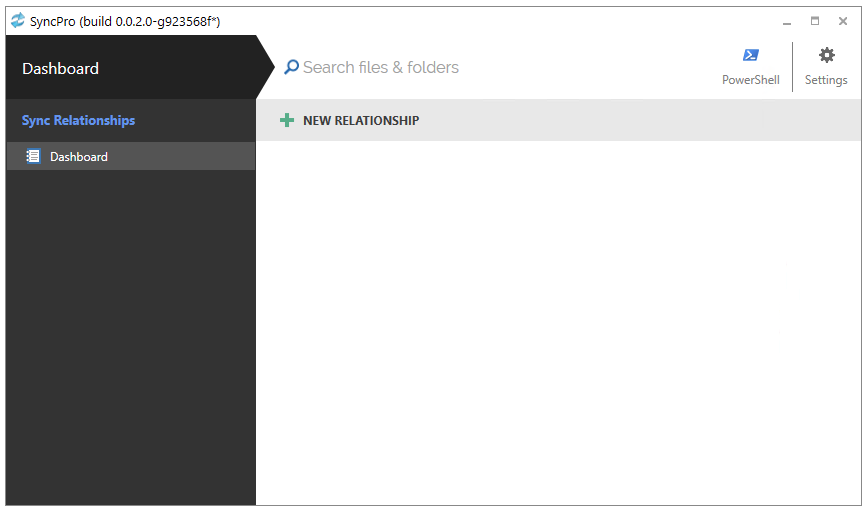
Double-click on the shortcut to start SyncPro. The application will load, and you will see the main window of SyncPro, ready to add a new relationship.
Create a new relationship
A relationship is a connection between two locations where SyncPro will keep the files up-to-date between these two locations. If files are added, updated, or deleted in one location, SyncPro will mirror that same change in the other location (depending on the settings for the relationship).
To create a new relationship, click on the + NEW RELATIONSHIP button at the top-center of the main window.
images/SyncPro-MainWindow-FirstRun.PNG
This will open the new relationship dialog window. Creating a new relationship is divided into six section. These are:
- Selecting the source (where files will be synchronized from)
- Selecting the destination (where files will be synchronized to)
- Selecting the rules for how files will be copied (which file types, etc.) [optional]
- Enabling throttling (dont sync faster than a certain speed) [optional]
- Selecting when to synchronize (manually, on a schedule, when files change, etc.)
- Providing a name (and optional description)
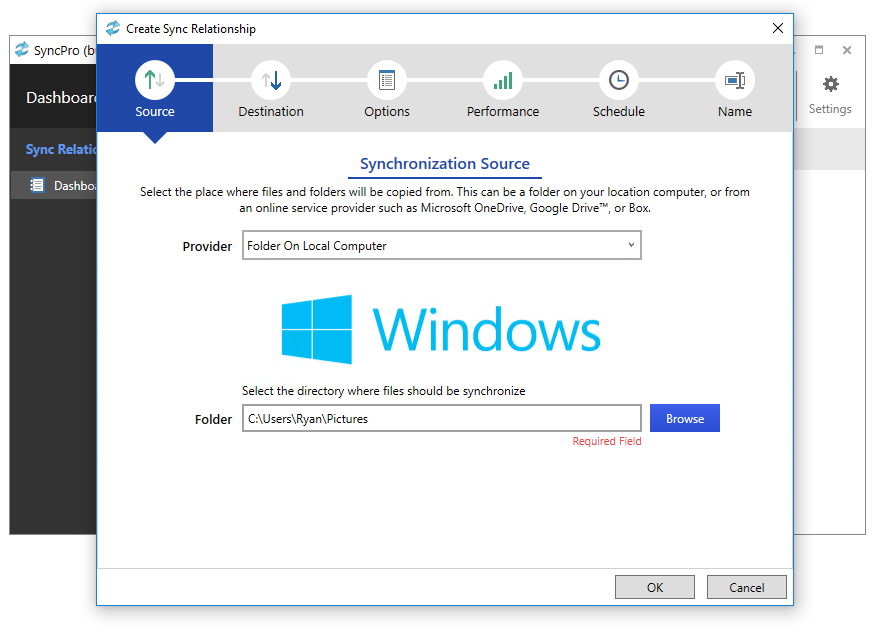
The first section requires you to specify where files should be copied from. This is known as the Synchronization Sources. The place where files will be copied to is known as the Synchronization Destination.
images/SyncPro-NewRelationship-Source.PNG
Select the location of the files (known as a provider) at the top of the dialog. For example, selecting "Folder On Local Computer" will allow you pick (you guessed it) a folder on the local computer where SyncPro is running.
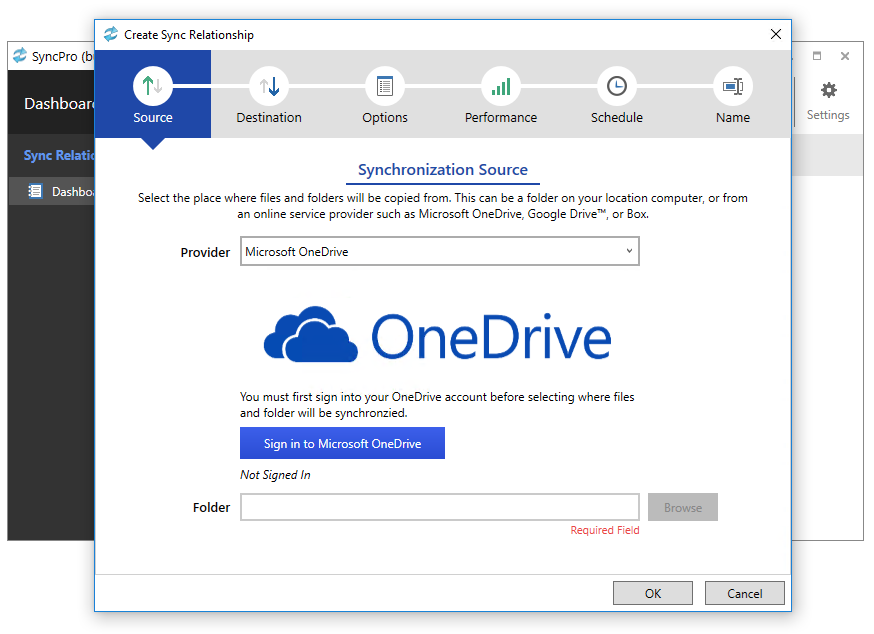
Similarly, if you wanted to copy files from a Microsoft OneDrive account, pick the "Microsoft OneDrive" option in the drop-down. The dialog will then ask you to sign into the Windows Live account associated with OneDrive. After signing into a Windows Live account, click on the Browse button to pick a folder in OneDrive where files will be copied from.
images/SyncPro-NewRelationship-SourceOneDrive.PNG
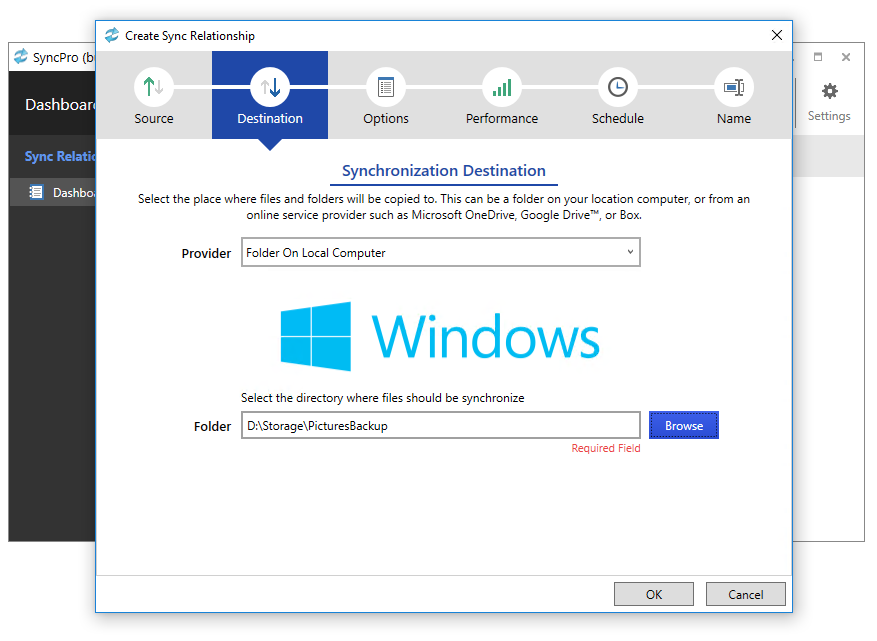
After the source is selected, click on the Destination tab at the top. Selecting a destination is similar to selecting the sources - you can select to copy files to a folder on your computer, a folder in Microsoft OneDrive, or any of the other providers listed.
images/SyncPro-NewRelationship-Destination.PNG
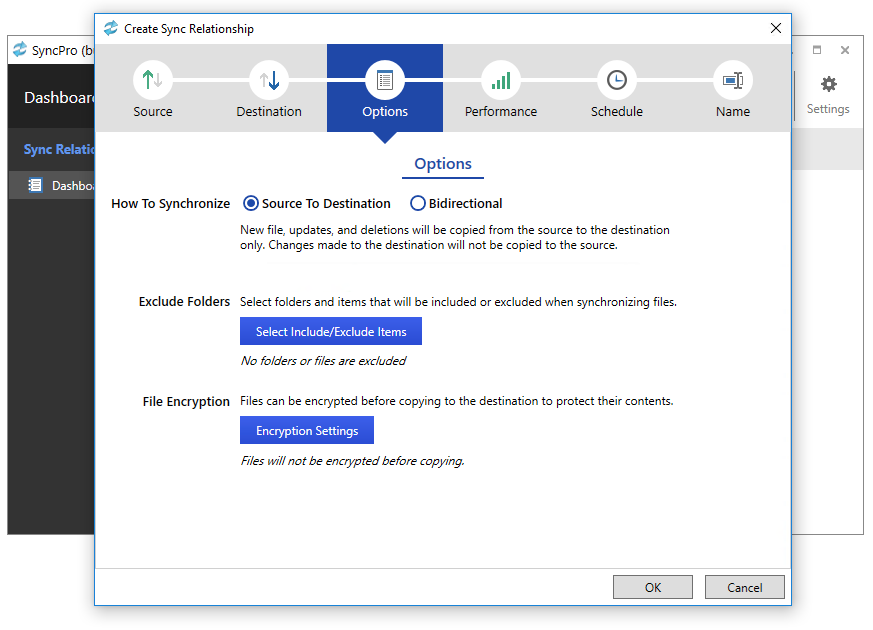
[Optional] Click on the "Options" tab at the top. You can change how files will be copied, or you can keep the defaults.
images/SyncPro-NewRelationship-Options.PNG
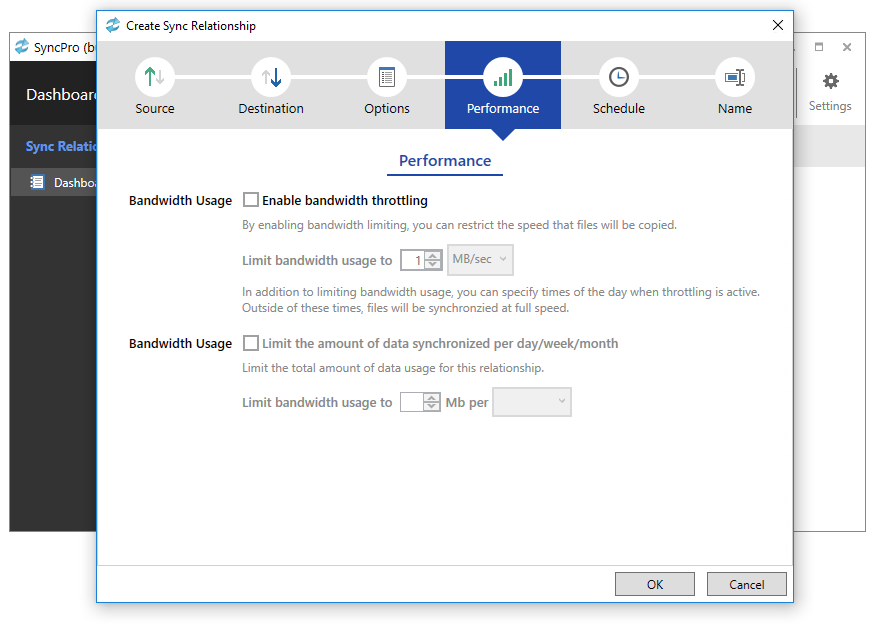
[Optional] Click on the "Performance" tab at the top. Here you can set limits for how much bandwidth SyncPro will use, or at what times of day it will not synchronize files.
images/SyncPro-NewRelationship-Performance.PNG
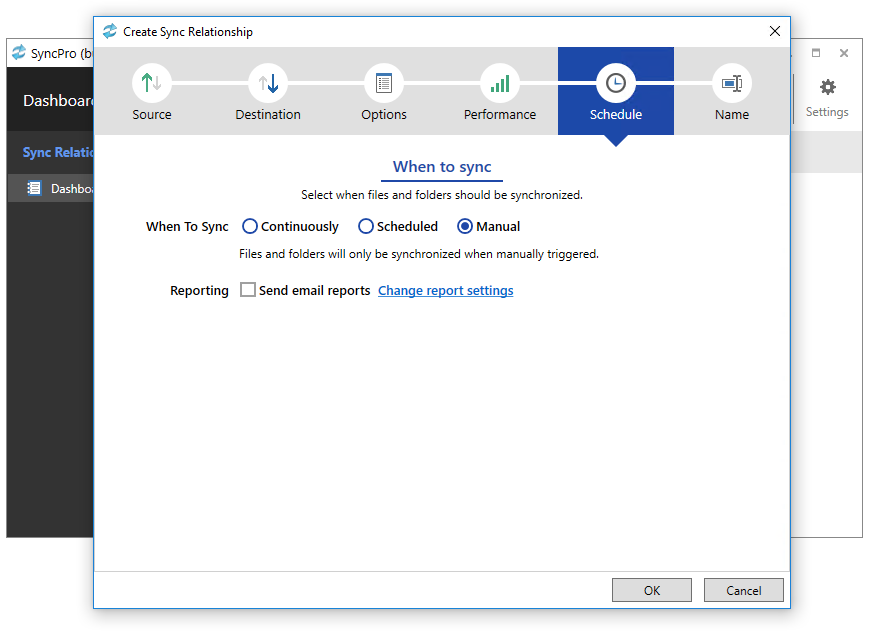
Click on the "Schedule" tab at the top. This will allow you to configure when files will be synchronized.
images/SyncPro-NewRelationship-Schedule.PNG
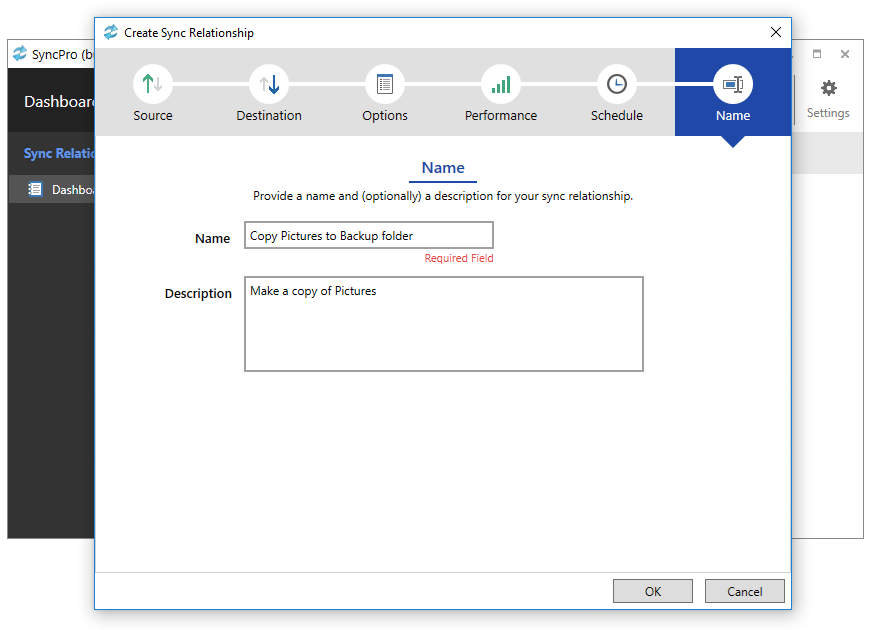
Finally, click on the "Name" tab at the top and give the new relationship a name.
images/SyncPro-NewRelationship-Name.PNG
That's it! Click OK at the bottom to finish creating the relationship.
With the first relationship configured, you can now analyze and synchronize your file.