10 Basics - HeinrichConvidera/RESTful-API-Gateway-Wiki GitHub Wiki
This chapter explains the basics of the RESTful API Gateway. What is an API Token, how to use this RESTful API Gateway etc.
Almost all activities require an user / API token. In this system user tokens and API tokens will be the same. How to pass the API token see here.
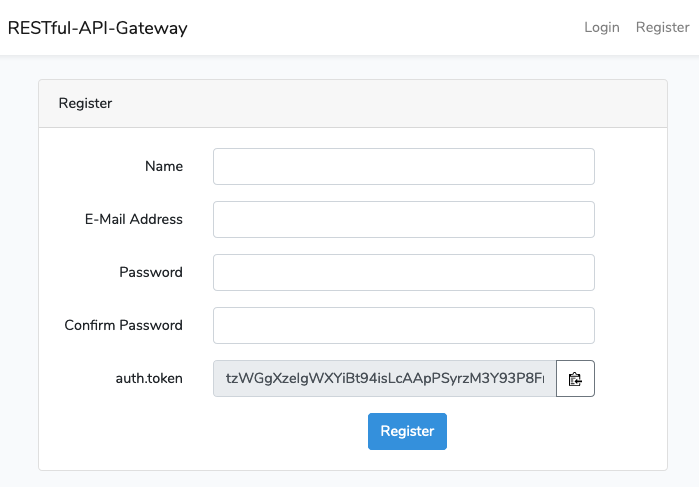
To get an API token you have to register yourself on the registration page: /gateway/register.
Here you can enter your data to register yourself.
 |
|---|
| Figure 10-1: Registration |
Important: Copy and save the API token. Only the hash will be saved that means the token can not be restored if you lose it.
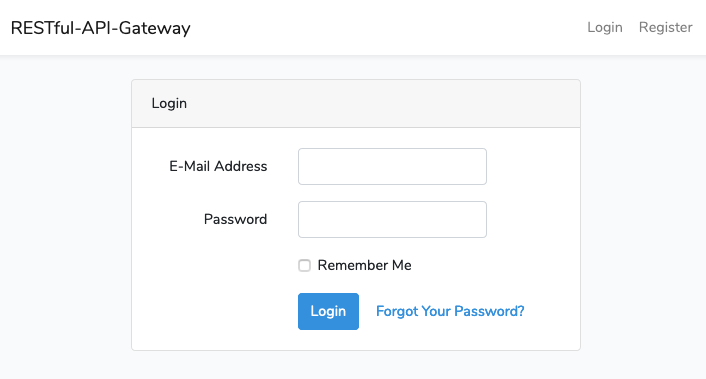
After you are registered you are also able to log yourself in.
 |
|---|
| Figure 10-2: Login |
The authentication is provided with Laravels API authentication.
There are several ways of passing the API token to your application. [...] You may choose any of these approaches based on the needs of your application.
For more information see the Laravel documentation.
One of the easiest ways is to add the query operator api_token:
<url>?api_token=<your-api-token>
By default, the response data will be JSON.
The supported response types are JSON and XML.
To set the response type add Accept: application/json or Accept: application/xml to the headers.
# REST: JSON
curl "<url>"

# REST: XML
curl -H "Accept: application/xml" "<url>"

# GraphQL: JSON
curl -H "Content-Type: application/graphql" -X POST "<url>"

# GraphQL: XML
curl -H "Accept: application/xml" -H "Content-Type: application/graphql" -X POST "<url>"