QuickStart - Grendel61/ros-visualization GitHub Wiki
ROS Visualization is a Docker container so installation and running can happen in the same step. ROS-Visualization was designed to provide a method for avoiding the install process for Gazebo and MoveIt, and allow you to run these applications directly from the container. There is no need to separately install ROS-Visualization just run it from the command line. You will have two categories of options to decide how you want to run the container:
- How you want to view the results of the ROS-Visualization container - For visualization and viewing of the desktop you can chose to use a VNC client or a browser client. This comes down to setting a port number. You can also set resolution and other information.
- Where you want to keep ROS source code and configurations specific to your run. For source code you can setup a detached volume. This enables you to put your simulation code into a Git directory that you can edit in your favorite IDE. The ability to attach a local volume (see above) also makes this solution viable for a development platform.
- Create a GitHub repository on your GitHub account to hold your source code, lets call this
ROS-source. - Clone to your local machine.
Important Passwords:
- The sudo username/password for the container's Ubuntu OS is
ros/ros- The default vnc password is
vncpassword
- In a terminal window (e.g. see example below on VSCode) run ROS-Visualization with a detached volume (e.g. -v). Replace
[Path to ROS-source directory](i.e.Users/yourusername/GitHub/robots/) with the actual local path to your ROS-source repository.
docker run -it --rm -p 5901:5901 -p 6901:6901 \
-e VNC_PW=vncpassword \
-v /[ROS-Source directory]:/home/ros/Desktop/src \
grendel61/ros-visualization:[Docker-Tag]
If you haven't previously Run the container, this first time will download all the images and setup the containers.
The end of the run should look like this:
------------------ start VNC server ------------------------
remove old vnc locks to be a re-attachable container
start vncserver with param: VNC_COL_DEPTH=24, VNC_RESOLUTION=1920x1080
...
start window manager
...


------------------ VNC environment started ------------------

VNCSERVER started on DISPLAY= :1
        => connect via VNC viewer with 172.17.0.2:5901

noVNC HTML client started:
        => connect via http://172.17.0.2:6901/?password=...


------------------ EXECUTE COMMAND ------------------
Executing command: 'bash'
To run a command as administrator (user "root"), use "sudo <command>".
See "man sudo_root" for details.

USER_ID: 1000, GROUP_ID: 1000
nss_wrapper location: /usr/lib/libnss_wrapper.so
ros@a9ab12a2d717:~$
This will place you inside the container logged in as the ros user with a password of ros
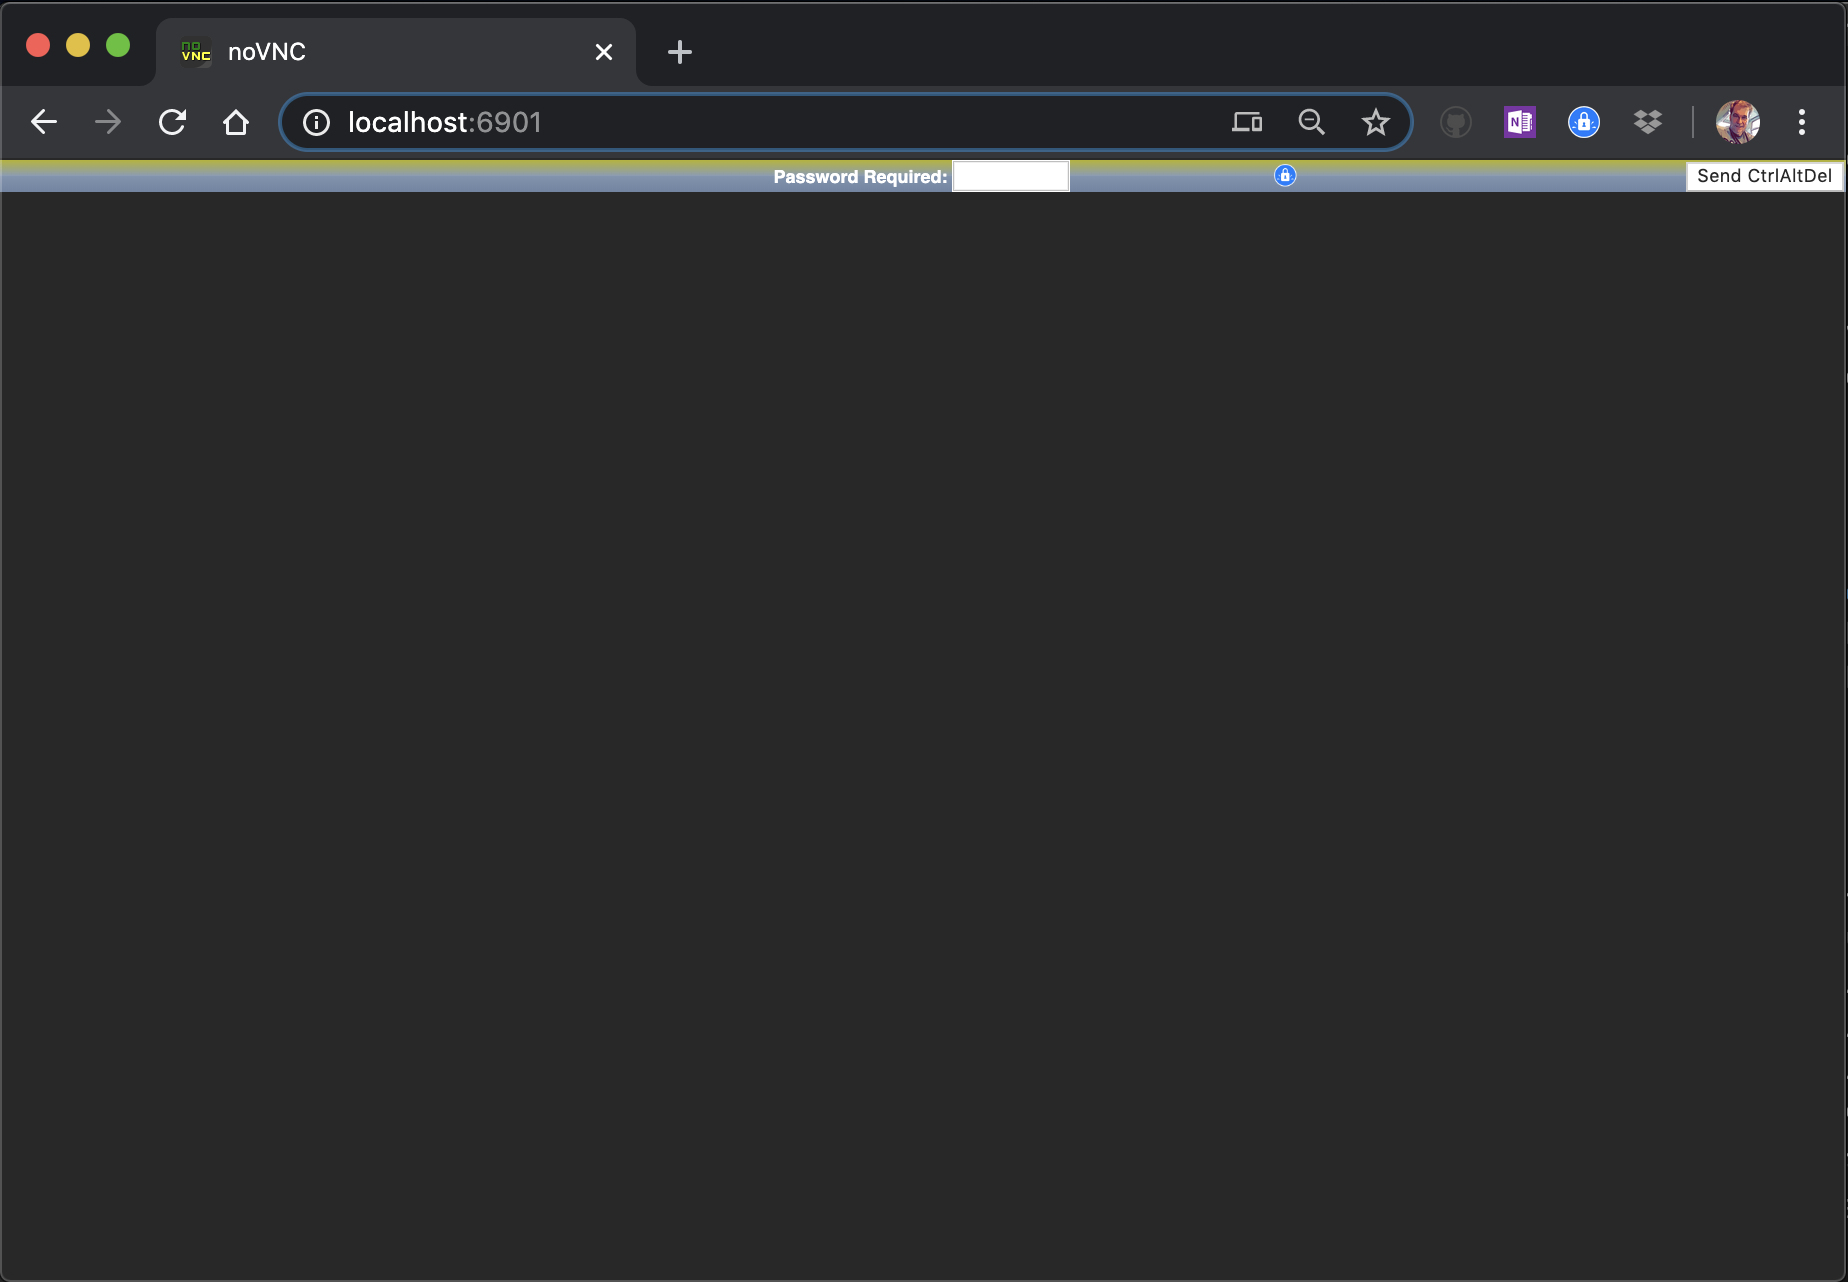
- Open up the desktop viewer in your browser. Open a browser window. In the URL field enter:
http://localhost:6901/
In the password field in the center top of the screen, enter:
vncpassword
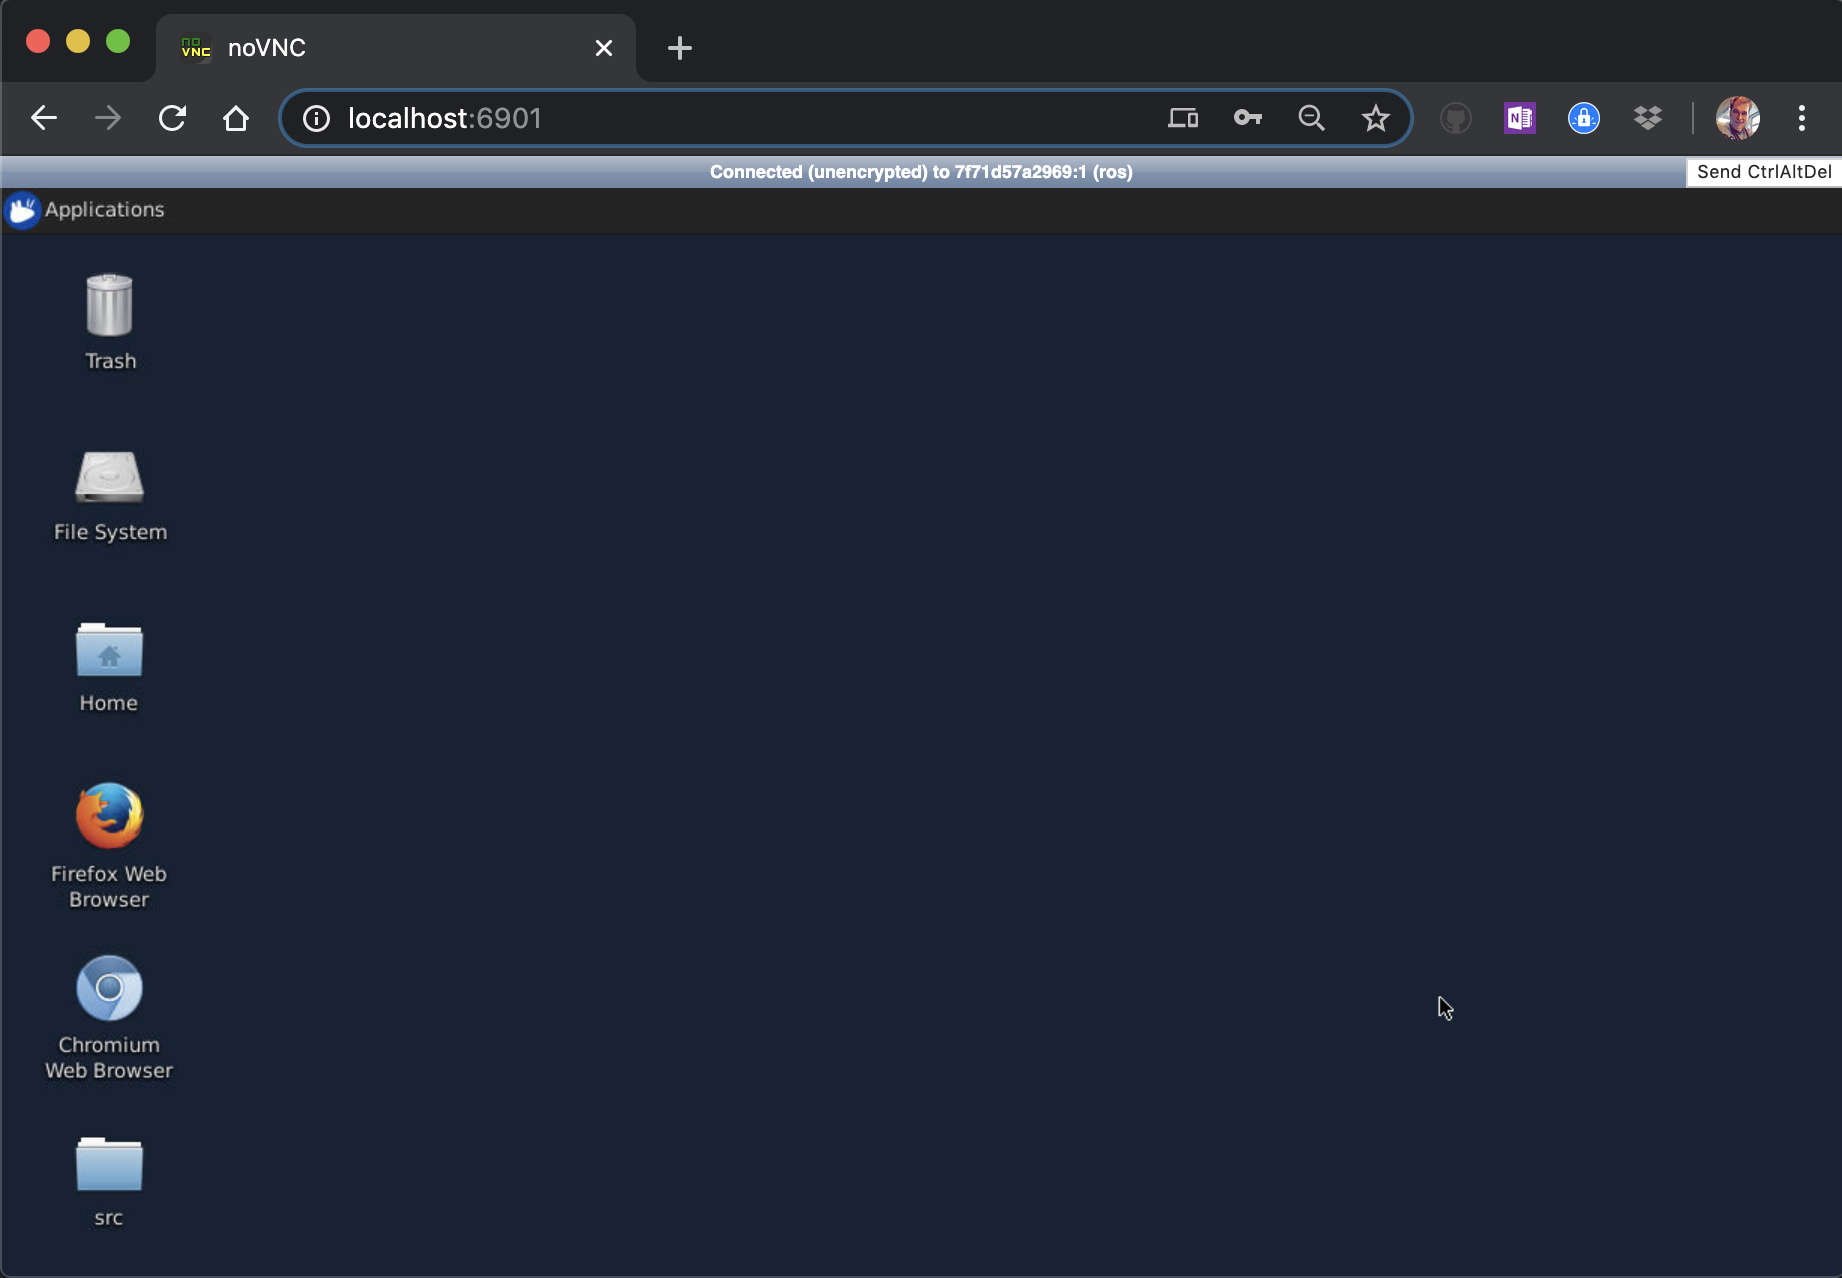
- Use the desktop. Entering the correct password will bring up the Ubuntu Desktop. Explore it.
- Ros-source directory (e.g.
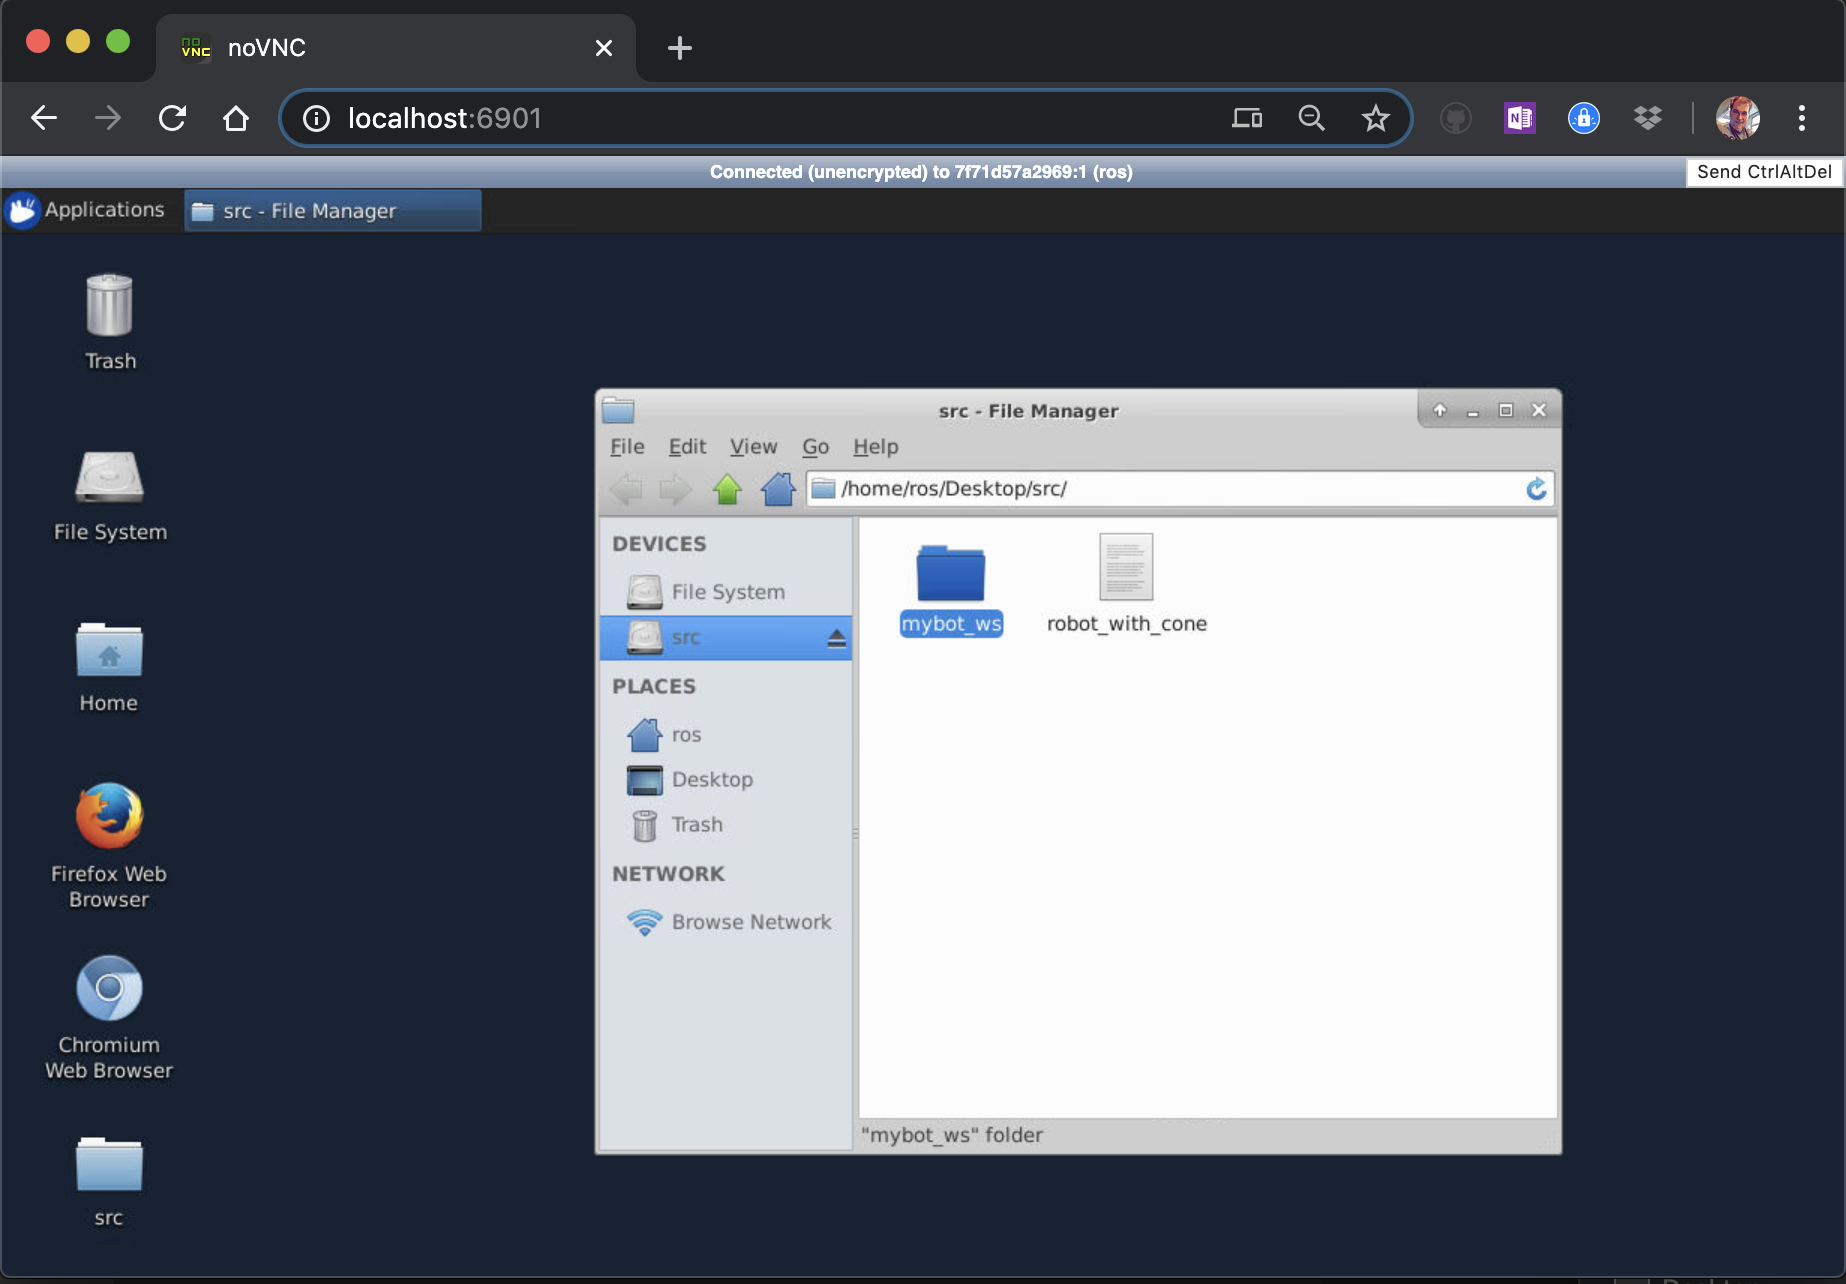
src). The source directory folder on the bottom left of the screen is where your configuration data and code will be stored. At startup unless you've used your Ros-source directory before it will be empty. Here is a Ros-source directory after using Moveit. In this way you can build your Catkin directories for ROS as above so that they will survive exiting the container, and can be under source control.
If you ever need to attach a new shell to the ROS container.
The simplest way to attach a shell is to use the Docker extension in VS Code. Start VS Code. Go to the Docker extension, and simply right-click on one of the containers in the CONTAINERS panel, you will see a number of Docker actions, like "stop" and "start. Select "Attach shell" you will see a terminal window open, and a you will be inside the container.
To manually attach a shell, begin by opening a new terminal window. Now enter the following command:
docker ps -a
This will list all your containers. Make a note of the "CONTAINER ID" for your ROS container. Now enter:
docker exec -it [ROS Container ID] /bin/sh -c "[ -e /bin/bash ] && /bin/bash || /bin/sh"
Replace [ROS Container ID] with the actual Container ID (i.e. 0bbf554d9c65). This will place you inside the container as a ros user. Type the word exit on the command line and press enter to exit the shell.