manual setup - Gorzontrok/Bro-Maker GitHub Wiki
This page walks through setting up a bro project by hand. If you'd rather skip the manual setup, Using the broforce-tools Script creates a working project and sets up the build system for you.
In Visual Studio 2022, click Create a new project.
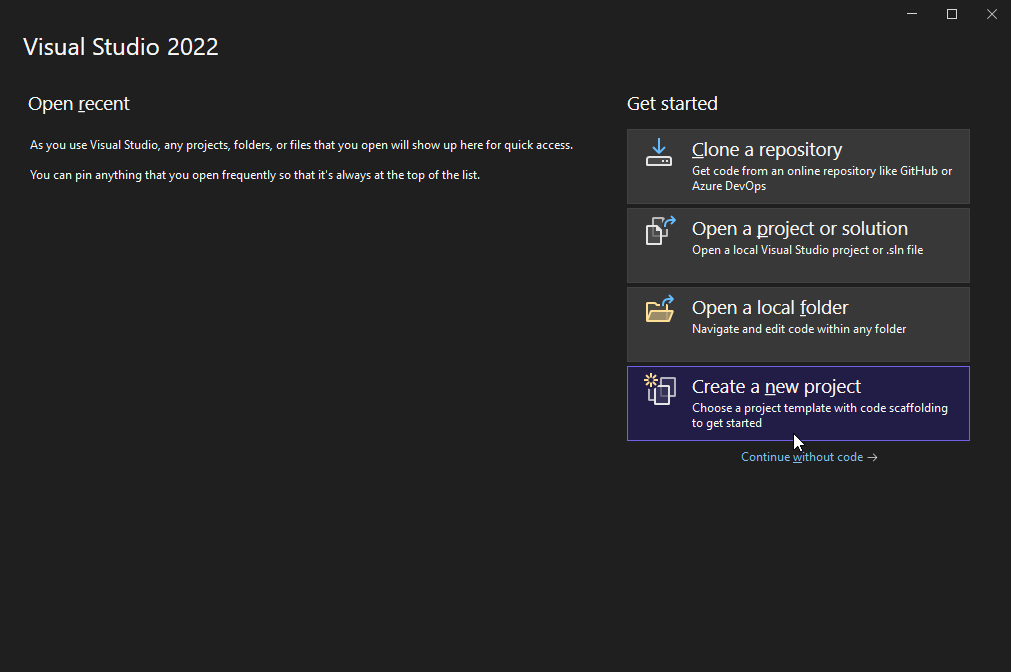
Choose the Class Library (.NET Framework) template. Make sure you don't choose the Visual Basic class library which has the same name
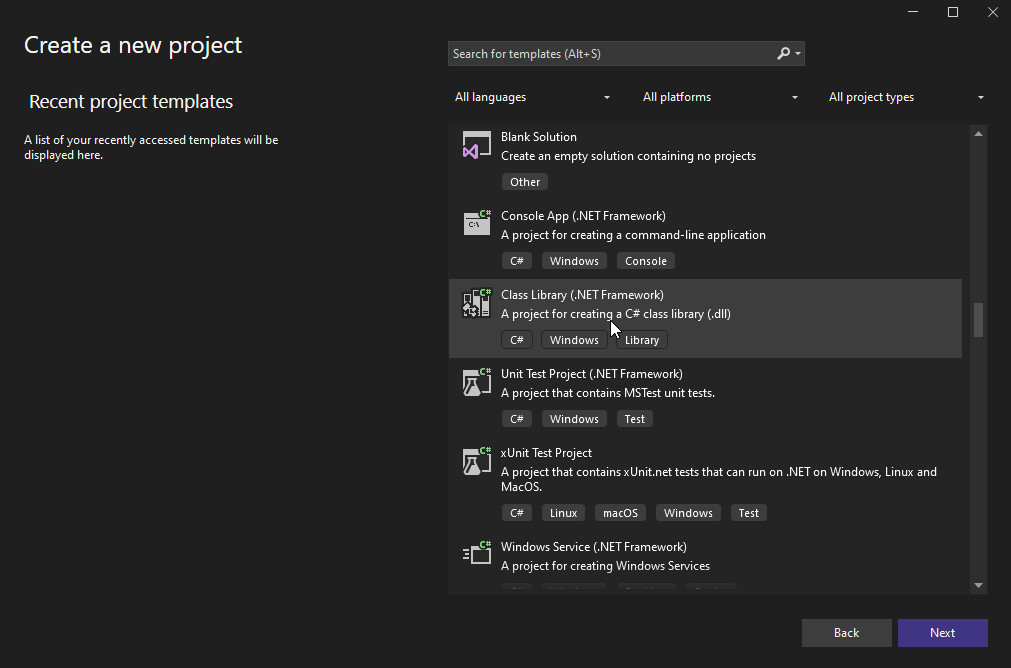
Name your bro whatever you want. Choose .NET Framework 3.5. If you don't see it listed, make sure you download and install it.
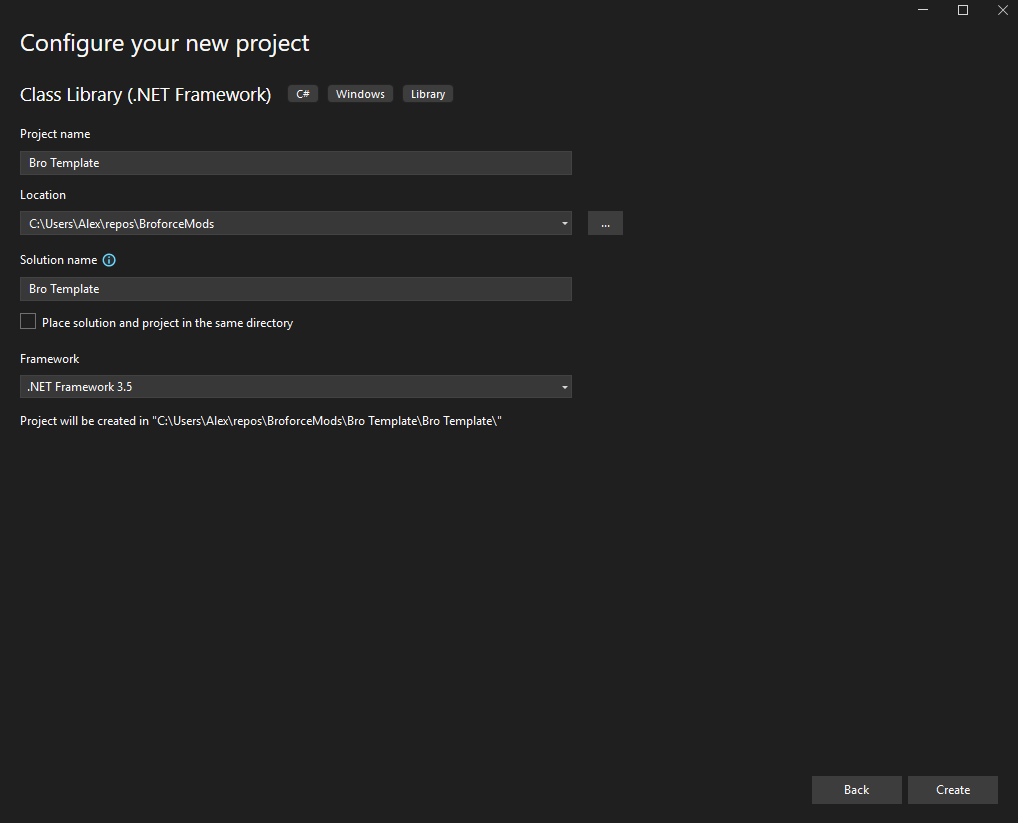
Now you should have your project open in Visual Studio.
Next you'll need to add the required references needed to compile the bro.
Download the dlls in this folder on my repo and place them in your repo.
Next you'll need to right-click on References, Click Add Reference...
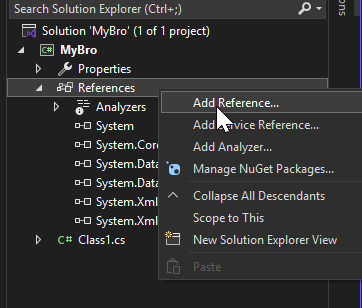
Click Browse..., navigate to the .dlls you downloaded, and select the following files:
0Harmony.dllAssembly-CSharp.dllUnityEngine.dllUnityEngine.CoreModule.dllUnityEngine.IMGUIModule.dllUnityEngine.TextRenderingModule.dllUnityEngine.UI.dllUnityModManager.dll-
Newtonsoft.Json.dll, which is required because your bro depends on BroMakerLib.
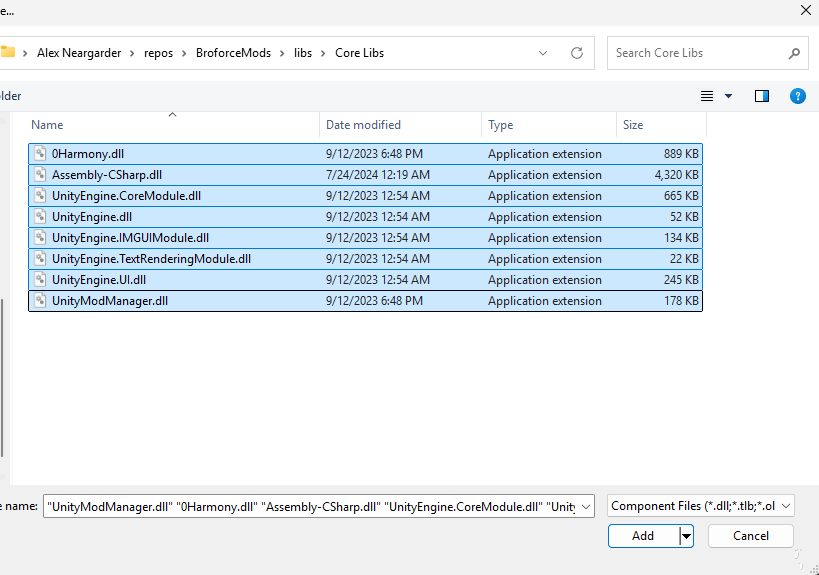
The rest of the files in libs/ (the extra UnityEngine.* modules, Rewired_Core.dll, BitCode.dll, mcs.dll) are for mods that need them. Most bros don't, so you can ignore them unless you find you need one.
Finally, you'll need to add BroMakerLib.dll, which is in the Mods\BroMaker-BroMaker\BroMakerLib\ folder of your r2modman profile.
The minimum code you need to actually create a bro is simply this
using BroMakerLib;
using BroMakerLib.CustomObjects.Bros;

namespace Bro_Template
{
    [HeroPreset( "Bro Template", HeroType.Rambro )]
    public class BroTemplate : CustomHero
    {
    }
}
The namespace and class name can be set to whatever you'd like. The first argument to HeroPreset registers this class as a custom preset, and the characterPreset field in your bro's JSON file (shown below) must match this string exactly — that's what links the two. The HeroType.Rambro argument controls which bro BroMaker copies default values from, but these values can all be changed, so it doesn't really matter what you pick. I use Rambro for almost all my bros.
You should add that code to your class and build the solution.
Next you'll want to create a folder in BroMaker_Storage for your bro, which can be named whatever you want, but it should probably match your bro's name.
Then you should create a bro JSON file such as this. See that page for a breakdown of each key.
{
  "name": "Bro Template",
  "characterPreset": "Bro Template",
  "parameters": {
    "BetterAnimation": true,
    "Sprite": "sprite.png",
    "GunSprite": "gunSprite.png",
    "SpecialIcons": "special.png",
    "Avatar": "avatar.png"
  },
  "cutscene": {
    "heading": "Bro Template",
    "subtitle1": "Joins the Battle!",
    "headingScale": 0.14,
    "spriteRect":
    {
     "x": 0,
     "y": 256,
     "width": 256,
     "height": 256
    },
    "spritePath": "cutscene.png",
    "anim": "Intro_Bro_Rambro",
    "playCutsceneOnFirstSpawn": true
  },
  "beforeAwake": {
    "speed": 130,
    "fireRate": 0.1,
    "canChimneyFlip": true,
    "originalSpecialAmmo": 1
  },
  "afterAwake": {},
  "beforeStart": {},
  "afterStart": {}
}
This JSON file can also be named anything, but it needs to have the .json extension, and you need to update the CustomBros variable in your mod file to point to it, which is explained below.
Note that you'll need all the .png files that are specified above. If you haven't drawn these yet, then you could use these placeholders, or you can just delete the lines that are setting them.
You also need a mod file to load your assembly, which should look like this:
{
  "Version": "1.0.0",
  "BroMakerVersion": "2.6.0",
  "Name": "Bro Template",
  "Author": "yourname",
  "CustomBros":[
    "Bro Template.json"
  ],
  "Assemblies": [
    "Bro Template.dll"
  ]
}
Make sure this file has the .mod.json file extension.
After you've created these files, you can copy your bro's compiled .dll, which should be at Your Repo\Your Bro's Name\Your Bro's Name\bin\Debug\Your Bro's Name.dll, to the folder you created in BroMaker_Storage.
If you'd rather not copy the .dll by hand on every build, Using the broforce-tools Script covers the build system that automates this step.
Then you should be able to start up the game and see your bro in the BroMaker menu. If you start a level, you can then switch to your bro by clicking on them and pressing "Switch to Bro".
With only this code, your bro will basically behave the same as Rambro.