VisualGDB Setup for Raspberry Pi Development - GlobalVent/wiki GitHub Wiki
VisualGDB is a very helpful plugin for Visual Studio for cross-platform development - everything from bare-metal microcontrollers to Linux systems. It relieves a ton of the drudge work involved in setting up tool chains, and provides a great IDE through Visual Studio. Visual Studio Community Edition is free, VisualGDB has a free uncrippled 30-day eval, then is $109 for the Linux Edition; I purchased the Custom Edition a year or so ago for about $200 for use with microcontrollers, too.
Note that I used a Raspberry 3 B+, but I'm suspecting it works on the 4 as well.
In this case we'll install and configure VisualGDB to create/build versions a C++/Qt project that:
- compiles on the PC and runs on the Pi, or
- compiles and runs on the Pi
A couple of wikkid cool things:
- The Pi does not have to be attached to the PC - it just needs to be on the LAN (via Ethernet and probably WiFi although I didn't try)
- When running the Qt app on the Pi, VisualGDB displays the Qt display windows on the PC using XMing X-Server for Windows.
Here's how I got it working:
- Obtain a Micro SD card of at least 16 GB and as fast as possible - these specs become important later in this document.
- Install Raspian on the Pi using that micro SD card. I used the February 2020 version found here and the setup instructions found here, with a monitor, keyboard and mouse. Instructions for a headless Raspberry Pi Dev Os Setup will probably work too.
- After installation, check the IP address (assuming DHCP) and enable SSH.
- Download and installation instructions for VisualGDB.
NOTE: that as of 2020-04-12, the Beta version (5.5 Preview 4) on that page is needed for this configuration (using CMake).
Now, try the first option, cross compilation (builds on PC and runs on PI). Follow instructions here, and everything is installed including a starter Qt app. For me, this just worked, although it took 10 minutes or so to run the first time as the VisualGDB keeps a copy of the Pi image on the PC and had to copy this over. Note that VisualGDB deals with synchronizing this at each build, and only syncs changed files - much faster.
The second option, build and run on the Pi, takes a little more work. Through a little trial and error, I find that I needed to follow instructions on this page on the Pi to add some stuff so it builds properly. This build takes a while (probably an hour+) and seems to be SD-card speed-limited, and requires an SD card > 8 GB (my 8 GB card ran out of space and crashed).
Now follow the instructions here to create and build a Qt demo app. NOTE: the one deviation that I had to make was to explicitly change the Pi's path to CMake binary from VisualGDB/$(ConfigurationName) to /usr/local/bin: 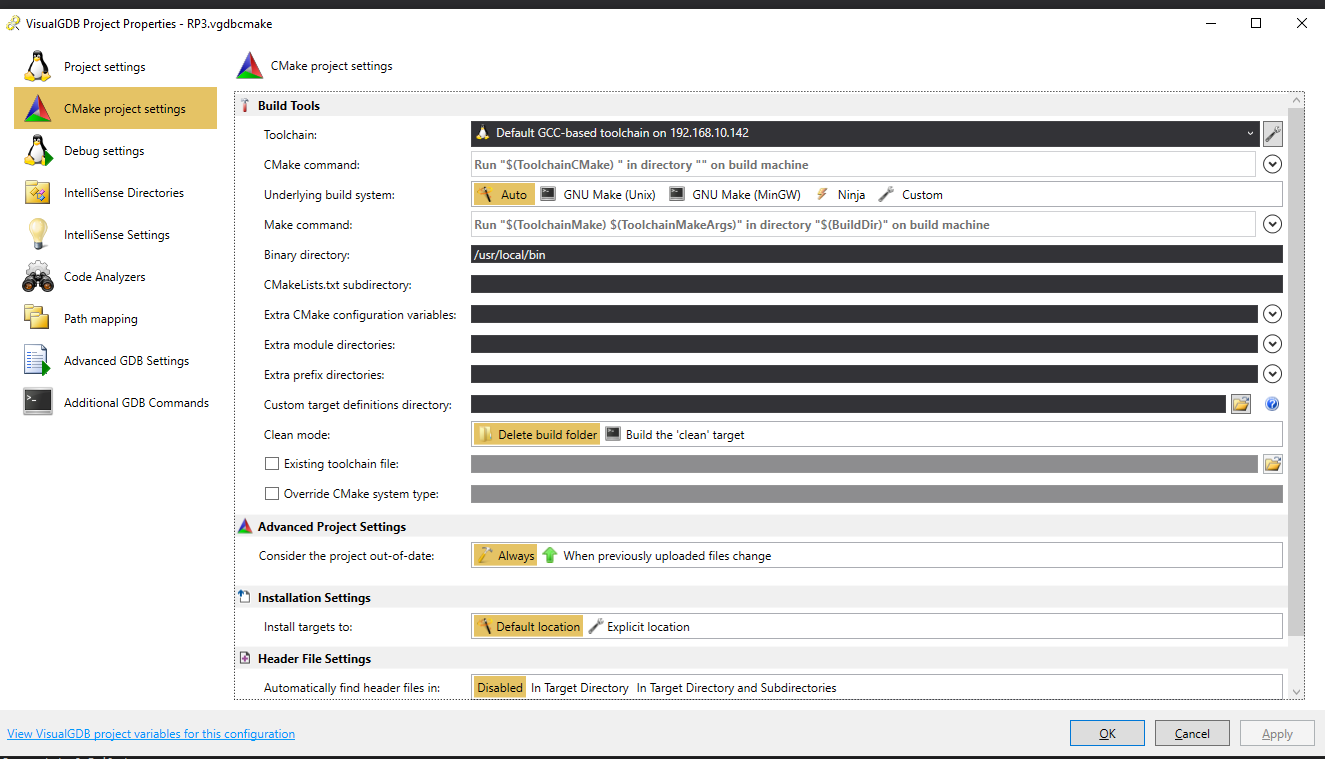
If you have things set up correctly with your RPI, pressing the Start (preceded by green triangle) button in VGDB, will copy the files to your RPI /home/pi and run the exe.
Problem is that it won't show up on your PC, you have to log into RPI Desktop to see the app running.
You will need to have a keyboard/monitor on the RPI to see the application or I would recommend VNC Connect desktop sharing like I use. https://www.realvnc.com/en/connect/
Once you have the files on the RPI you can run from a terminal.
On the RPI
pi@jpwrpi02:~ $ pwd
/home/pi
pi@jpwrpi02:~ $ ls J* C*
Config.json  JamventGui
- JamventGui is the exe.
- Config.json is a configuration file that is read on startup.
To run the GUI
pi@jpwrpi02:~ $ ./JamventGui
- Will start in the Power Up Screen.
- Treatment button will take you to main Treatment screen.
- Esc key will exit the application.
Also, when you start an application from VGDB you can debug, set breakpoints, examine data, ...
when I first tried to open QT UI doc to edit- I had to specify path to qt's designer.exe which I found under C:\Qt\5.12.5\msvc2015_64\bin . Should be similar for diff version/compiler Also I saw you can add QT VS Tools extension(under extensions). Note Visual studio doesnt like mingw... but likes mscv...
When VisualGDB sets up the toolchain for a crosscompile and QT, it downloads a pre-commpiled version of QT version 5.11.3. NOTE: this is found in the archives, when loading and setting up QT Creator.
Not all the Widgets and tools available for QT are available in this version.
I found the version downloaded and preconfigured with VisualQT here: (NOTE No QtCharts)...
ls -l C:/SysGCC/raspberry/arm-linux-gnueabihf/sysroot/usr/include/arm-linux-gnueabihf/qt5

    Directory: C:\SysGCC\raspberry\arm-linux-gnueabihf\sysroot\usr\include\arm-linux-gnueabihf\qt5


Mode                LastWriteTime         Length Name
----                -------------         ------ ----
d-----        4/14/2020   3:44 PM                QtConcurrent
d-----        4/14/2020   3:44 PM                QtCore
d-----        4/14/2020   3:44 PM                QtDBus
d-----        4/14/2020   3:44 PM                QtGui
d-----        4/14/2020   3:44 PM                QtNetwork
d-----        4/14/2020   3:44 PM                QtOpenGL
d-----        4/14/2020   3:44 PM                QtOpenGLExtensions
d-----        4/14/2020   3:44 PM                QtPlatformHeaders
d-----        4/14/2020   3:44 PM                QtPrintSupport
d-----        4/14/2020   3:44 PM                QtSql
d-----        4/14/2020   3:44 PM                QtTest
d-----        4/14/2020   3:44 PM                QtWidgets
d-----        4/14/2020   3:44 PM                QtXml
When I contacted VisualGDB support about using other verions of QT the reply here: https://github.com/JamVent/wiki/issues/32#issuecomment-617419247
Which basically said they would help us set this up via a shared session at a cost of $300/hr. hm....
So, i would recommend we limit the widgets we use to the ones that come with VisualGDB....
To enable I2C:
- Start raspi-config: sudo raspi-config.
- Select option 5 - interfacing options.
- Select option P5 - I2C and enable
- Exit raspi-config and reboot the Pi for changes to take effect.
Also, remember to access the GPIO pins you need to elevated privileges so run application with sudo.
You will need to install it on the pi and sync sysroot in VisualGDB.
On your pi, do the following
sudo apt-get update
sudo apt-get install libqt5serialport5-dev
And then from VisualGDB/Visual Studio sync sysroot
- Project > VisuualGDB Project Properties > CMake project settings > Build Tools
- Click Sychronize sysroot button on right.
Note: This section is under construction. I updated the Open Pull Request section. Still more to do. J. Wild 08/17/2020
- Create a branch using the GitHub website
Go to the prototypes GitHub web page.
GlobalVent / prototypes / tab (https://github.com/GlobalVent/prototypes)
- Select the <> Code tab
- Select the branch pulldown (upper left in tab, set to master orginally) >
- Type in a branch name in the "Find or create a branch" text input: feature/jpw-add-focus-state-to-gui
- Select "Create branch: feature/jpw-add-focus-state-to-gui from 'master'"
I used the branch "feature/" prefix as Carly had done. Not sure what conventions we plan to follow. I also included my initials "jpw-" in the branch name.
- Switch to branch, make modifications, and commit using git-bash/command line.
Use the the git-bash command line to pull and switch to the branch.
~/src/prototypes: [master]
# Pull to get new created branch into your local repo/clone
$ git pull
$ git branch -a | grep jpw
  remotes/origin/feature/jpw-add-focus-state-to-gui
~/src/prototypes: [master]
$ git checkout feature/jpw-add-focus-state-to-gui

# Make modifications and then commit to your local repo
# -a = adds modified files to be committed.
$ git commit -a
- Merge from the main (master) branch to get latest, and resolve any merge conflicts
$ git merge origin/master
- Open a pull request using the GitHub website
Go to the prototypes GitHub web page.
GlobalVent / prototypes / tab (https://github.com/GlobalVent/prototypes)
There is a green "Compare & pull request" button next to your recently pushed branch (I think). Click it.
- Update the title and description.
- Add Assignees to review in the right column. I added
@alcohen alcohen
@carlyjb carlyjb
@ajo27 ajo27
@ralphBellofattoSTX ralphBellofattoSTX
@dcstraney dcstraney
- Then click the green "Create pull request" button. Your pull request is now ready to be reviewed.
- When pull request is reviewed, merge the pull request using GitHub website (You can delete your branch during/after the merge)
I'm not sure what conventions we will follow to review and approve. We should discuss as a team.
Once you code is reviewed by the team.
- Click the green Merge pull request button to merge the changes into main.
- Click Confirm merge.
- Go ahead and delete the branch, since its changes have been incorporated, with the Delete branch button in the purple box.