Using computational notebooks - GlascherLab/LabWiki GitHub Wiki
Computational notebooks are a great tool to keep ideas and concrete procedures for analyses, the corresponding code, and the resulting figures together in a single document. They are a combination of Markdown text and code block that can be executed with a specific kernel (or interpreter, e.g. Python, R, Julia, bash, Perl etc.) and which generate text or figures as output. I a way, this is THE tool for a research diary that can document the thought process of a project and the steps that resulted from this process.
Jupyter notebooks
Jupyter notebooks (from Julia, Python, R) are probably the most established computational notebooks. They run in a browser and consists of different blocks (code blocks and text blocks) and they use a specific kernel (e.g. Python) for interpreting and executing the code blocks. There are meta-packages that allow switching between interpreters within a single notebook (Script of Scripts (SoS)). However, until about 2023 Jupyter notebooks could not run MATLAB code, but that year Mathworks released the jupyter-matlab-proxy that enables Jupyter to use an existing MATLAB installation for running MATLAB code.
Installation of MATLAB kernel
The installation procedure is quite simple in a Python environment and described in the project's README file. However, there are a few suggestions and tips that will ease the installation process.
- MATLAB has to be installed and the folder containing the executable binary has to found on the system path. On MacOS, MATLAB is installed in the
/Applications/MATLAB_RXXXX.appfolder. To include it on the system path, you need to edit your shell startup configuration (e.g. $HOME/.bashrc) and include the following line:
export PATH="$PATH:/Applications/MATLAB_R2024a.app/bin"
Then close the Terminal and reopen it for the changes to take effect. Check if MATLAB is found on the system path with which matlab.
-
Importantly, do not use the most recent MATLAB version as you might encounter some problems when logging into MATLAB with your Mathworks account. I found that R2024a works on my Macbook Pro in a
minicondaenvironment (see next item) -
Install an anaconda or miniconda Python environment. You can find miniconda instruction here for all major OSs. On MacOS, you can install miniconda from a Terminal with these commands
mkdir -p ~/miniconda3
curl https://repo.anaconda.com/miniconda/Miniconda3-latest-MacOSX-arm64.sh -o ~/miniconda3/miniconda.sh
bash ~/miniconda3/miniconda.sh -b -u -p ~/miniconda3
rm ~/miniconda3/miniconda.sh
Then close and reopen the Terminal and activate the conda environment with
source ~/miniconda3/bin/activate
- Finally, you need to install
jupyterlab(and thenotebookpackage, if you prefer the old Jupyter notebook layout) and thejupyter-matlab-proxyusingpip3from the miniconda environment.
cd ~/miniconda3/bin; ./pip3 install jupyter-matlab-proxy; ./pip3 install jupyterlab
(The reference to the miniconda environment is only mentioned because you might have a system-wide Python installation (e.g. with homebrew) and using per default the tools from this distribution my be used. Trying to install the MATLAB proxy into the the homebrew Python installation did not work for me.)
After installation, you'll find a binary jupyter-lab in the ~/miniconda3/bin. If you start from a Terminal, the JupyterLab Launcher will start in a browser windows, and you should be able to select "MATLAB Kernel" as the interpreter. Note that you may need to login with you Mathworks account for the first time, when you execute some MATLAB commands.
- It is possible to install the MATLAB proxy into a virtual Python environment to encapsulate it from the main Python installation. This installation tutorial describes how to setup a virtual Python environment using conda:
conda create -vv -n jlab python=3.11 jupyterlab -y
conda activate jlab
You can then install jupyterlab and jupyter-matlab-proxy as before. To use JupyterLab, change to the directory, where you want to create the notebook and start it with ./miniconda3/bin/jupyter-lab or just jupyter lab. Once you are done, you can deactivate the virtual enviroment with conda deactivate jlab. When you revisit your notebook, you need to activate the jlabenvironment again and start Jupyterlab as before. Note that I haven't tried this myself, but if you test it and it works, please let me know.
Using a Jupyterlab notebook
Usually a jupyterlab notebook consists of code block and text block, you can change which block you want to use for the current block with the dropdown menu in the toolbar (change 'code' to 'markdown' or with the Y and the M key) and you to execute each block with the play button in the toolbar or with CTRL-RETURN (or OPT-RETURN, which also adds a new block after executing the current block). A code block is recognizable, when it has [ ]: written before its entry field.
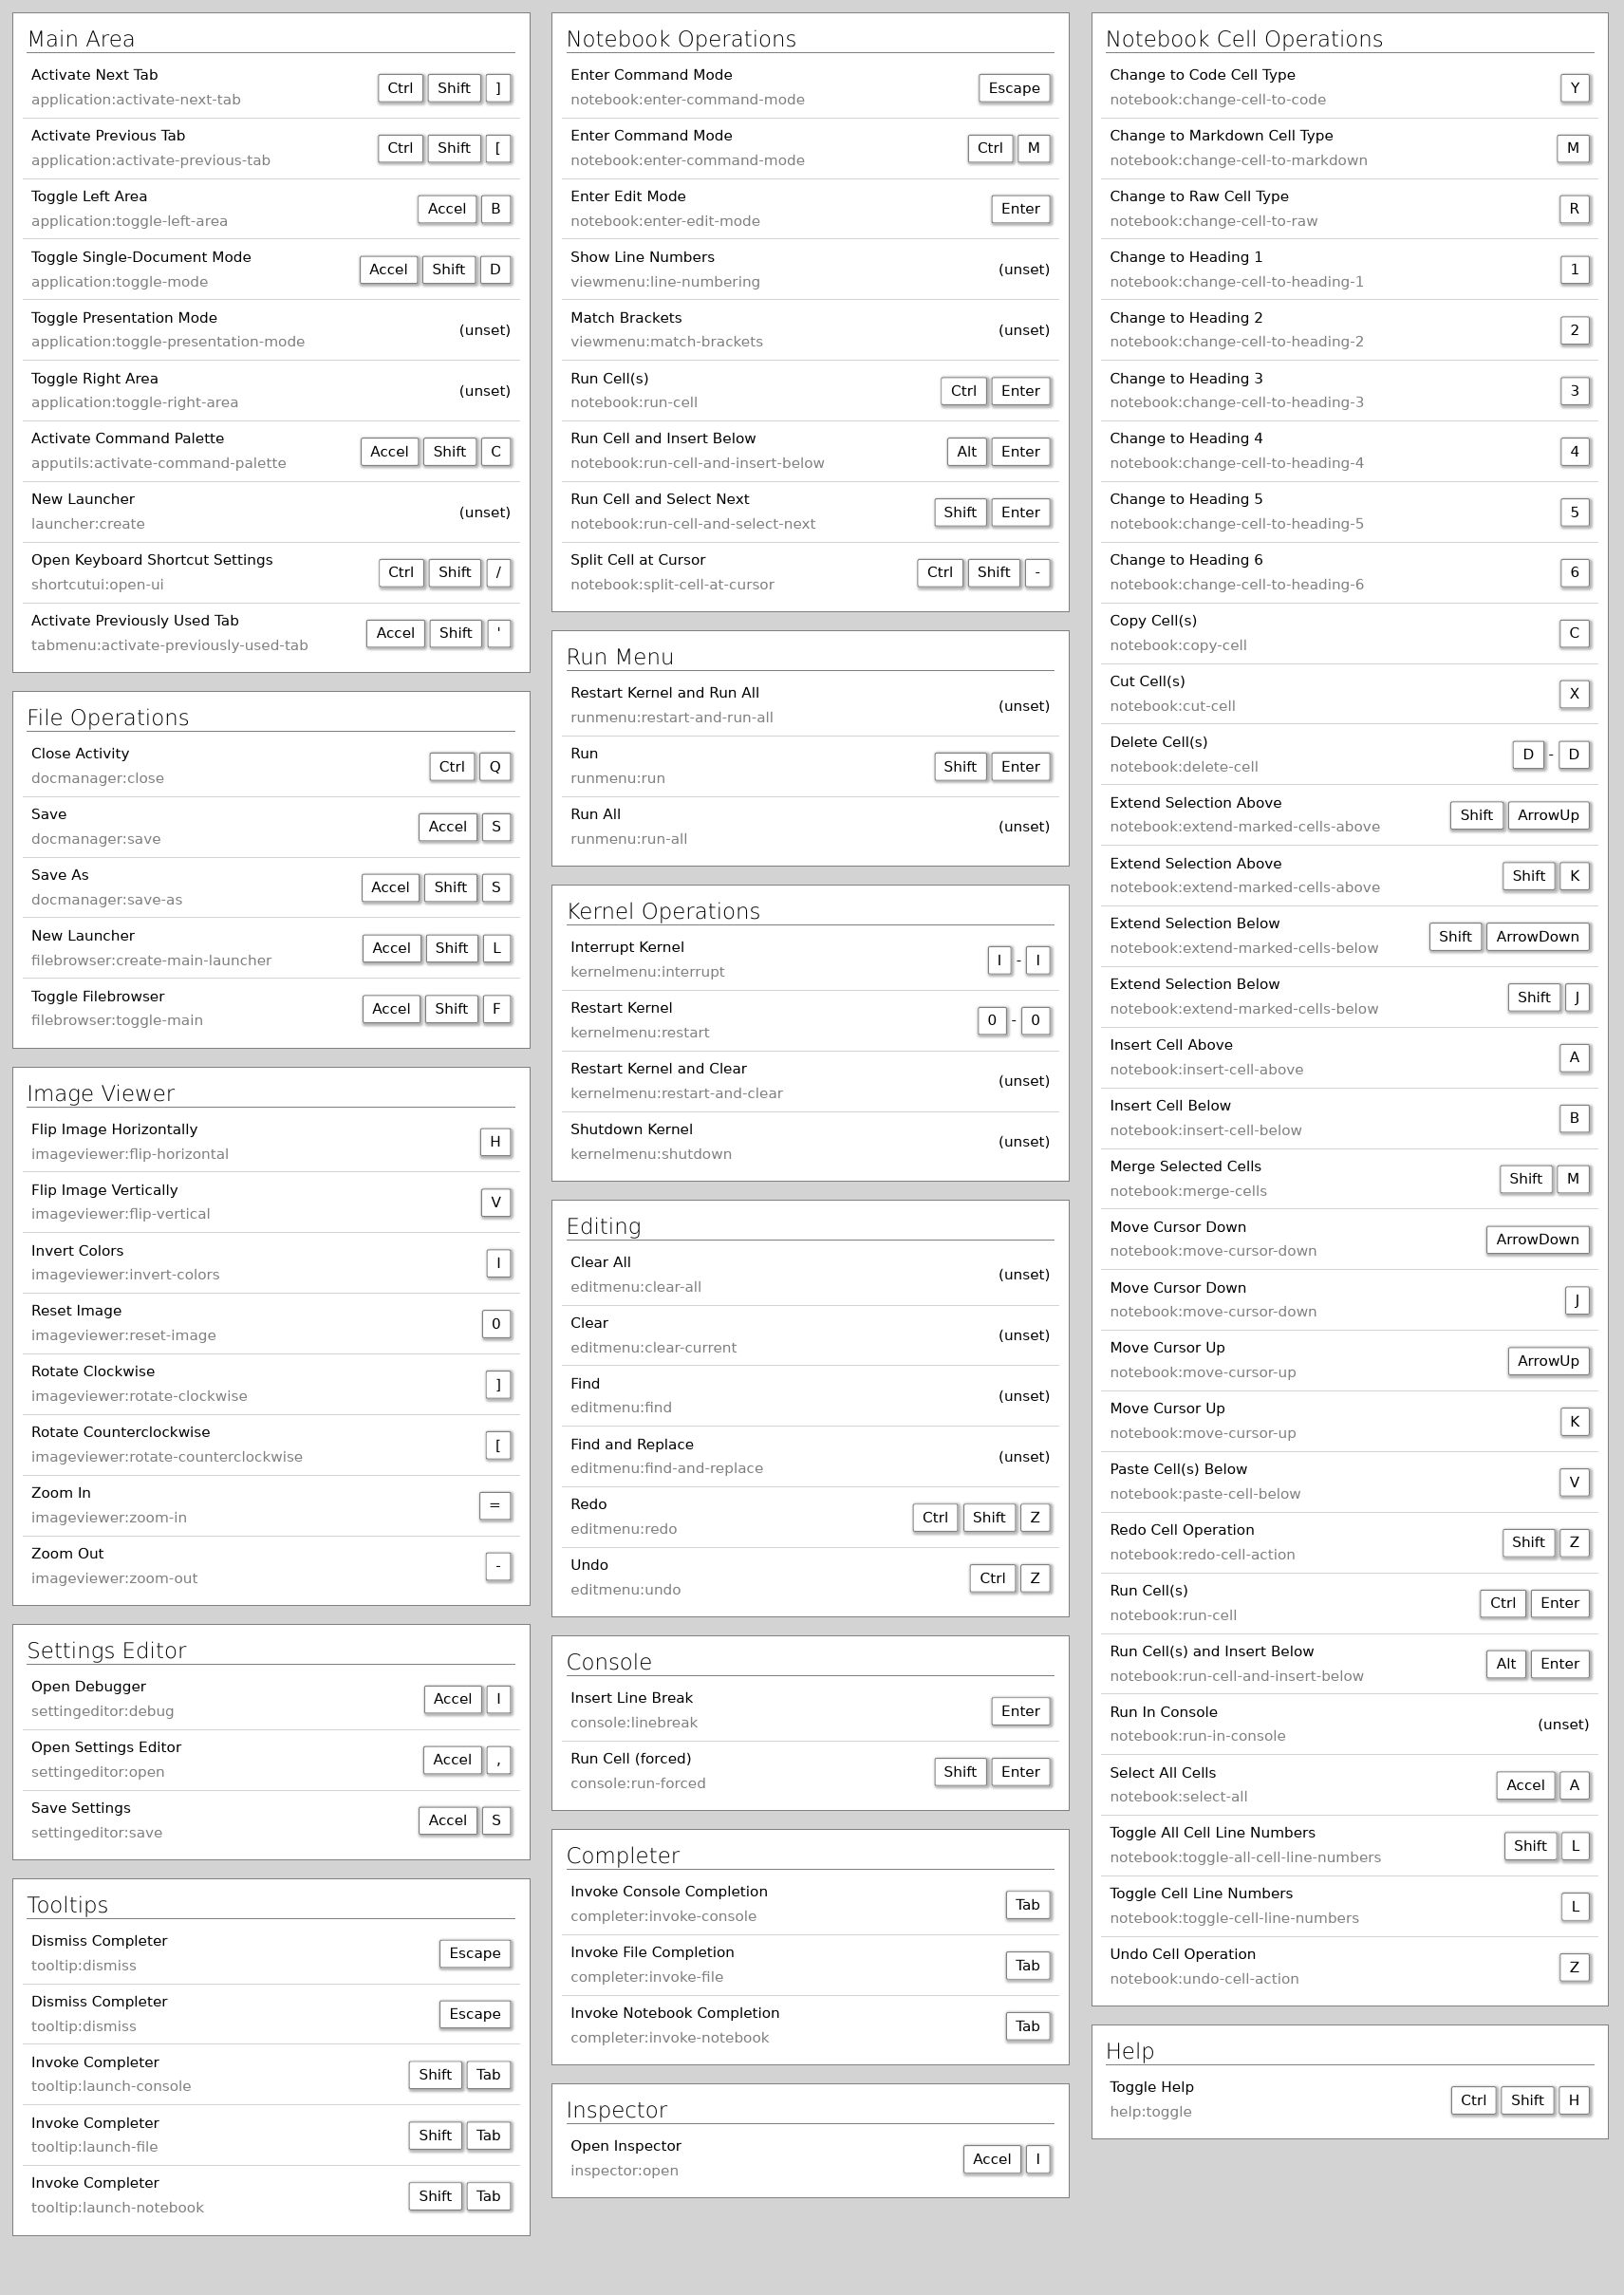
A comprehensive tutorial can be found in the JupyterLab readthedoc. A cheatsheet with keyboard shortcuts can be found here or a shorter one here.