| Step |
Code |
| Prepare |
Use img2gray to convert your image to a scad file:
$ pip install opencv-python
$ python img2gray.py clipart-library-penguin.jpg clipart-library-penguin.scad
The output scad file contains a single function derived from the file name:
            levels_clipartlibrarypenguin()

Then in a new file, import required libraries before we start:

use <agentscad/extensions.scad>
use <agentscad/mesh.scad>
use <agentscad/canvas.scad>
use <clipart-library-penguin.scad>

// We use $fn for number of pixels to be able to have fast rendering
//   during design. We can set $fn to higher value for final rendering.
$fn=50;
|
 |
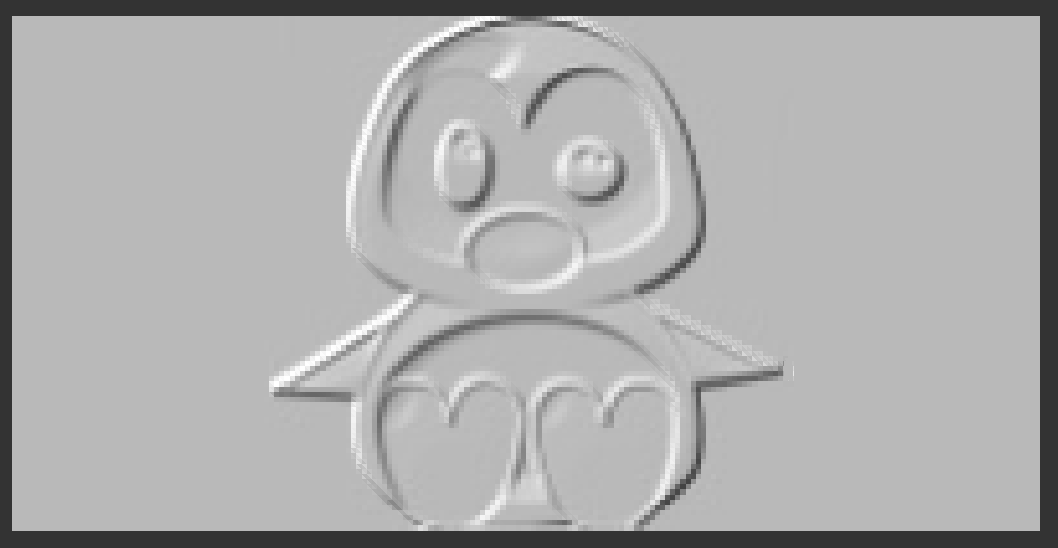
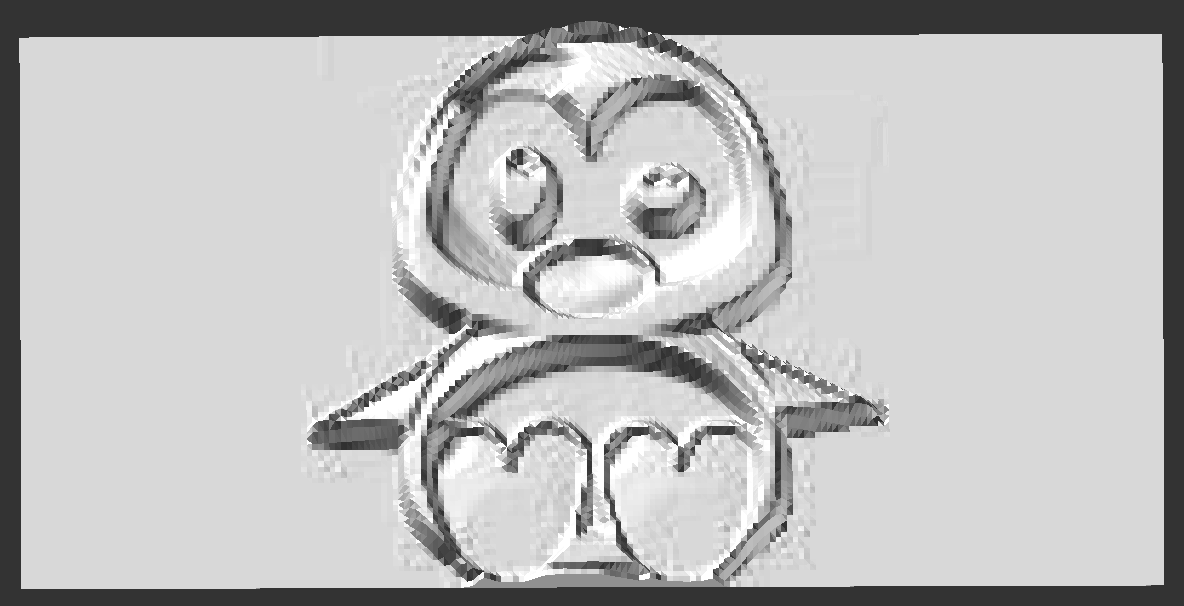
| Flat |
// Creates an empty canvas with dimension and number of pixels
empty      = newCanvas( [200,100], [2*$fn,$fn] );
// Load image levels
penguin    = levels_clipartlibrarypenguin();
// Draw the image in the canvas
canvas     = drawImage ( penguin, empty );
// Makes a 3D mesh with canvas
flat       = canvas2mesh( canvas );
// Render the mesh
meshPolyhedron ( flat );
|
 |
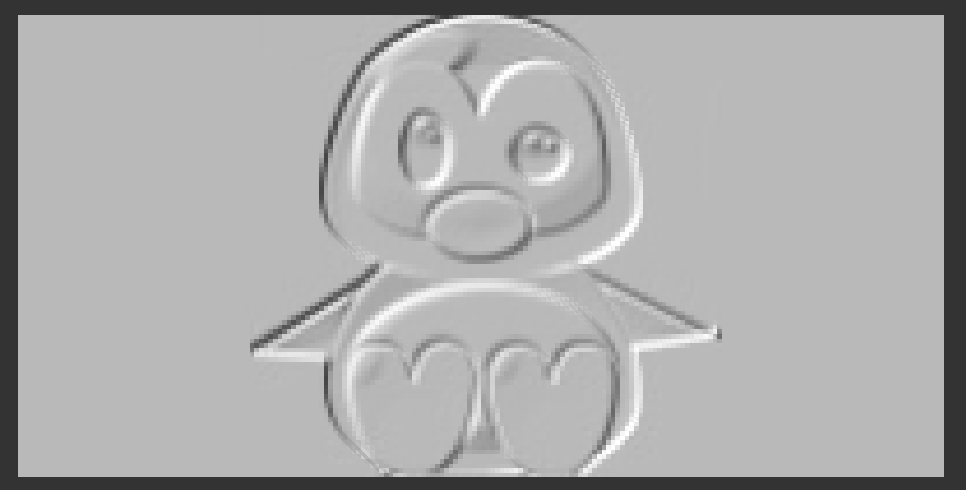
| Resize |
...
// Draw the image resized
// preserves aspect ratio is on, these calls gives same result:
// canvas     = drawImage ( penguin, empty, size=[40,40] );
// canvas     = drawImage ( penguin, empty, size=[40,undef] );
// canvas     = drawImage ( penguin, empty, size=[40,<any number>] );
// canvas     = drawImage ( penguin, empty, size=[40] );
// canvas     = drawImage ( penguin, empty, size=[<any number>,40] );
// The missing or incorrect value is ignored and recomputed
canvas     = drawImage ( penguin, empty, size=[150,40] );
...
|
 |
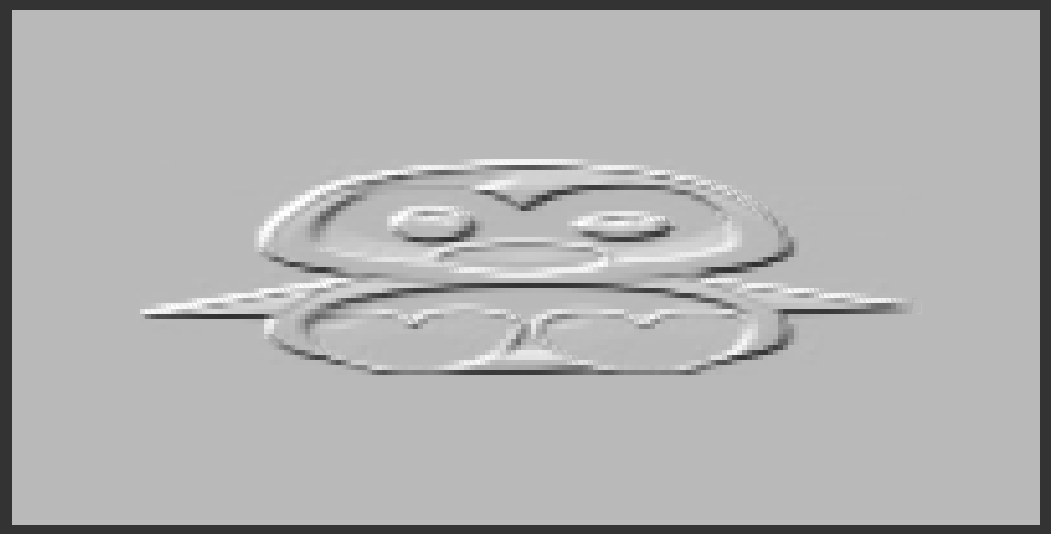
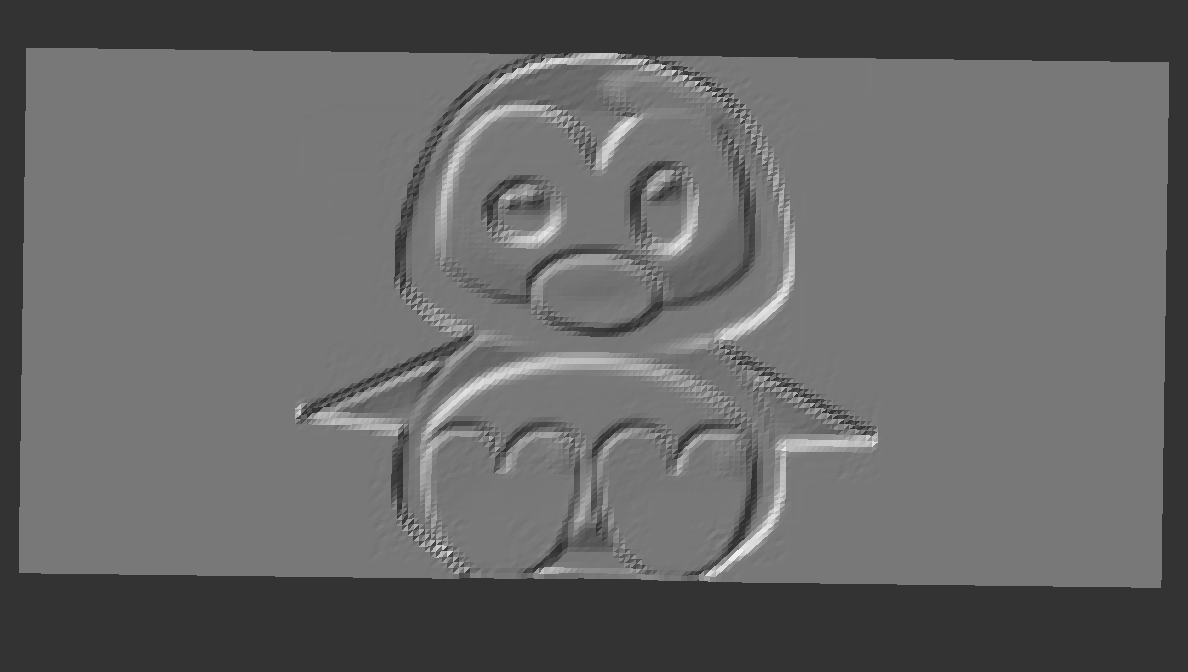
| Ratio |
...
// Draw the image resized, preserve aspect ratio is off
// Now the image is squashed to fit the dimension specified
canvas     = drawImage ( penguin, empty, size=[150,40], preserve=false );
...
|
 |
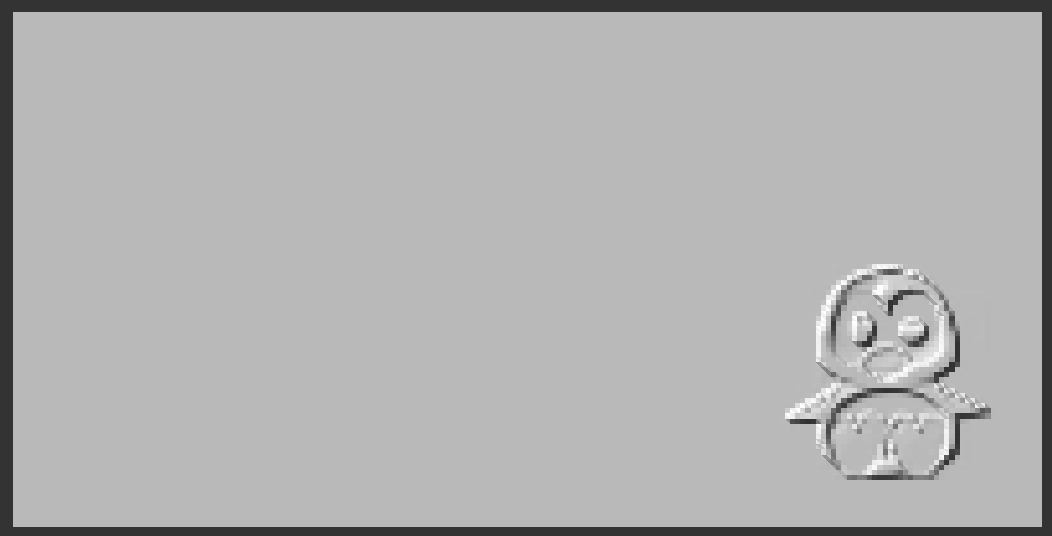
| Move |
...
// Draw the image moved, preserve aspect ratio is on
// Now the image is moved in the canvas at specified position
canvas     = drawImage ( penguin, empty, size=[40], start=[150,10] );
...
|
 |
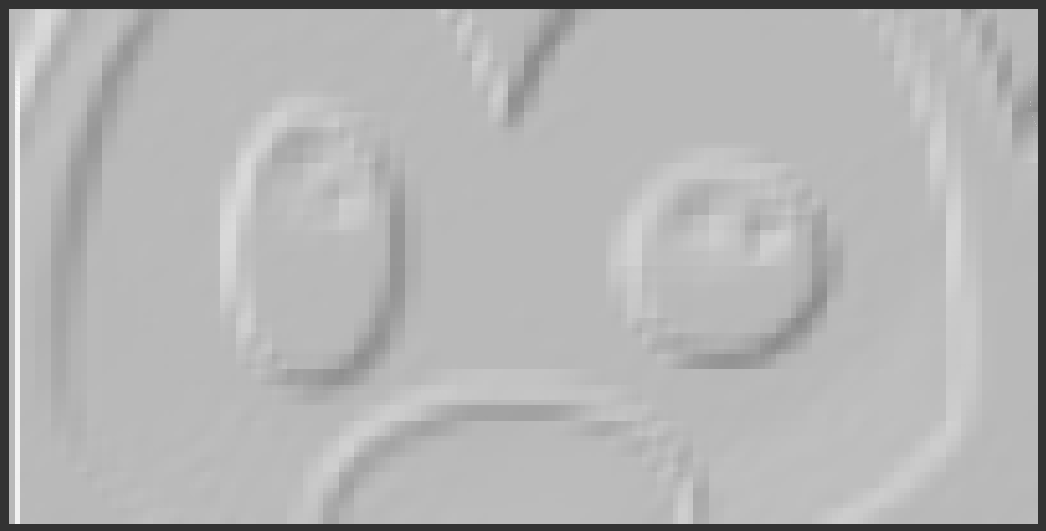
| Crop |
...
// Gets a small part of the image
// Remember image 'y' goes from top to bottom
// Note: this is faster to crop the image using image tools :)
eyes       = imageCrop( penguin, size=[60,30], start=[20,15]);
canvas     = drawImage ( eyes, empty );
...
|
 |
| First layer |
...
// Specify a first layer thickness
flat       = canvas2mesh( canvas, minlayer=10 );
...
|
 |
| Thickness |
...
// Specify image thickness
flat       = canvas2mesh( canvas, thickness=10 );
...
|
 |
| Skin |
...
// If we don't need base plate
flat       = canvas2mesh( canvas, skin=true );
...
|
 |
| Negative |
...
// Negative image
flat       = canvas2mesh( canvas, positive=false );
...
|
 |
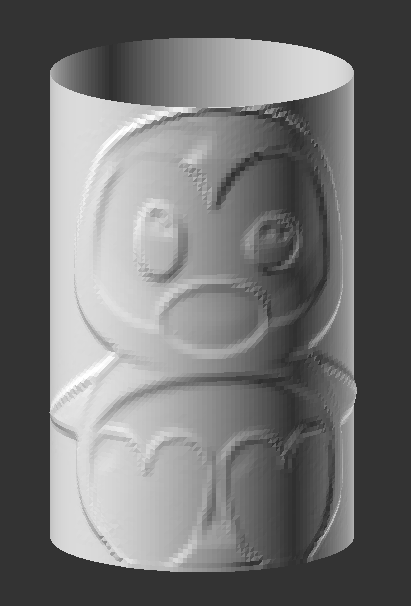
| Cylinder |
...
// The canvas MUST have size [2,1] for correct projection on cylinder
empty      = newCanvas( [2,1], [2*$fn,$fn] );
...
// Projection of the points on a cylinder
// The cylinder can modify aspect ration as well
// To prevent this must height=3.14*radius
//    This is done by default if we don't give either radius or height
projected  = projectCylinder( getMeshVertices(flat), radius=50 );
bent       = newMesh( projected, getMeshFaces(flat) );
meshPolyhedron ( bent );
...
|
 |
| Sphere |
...
// The canvas MUST have size [2,1] for correct projection on sphere
empty      = newCanvas( [2,1], [2*$fn,$fn] );
...
// Reduce image to avoid ugly triangles on top of sphere
// Everything we've seen (crop/scale/move/negative...) works
//   works here as well
canvas     = drawImage ( penguin, empty, [undef,0.5] );
// The sphere is a closed volume we only need the surface
flat       = canvas2mesh( canvas, skin=true );
// Projection of the points on a sphere
projected  = projectSphereCylindrical( getMeshVertices(flat), radius=100 );
bent       = newMesh( projected, getMeshFaces(flat) );
meshPolyhedron ( bent );
...
|
 |
