FabTotum HDSB (SmoothieBoard) - Garethgb/Opentotum GitHub Wiki
A Project to take the best bits of the Fab and make something that works consistantly and is 3rd party repairable.
The Fab was, to be very honest, always a pain to use and had very inconsistent results from one day to the next so I was always on a mission to improve it with the first thing being the head and hot end. Results improved but then it got put to bed for a while due to a major house extension.
This project started as a mission to simply clean and re-grease my original IGG FabTotum after the building work finished as everything was covered in dust!
The Mechanical Upgrade
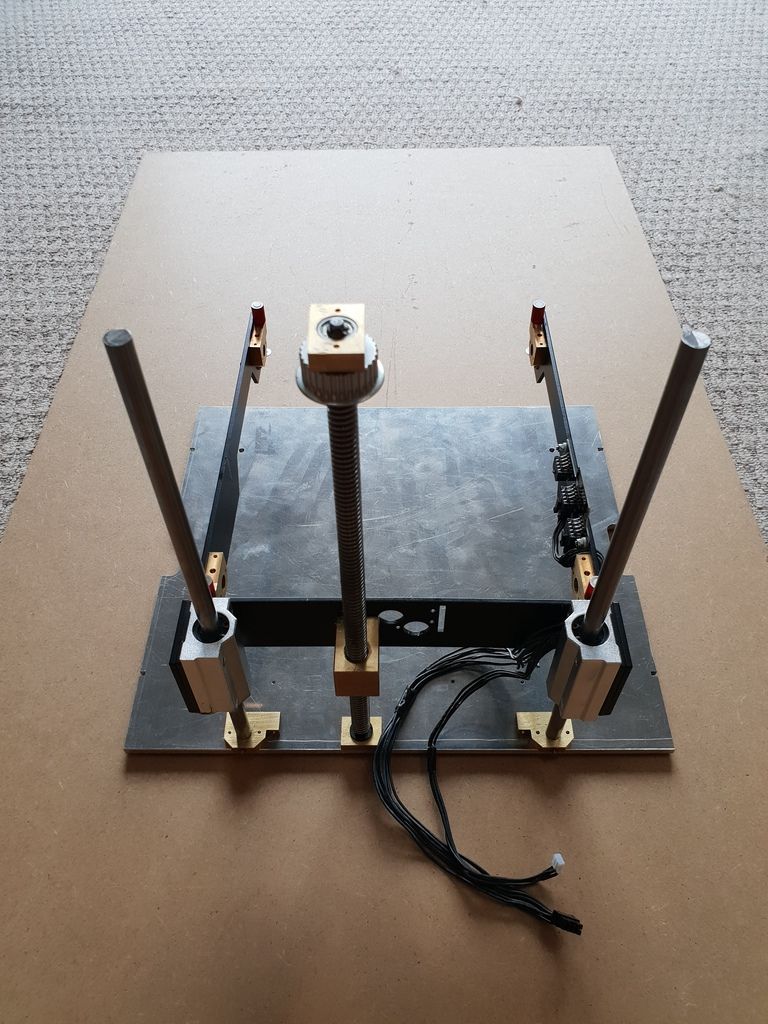
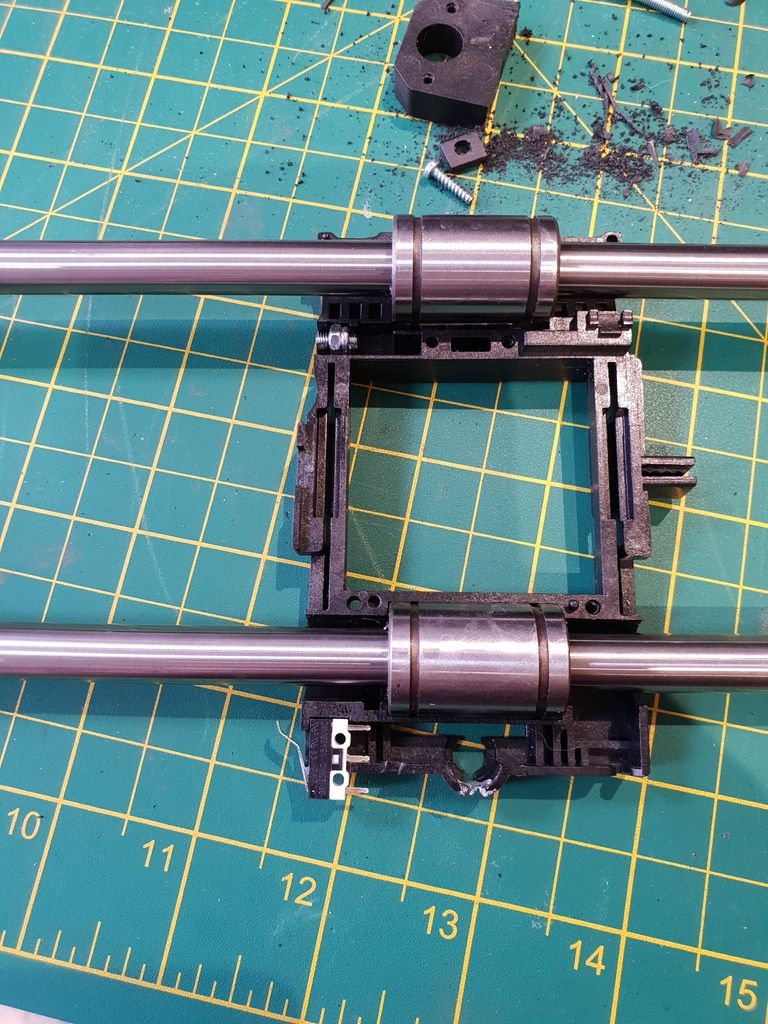
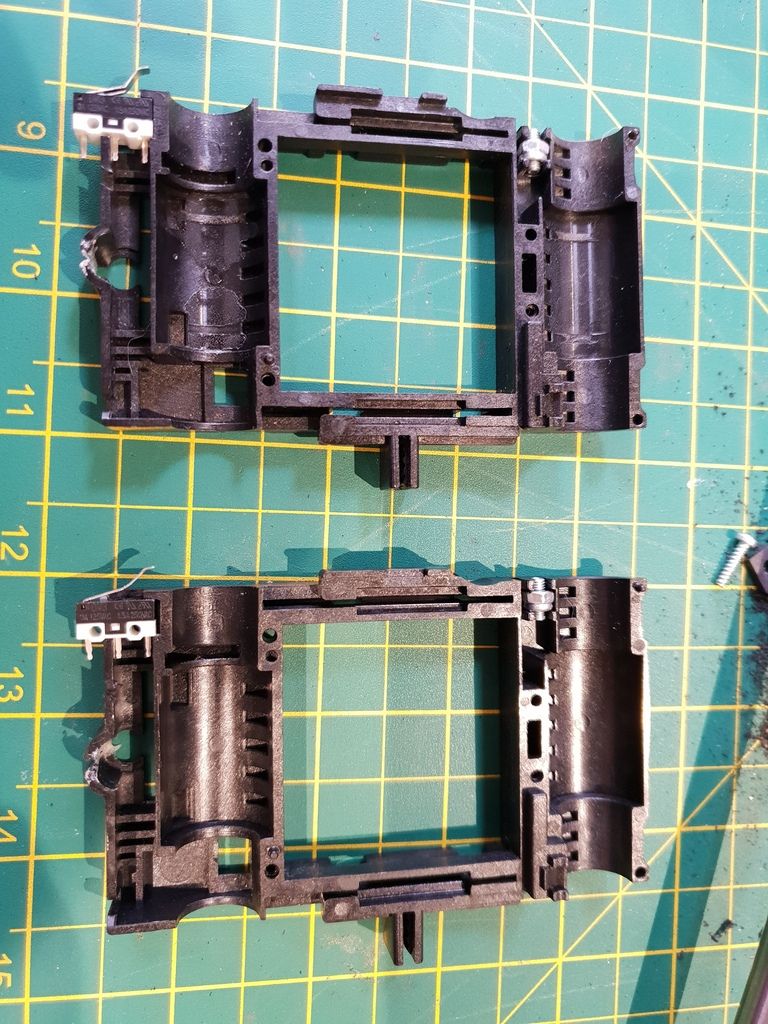
The first thing was to disassemble the entire printer, having already needed to replace the carriage assembly due to a broken ribbon cable I had some idea how this could be accomplished and started taking bits off until I ended up here:
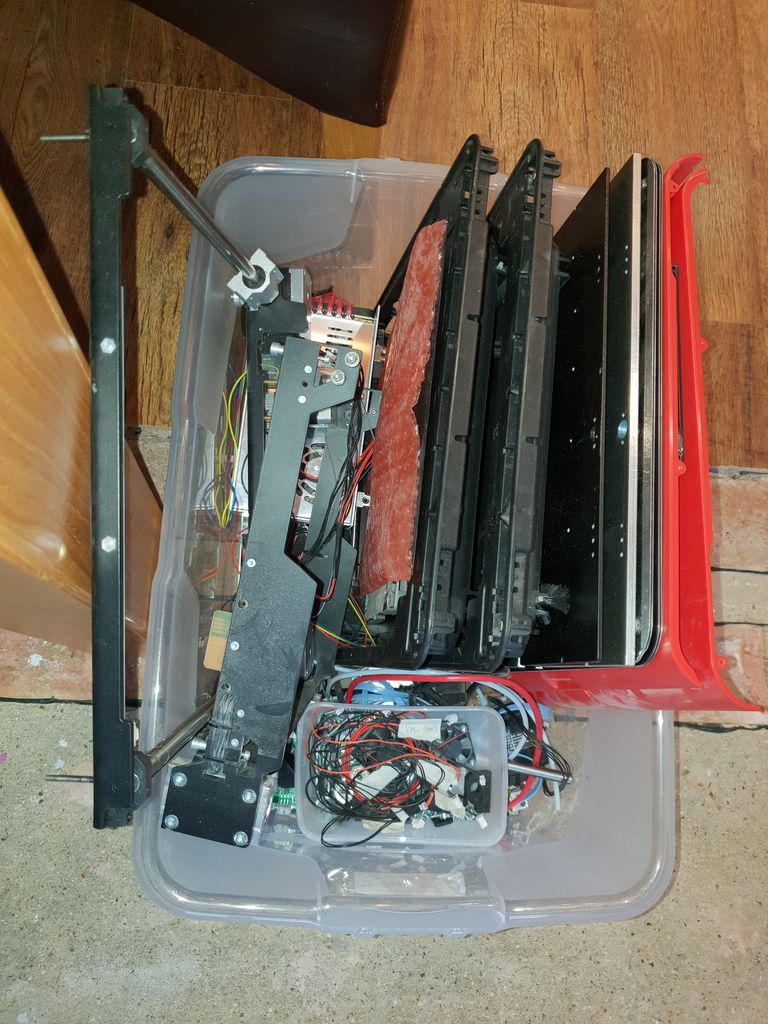
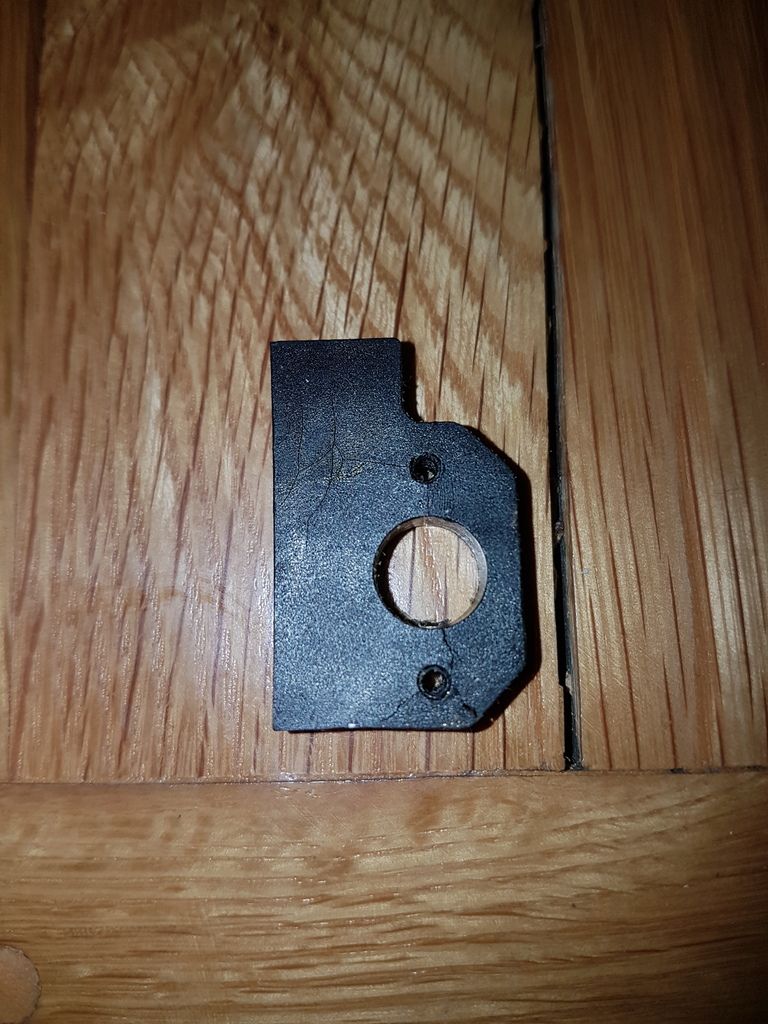
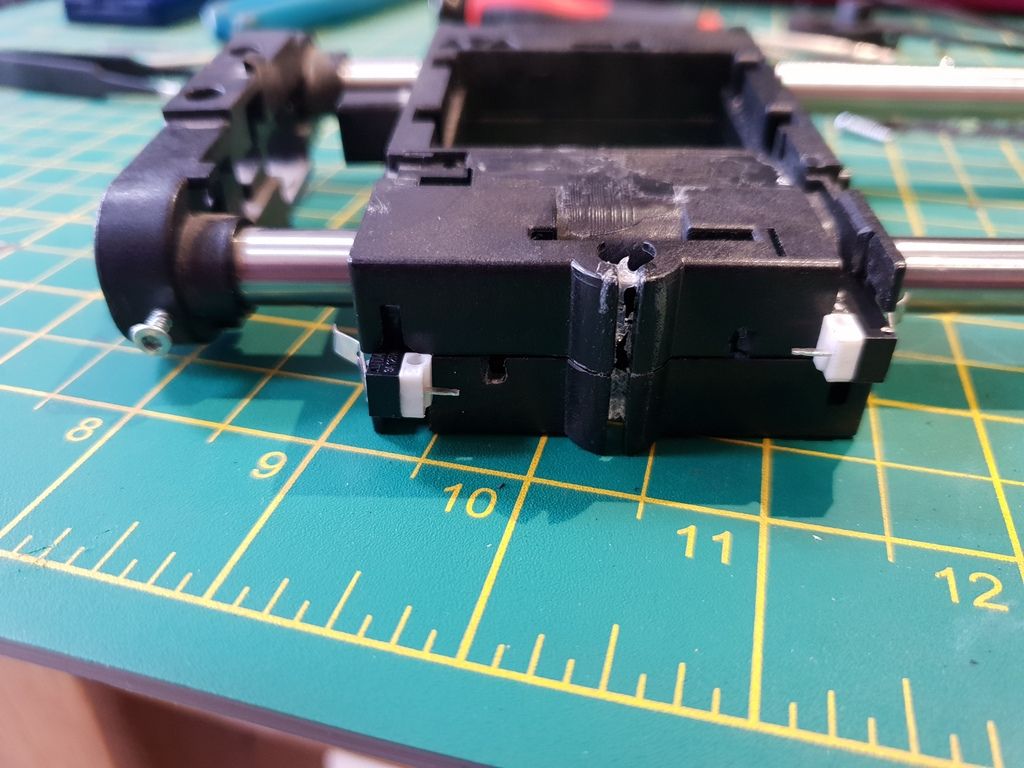
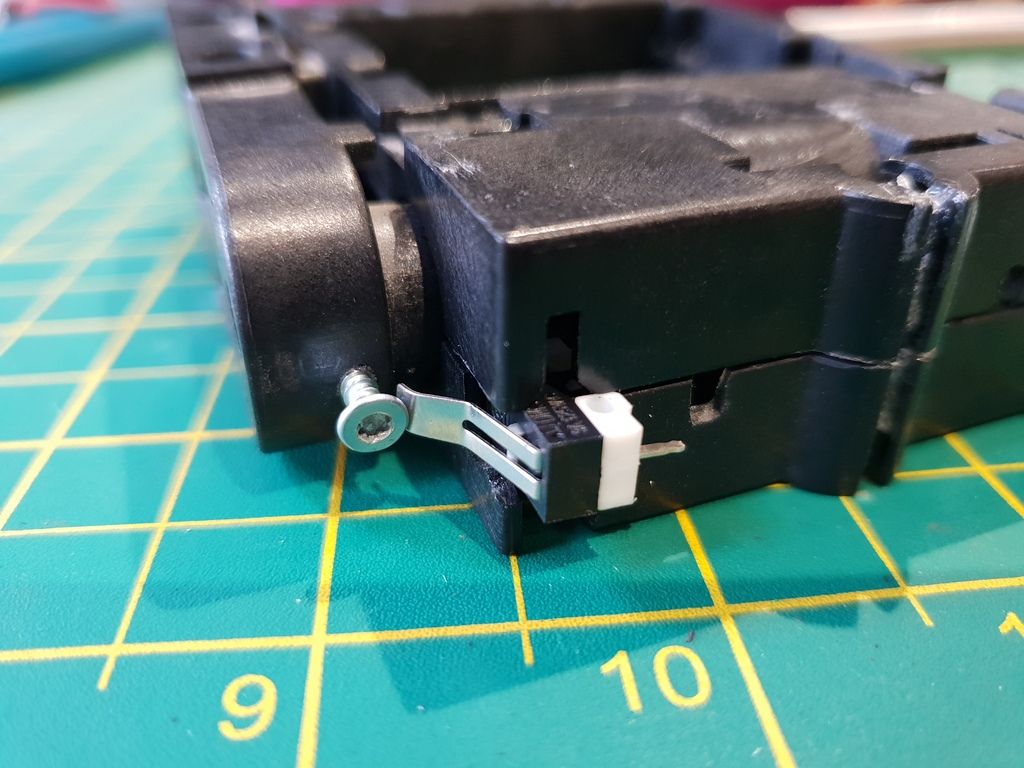
Whilst inspecting the parts I found that the shaft supports had nearly all started to crack and in the case of the lower Z-axis actually fallen apart. This, unknown to me at the time, was the start of the Smoothieboard conversion!

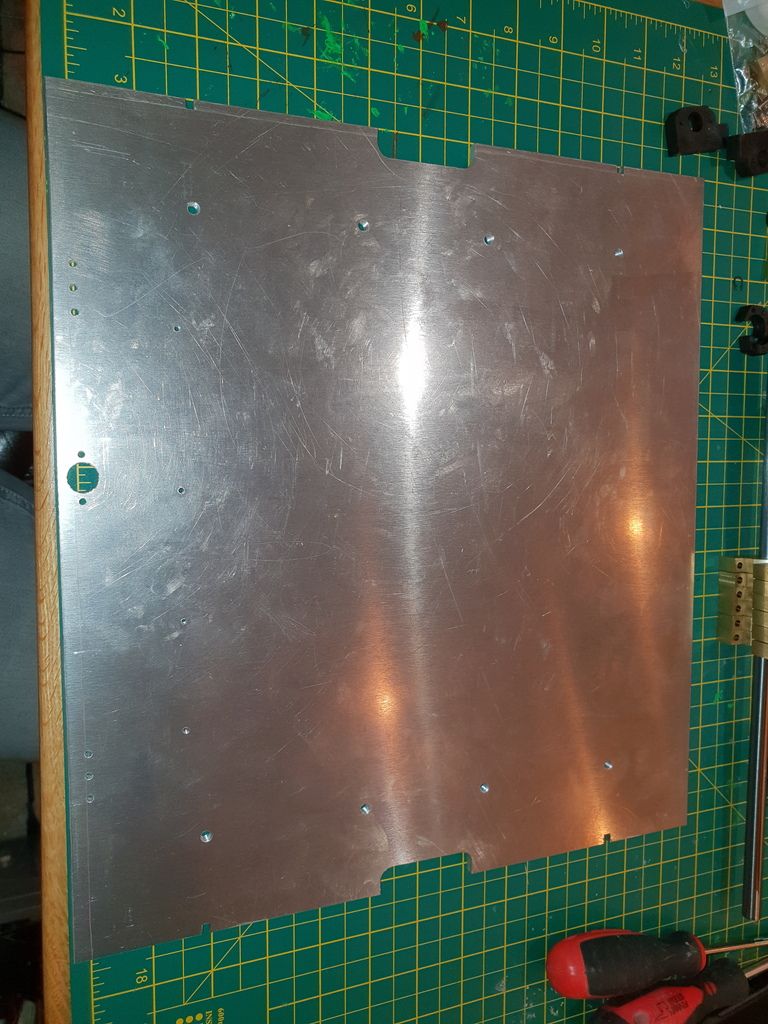
The other thing I noticed and wanted to upgrade was the metal base, the original is only around 5mm thick with the sides held down with 2 or 2.5mm screws. I figured that with a thicker, heavier base and larger screws I could improve the stability of the whole printer.
Original on top of new base.
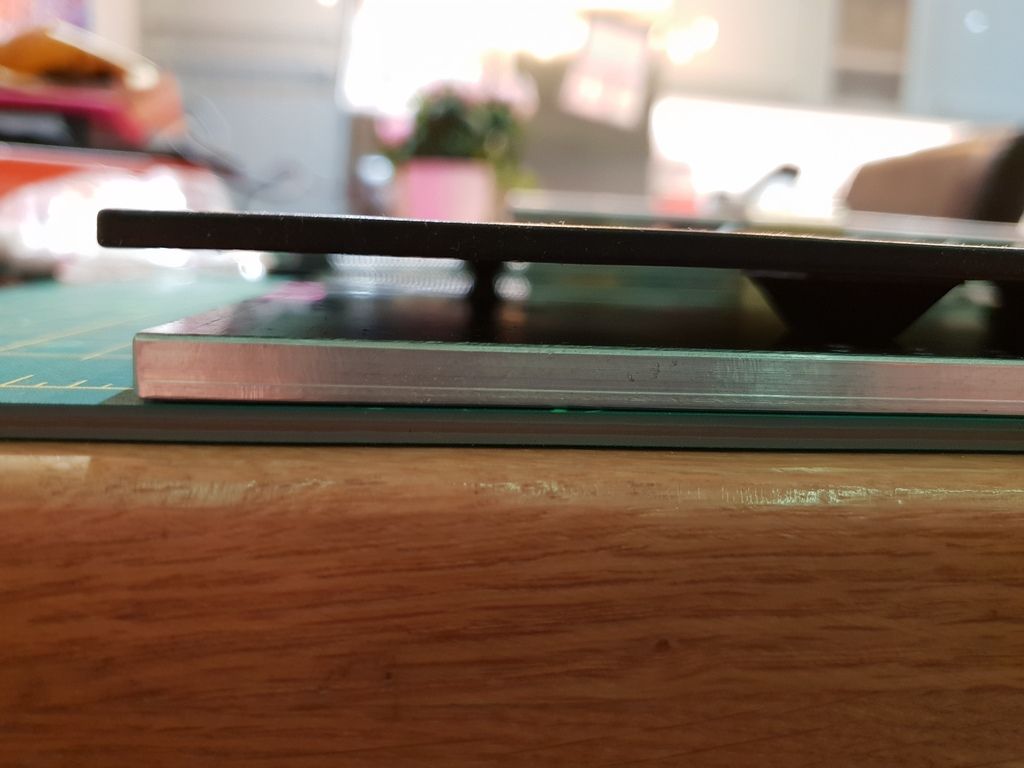
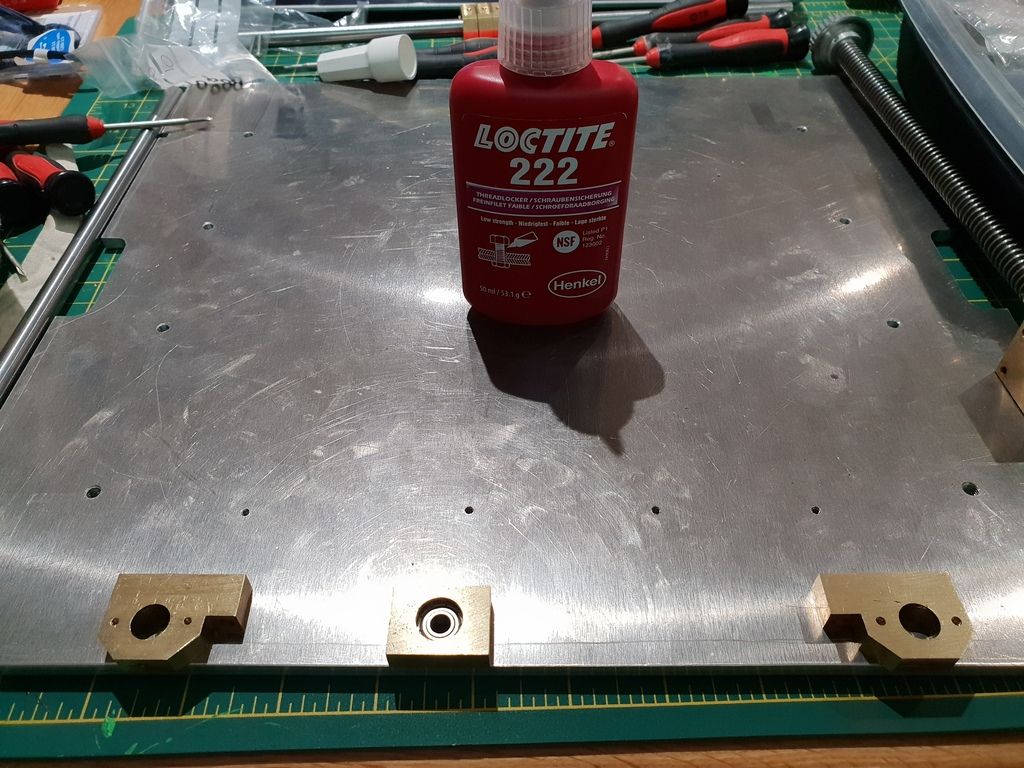
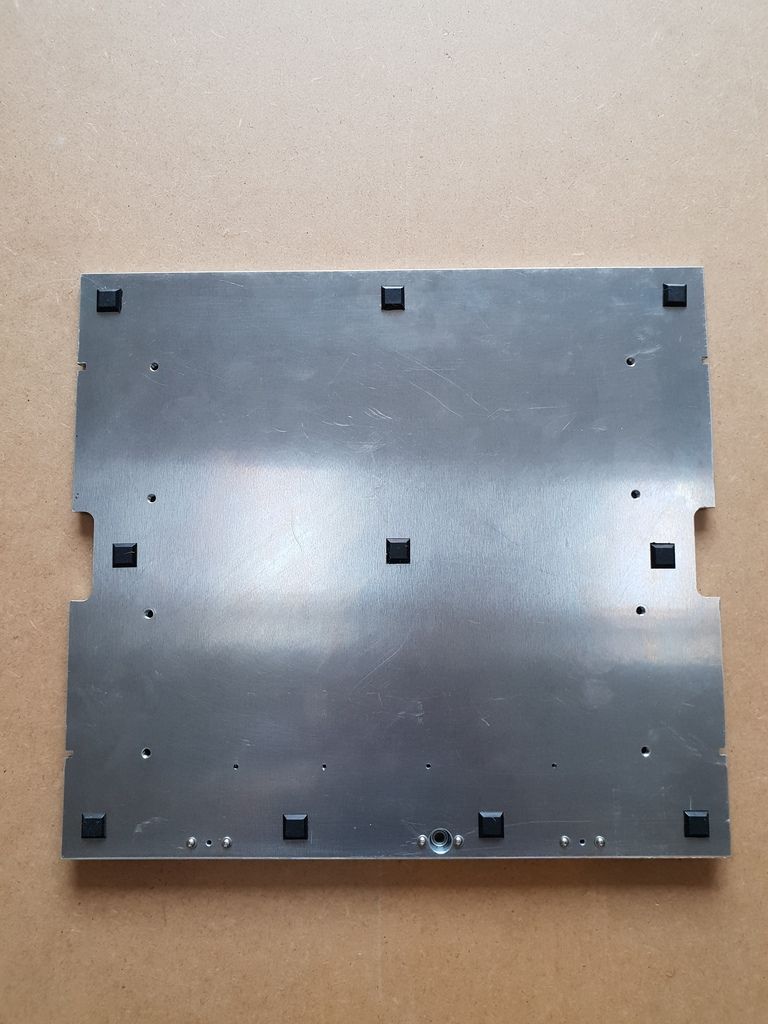
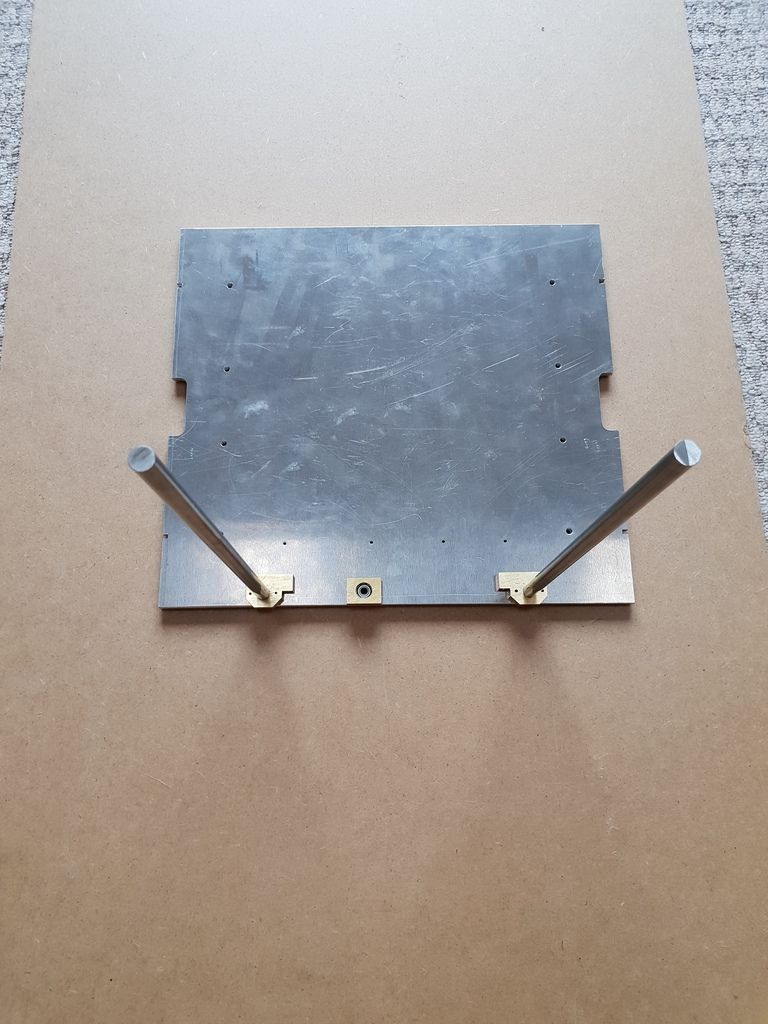
The base was the first thing I had made by a fabricator locally, and I'm very happy with it. It's an 8mm thick aluminium plate with 5mm threaded holes to secure the sides with and provides a much more ridgid platform for the rest of the printer to mount to.
I looked around for rail mount replacements but came up short and concluded that they were especially made for FabTotum so I contacted them to try and order some. They were less than helpful, in the end it came down to them wanting me to send the printer back for them to rebuild it and replace the broken parts. Obviously by now this wouldn't be under warranty, they were estimating £800 for this plus postage. If I wanted to upgrade to the latest ribbon cable, head, bed and Pcb's then it was £1500 plus postage.
Needless to say I couldnt afford these costs and was therefor left with a dilemma. Either stump up the money to get my printer "upgraded" but be without it for however long the repairs and delivery took, give up and throw it in the bin, or find some other way to make the printer work.
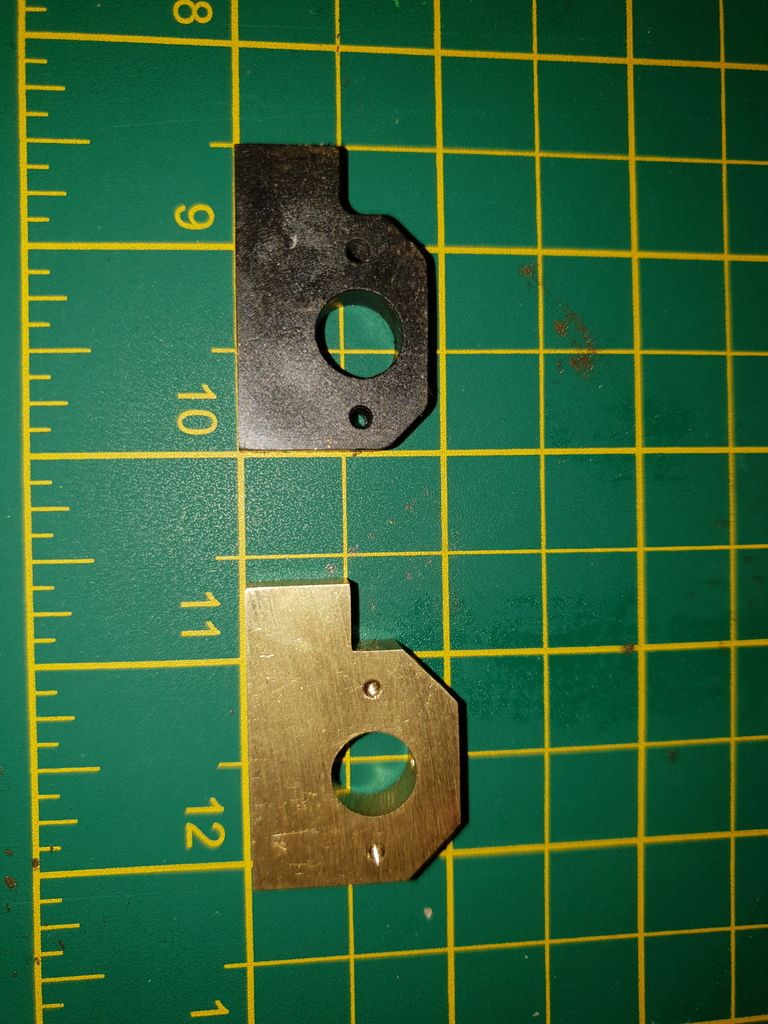
I opted for the third option and went to see my fabricator again. After a few weeks wait for the brass stock and then for the pieces to be machined I came home with these beauties!

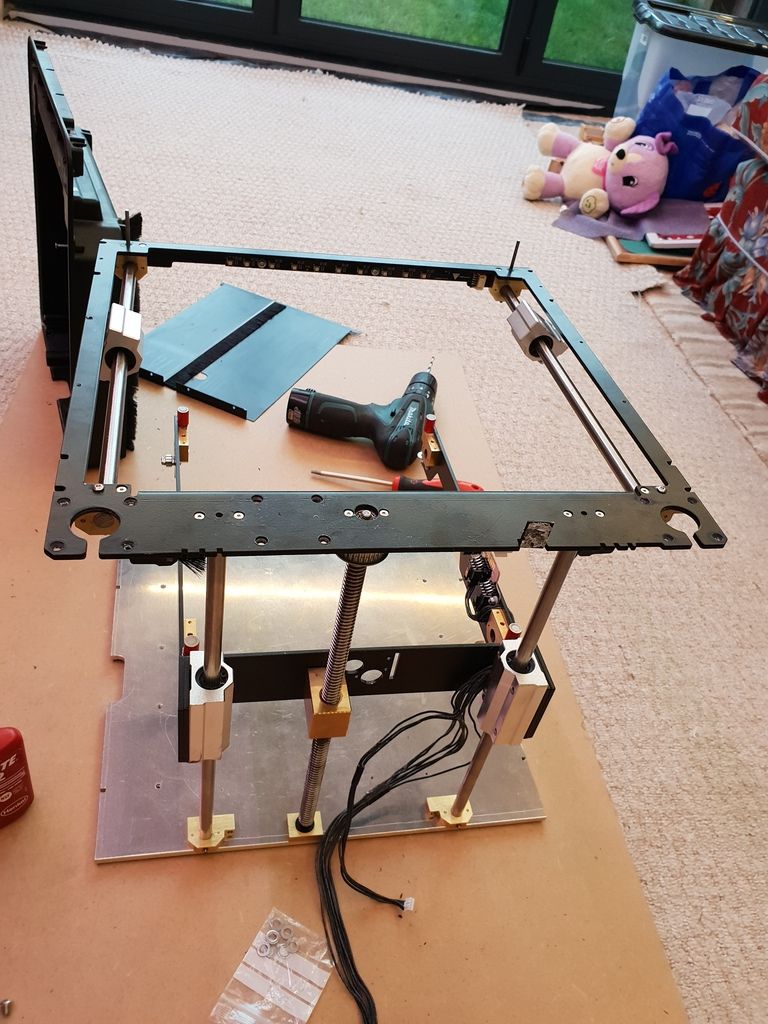
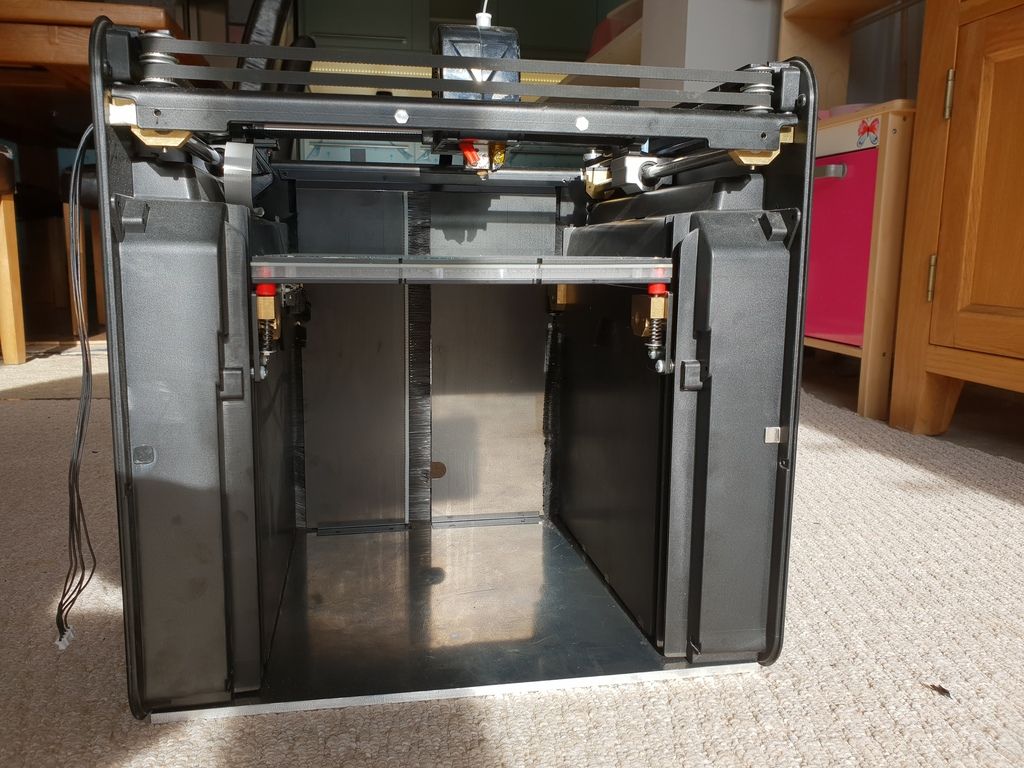
The next few pictures are just of the stages of assembly, by now the printer had been apart and in a box for a good 5-6 months so remembering where all of the pieces went was a challenging task but I was helped by the CAD files still available on grabCAD GrabCad FabTotum drawings
 New rubber feet, found on eBay
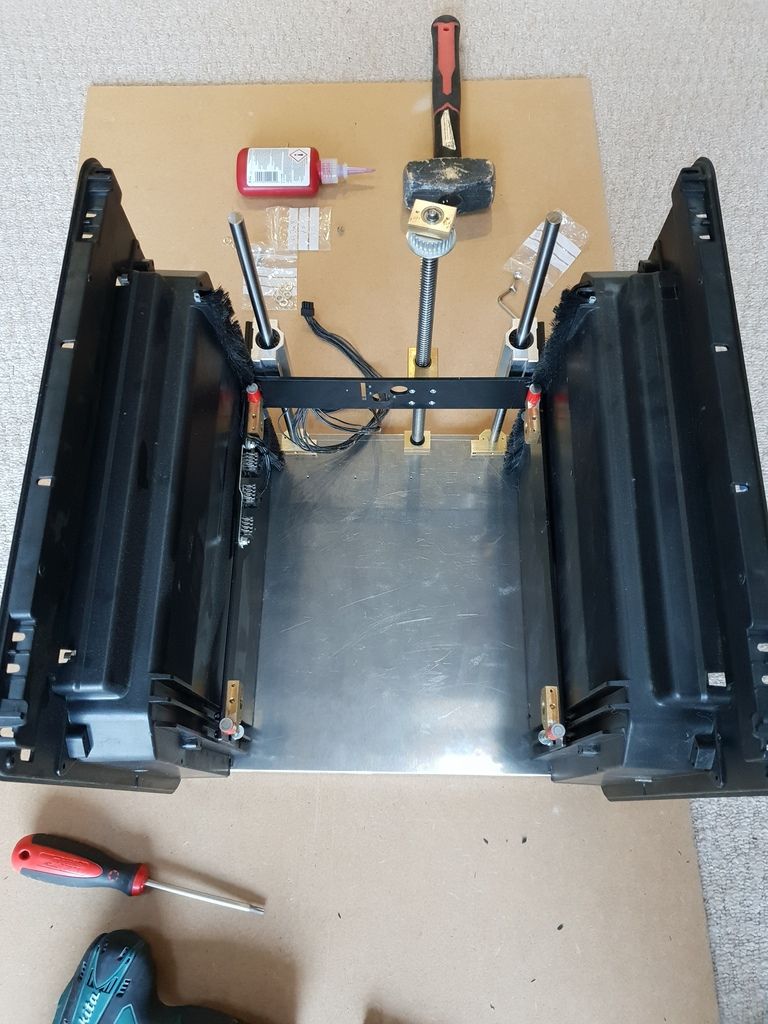
Most of the build went well untill I came to the heated bed mounts, I wanted to improve them and avoid the adjustment changing by itself so added springs. The trouble came when trying to get the original magnets off of the cap head screws. They didnt come off easily and I managed to break them, this was a shame as they were actually very nice magnets and as I found out a rather unique size.
The closest I could source were these:
pot magnet
They required the heated bed frame to be modified by making the hole they slot into larger, up to 10mm dia. This thankfully wasnt too tricky though and now they fit well.
The Smoothieboard upgrade
If you are happy with the mechanics of your Fab then this is where the conversion from Totumduino & RaspPi with the ribbon cable to Smoothieboard with wires continues from.
I had never managed to get a scan from my Fab that resembled anything like the original object, so loosing that function didnt bother me, likewise nor did the built in camera. The smoothieboard is capable of running a milling head as well as a print head (I dont know how yet but it apparently can) it is also built to accomodate a bed height/levelling sensor which, at the moment I am not employing due to manual bed levelling being perfectly ok.
I did quite a lot of research at the time into control PCB options and Smootheboard seemed to be my best option, it may not be for everyone but it was the board of choice for me.
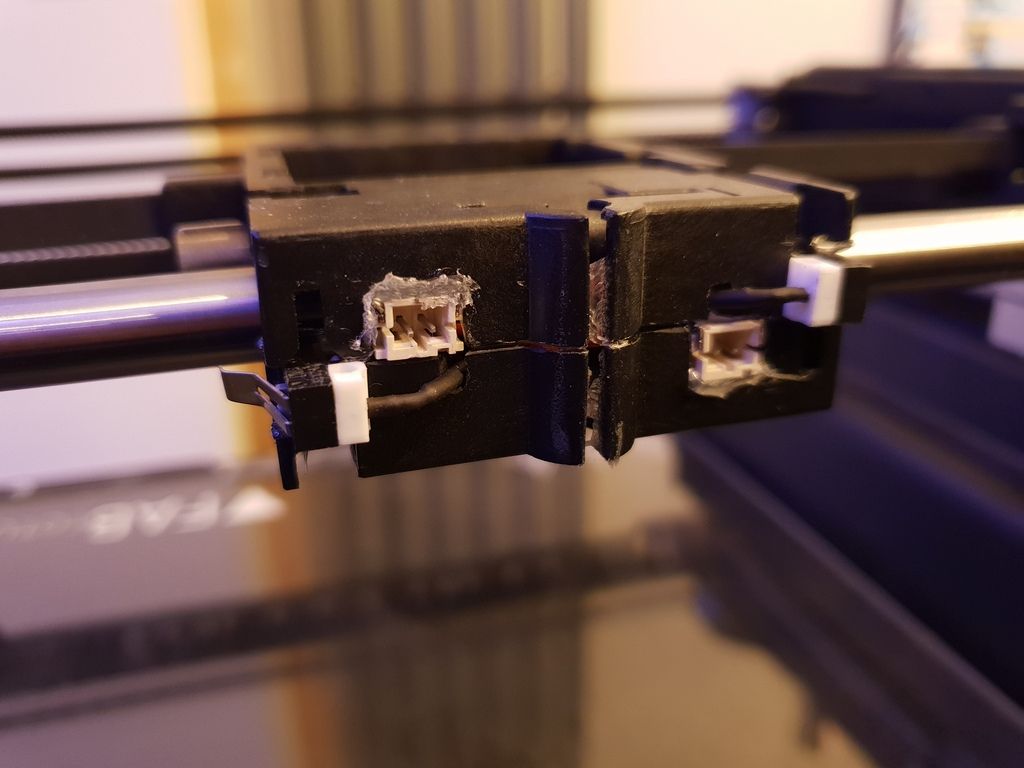
After loosing the Totumduino/Pi and associated ribbon cable I needed to replace the X-axis end stops which were originally built into the ribbon and onto the carriage.
I had a couple of endstops in my parts box from considering this upgrade earlier but now I HAD to use them so I got busy with a craft knife and the old, stripped out carriage.
Once I had the end-stops in I needed something to trigger them, this isn't elegant but it does work!
 It is in the plans to eventually design new Parts for the X-axis rails which will encompass something for the endstop to strike.
I wired the endstops to 2pin connectors taken from the old Totumduino and hot glued them in place.
It is in the plans to eventually design new Parts for the X-axis rails which will encompass something for the endstop to strike.
I wired the endstops to 2pin connectors taken from the old Totumduino and hot glued them in place.
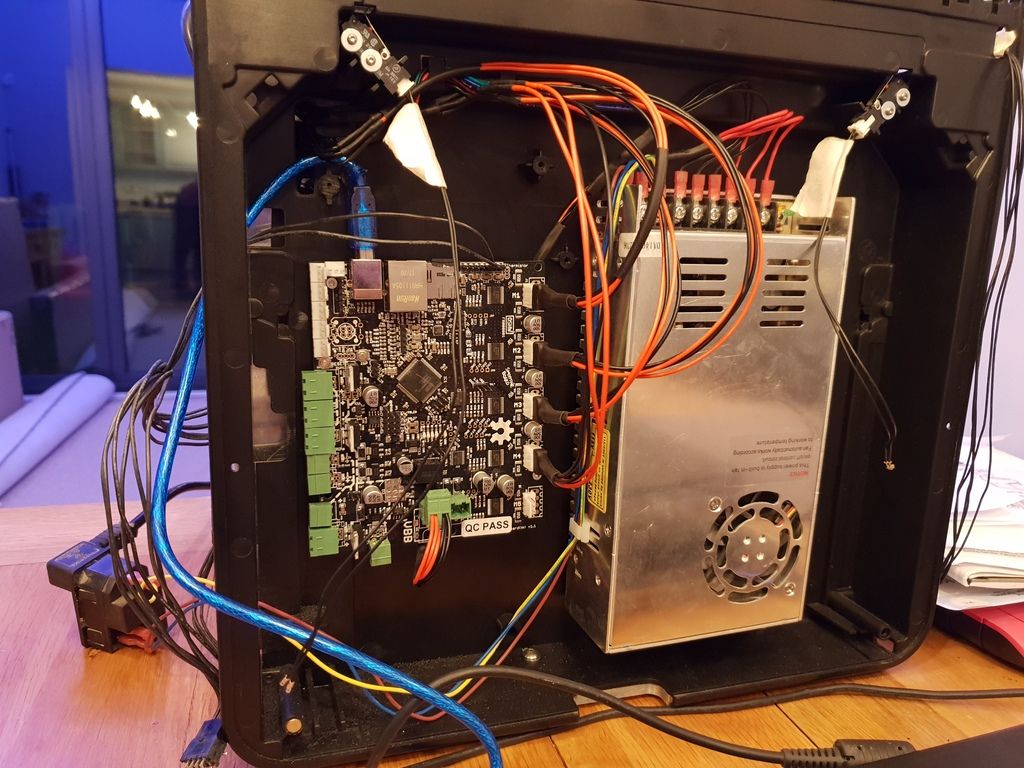
Once I had the endstops in place on all axis I fitted the Smoothieboard following the guide here: Smoothieboard 3D printer
There are a few holes in that guide and some adjustment needed regarding the wiring of the steppers for the Core-XY system in the FAB but overall it was very well put together. I cant remember all of the details as it was one hell of a learning curve and quite some time ago now but I do, after various versions, have a working firmware file available for the smoothieboard on a FAB.
Wired to config & test the axis and feeder steppers only.
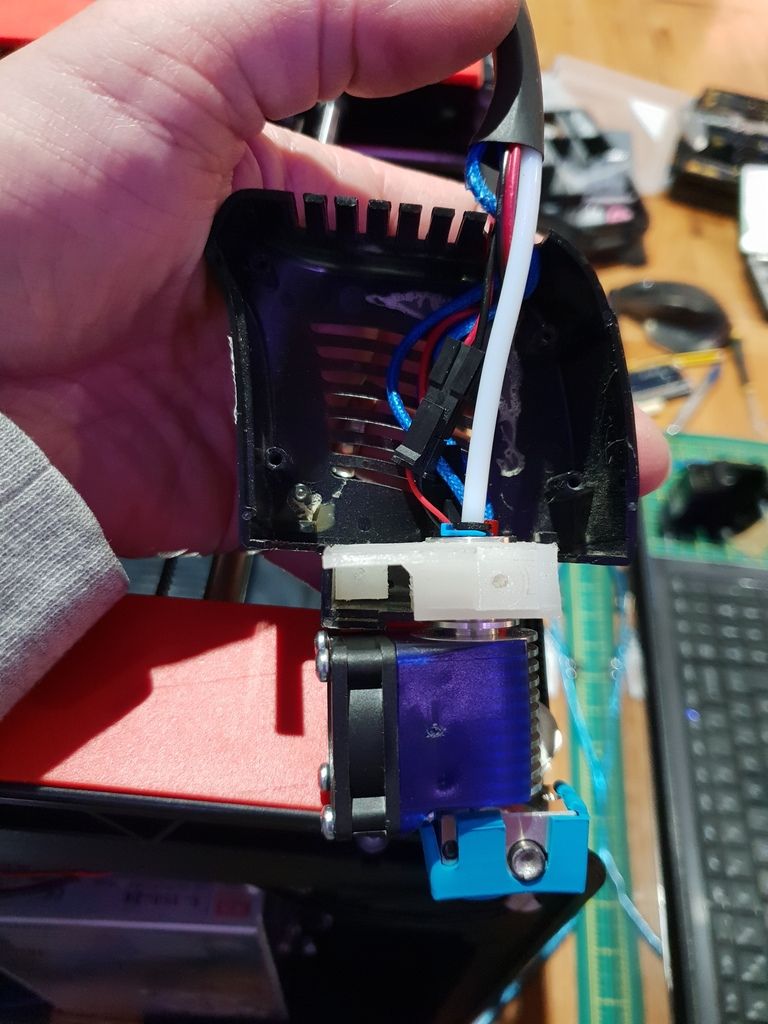
After that was successful I needed to connect the new board to the old head. Seeing as the PCB in the original FAB head doubled up as the hot end mount, this was tricky to begin with. Basically I used anything I could to hold my new E3D hotend firmly, this ended up being some of the original mount along with bits of plastic to pack it out.
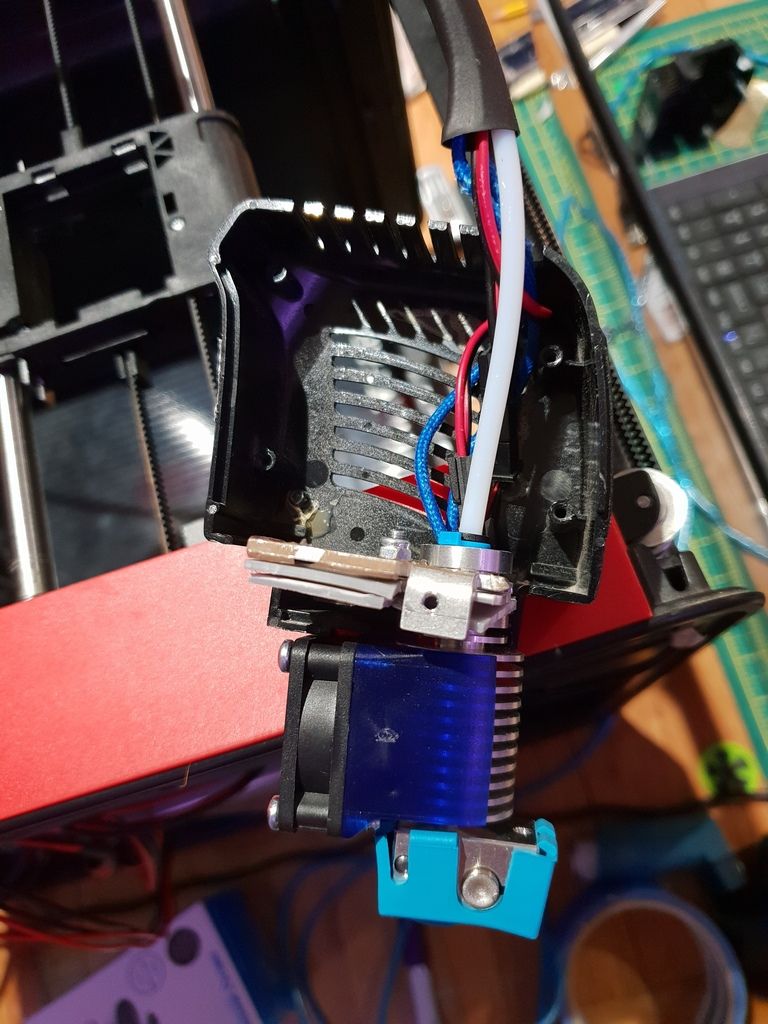 The connections for this to the Smoothiboard were very simple thanks to the guide and I was very quickly able to read the temperature and heat the hot end. I should mention that I am currently using Pronterface to interact with the FAB, it is quite a basic software and I am planning to migrate to Octoprint as soon as I have a suitable LAN connection to the printer.
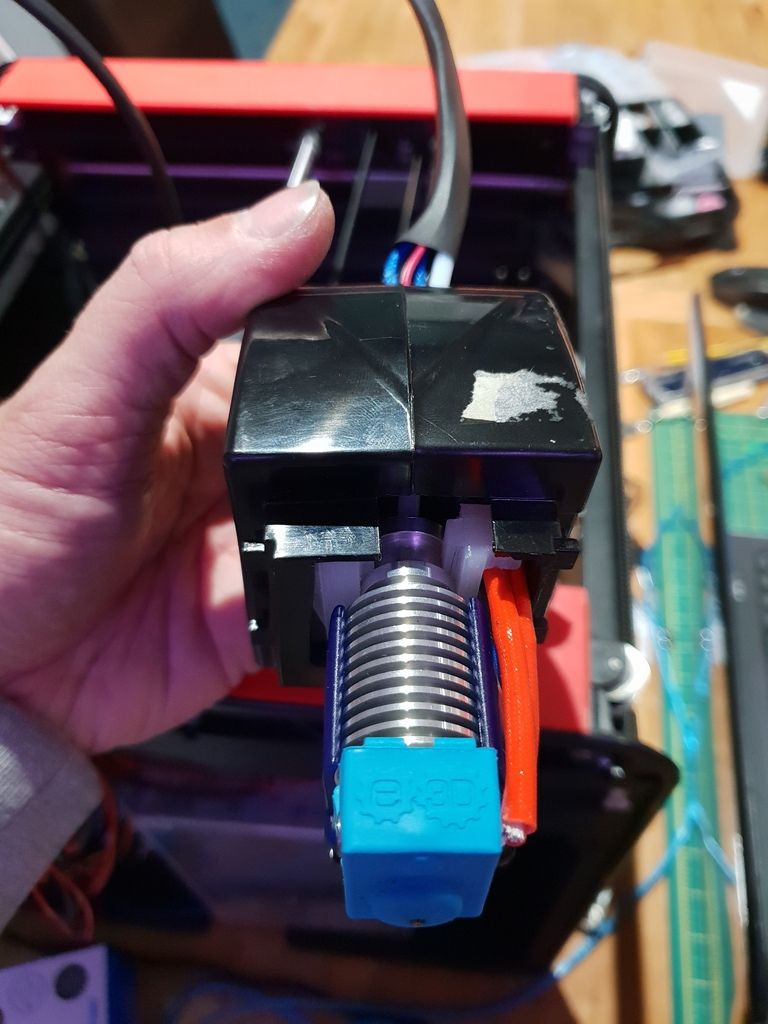
The first thing I printed was a holder for the hotend, this was out of nylon, as I had some that I had never tried in the FAB and it was all I had!. It printed a dream for something that was basically a frankenstein held together with bits of plastic.
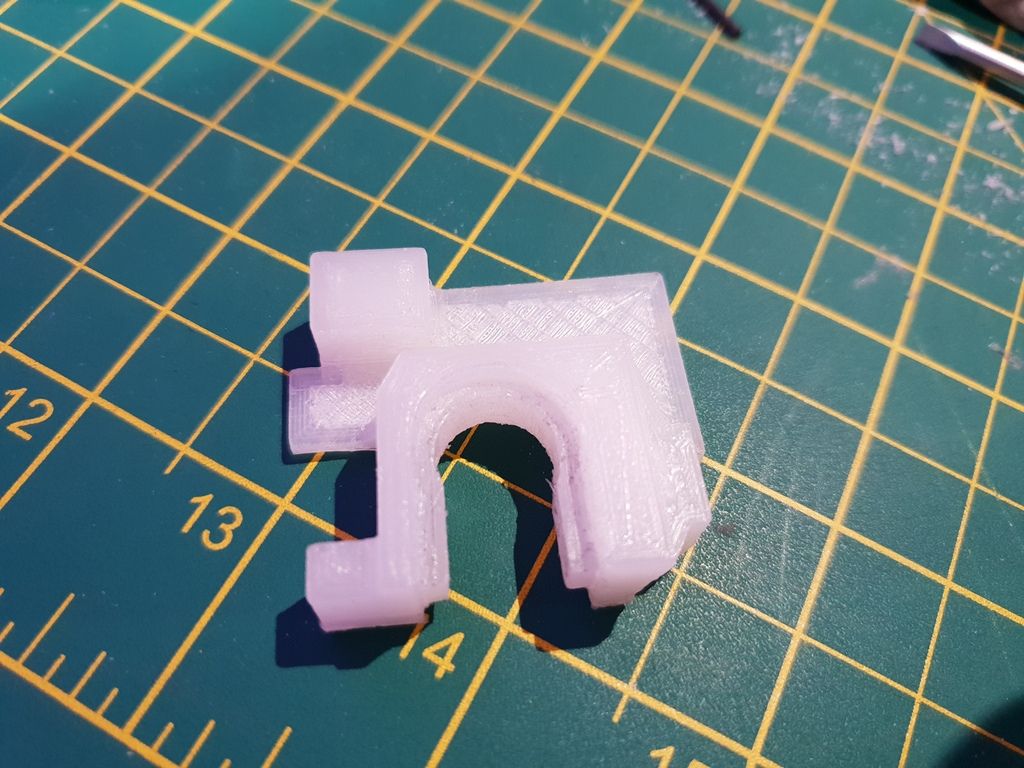
The next thing was a mount to convert the original FAB Totumduino fixings to the new Smoothieboard.

And after that it was various hotend mounting improvements to eventually include a part cooling fan, which the original FAB only had as a doubled up hotend cooling fan which wasn't ideal.
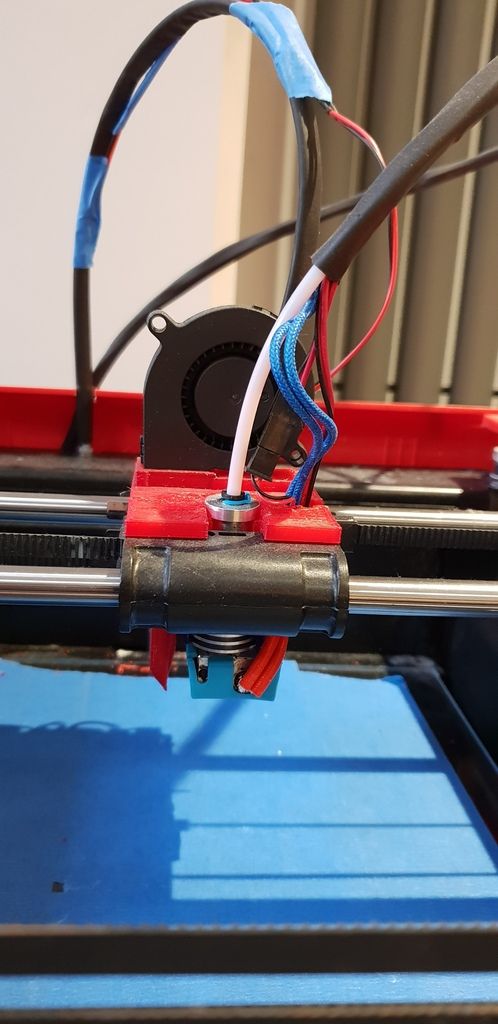
At the moment the fan is only held in by friction, other wise known as a good fit! but I am planning on some kind of support for it in the future.
I also took the opportunity to upgrade my extruder/feeder from the very hard to maintain FAB version to the awsome E3D Titan but if yours is ok then there is no need to do this.
Files on Thingiverse: Head mount
this includes the config file required to run the Smoothieboard on a FABTotum. (A LOT of work went into getting this to work correctly!)
I have probably forgotten somethings or can help more with others, you can always try here: Unofficial FABtotum
or here: FABtotum on Facebook
for more help.
Good Luck!