Modify the Steam workshop “Free_Loading_Slideshow” to create your own slide show for your server - GarageMan/DayZ-Create-loading-screen-slide-show GitHub Wiki
Another How To
Follow these steps to create an individual loading screen slide show, based on the Steam workshop “Free_Loading_Slideshow”, designed by R0Lu (2797818889).
Preparations
Setting up your local working folder
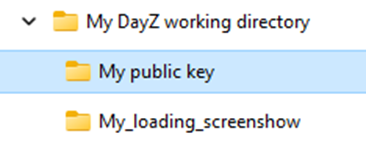
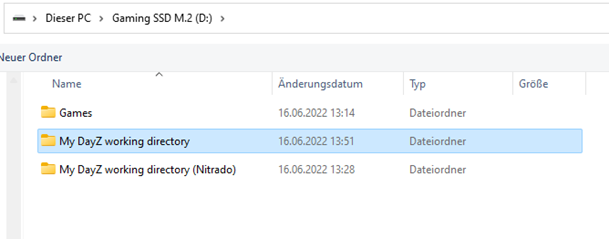
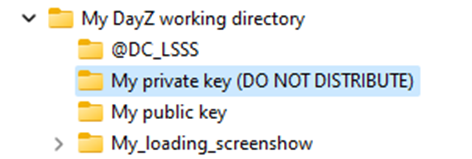
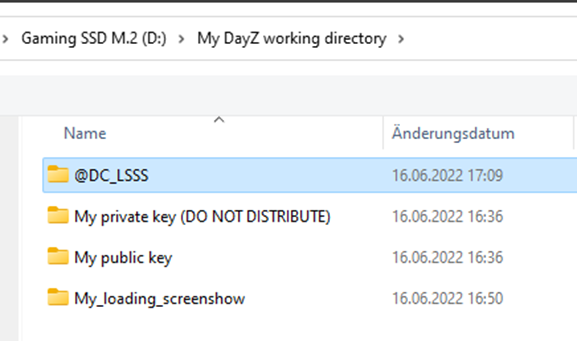
Create a new folder on your local PC drive like “My DayZ working directory” and a subfolders like “My public key”. In that folder you will put your public key (the creation of that will be described later) and a content folder for your workshop (including the “wallpapers” as PNG and EPP files, etc.). The public key will only be needed by servers running your workshop. Due to this should only be you, you do not need to publish that key.
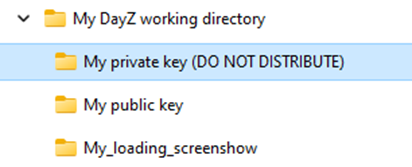
Create a folder that will hold your private key (to be used for any of your workshops)
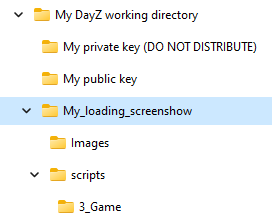
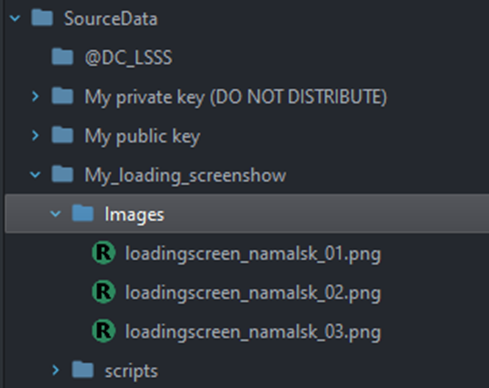
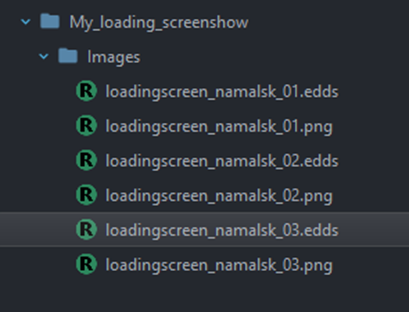
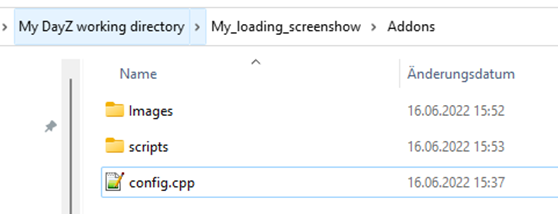
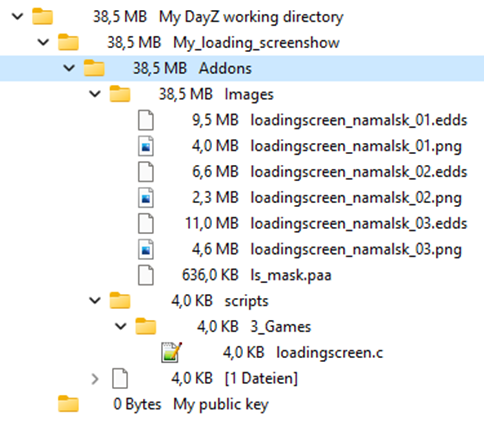
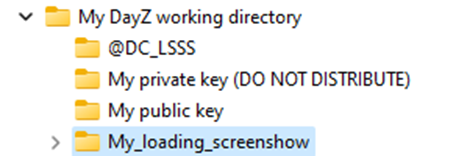
Within the folder “My_loading_screenshow”, create the following structure:
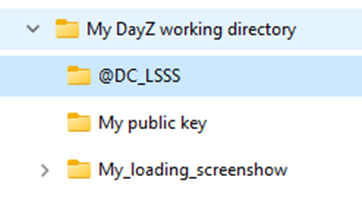
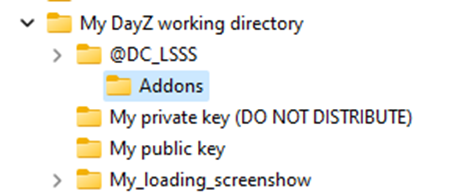
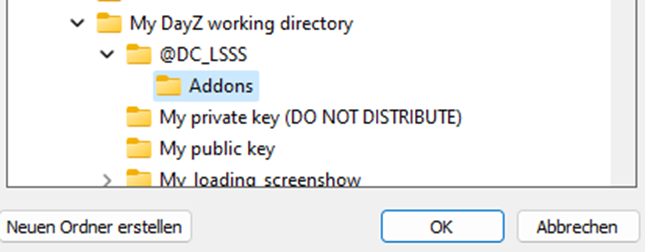
Create another folder, which will become the folder to be published (in my example: @DC_LSSS – DoveCote Loading Screen Slide Show):
Create your images
Use a graphic tool (like Paint.NET) to create a set of images (you will find free images on the web) sized 2560x1440 (1440p)!
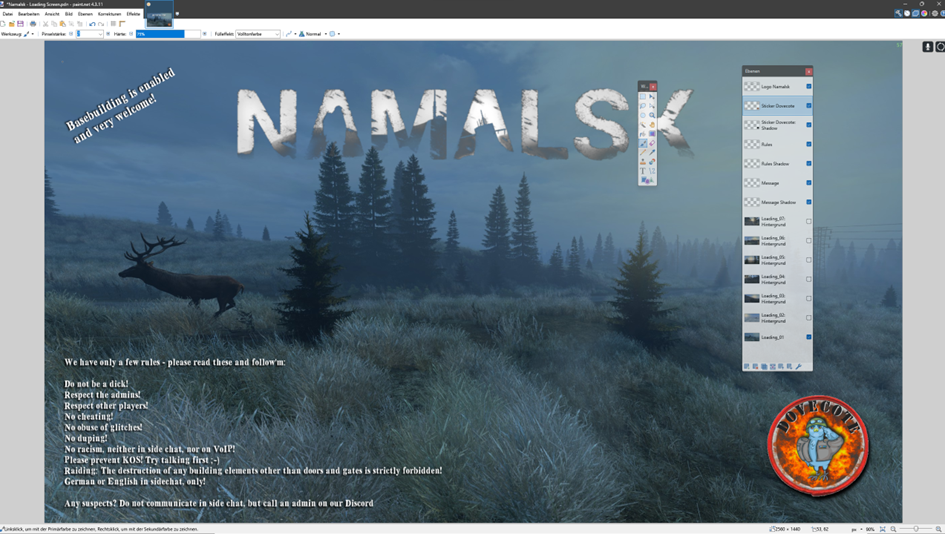
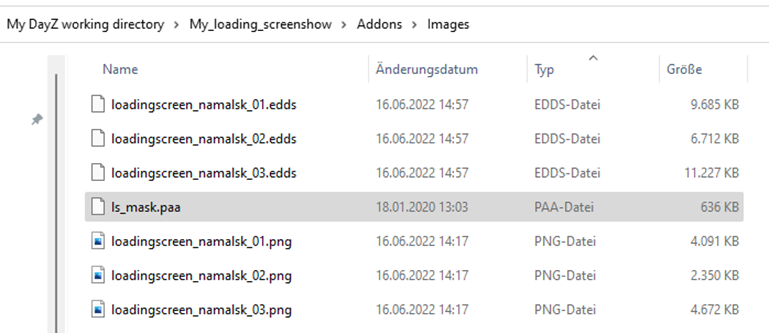
Save the images as PNG-files in the image subfolder in your working directory “My_loading_screenshow” you created earlier:

Install DayZ Tools
To a) convert the PNG files into EPP files, and b) to create and publish your own workshop, you must use the DayZ Tools.
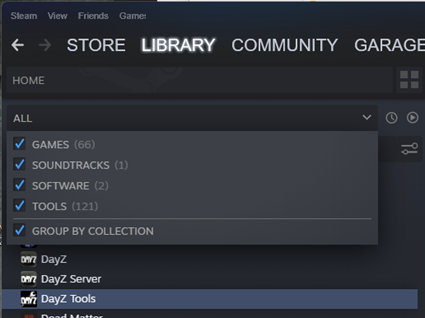
- Install the DayZ Tools via your Steam client.
1.1. If you cannot find that application for installation, you must select “tools” in the Steam menu:
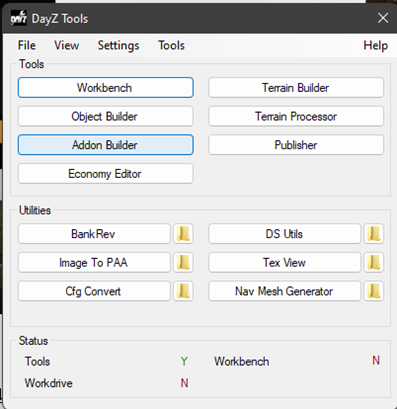
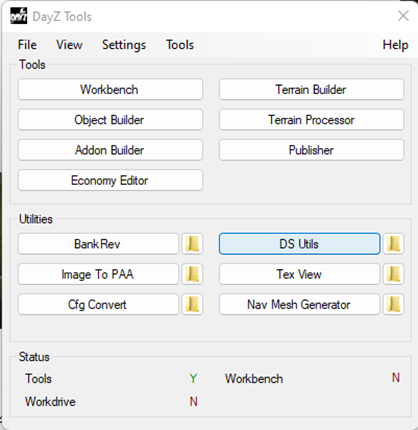
- Start the DayZ Tools, select “Play DayZ Tools”, click “Play”
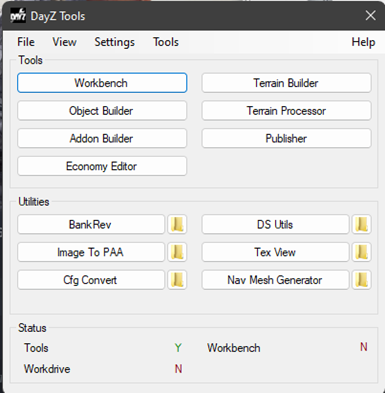
- The first tool we need is the Workbench. As you can see in the screenshot above, the Workbench is not installed. As of some discussions on Steam the cause is of a version conflict. So, you must do the following (only once):
3.1 Put a copy of the entire DayZ Tools-folder inside your main DayZ-folder.
3.2 Inside that copied folder go to bin, then workbench and run workbenchApp.exe:


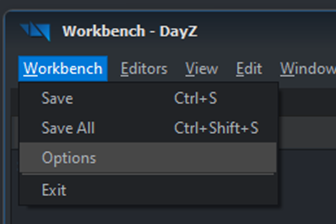
- Click on “Workbench” in the menu ribbon and select Options:
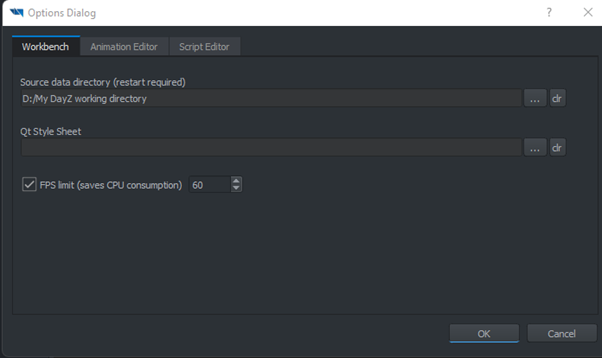
4.1 To set the source data directory just click on the three little dots and select the folder you just created.
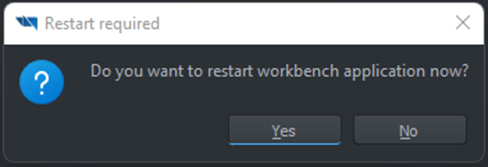
4.2 Hit “Yes” to restart Workbench and open the folder structure down to “Images”:
Convert the PNG to EDDS-files
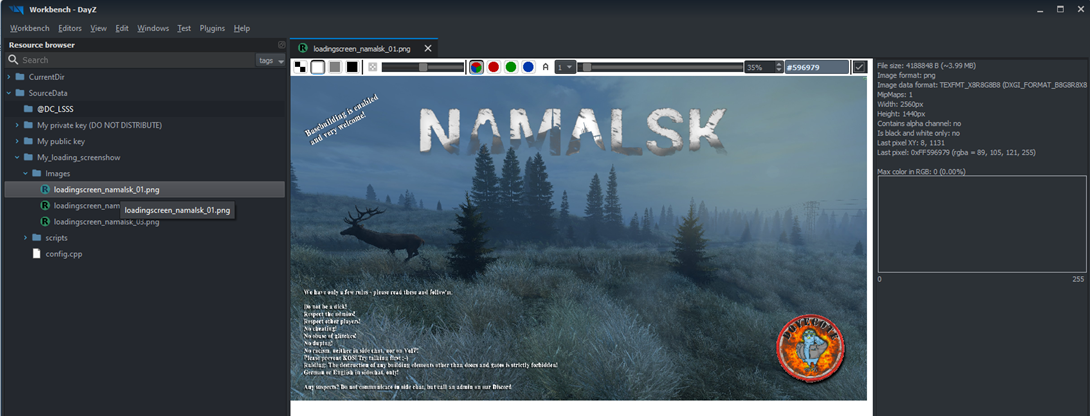
- Double click on the first PNG-file to check if it is ok (and a PNG file!!!)
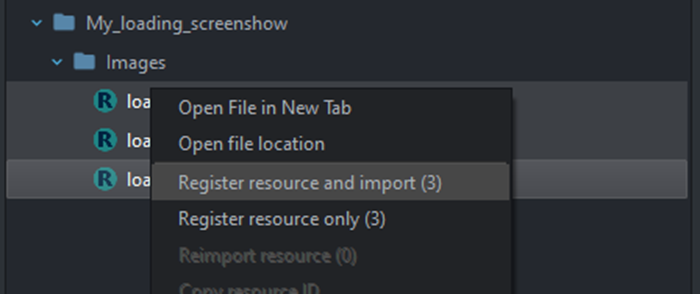
- Select all (in my case 3) files and press the right mouse button, select “Register resource and import (3)” (the number in the bracket shows the number of selected files 😉)
-
Exit the Workbench.
-
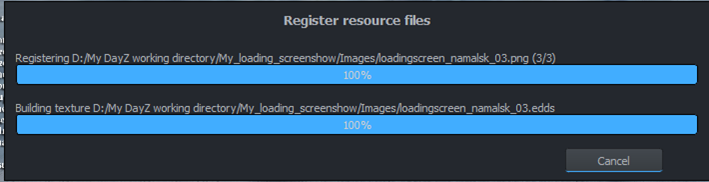
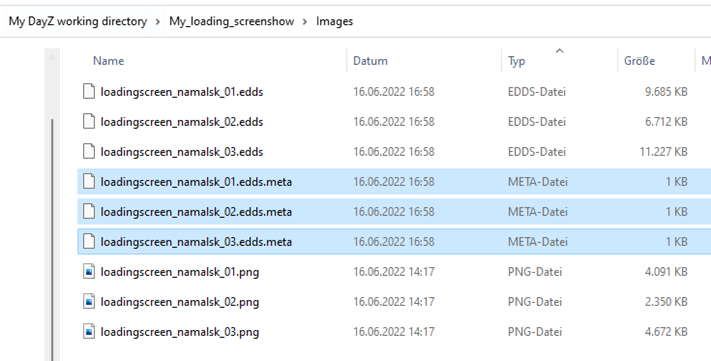
You will find the edds- and edds.meta-files (the meta files can be deleted) in your working directory:
Subscribe and load the workshop “Free_Loading_Screenshow”
-
Subscribe to the workshow “Free_Loading_Screenshow”.
-
Find the location of the workshop on your PC.
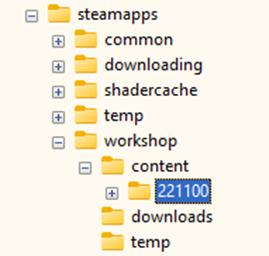
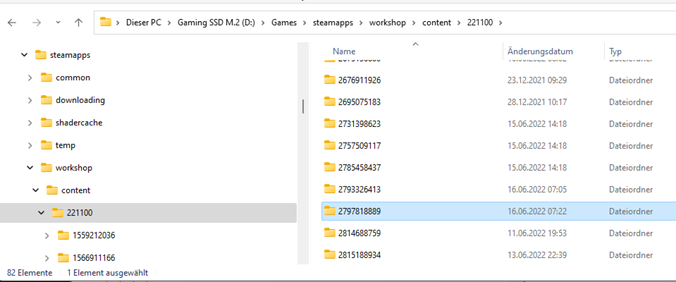
2.1 That should be <your_gaming_drive_and_folder>\steamapps\workshop\content<some_numbers>\
-
Inside that folder you will find all installed workshops, named by the workshop number.
-
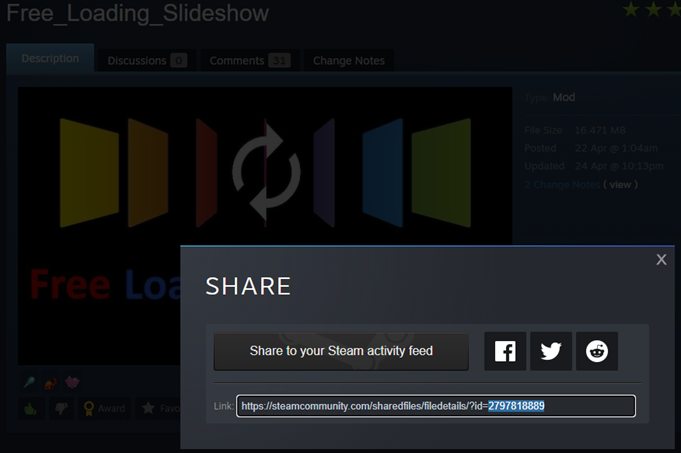
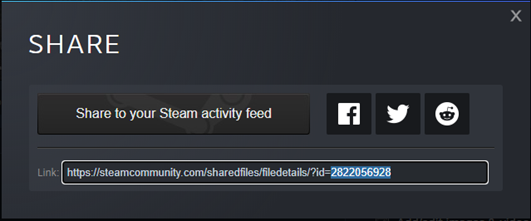
To find out the number of the desired workshop (Free Loading Screenshow), you must press the “share” button in the Steam client within the workshop’s description page:
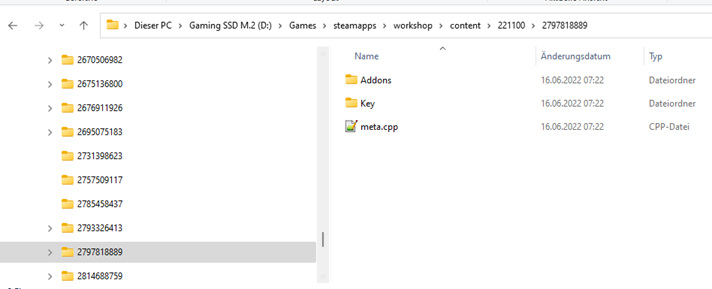
- Open your Explorer and go to that directory
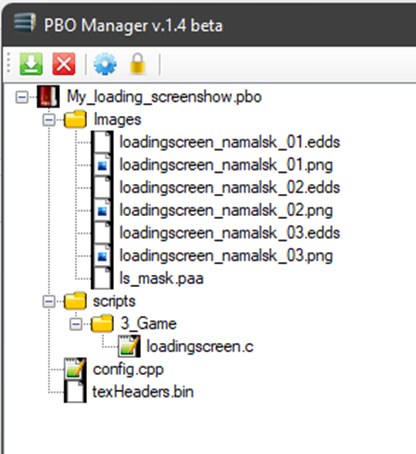
- Next, you must open a pbo-file. Download a pbo-manager to open the pbo file, like the "PBO Manager x.1.4 beta" (my trusted site: https://native-network.net/downloads/file/6-pbo-manager-v1-4-beta/)
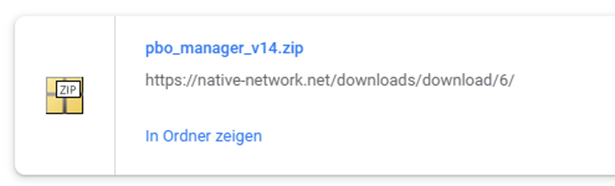
- Install the PBO Manager.
Setup your workshop
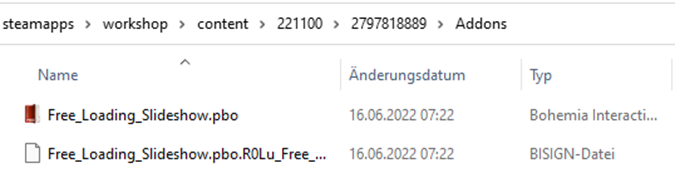
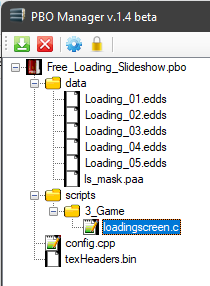
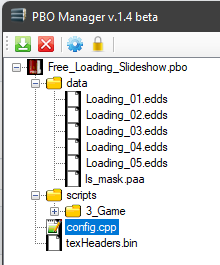
Open the “Free_Loading_Slideshow.pbo”

loadingscreen.c
- Open the file “loadingscreen.c” file (I am using Notepad++)
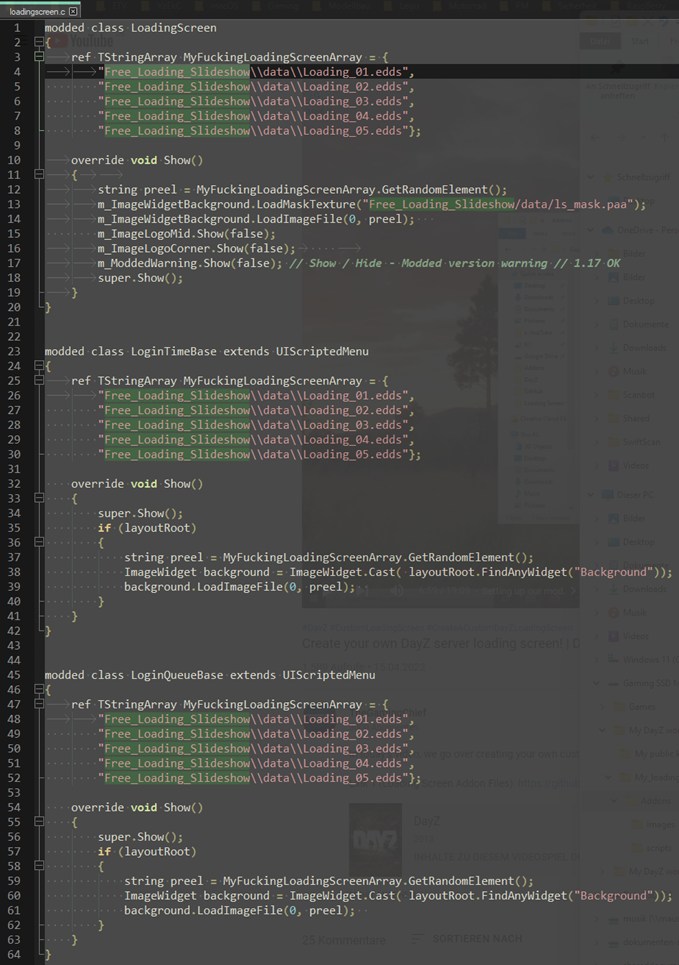
-
Notice the selected characters: “Free_Loading_Slideshow”. You can change that to your own naming (like I did: “My_loading_screenshow”) but remember to change it consequently in both files AND name your working directory by that name, too!
-
Copy/Paste all lines to a new c-file named "loadingscreen.c" in your working subdirectory “3_Games”
-
Exchange “Free_loading_Slideshow” with your mod name (same as above in the cpp file).
-
Exchange the folder name \data with \images (or whatever you named that folder)
-
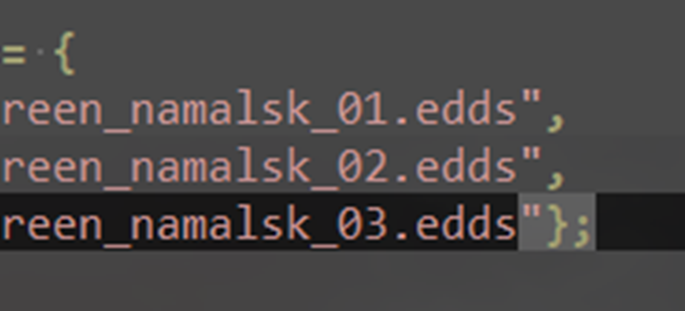
Exchange the edds-filenames with the ones you created earlier: Loading_01.edds => loadingscreen_namals_01.edds
-
Delete the lines you do not need
-
And, yes, you can exchange the name of the Array with something nice like "MyLoadingScreenArray" :-)
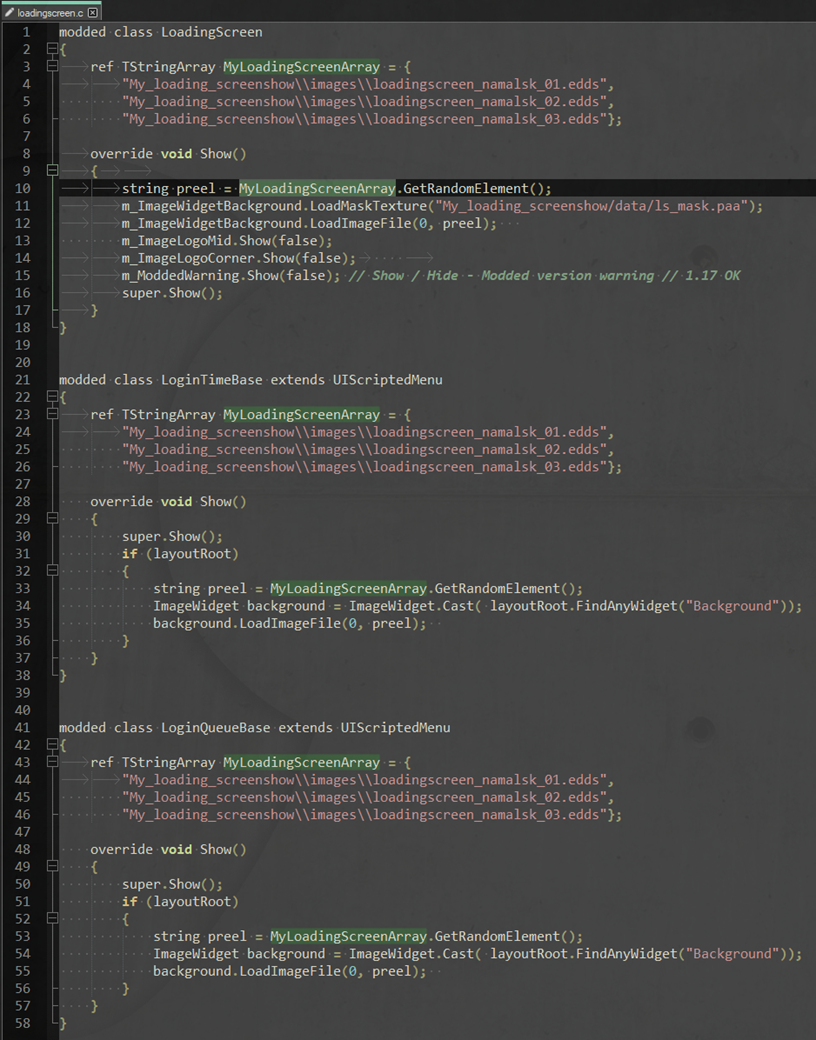
- Save and close that file.

config.cpp
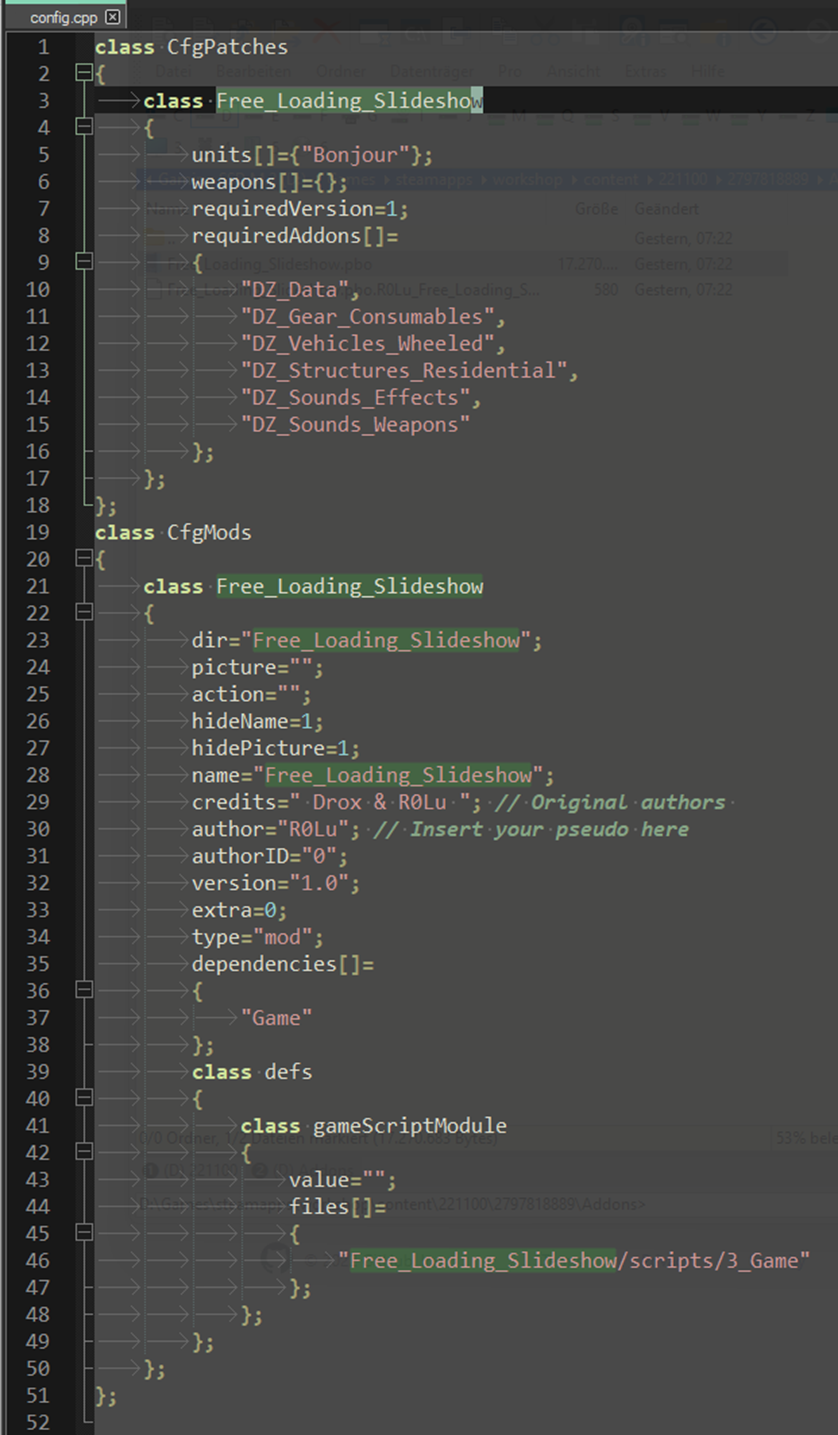
- Open the file "config.cpp" in the PBO Manager
- Create a new file “config.cpp” (C++) in your working directory.
-
Open the new file “config.cpp” and copy/paste all line from the original “config.cpp”.
-
Exchange all entries “Free_Loading_Slideshow” with the name of your directory (in my case: My_loading_screenshow”)

-
You can edit the author to your name/alias. Leave the credits to Drox and R0Lu
-
Save and close that file.
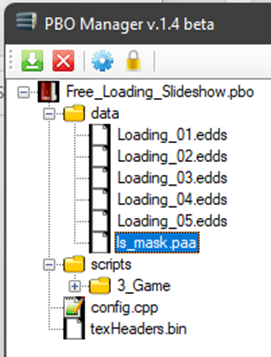
ls_mask.paa
Drag and drop the file “ls_mask.paa” from the original pbo file via the PBO Manager to your folder with the images
(You can delete the PNG files, or move’m to another folder)
Congratulations! You just created all files needed to go on with the next steps of creating your workshop.
Addon Builder
Now, we will create the addon file, which is the file the server and client needs to run the workshop.
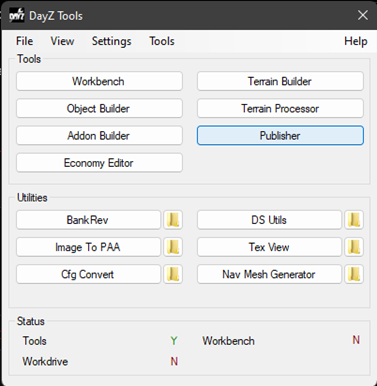
- Go to the DayZ Tools and select “Addon Builder”
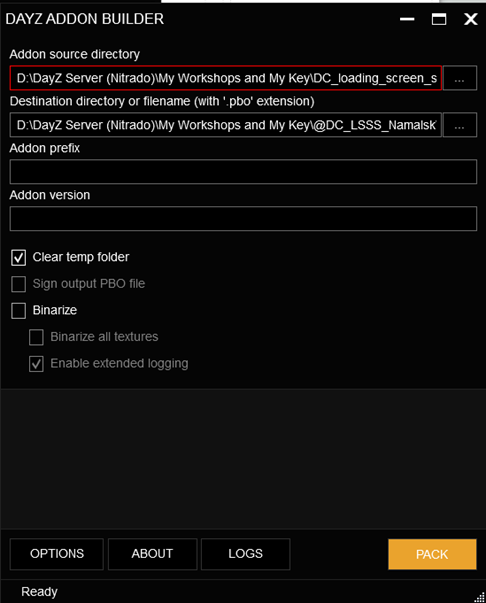
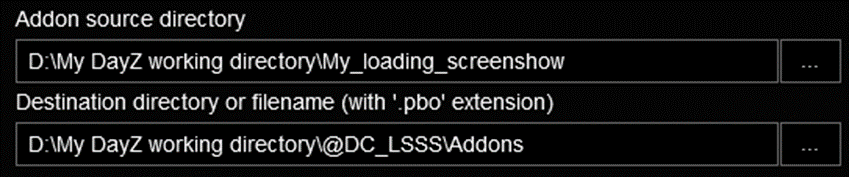
- Select the source directory:
- Create and select the addons destination folder (the @-folder)
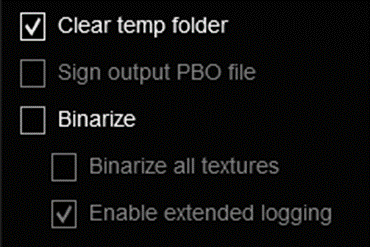
- Deselect “Binarize” (this is not a must!)
-
Press PACK
-
Press OK if the build was a success.

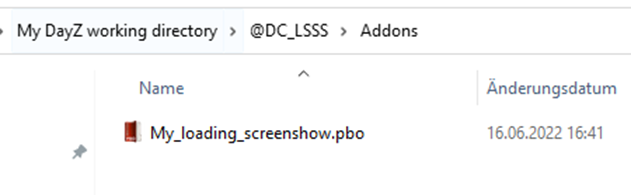
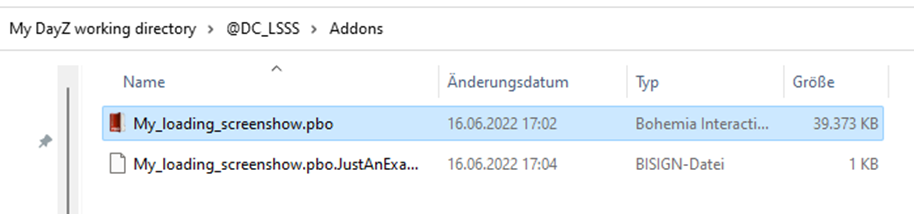
- Your pbo-file has been created:
Sign your workshop
Create your own private and public key
If you currently do not have a private key for Steam workshops, you must create that one (only once).
- Start DSUtily in the DayZ Tools
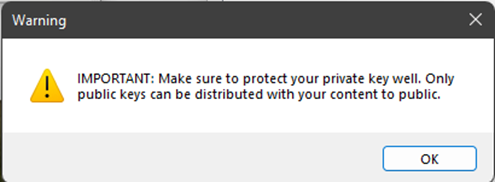
- Create a new folder somewhere secure. This will hold your new private key, which you NEVER SHOULD SHARE!
- Create a private key by pressing the N next to “Private key” under Options:
- Select the folder you just created (the private key folder) and press “Create key”
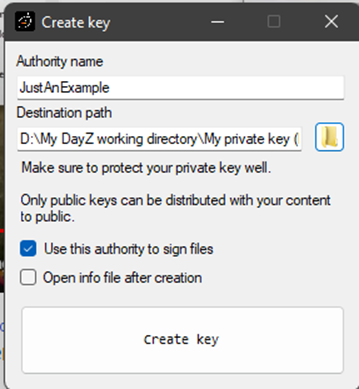
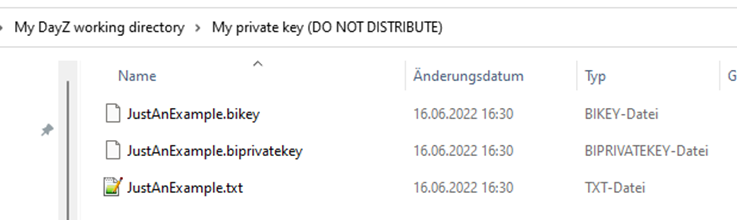
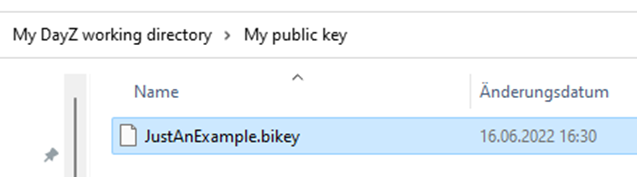
- Move the public key “JustAnExample.bikey” to your folder “My public key”. That key is for distribution with your workshop files.
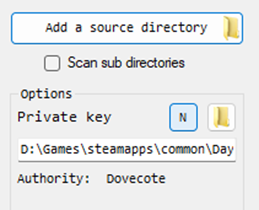
- Back in the DSUtil you now select the source directory (which is the folder holding your new pbo file):
- Press “Process files”
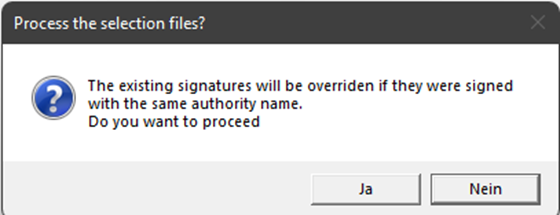
Select "Yes" (“Ja” 😉)

- Your workshop has been signed!
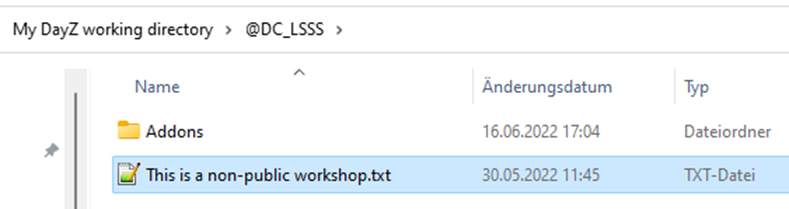
- Put a notice file into the workshop folder stating this is a non-public mod and can only be used with your server(s).
Publish your workshop on Steam
To publish your workshop, you must us the Publisher in DayZ Tools.
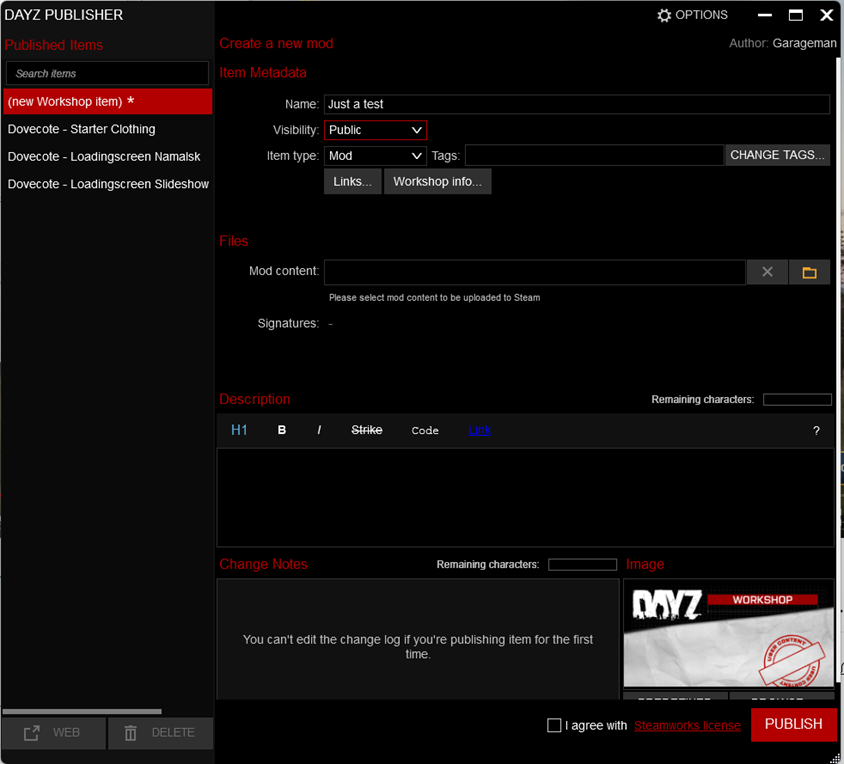
-
Give your workshop a name (most creators are using a prefix like an alias). Set the visibility to Private, Friends, or Public.
-
Select the Mod content folder by clicking on the orange folder icon:
-
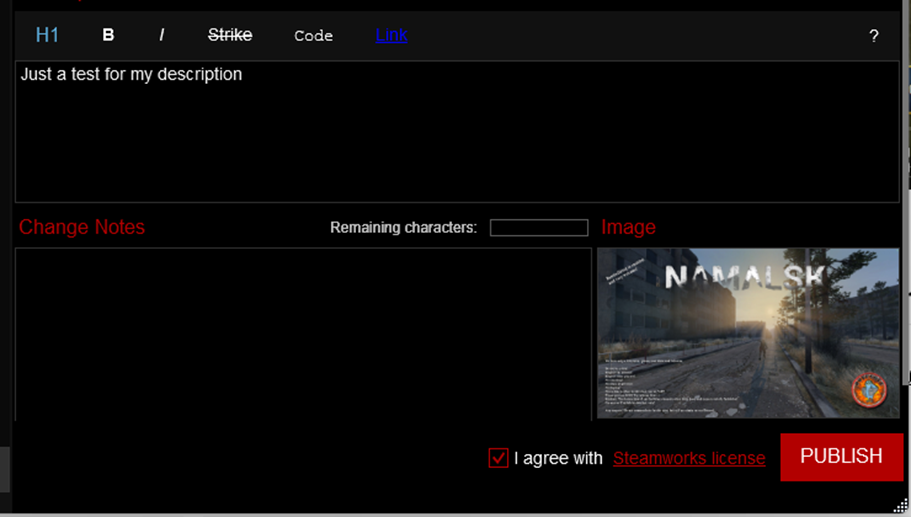
You can add an image for your workshop, e.g. one of the PNG files you created earlier.
-
Enter a description, and in the case of a change some change notes, select the “I agree with Steamworks license” and press PUBLISH
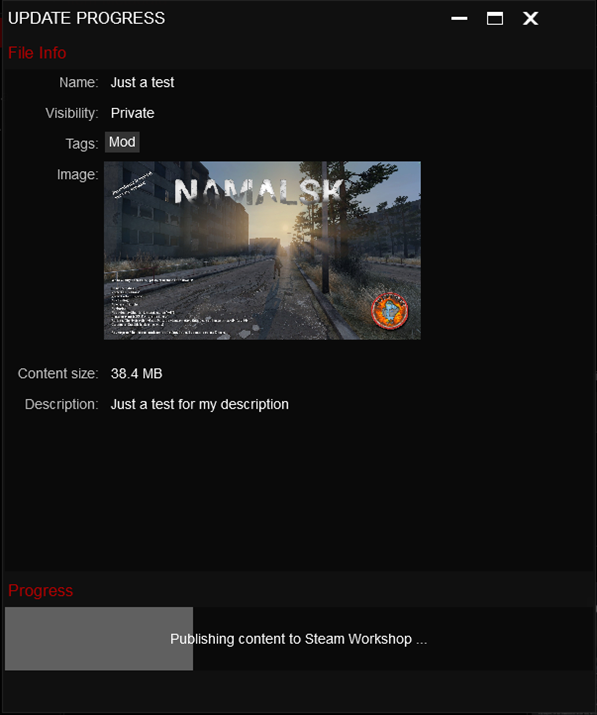
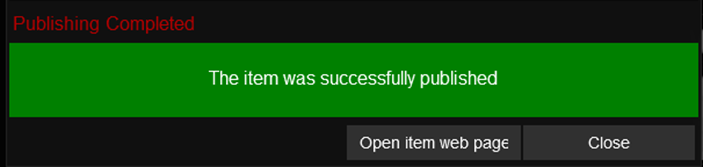
- Your workshop will show up in Steam under DayZ workshops:
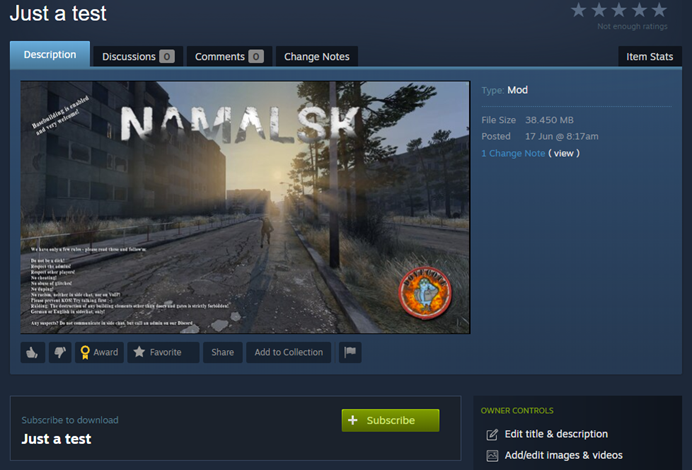
- Notice the id of your new workshops (e.g., in the share-menu)
Install the workshop on your server
For the “installation” of your new workshop you must copy the content to your server.
For that purpose you need a tool like FileZilla.
-
Connect to your gaming server
-
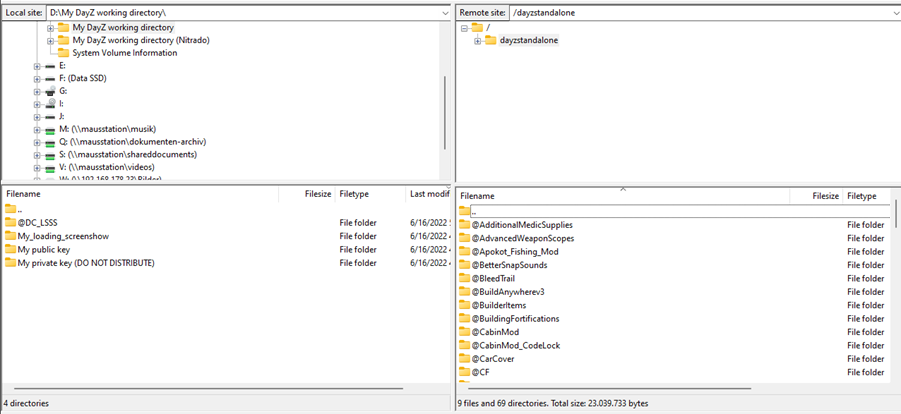
Find your source directory (which is the workshop you just uploaded):
-
On the destination (your gaming server’s filesystem) open the folder for the workshops (in my case: dayzstandalone):
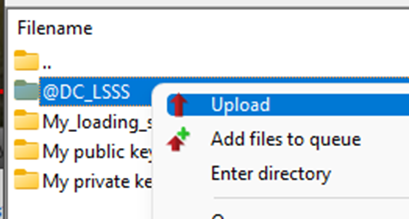
- Right-click on the workshop folder you want to upload:
- Copy your public key to the keys-folder on your server.
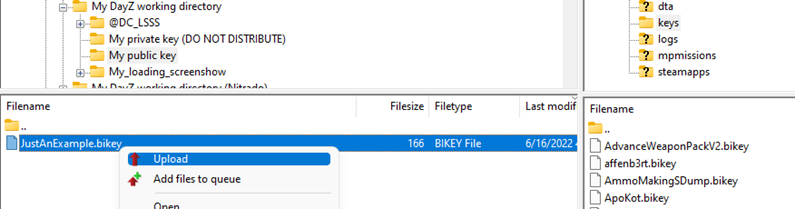
5.1 Select the folder with your public key on the source side:
5.2 On the destination side open the keys folder
5.3 Right-click on the public key file and upload it:
- Go to your server dashboard (in my case: Nitrado) to add the new workshop to the loading parameters.
@DC_LSSS; <= Do not forget the semicolon as the last character!!

-
Save your changes.
-
The change will be implemented at the next server restart.