SMART Goals - Fedes365/Microsoft-Lists-Templates GitHub Wiki
Working SMART with a SMART Goals template in Microsoft Lists

How to:
1) Download the Excel file available here
2) Create a new list from Excel and upload the file you've got in the previous step


3) Follow the wizard process to create a new list. Make sure to display the Created column, so it can be used as a date reference for every new item you'll add. Customize the Excel table by assigning the following List column types:
| COLUMN NAME | COLUMN TYPE |
|---|---|
| Title | It's the default Title column where you provide a short Goal description |
| PROJECT | Choice, so it will be easier to move a goal to another new or previously added project |
| SPECIFIC | Multiple lines of text |
| S_COLOR | Single line of text |
| MEASURABLE | Multiple lines of text |
| M_COLOR | Single line of text |
| ATTAINABLE | Multiple lines of text |
| A_COLOR | Single line of text |
| RELEVANT | Multiple lines of text |
| R_COLOR | Single line of text |
| TIME-BOUND | Multiple lines of text |
| T_COLOR | Single line of text |
| Created | It's the default creation date column |
4) GROUPING: Group all the items by the PROJECT column, so that a single project can have one or more goals.

5) JSON code: Copy the JSON code available here
6) List View Formatting: Format the current view and paste the JSON code into the view formatting box (Advanced formatting mode)

7) Here is your SMART Goals Template! 😀
KEY FEATURES

If needed, you can write in the Goal box to change the description later, without opening the item form pane.
- Schedule meeting: you can schedule a new meeting through Microsoft Outlook on the web
- Share this Goal: you can share your Goal (item) through the standard sharing pop-up window
- Move to other project: you can open the default right side pane to assign a different project through the PROJECT choice column
- Delete this Goal: you can delete a Goal (item)
ADDITIONAL FEATURES
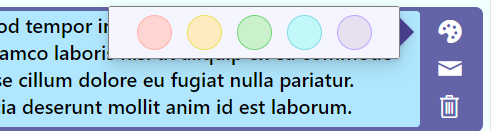
After writing a Goal description, you can change the corresponding box color:
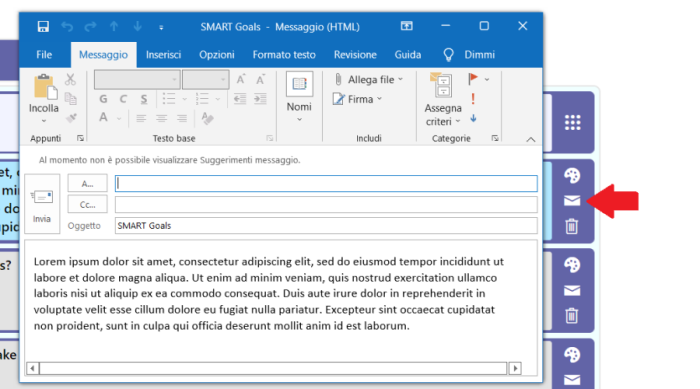
Share a single Goal description through your desktop default email client and edit the pre-filled email with additional text:
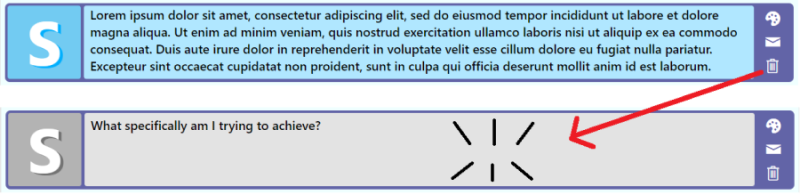
Delete the content of a single Goal description with just one click. When you perform this action, the color will turn back to grey and the default text will appear again to help you insert a description: