Change FALCON server and security configuration - FalconFT/FalconDocs GitHub Wiki
Small guide for changing 'FALCON' configuration
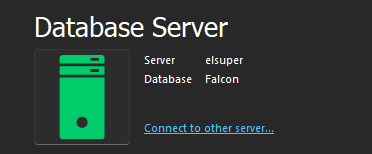
User computer
'FALCON' application can connect to the server in several ways.
- Using the server NAME or the server IP (recommended in LAN's without a domain)
- Using Active Directory integration or just SQL Server integration (Azure AD is on the way, but not ready yet).
Configuration file
This file is located in the user's computer under the user profile settings, and it's created the first time the user opens 'FALCON'.
C:\Users(user_profile)\AppData\Roaming\FalconFT\Falcon
This file contains the JSON representation of the FALCON configuration and can be edited inside the application's main menu.
Configuration options
- Server Name: Name or IP of the server you want to connect
- Connection Timeout: Define the number of seconds of timeout for connecting to the server (should be short <10).
- Command Timeout: Define the number of seconds of timeout for executing queries (should be long for long-running processes).
- Allow edit security: Allows to edit the security configuration. This is only when using SQL Server authentication.
- Use integration security: Only when using Active Directory authentication.
- Username and password: Only when using SQL Server authentication (must be a valid SQL Server login).
- Map to employee ID: Associate the SQL login with a FALCON employee.
- Authentication Provider: We only recommend use Active Directory or SQL Server at this time.
- Enable Log: It's recommended to be always enabled.
- Validate on logon: If disabled, the user doesn't need to add their credentials when starting FALCON
Note: As you type the server's name or IP a server icon should be show if the server can be reached, or not.
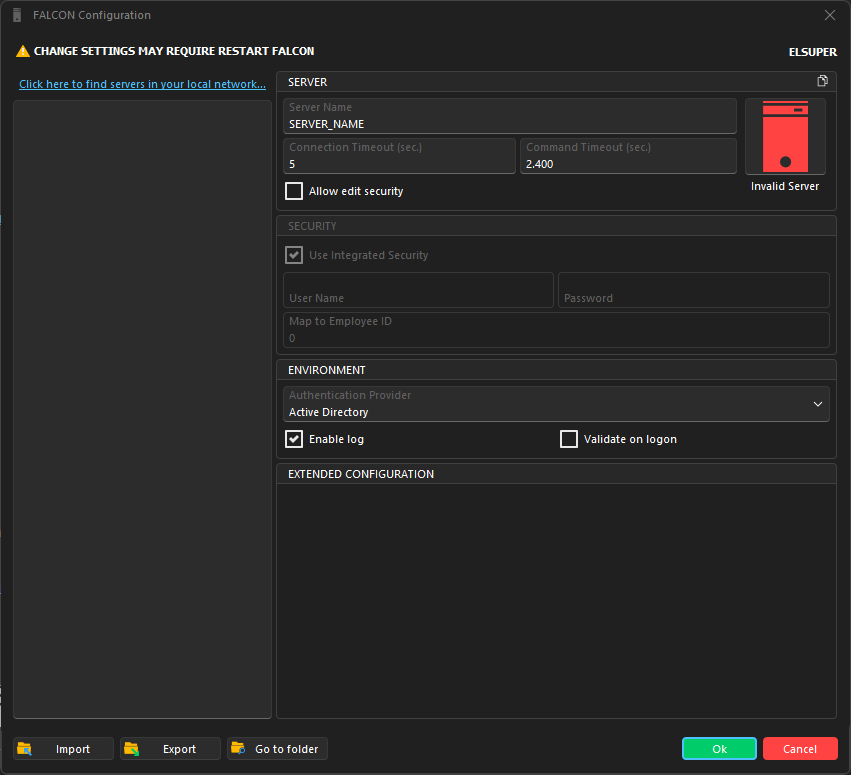
Tip: It's useful to know you can save and load different configurations using 'export' and 'import' buttons.
You can also edit the file manually but please, we highly recommend making a copy before 🙏