Service: OpenAuth Password - EyevinnOSC/community GitHub Wiki
In this tutorial we will show how easy you can add user registration and authentication to your application using open web services in Eyevinn Open Source Cloud.
- An Eyevinn Open Source Cloud account. Sign up here for free.
- Email service for sending email verification codes. In this example we will use the fake SMTP service.
Login and navigate to the CouchDB service in Eyevinn Open Source Cloud web console. Create a new couchdb instance.
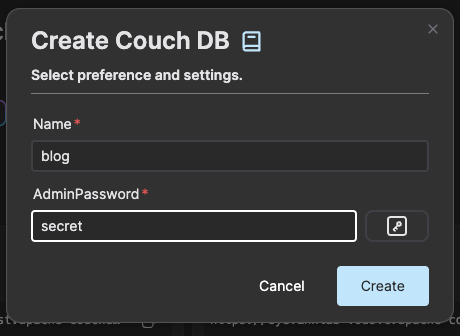
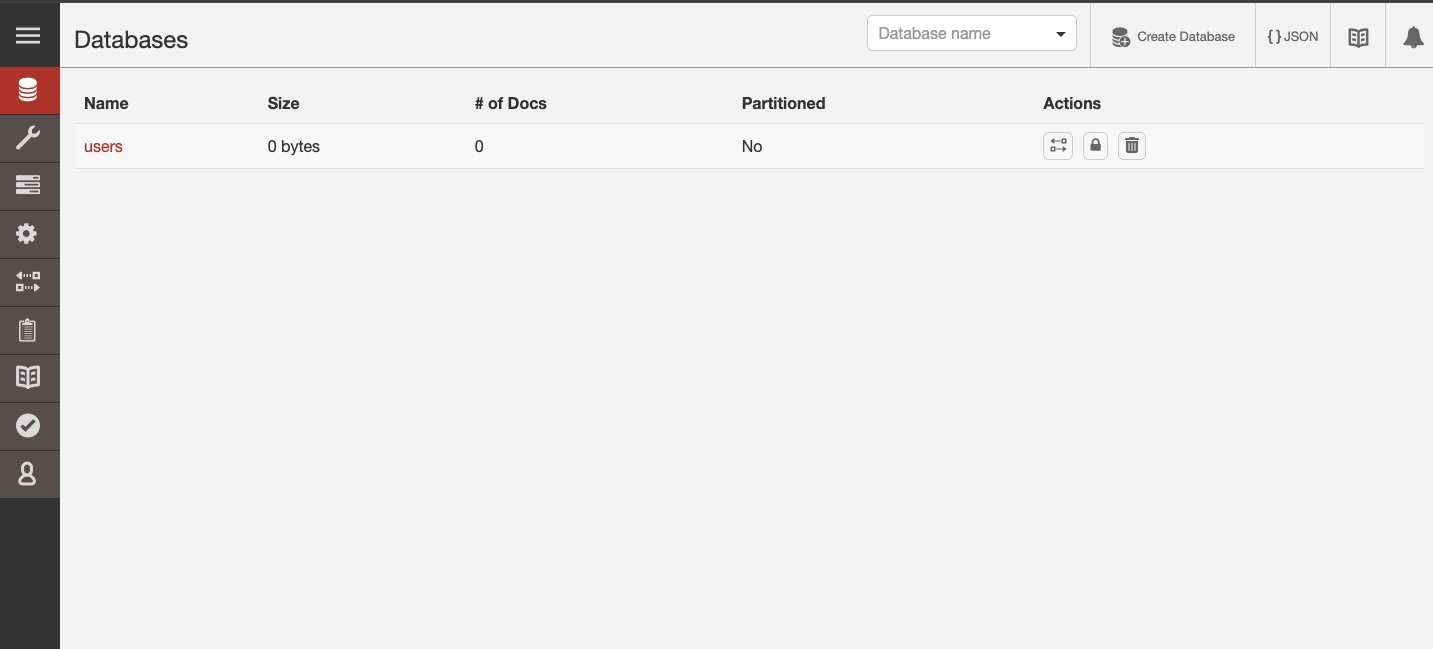
Click on the instance card and open the web user interface for the database. In the user interface create a database that we can call users.
Note down the URL to the database instance, in our example it is https://eyevinnlab-blog.apache-couchdb.auto.prod.osaas.io.
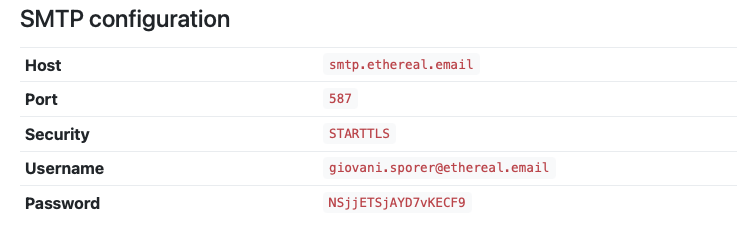
For the purpose of you to be able to follow this example without having access to a real SMTP server for outgoing email you can create a fake SMTP mailer at Ethereal Email.
Create an account and note down the SMTP settings generated.
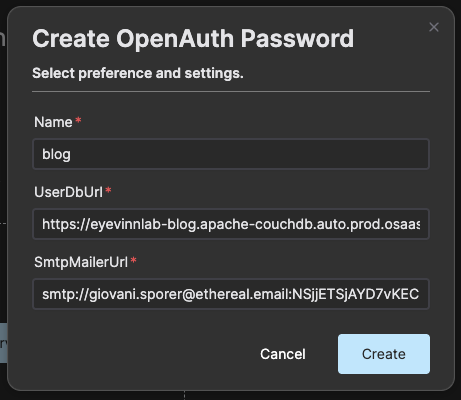
Now navigate to the OpenAuth Password open web service and press "Create authservice".
Enter the following in the create dialog:
- Name:
blog - UserDbUrl:
https://<db-user>:<db-password>@<db-url>/<db-name>where<db-url>is the hostname for the database instance you created and<db-name>the name of the database you created. In this example this ishttps://admin:[email protected]/users - SmtpMailerUrl:
smtp://<smtp-user>:<smtp-password>@<smtp-host>:<smtp-port>. In our example with a fake SMTP mailer we havesmtp://[email protected]:[email protected]:587
Note down the URL to the password authentication service available on the instance card. In our example it is https://eyevinnlab-blog.eyevinn-openauth-pwd.auto.prod.osaas.io.
Now we will develop a simple NextJS application to verify that it works. It is based on the example application found in the OpenAuth GitHub repository.
Clone the OpenAuth repository.
% git clone [email protected]:openauthjs/openauth.git Create a project folder for your application and copy the example code from the OpenAuth repository.
% mkdir my-app
% cd my-app
% cp -r ../openauth/examples/client/nextjs/* .
As we copied this example from a mono repo we need to uninstall the referenced openauth library and install the published package instead.
% npm uninstall @openauthjs/openauth
% npm install --save @openauthjs/openauth
Install the other dependencies.
% npm installOpen the file app/auth.ts and replace the following in the file
export { subjects } from "../../../subjects"with
import { createSubjects } from "@openauthjs/openauth/subject"
import { object, string } from 'valibot';

export const subjects = createSubjects({
  user: object({
    userId: string()
  })
});
Open the file app/page.tsx and change the following line:
Logged in as <code>{subject.properties.id}</code>.to
Logged in as <code>{subject.properties.userId}</code>.Then change the issuer URL http://localhost:3000 to the URL to the password authentication service you created, as in this example:
export const client = createClient({
  clientID: "nextjs",
  issuer: "https://eyevinnlab-blog.eyevinn-openauth-pwd.auto.prod.osaas.io",
})
Install the valibot dependency.
% npm install --save valibotNow we can run the development server.
% npm run devOpen your web browser and go to http://localhost:3000 and you will see the following.
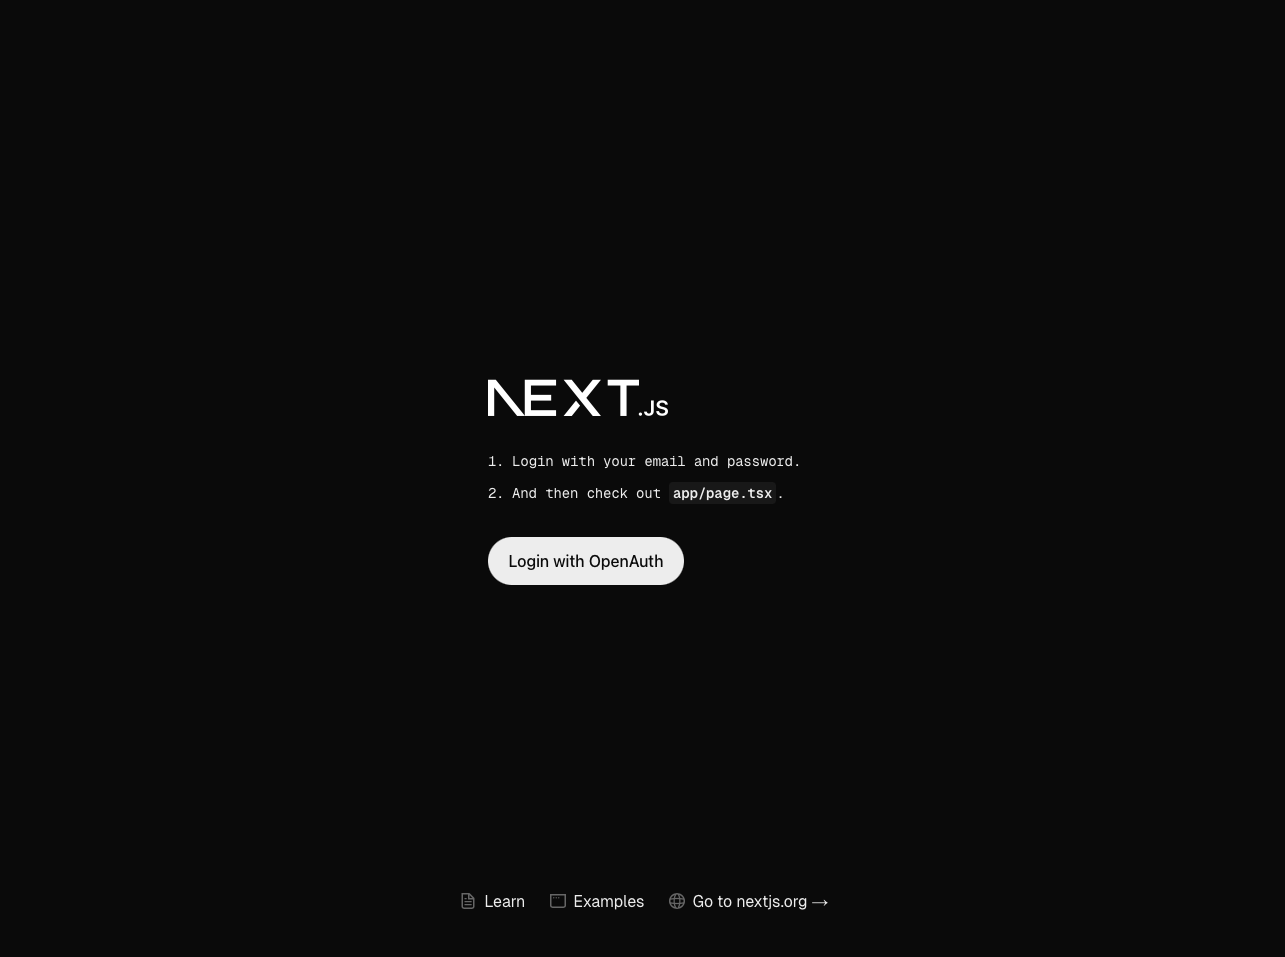
Click on the Login with OpenAuth button.
Create a new account by clicking on the link Register.
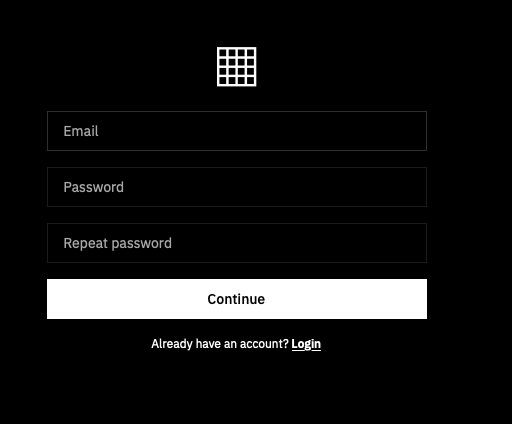
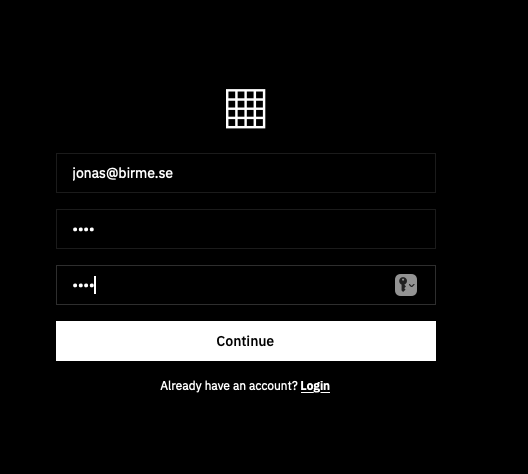
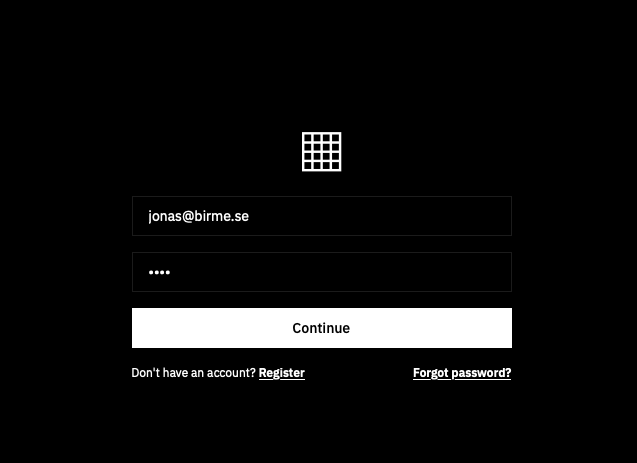
Enter an email and password.
Go your inbox in the fake SMTP mailer (or a real one if you are using a real emailer).
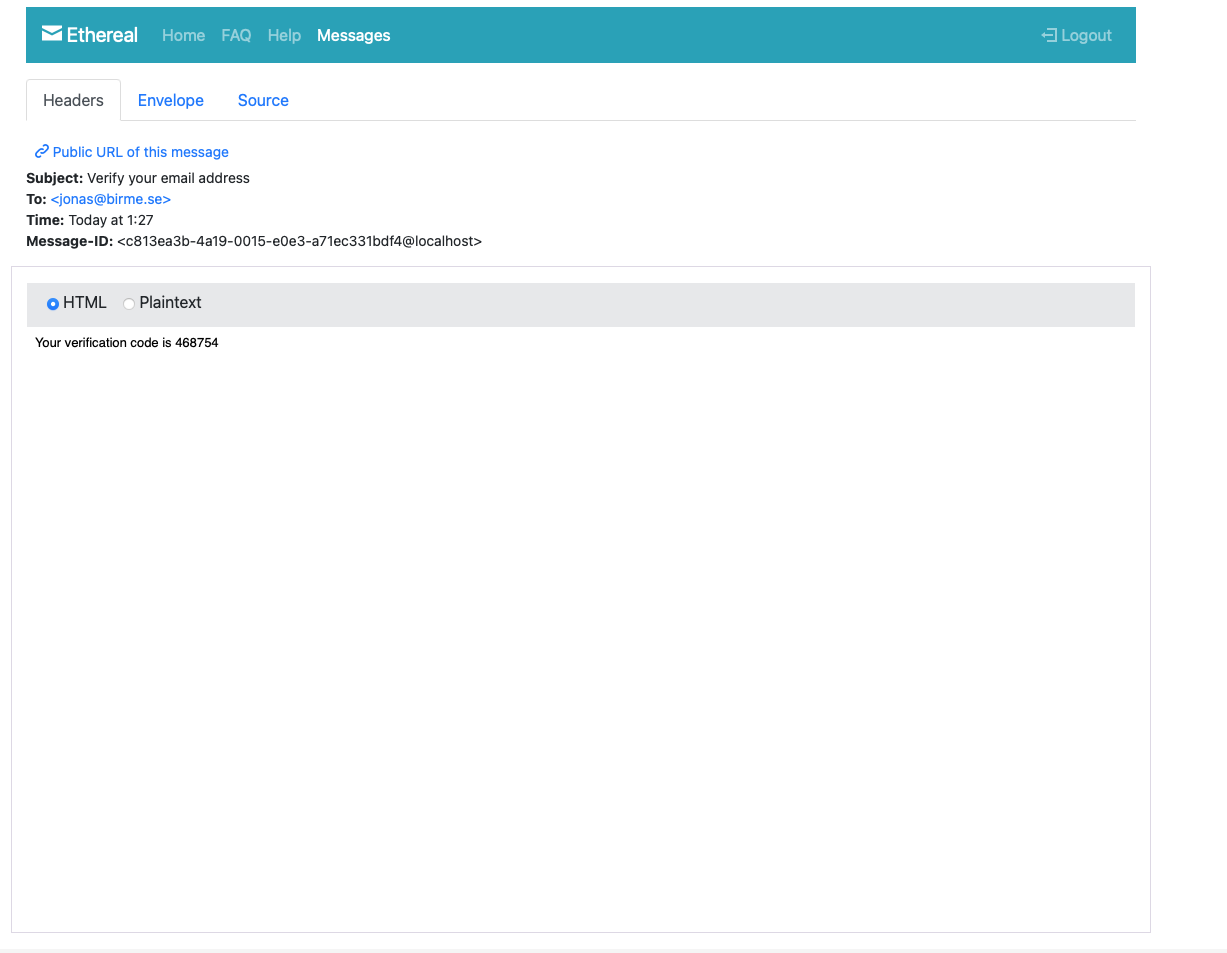
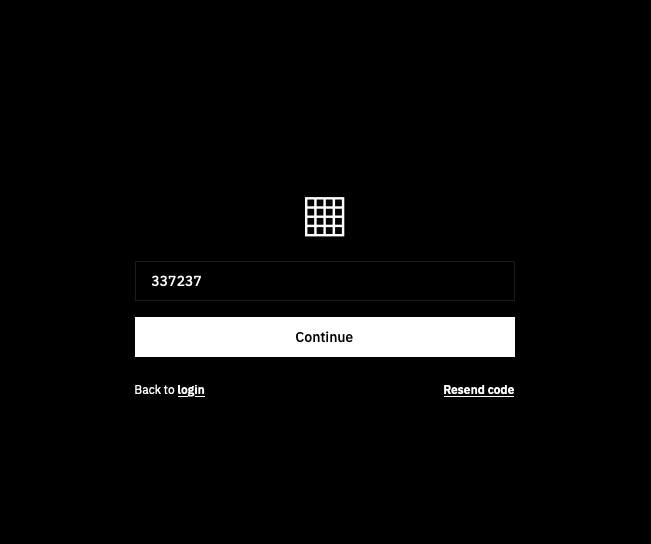
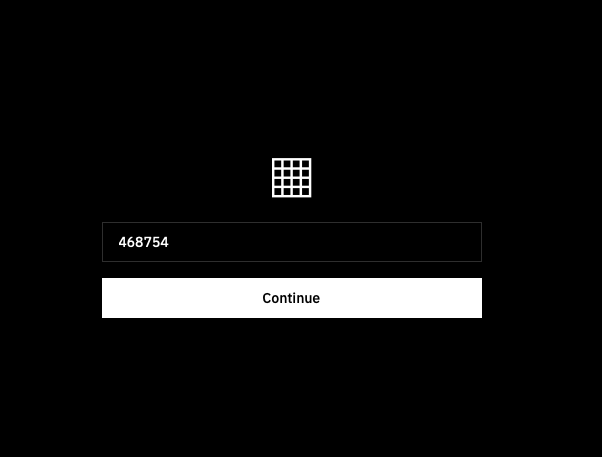
Enter the code you received in the email.
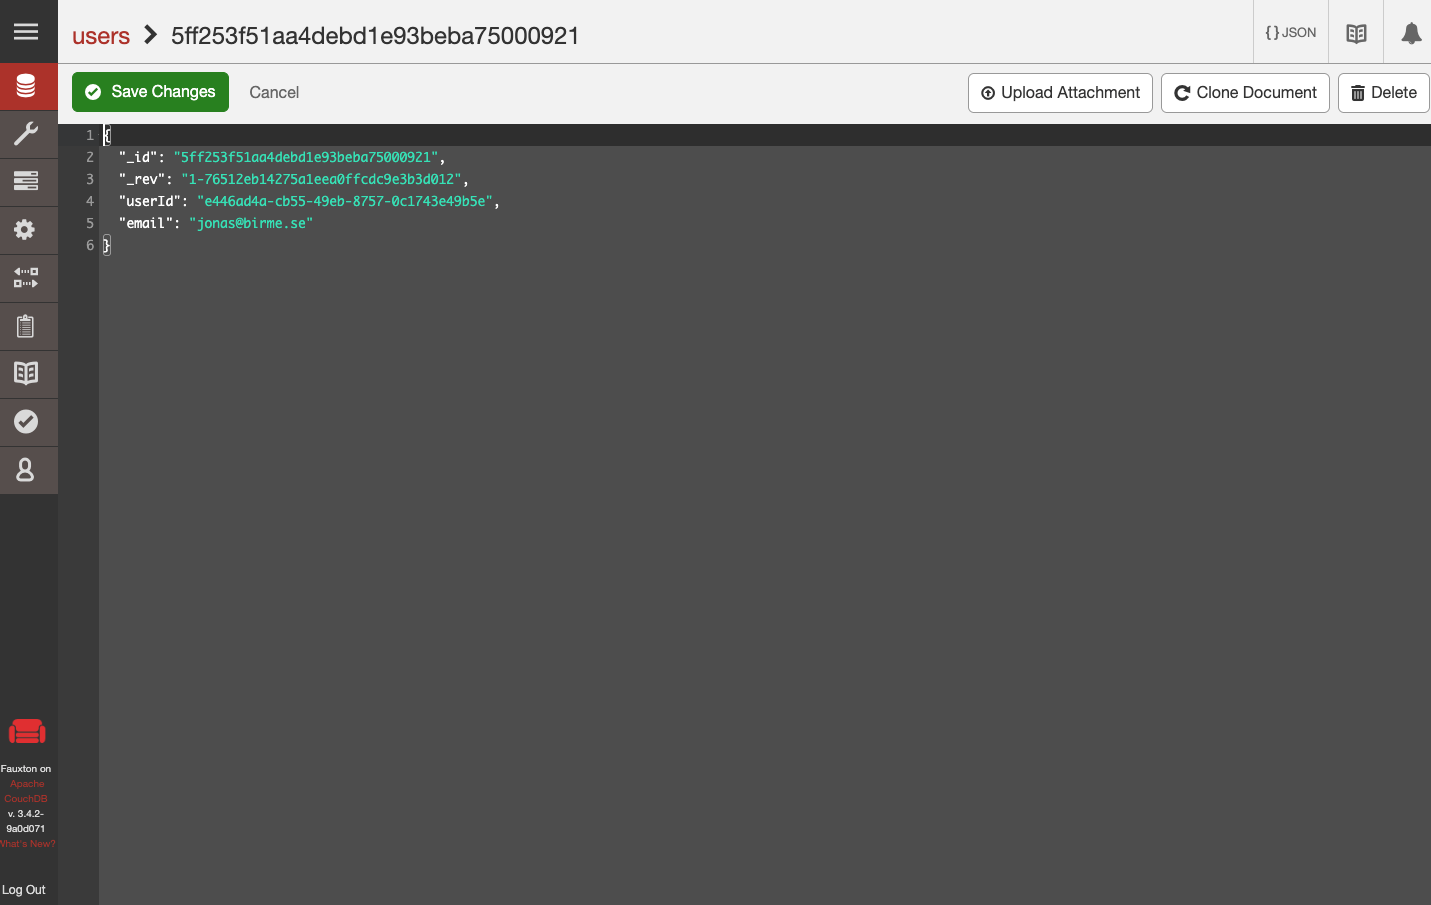
A new user has now been created and we can verify that it is in our database.
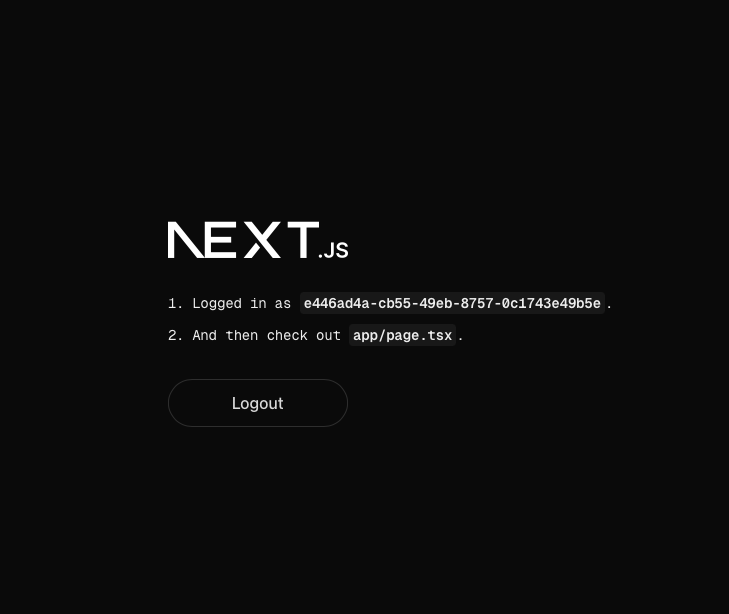
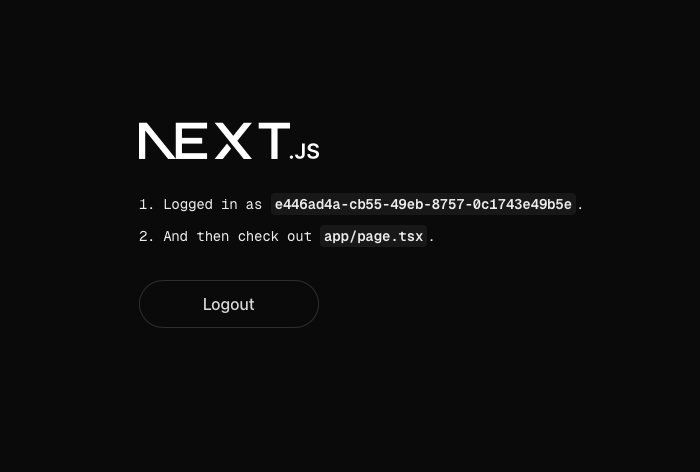
And you are also logged in to the application.
Now we can press Logout and verify that we can login with the password we created.
And we are back in!
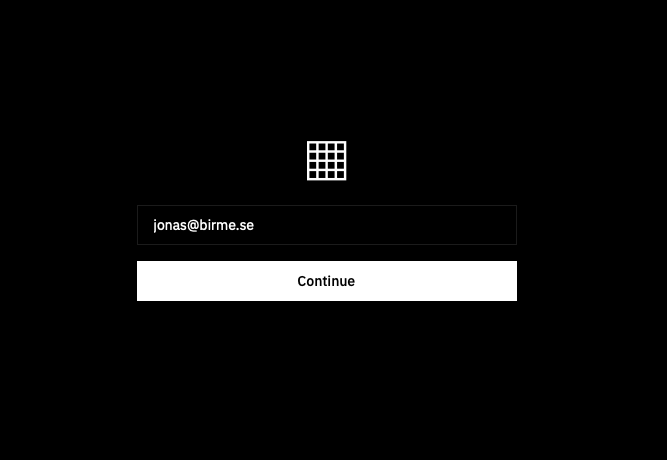
We can also verify that we can handle users that forgot their password. Press link Forgot password and enter the email.
Check the inbox for the code and enter it.