Xamarin iOS WebRTC Tutorial - DreamTeamMobile/Xamarin.AntMedia.Samples GitHub Wiki
To start any work with Ant Media Mobile SDKs you need AntMedia Server in web, how to setup that server described in Ant Media Documentation
if you have server on some domain address we recommend valid ssl certificate on domain to start work
domain-name.com:5080
Just Click New > In Section App under iOS > Single View App .
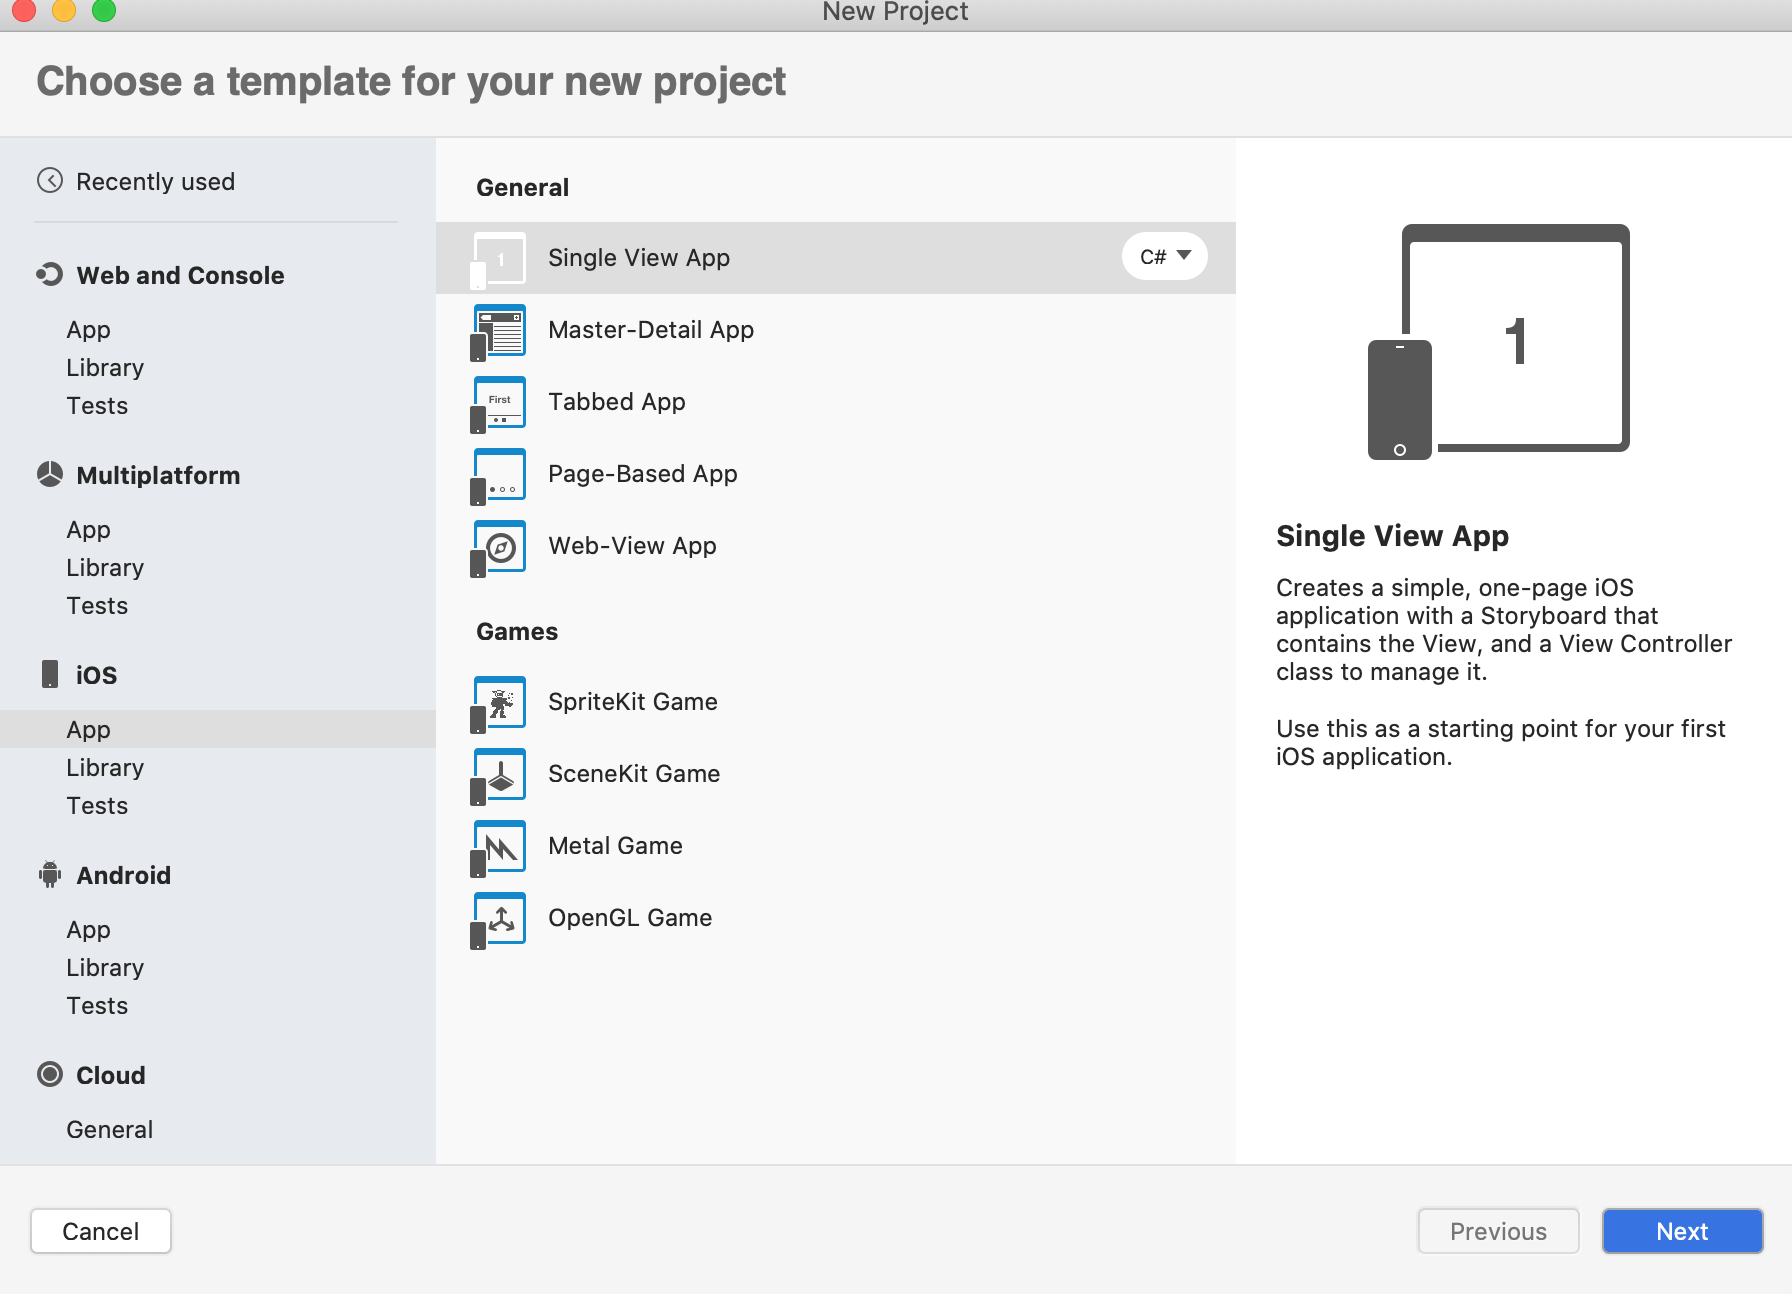
Click Next button and Fill App Name as below.
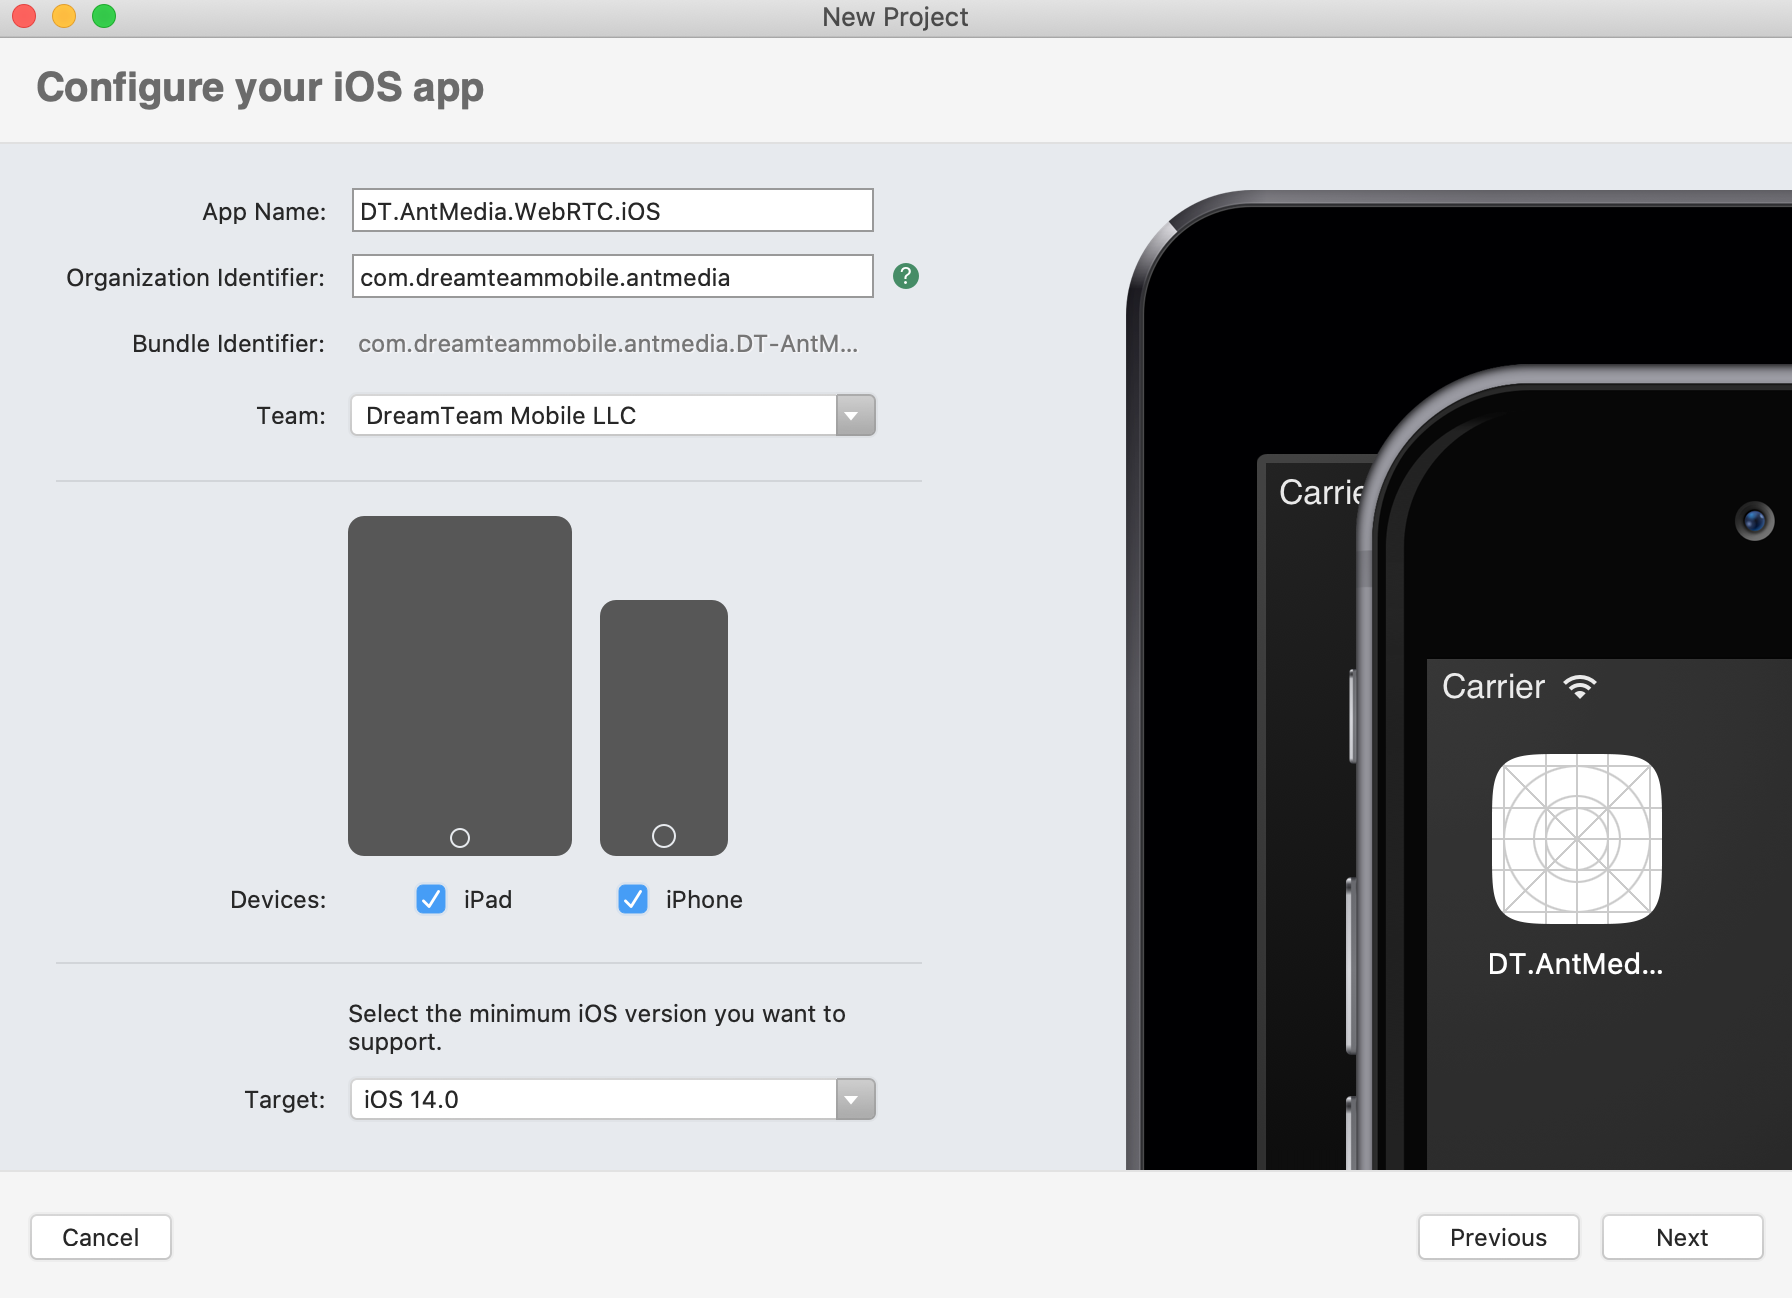
Click Next and Choose if you need something in the next window, usually leave as is

Click Create and finish creating the project.
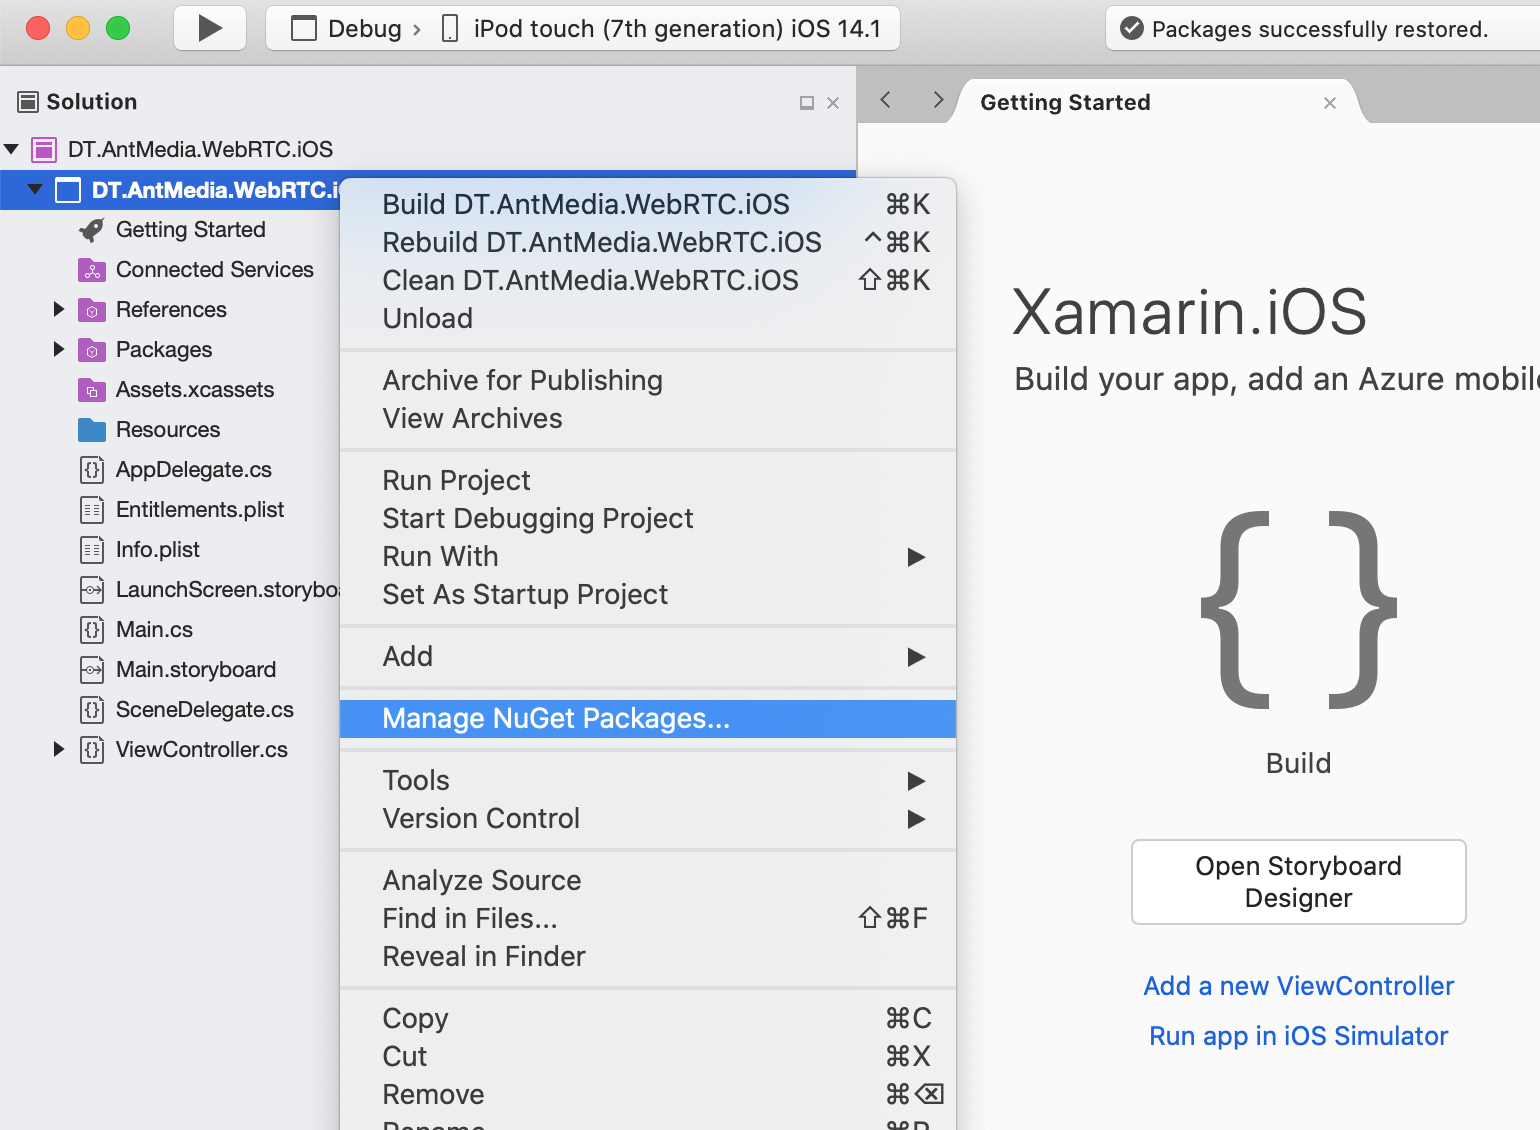
After creating the project. Let's add necessary Nuget package to the project.
Add nuget package DT.Xamarin.AntMedia.WebRTC.iOS to DT.AntMedia.WebRTC.iOS For doing that click right button on DT.AntMedia.WebRTC.iOS at Solution and Choose Manage Nuget Packages...
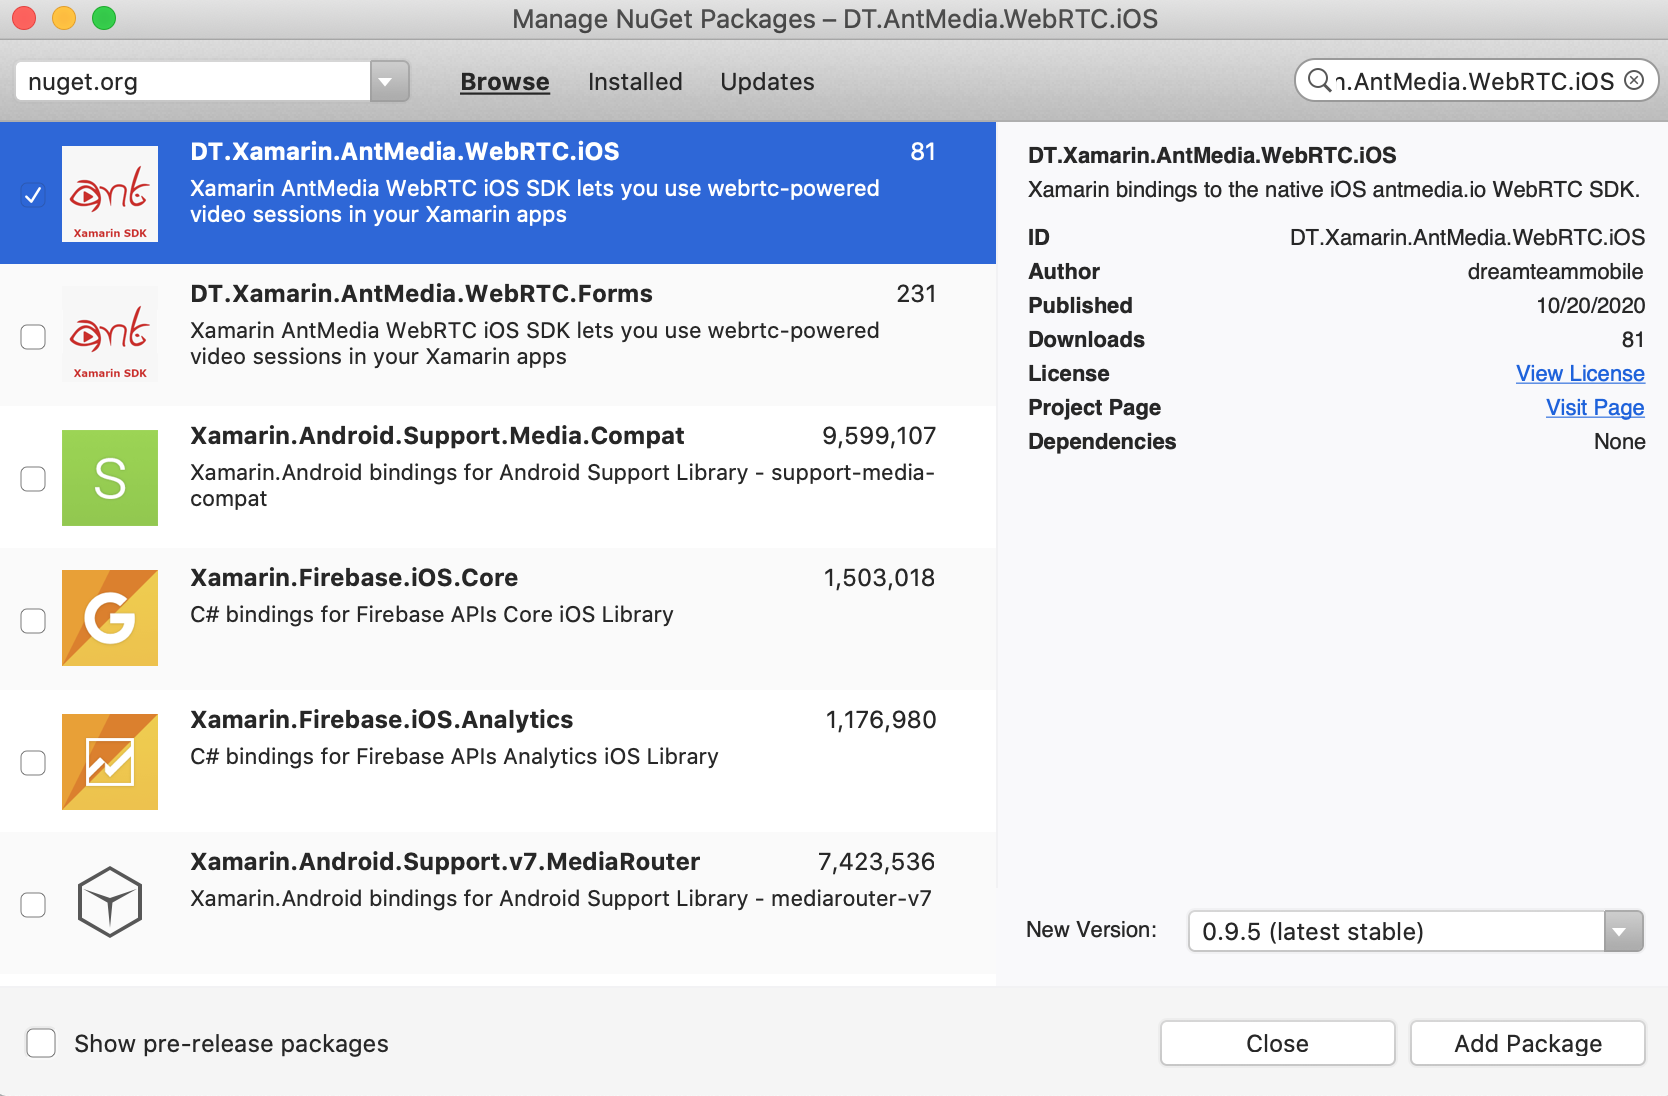
In Opened window at right top paste DT.Xamarin.AntMedia.WebRTC.iOS and click enter, you will find correct package, then check package at the right and click Add Package
	<key>NSCameraUsageDescription</key>
	<string>Camera access is required for video chat</string>
	<key>NSMicrophoneUsageDescription</key>
	<string>Microphone access is required for video chat</string>
add Camera and Microphone Permissions usage description to Info.plist

Next chapters will be added later, completed tutorial source code available right now here DT.WebRTC.iOS
App directly publishes stream to the server before that we need to let the app has the permissions for that. Make sure that you let the app has permissions.
Then restart the app and it should open the camera and start streaming. You should see stream id on the screen as below. You can go to the http://SERVER_URL:5080/WebRTCAppEE/player.html, write stream id to the text box and click Play button.
then you can add Mute buttons, Switch camera, Play/Stop and so on, reference to such usage you can find in iOS Sample app