Conversational AI with DialogFlow AS19 - DigiBP/digibp.github.io GitHub Wiki
This hands-on demonstrates how to create a Conversational AI implementation with Google Dialogflow for a pizza ordering service.
Contents:
- Pre-requisite - Google account
- 1. Dialogflow SignIn
- 2. Create a basic agent
- 3. Create a conversational agent
- 4. Add Fulfillment
- 5. Try advanced features
Pre-requisite - Google account
You need a Google account to follow this tutorial.
1. Dialogflow SignIn
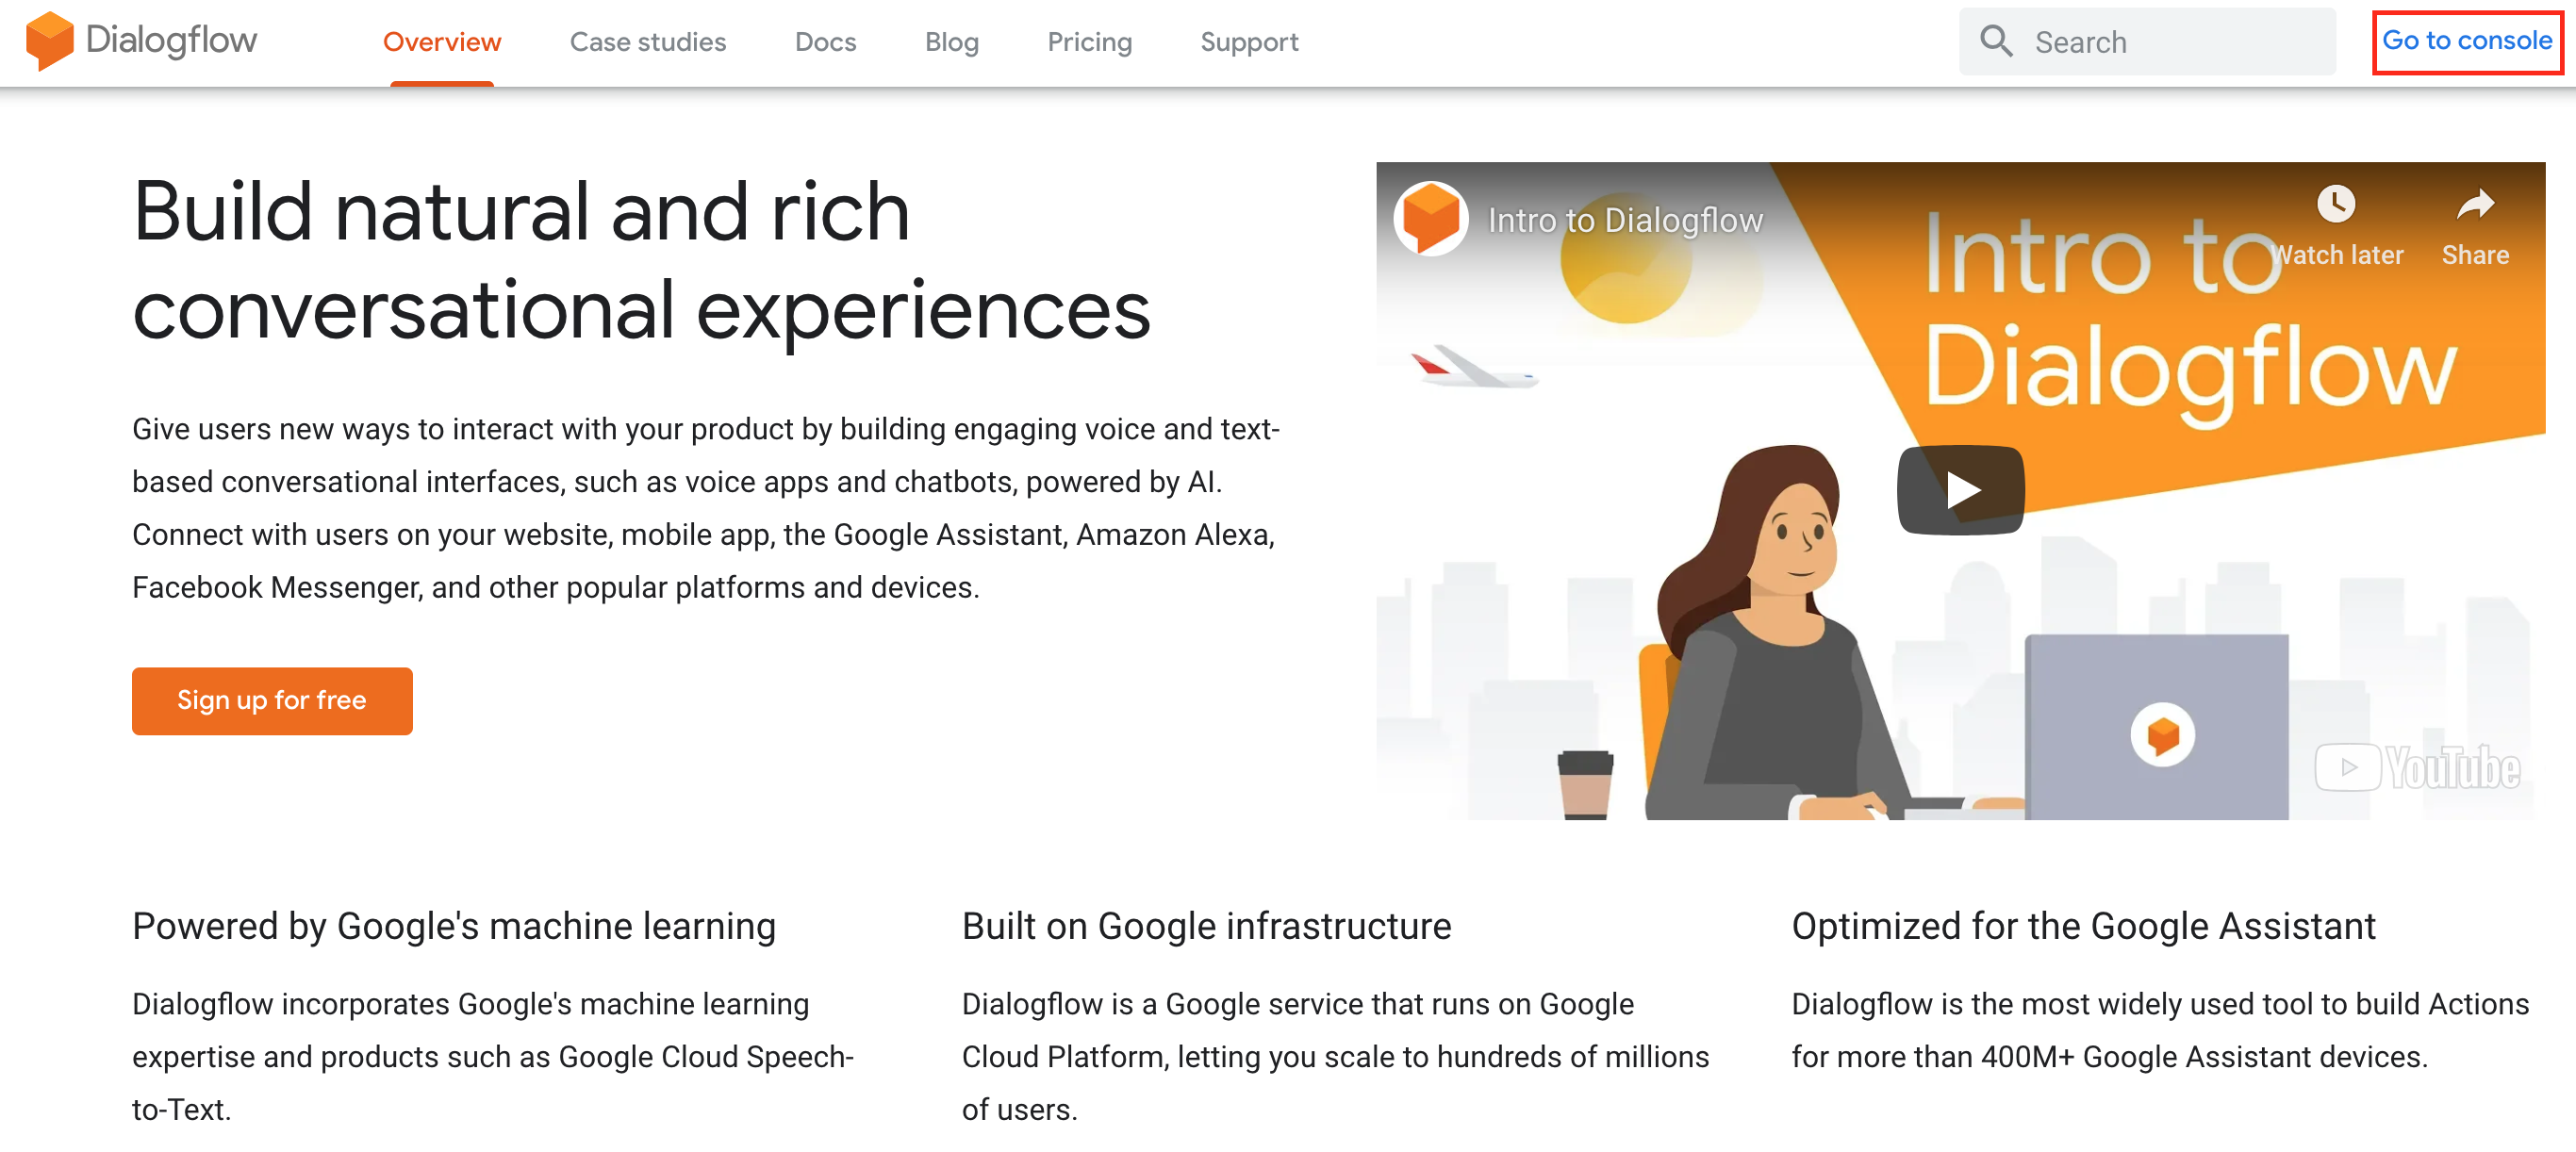
Access the Dialogflow on www.dialogflow.com and sign in with your Google account. After successful sign-in, Dialogflow will prompt you for necessary permissions as shown in the figure below.
Click on Allow button and you will be directed to the Dialogflow homepage. Click on the "Go To Console" link on the top right corner, as shown in the figure below.
2. Create a basic agent
Now you can start creating your basic pizza order agent.
a. Create new agent
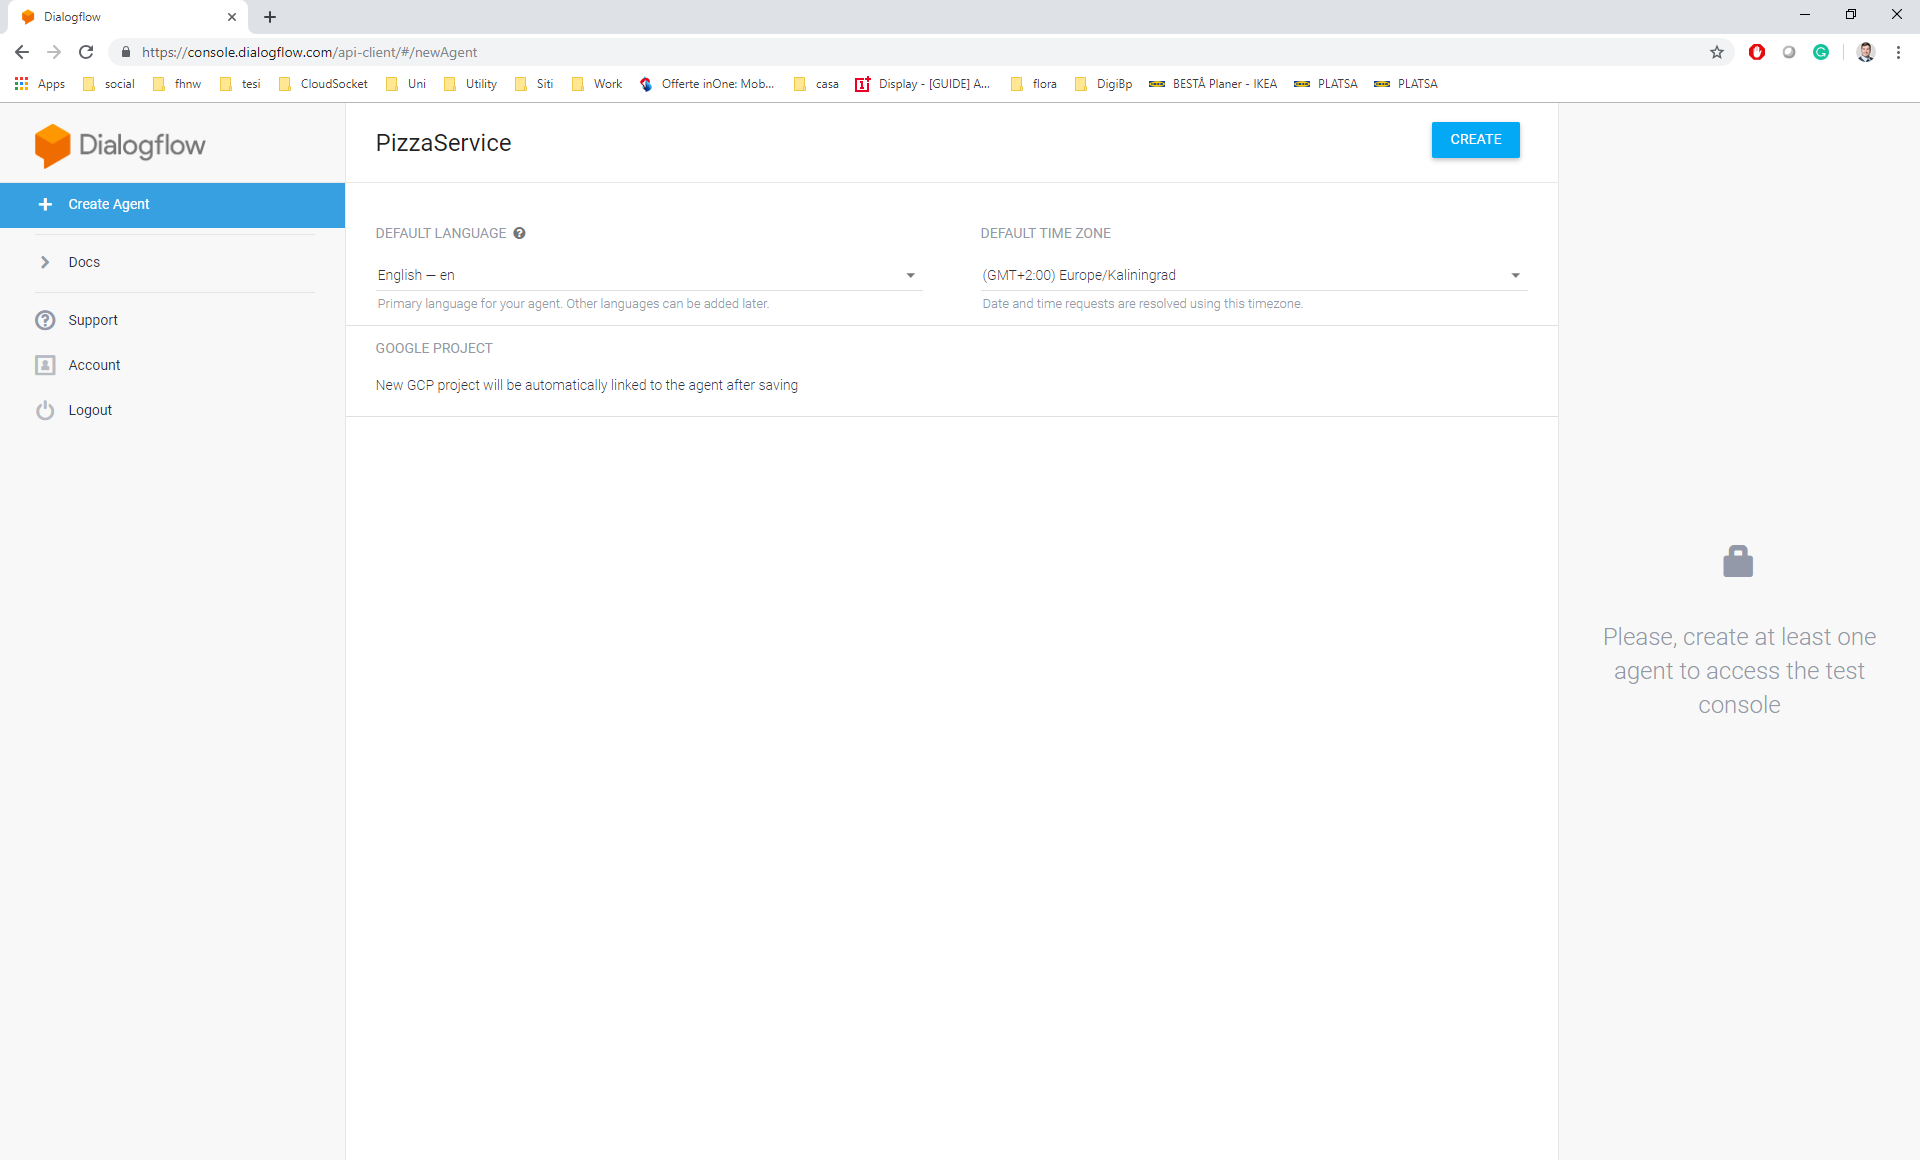
Add the name of your agent, for eg. PizzaService and click Create, as shown in the figure below. This will create a new agent and you will be taken to the Intents section.
Your agent has two default intents - Default Welcome Intent and Default Fallback Intent.
b. Welcome Intent
Let's modify the Default Welcome Intent for the pizza order example.
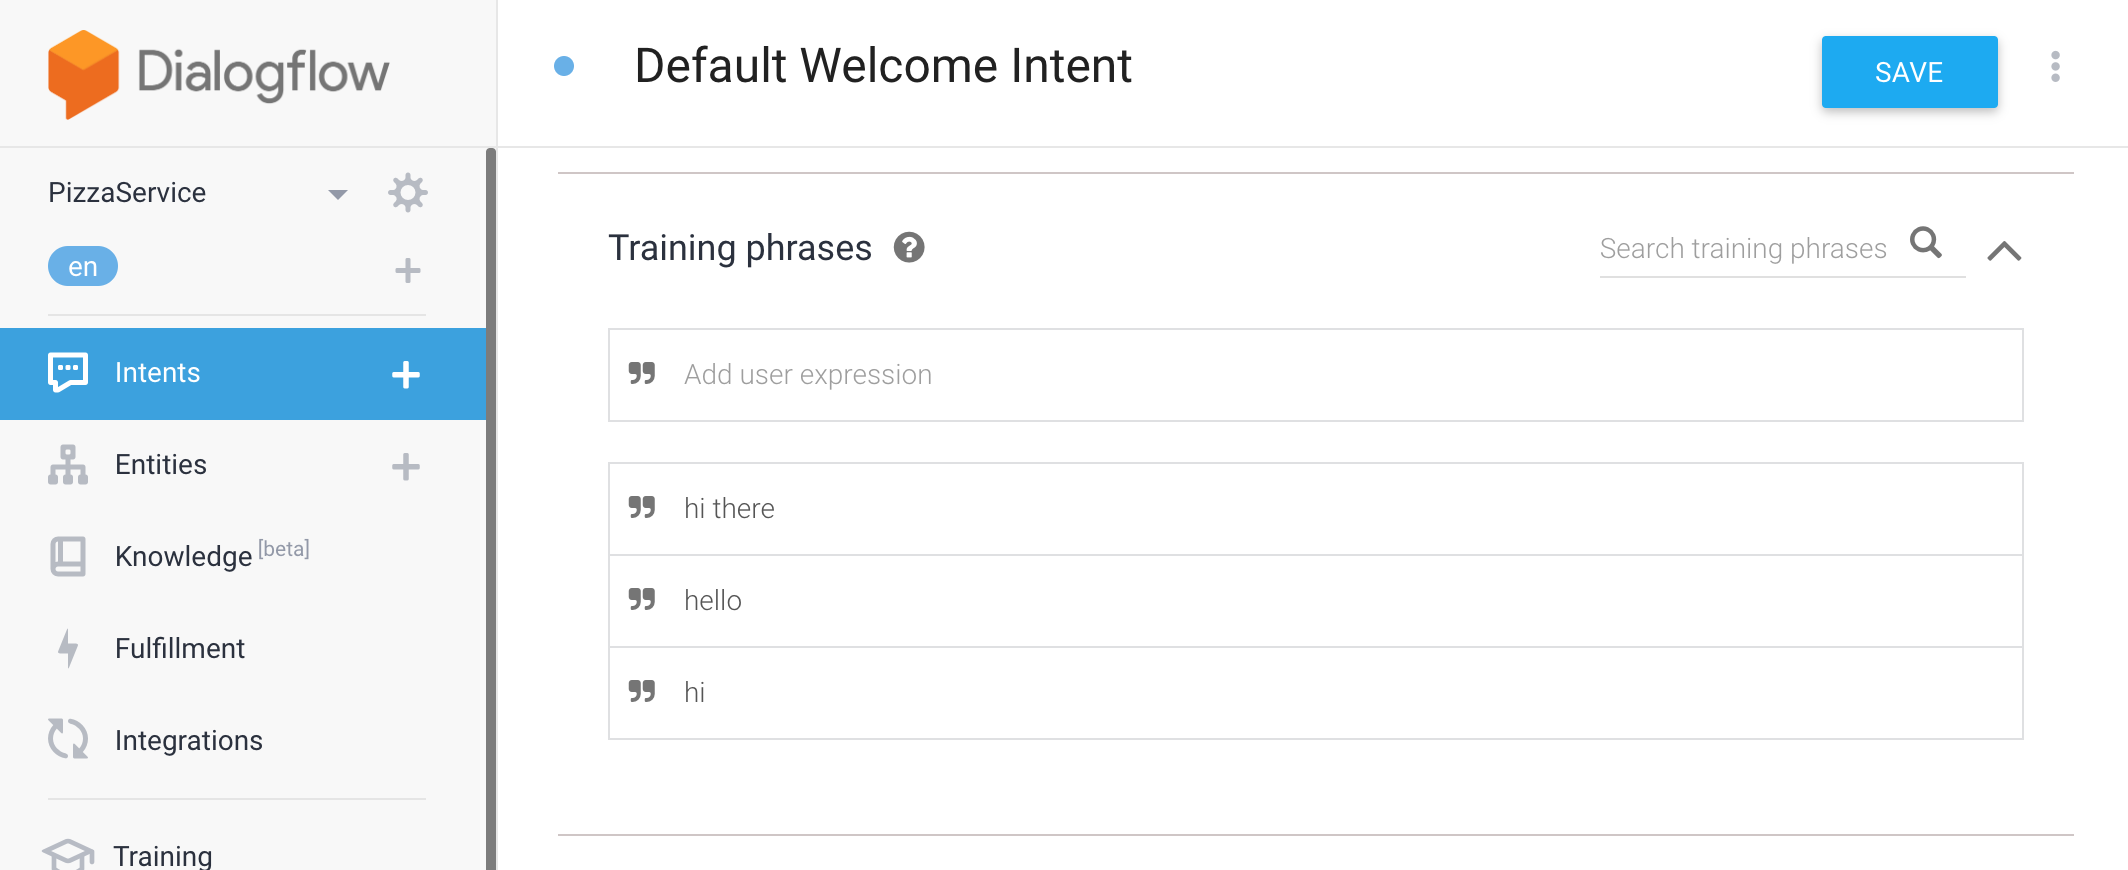
Modify the training phrases as shown below.
    hi there
    hello
    hi
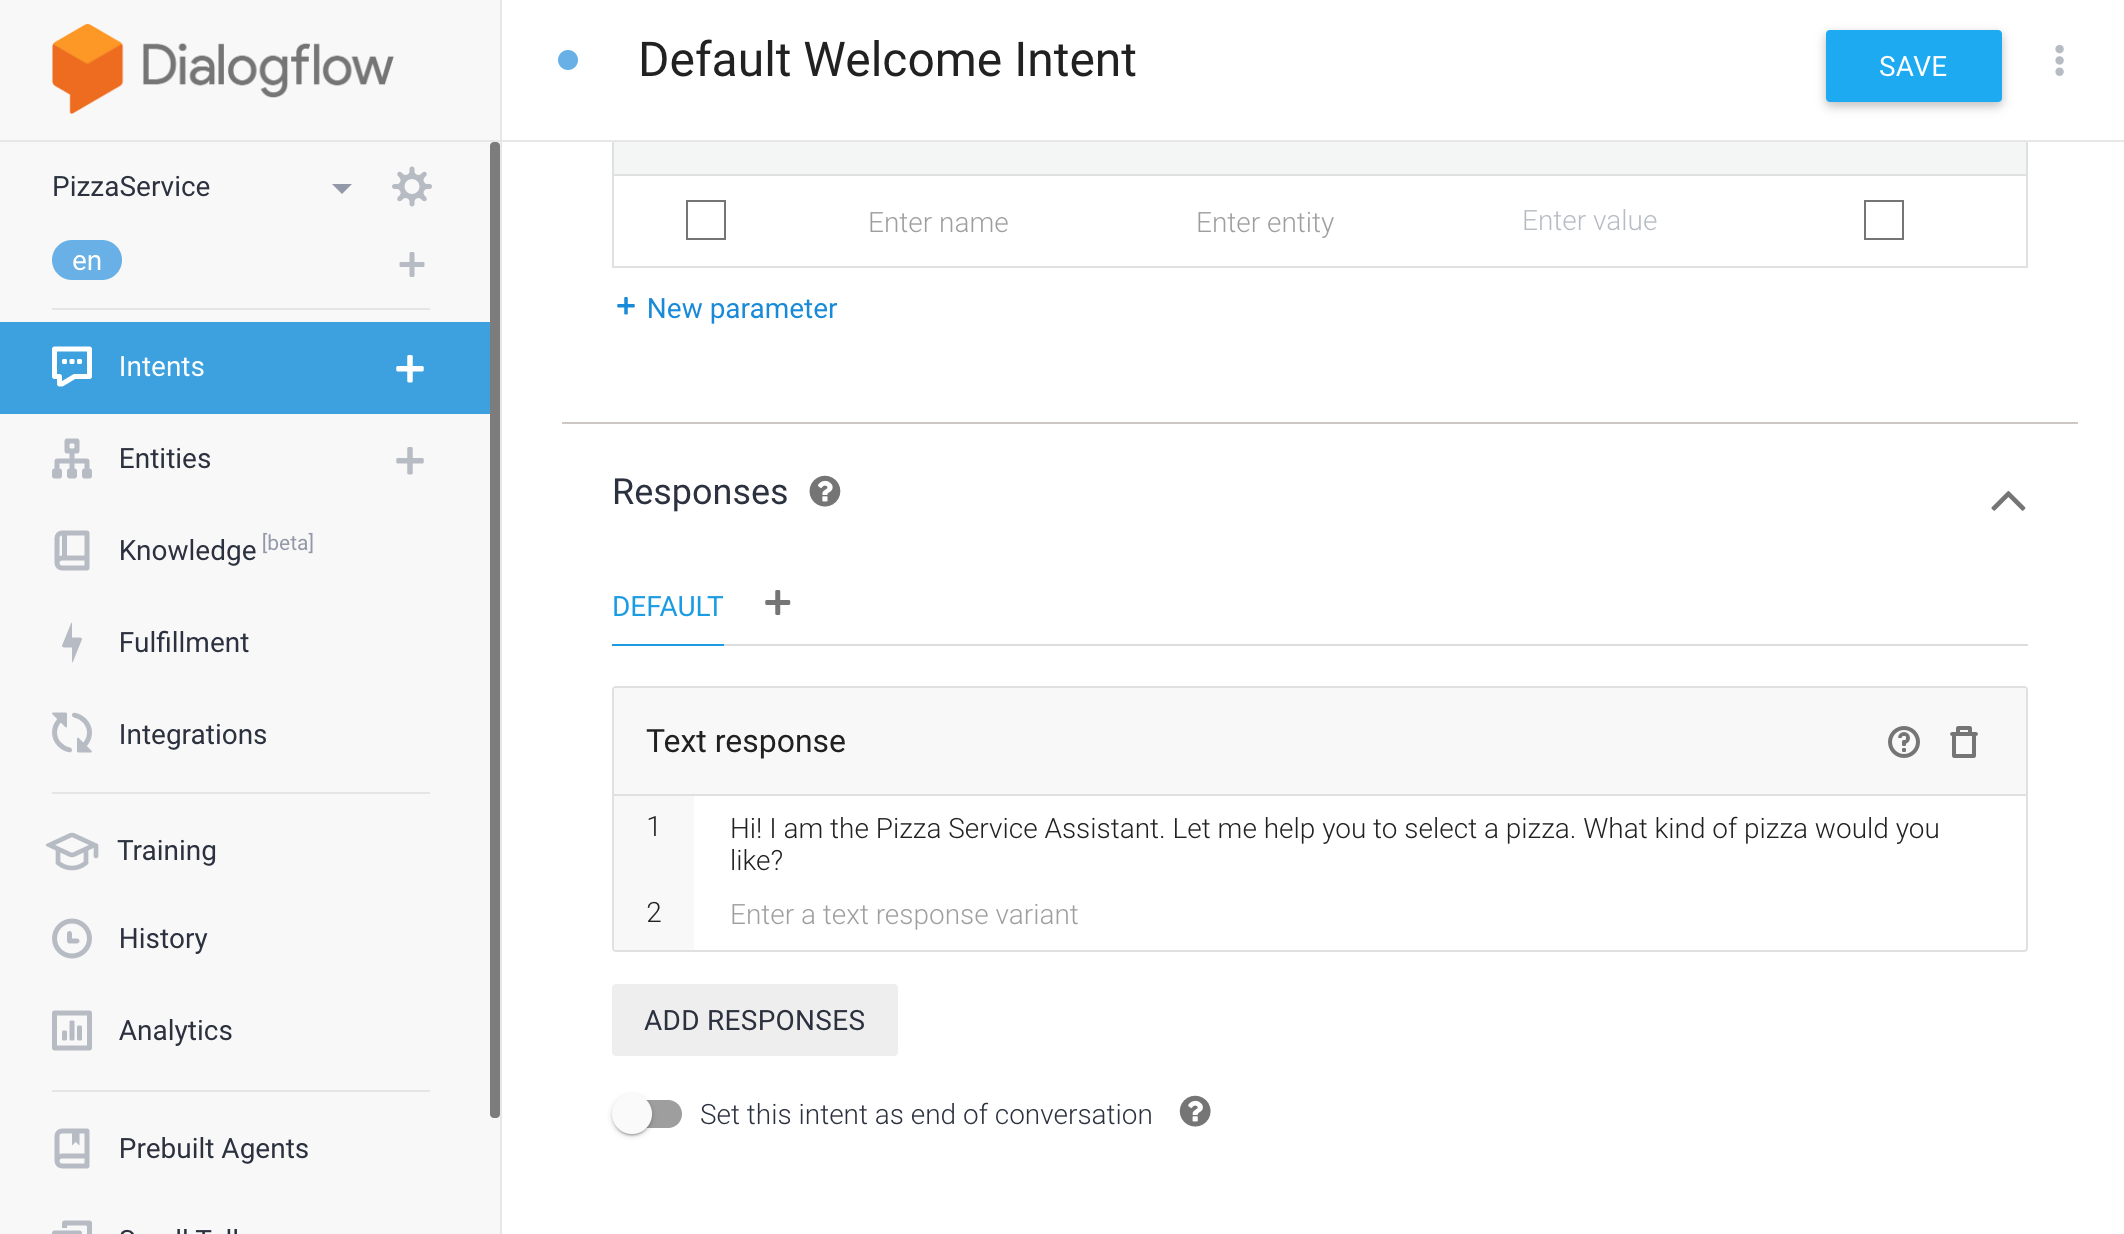
Change the default response to fit the pizza example, as shown in the figure. Afterwards please don't forget to press SAVE button in the upper right corner.
Hi! I am the Pizza Service Assistant. Let me help you to select a pizza. What kind of pizza would you like?
c. Pizza Ordering Intent
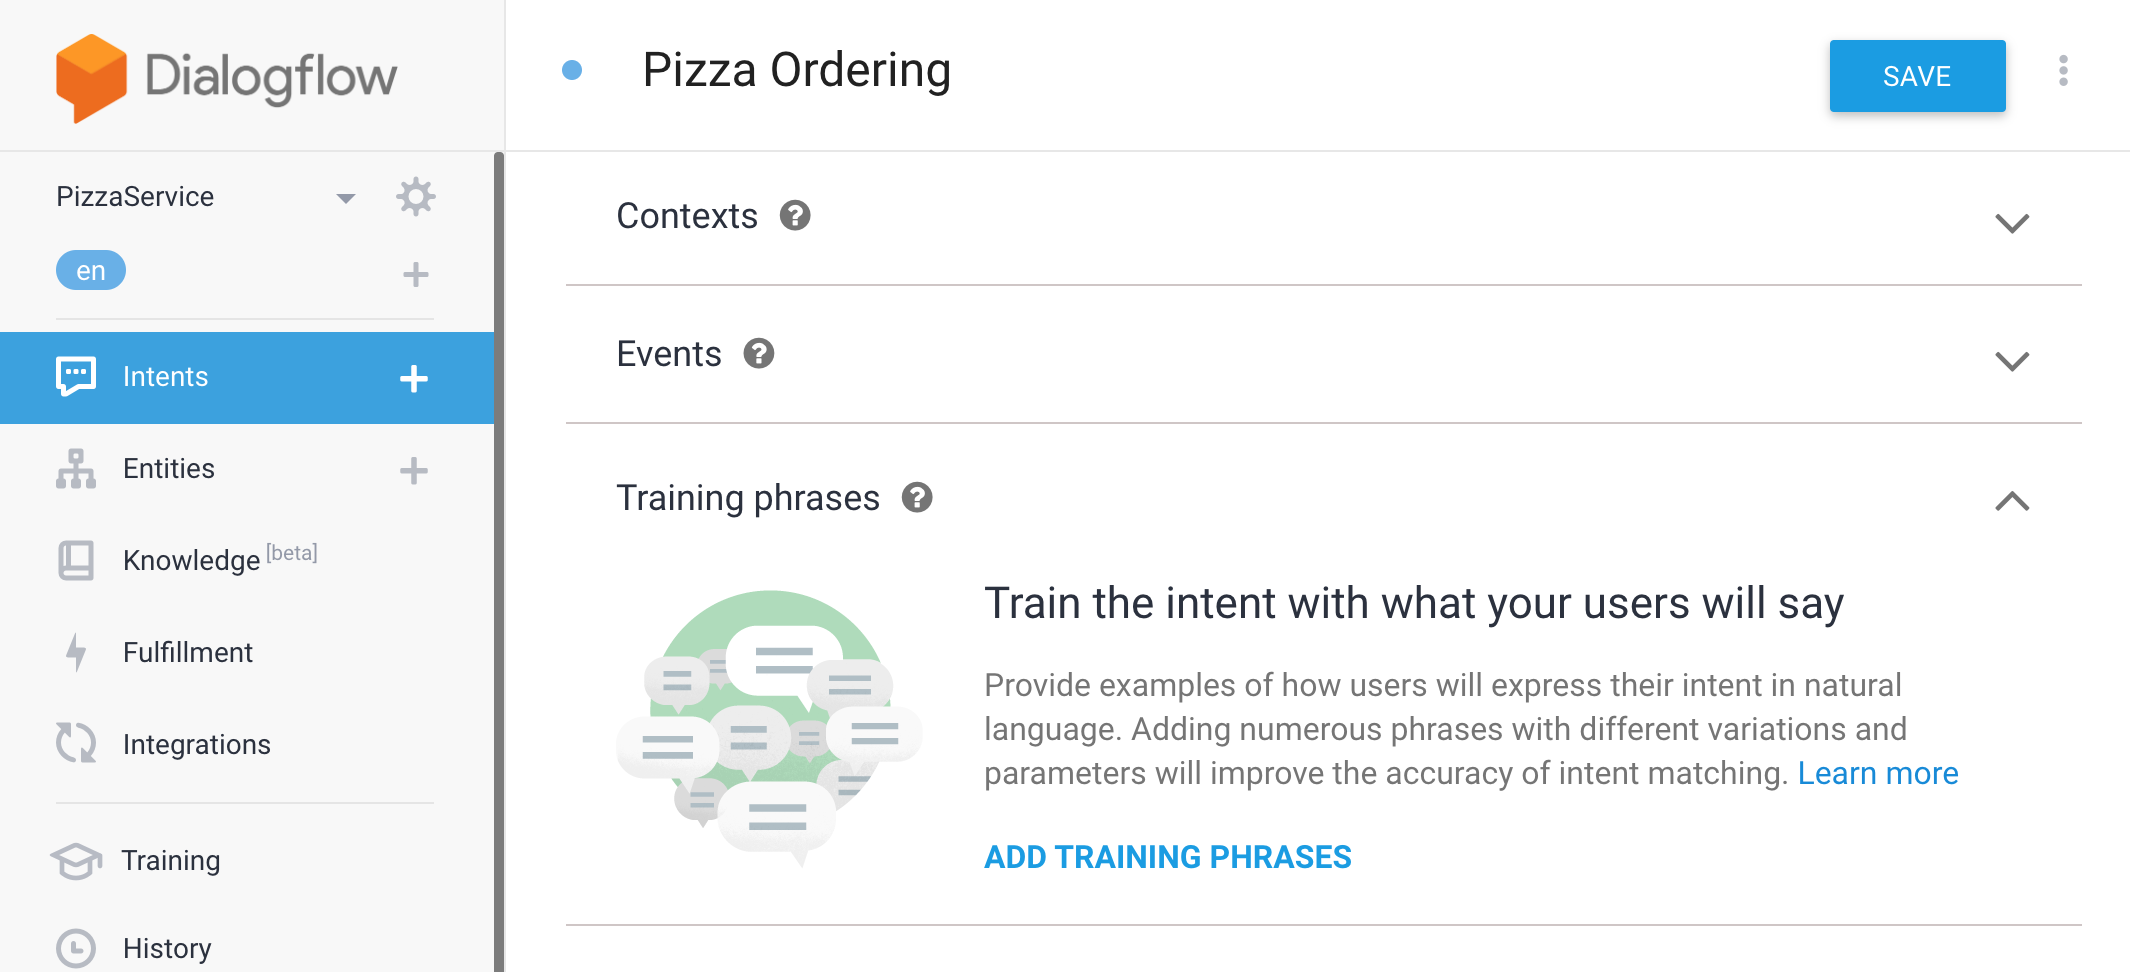
Create another intent to actually place an order for the pizza, called Pizza Ordering. Therefore click on Intents in the toolbar and then on CREATE INTENT button (upper right corner).
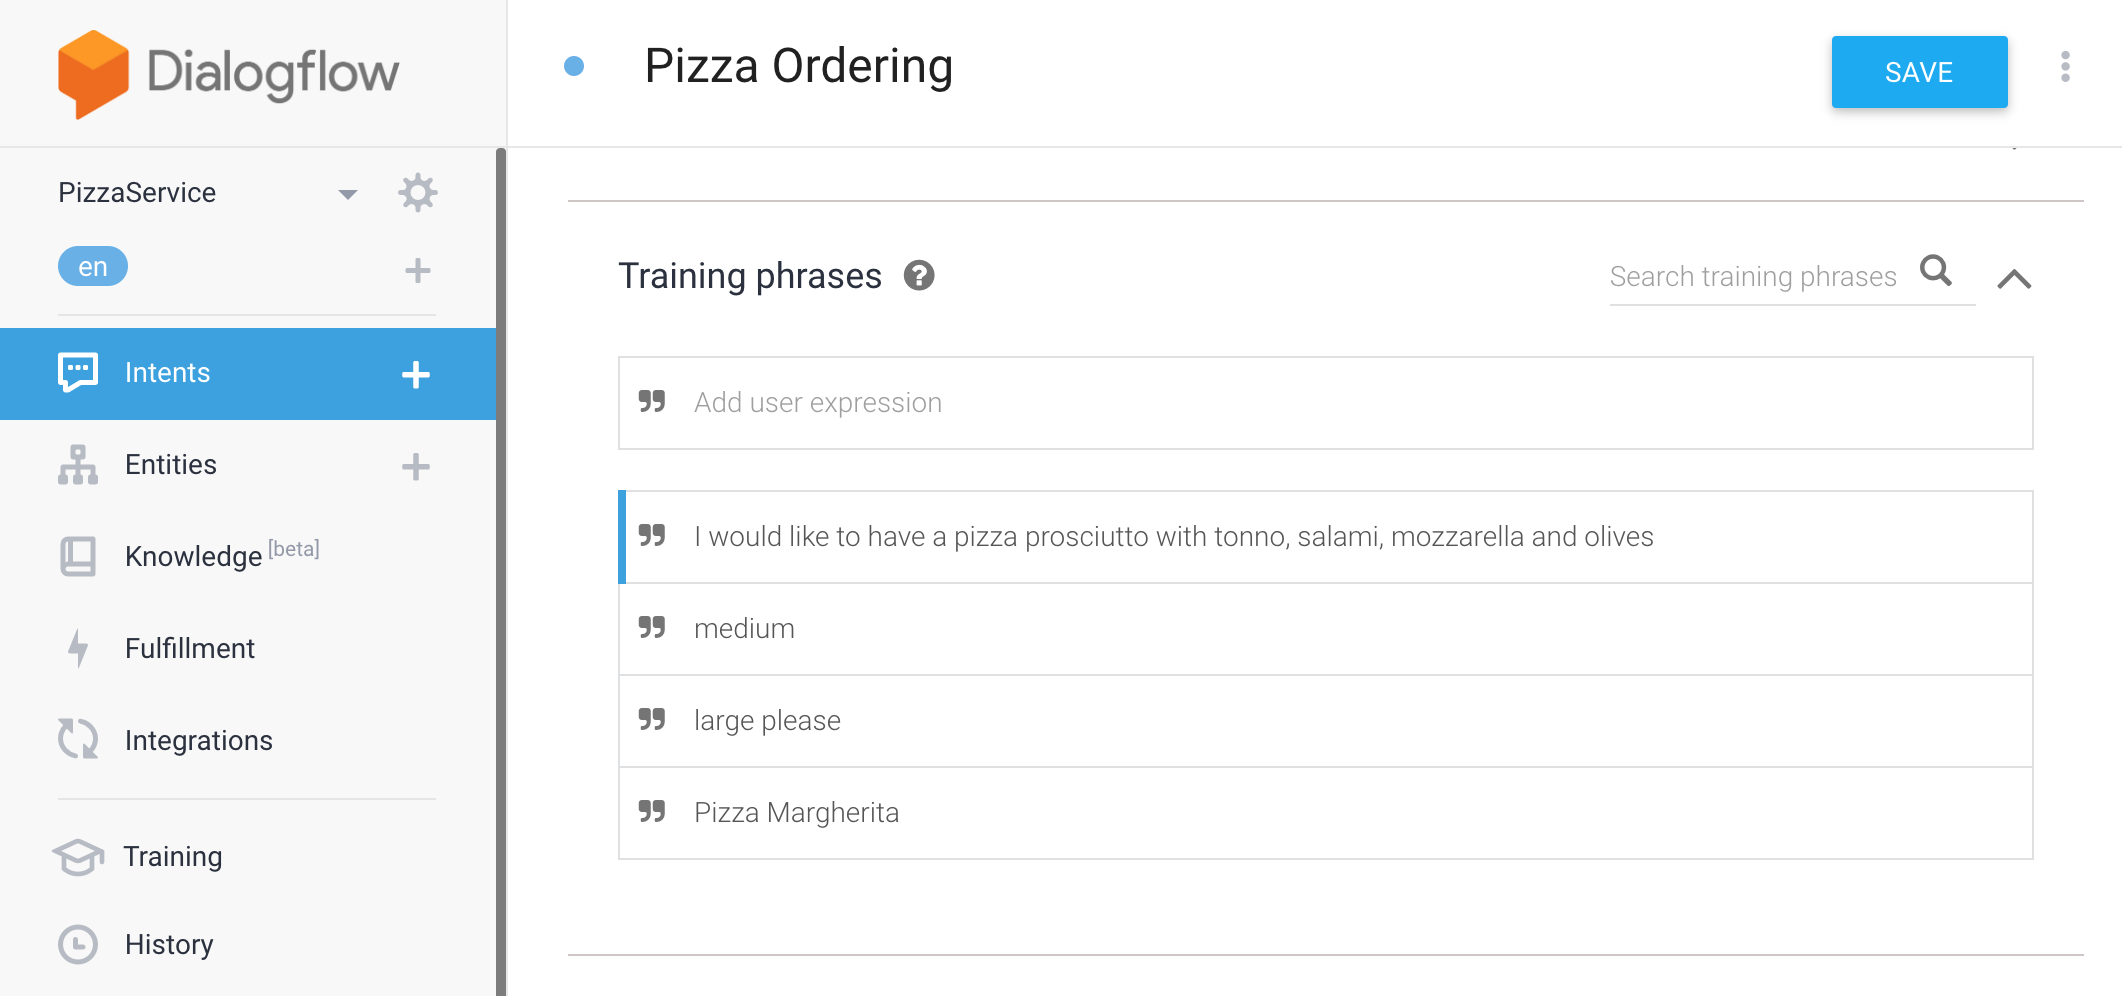
Add this four training phrases for the intent as shown below.
I would like to have a pizza prosciutto with tonno, salami, mozzarella and olives
medium
large please
Pizza Margherita
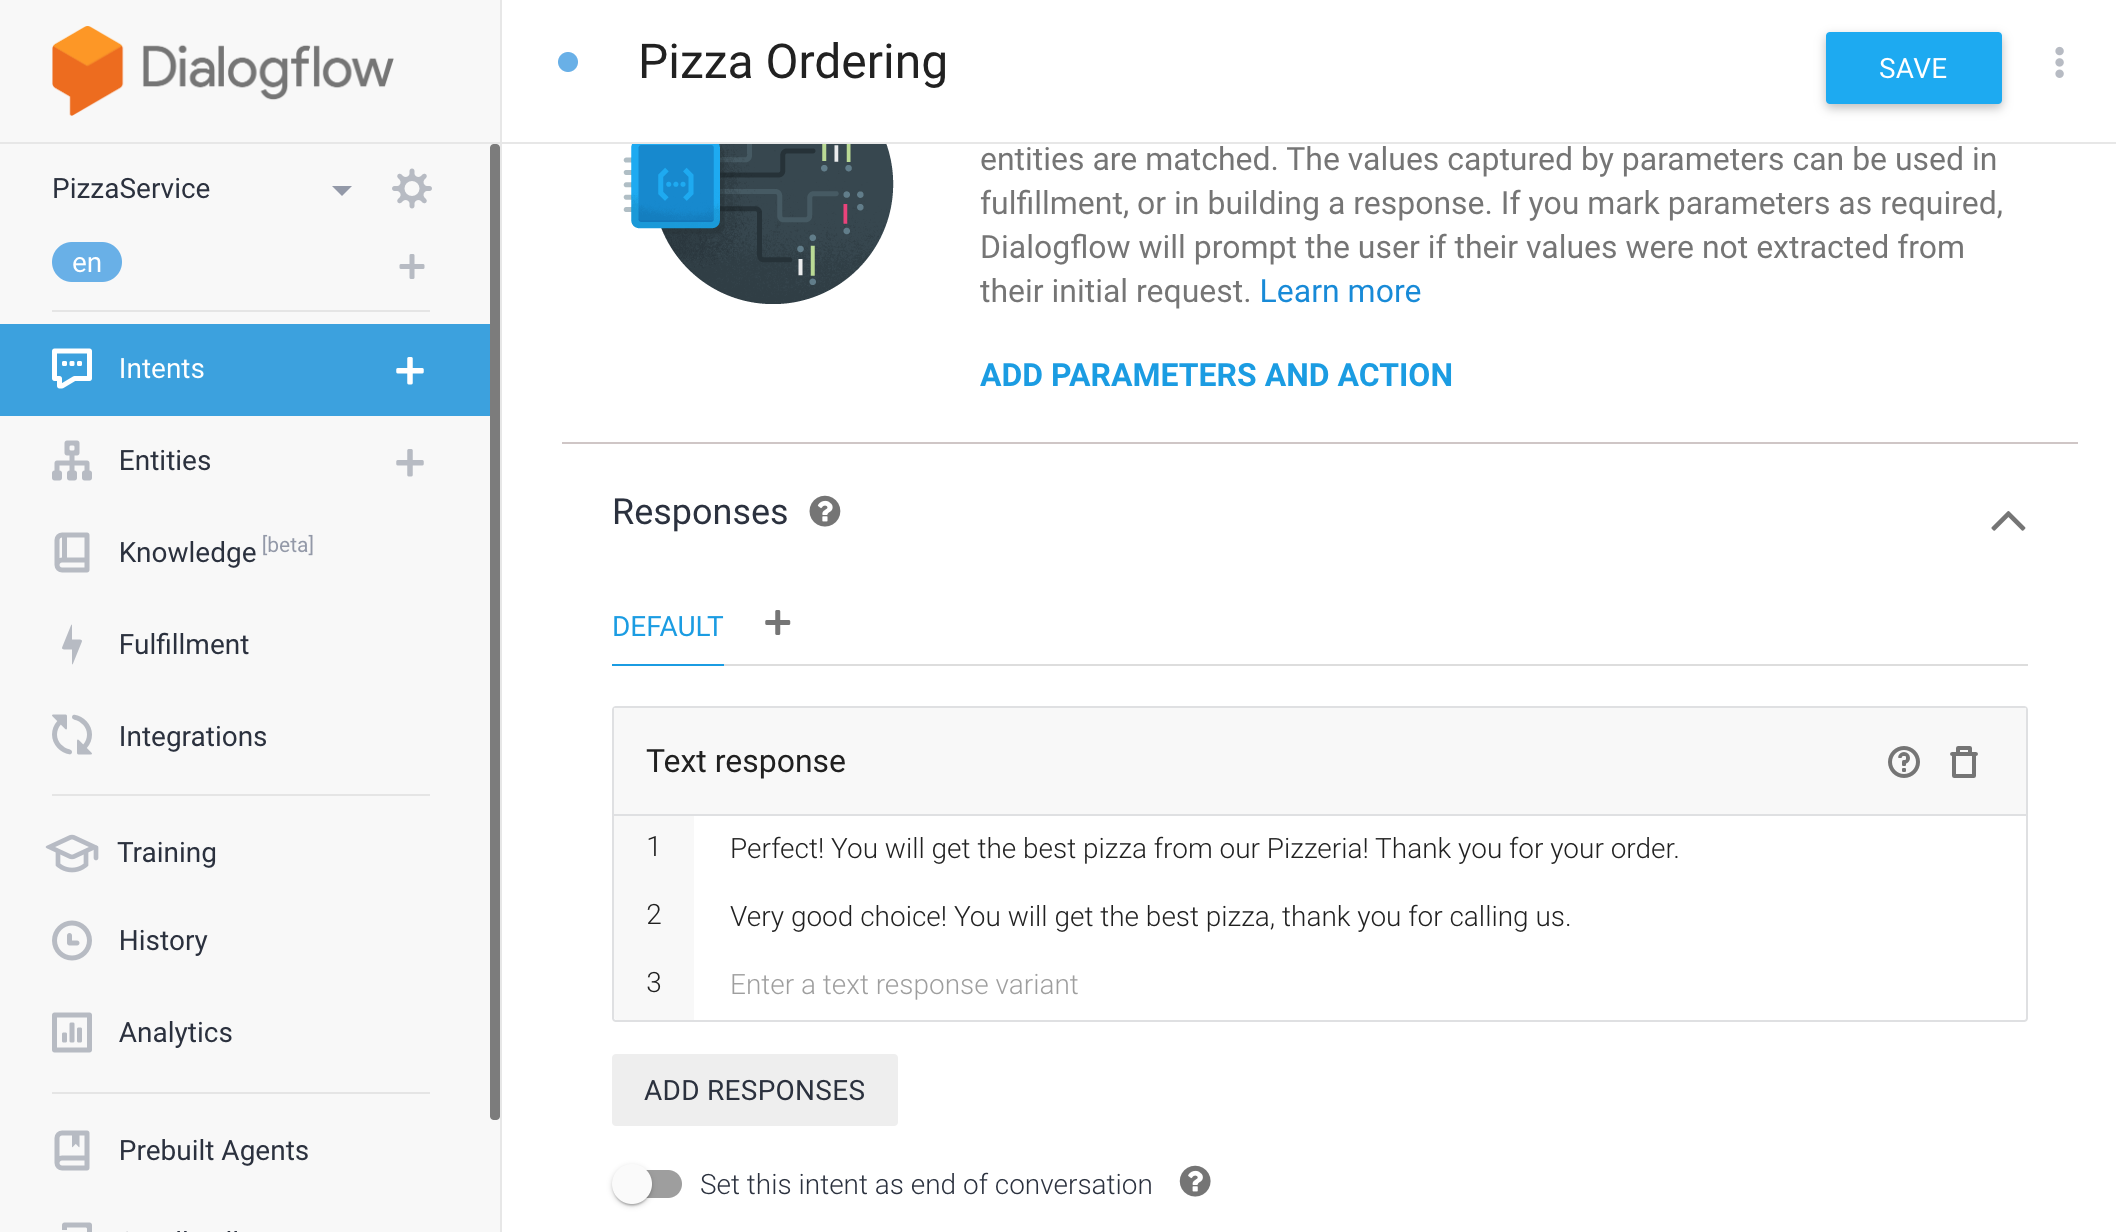
Add default response for the intent as shown below. Thereafte, press the SAVEbutton.
Perfect! You will get the best pizza from our Pizzeria! Thank you for your order.
Very good choice! You will get the best pizza, thank you for calling us.
d. Add Goodbye Intent
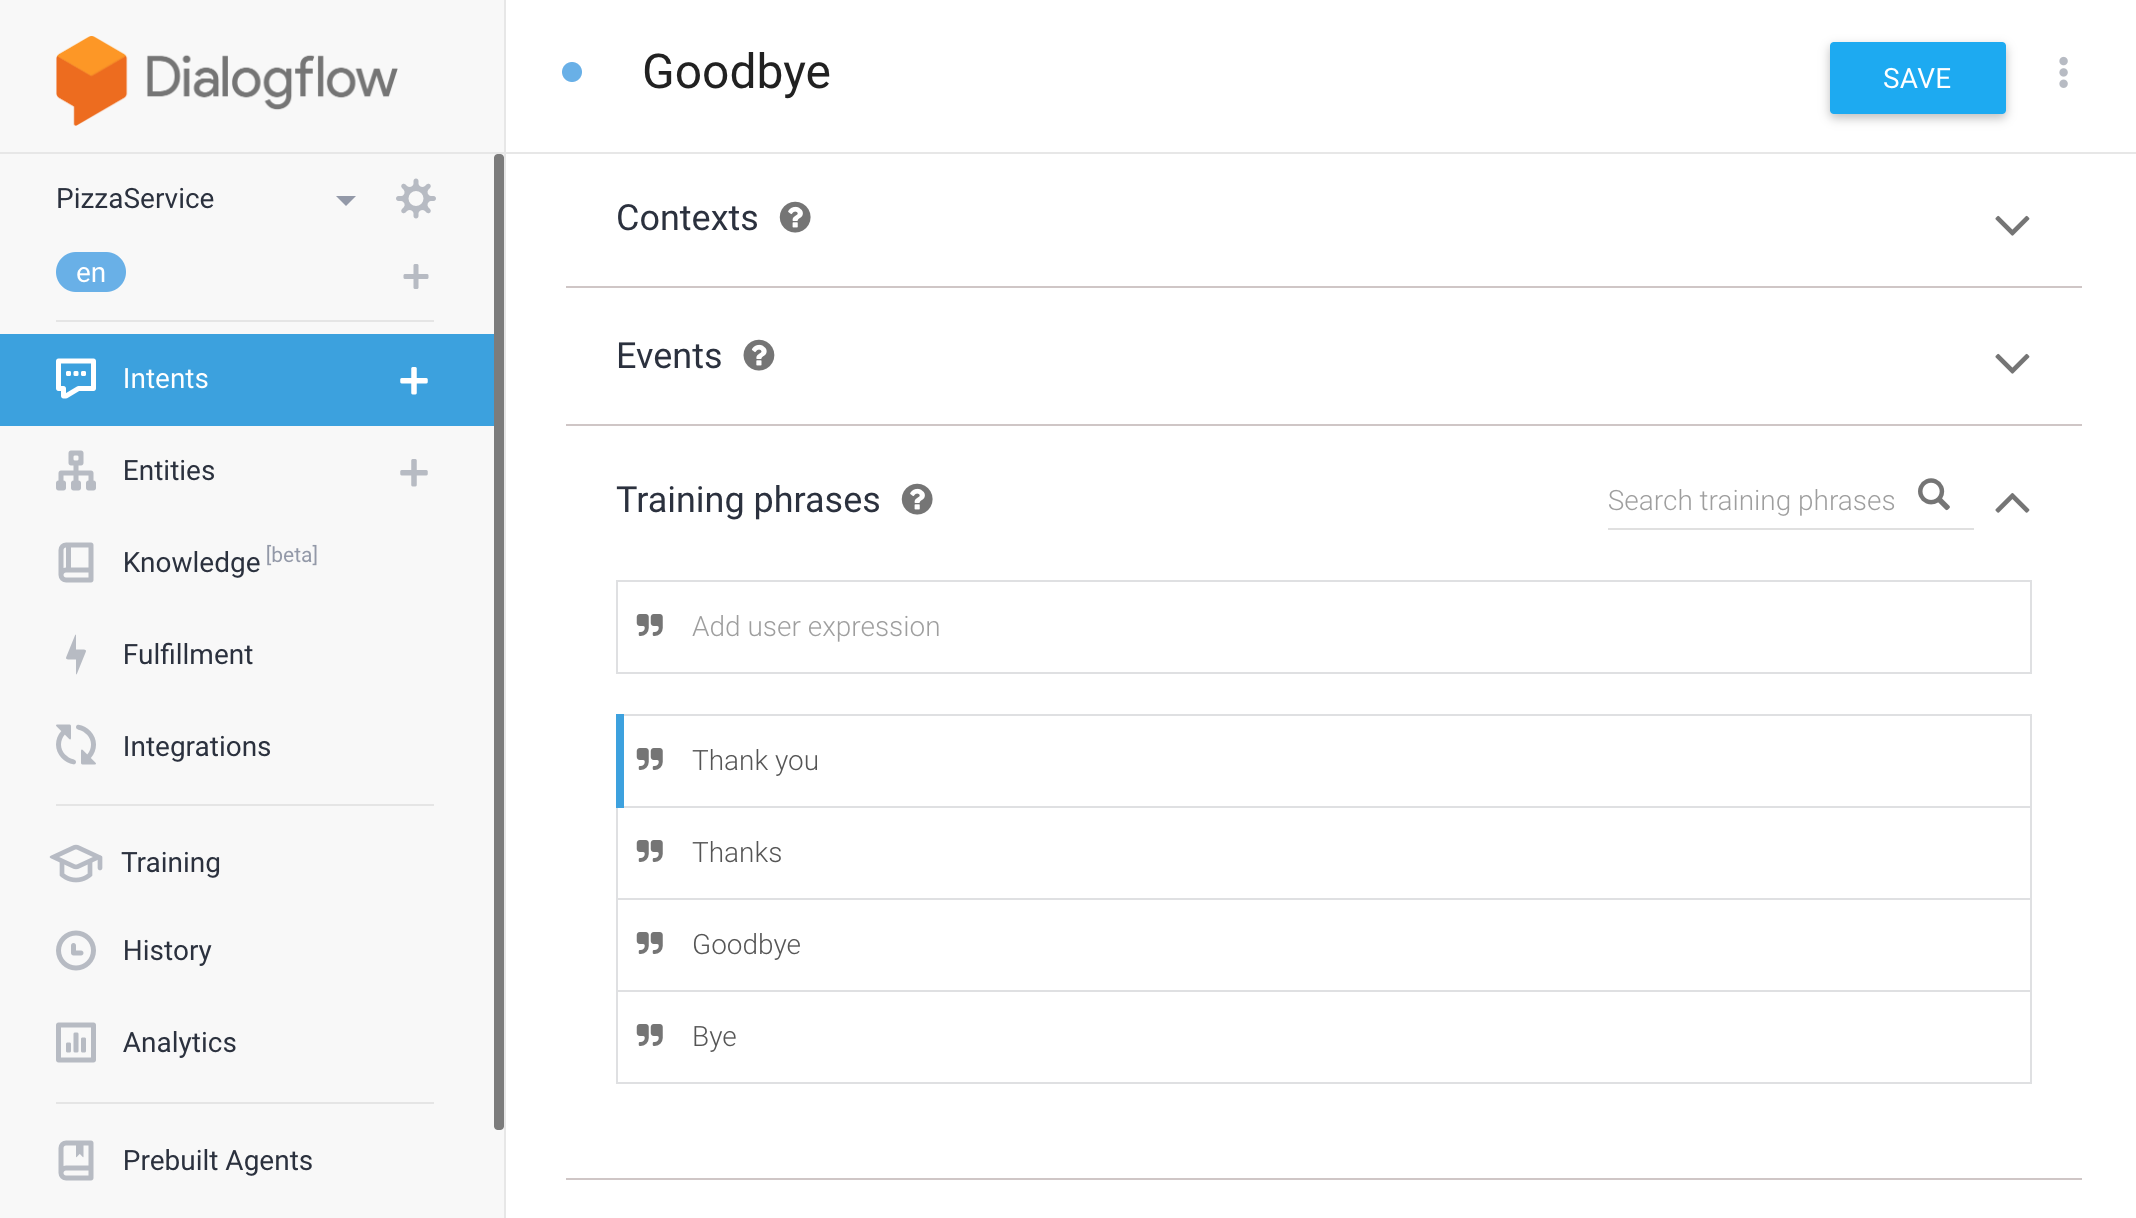
It is recommended to add a separate Goodbye intent. Create a new intent as before and name it Goodbye. Add the following training phrases:
thank you
thanks
Goodbye
Bye
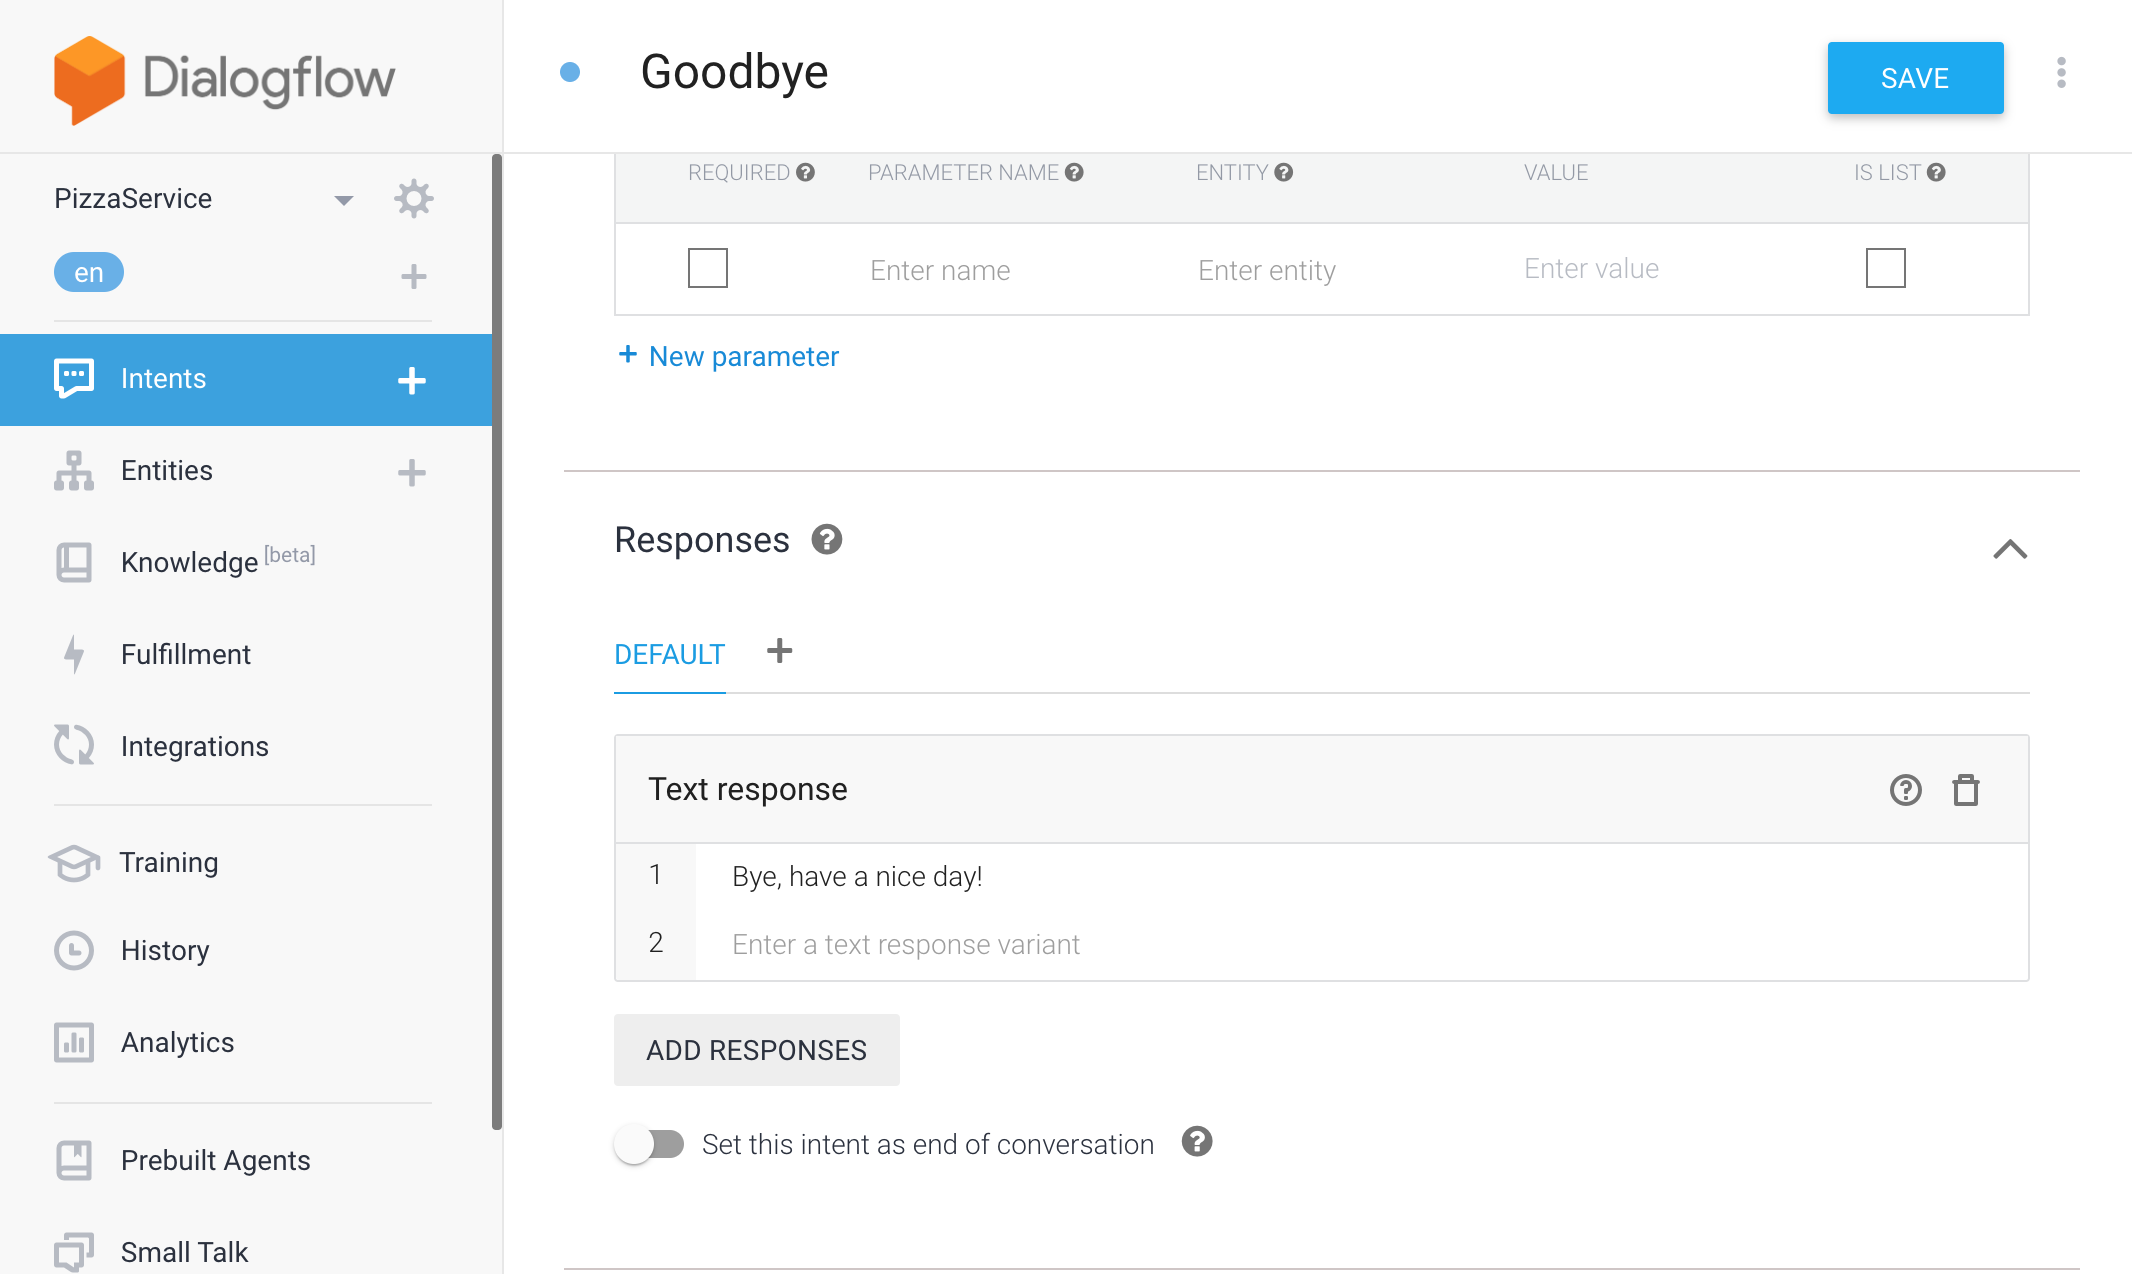
Modify the default response for the intent:
Bye, have a nice day!
Your basic Pizza Ordering agent is ready.
e. Test the Basic Agent
The next step after creating, as usual, is to test. Invoke your agent by typing (or saying) "hi" on the right section of Dialogflow.
You can also use this section to test your changes with every step. If the agent does not respond as expected, go back, make changes and test again until you are satisfied!
3. Create a conversational agent
To make the agent smarter, we need to add a few more features. We will first create Entities.
a. Create Entities
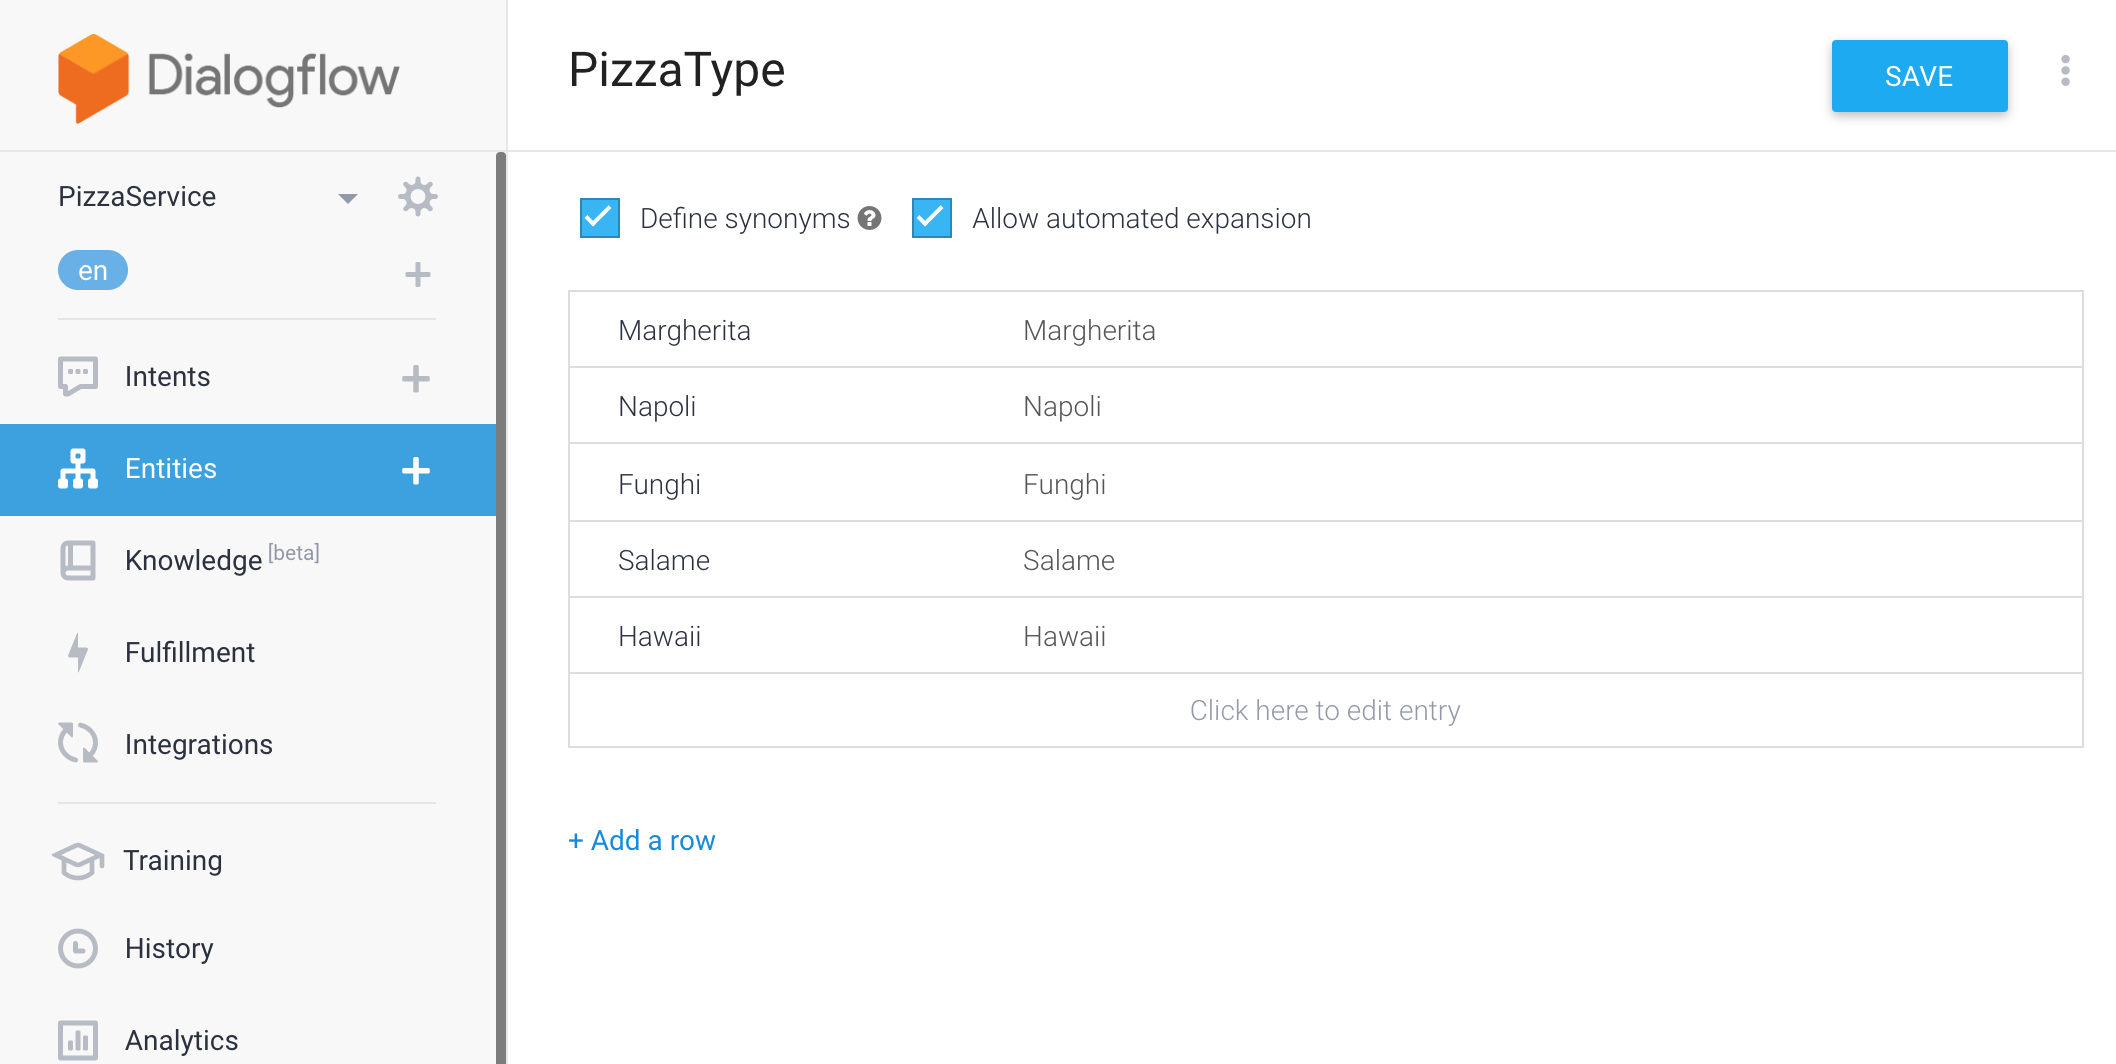
Create the following entities - PizzaType, Size and Topping. Enter the following values for the respective entities:
PizzaType
Margherita
Napoli
Funghi
Salami
Hawaii
Size
large
medium
small
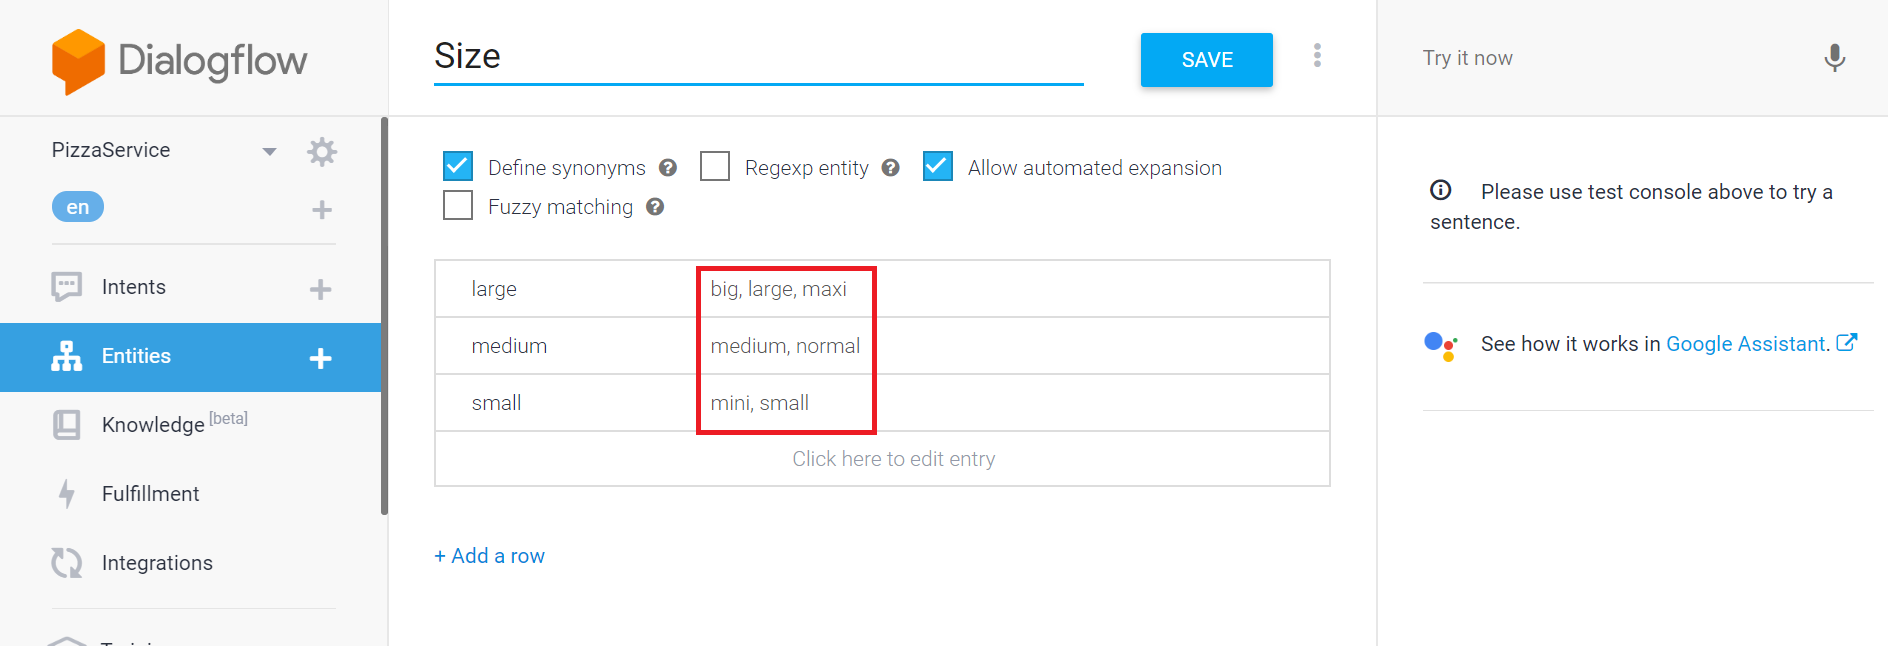
You can add additional synonyms for each value of the entity as seen in the below image.
Topping
olives
ham
mushrooms
tuna
pepperoni
Select the checkbox Allow automated expansion for all entities.
b. Link entities to training phrases
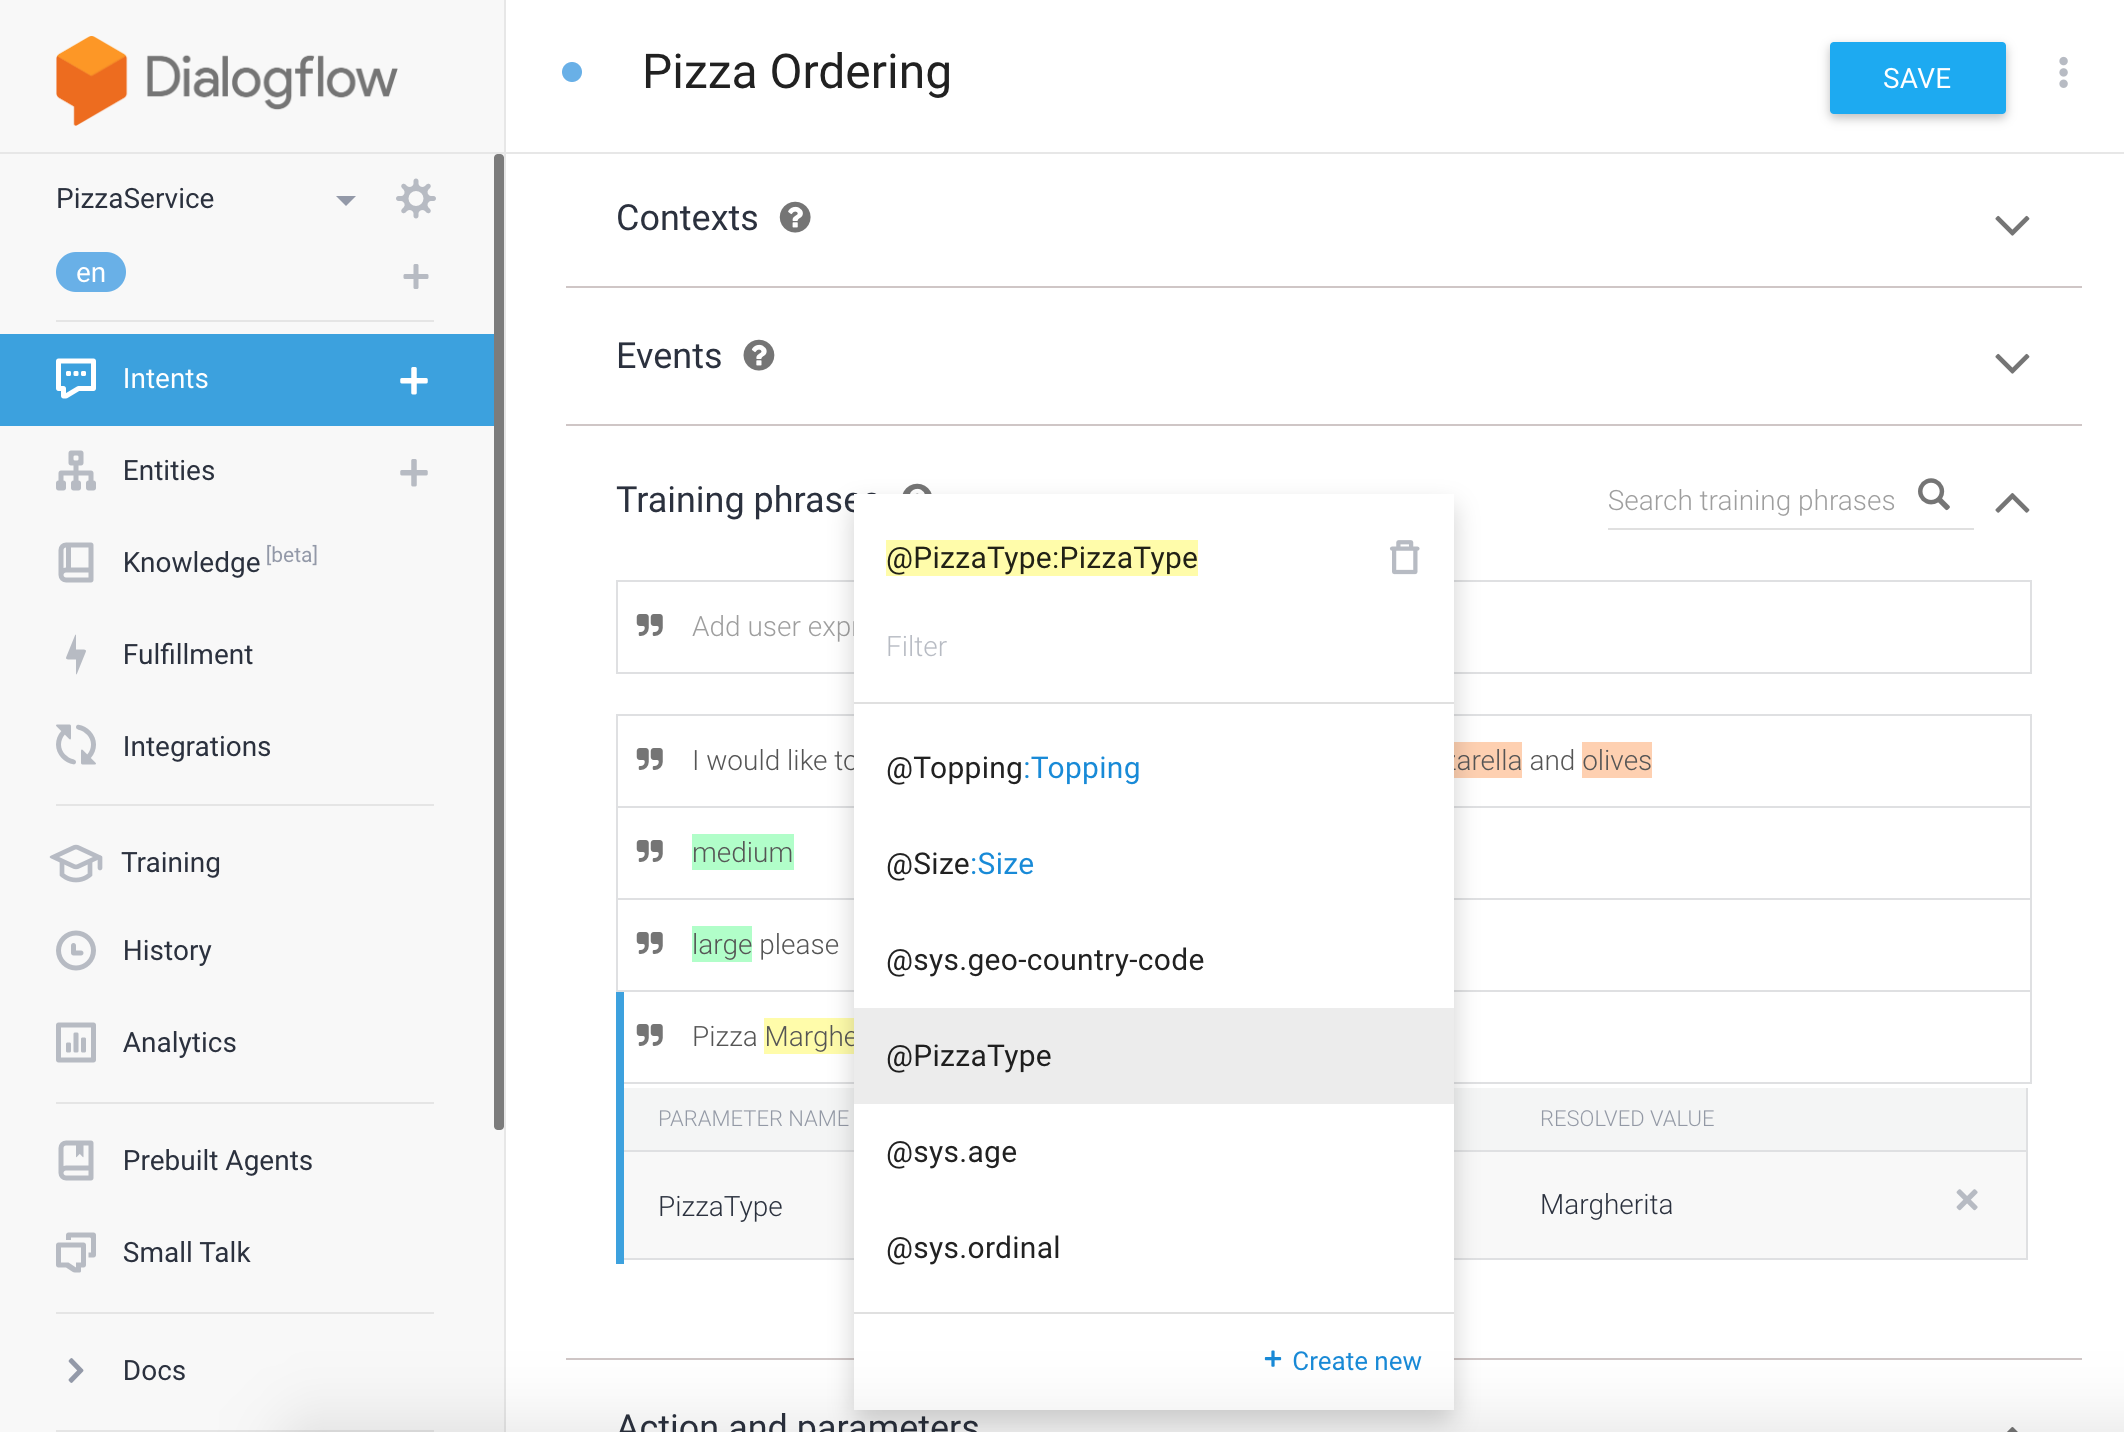
Now it's time to link the entities to the training phrases in the intent. Go back to the Pizza Ordering intent, double click on, for example, Margherita and select the entity $PizzaType. Identify all entities in the training phrases and link them to the corresponding entity name.
c. Add Actions and Parameters
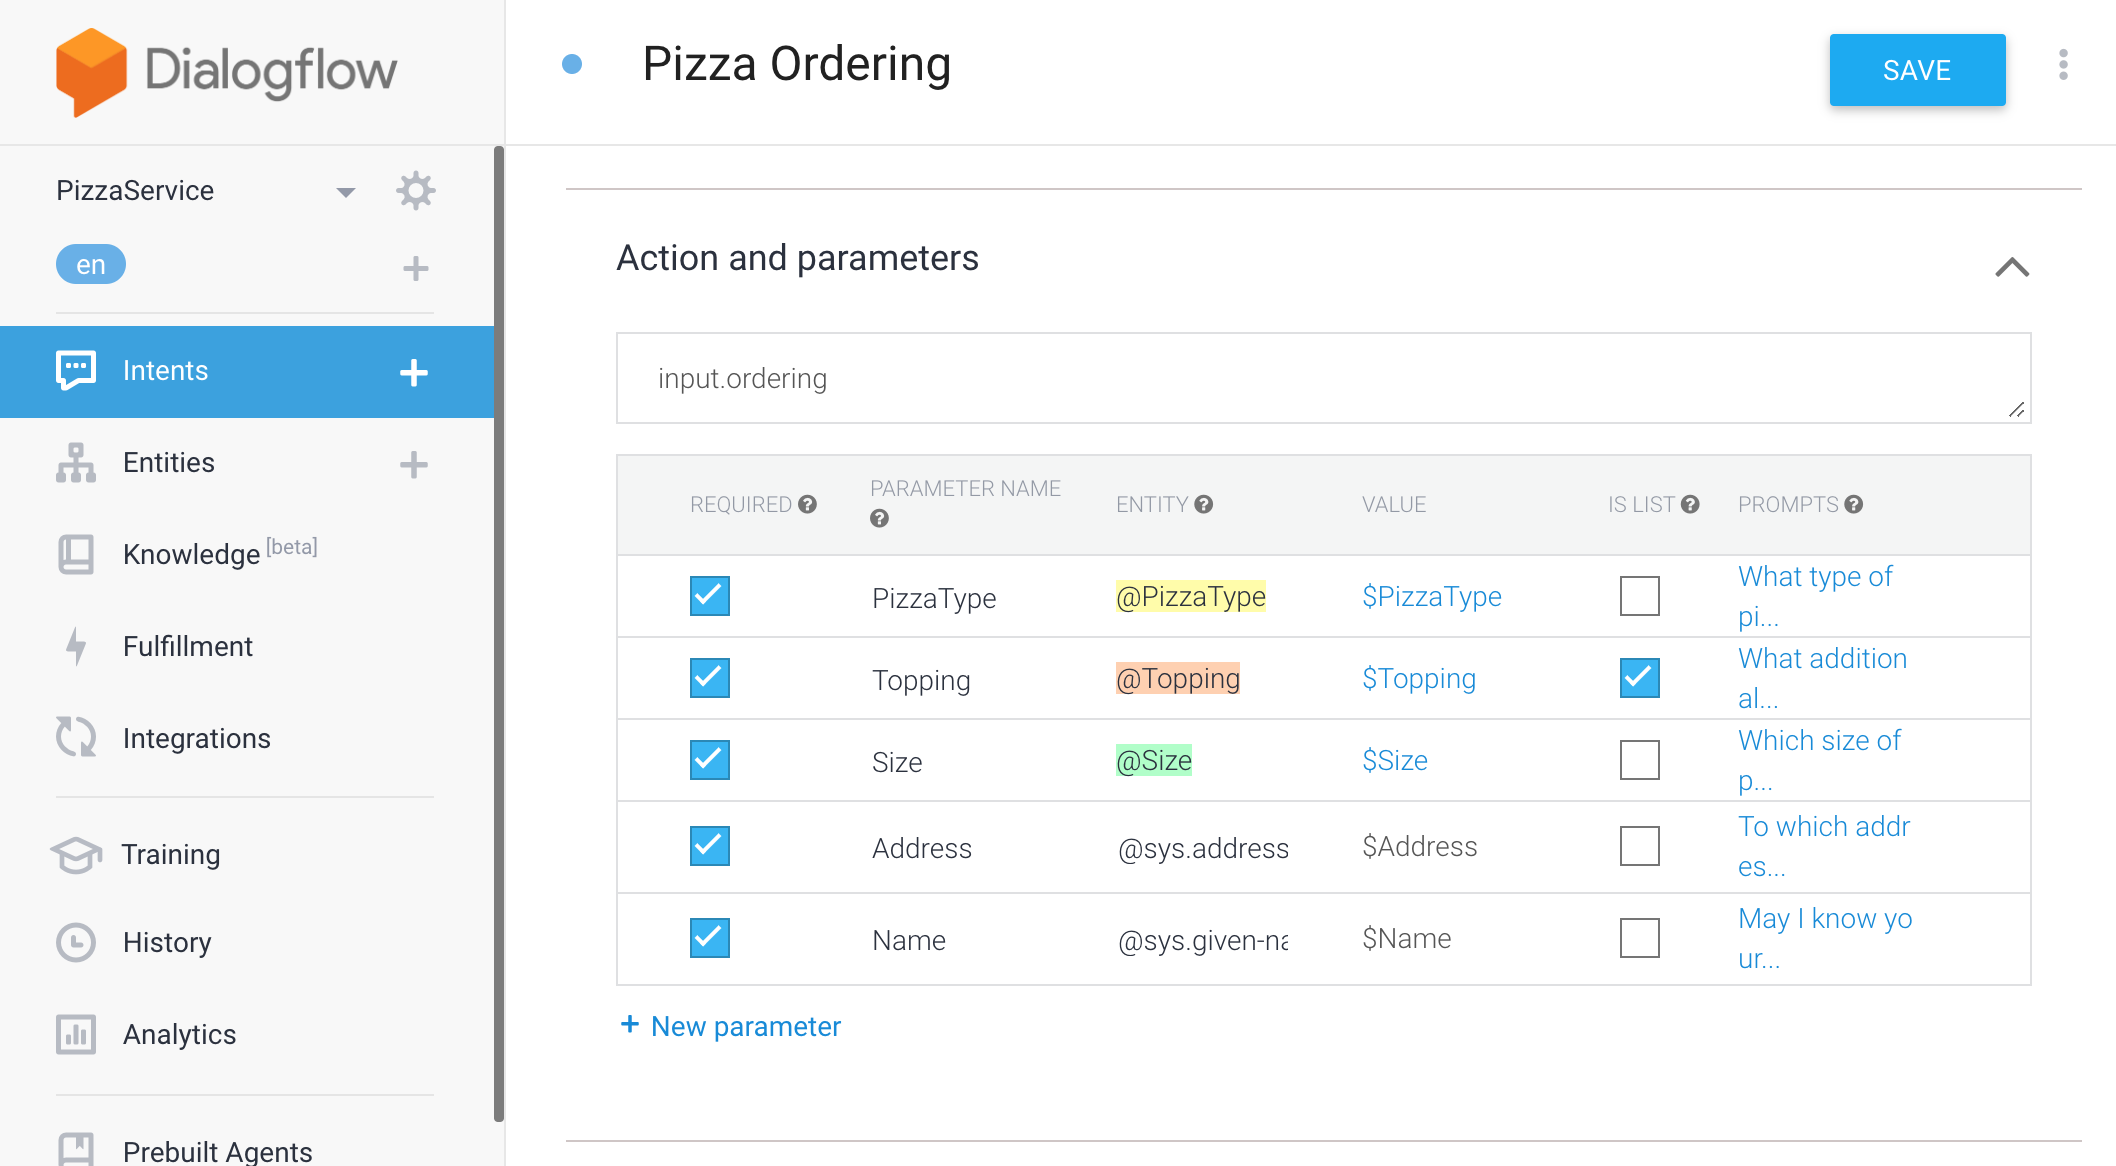
To enable a conversation flow, you can add Actions and Parameters. All the entities identified in the training phrases will be displayed in this section as shown below. For more information about Actions and Parameters, please visite Dialogflow documentation page.
You can add additional parameters like Name and Address and choose corresponding System Entities i.e entity types provided by Dialogflow. Note that the entities you created earlier are the Developer Entities. Since it is possible to specify multiple values for the parameter Topping, select the checkbox IS LIST.
d. Add conversation prompts
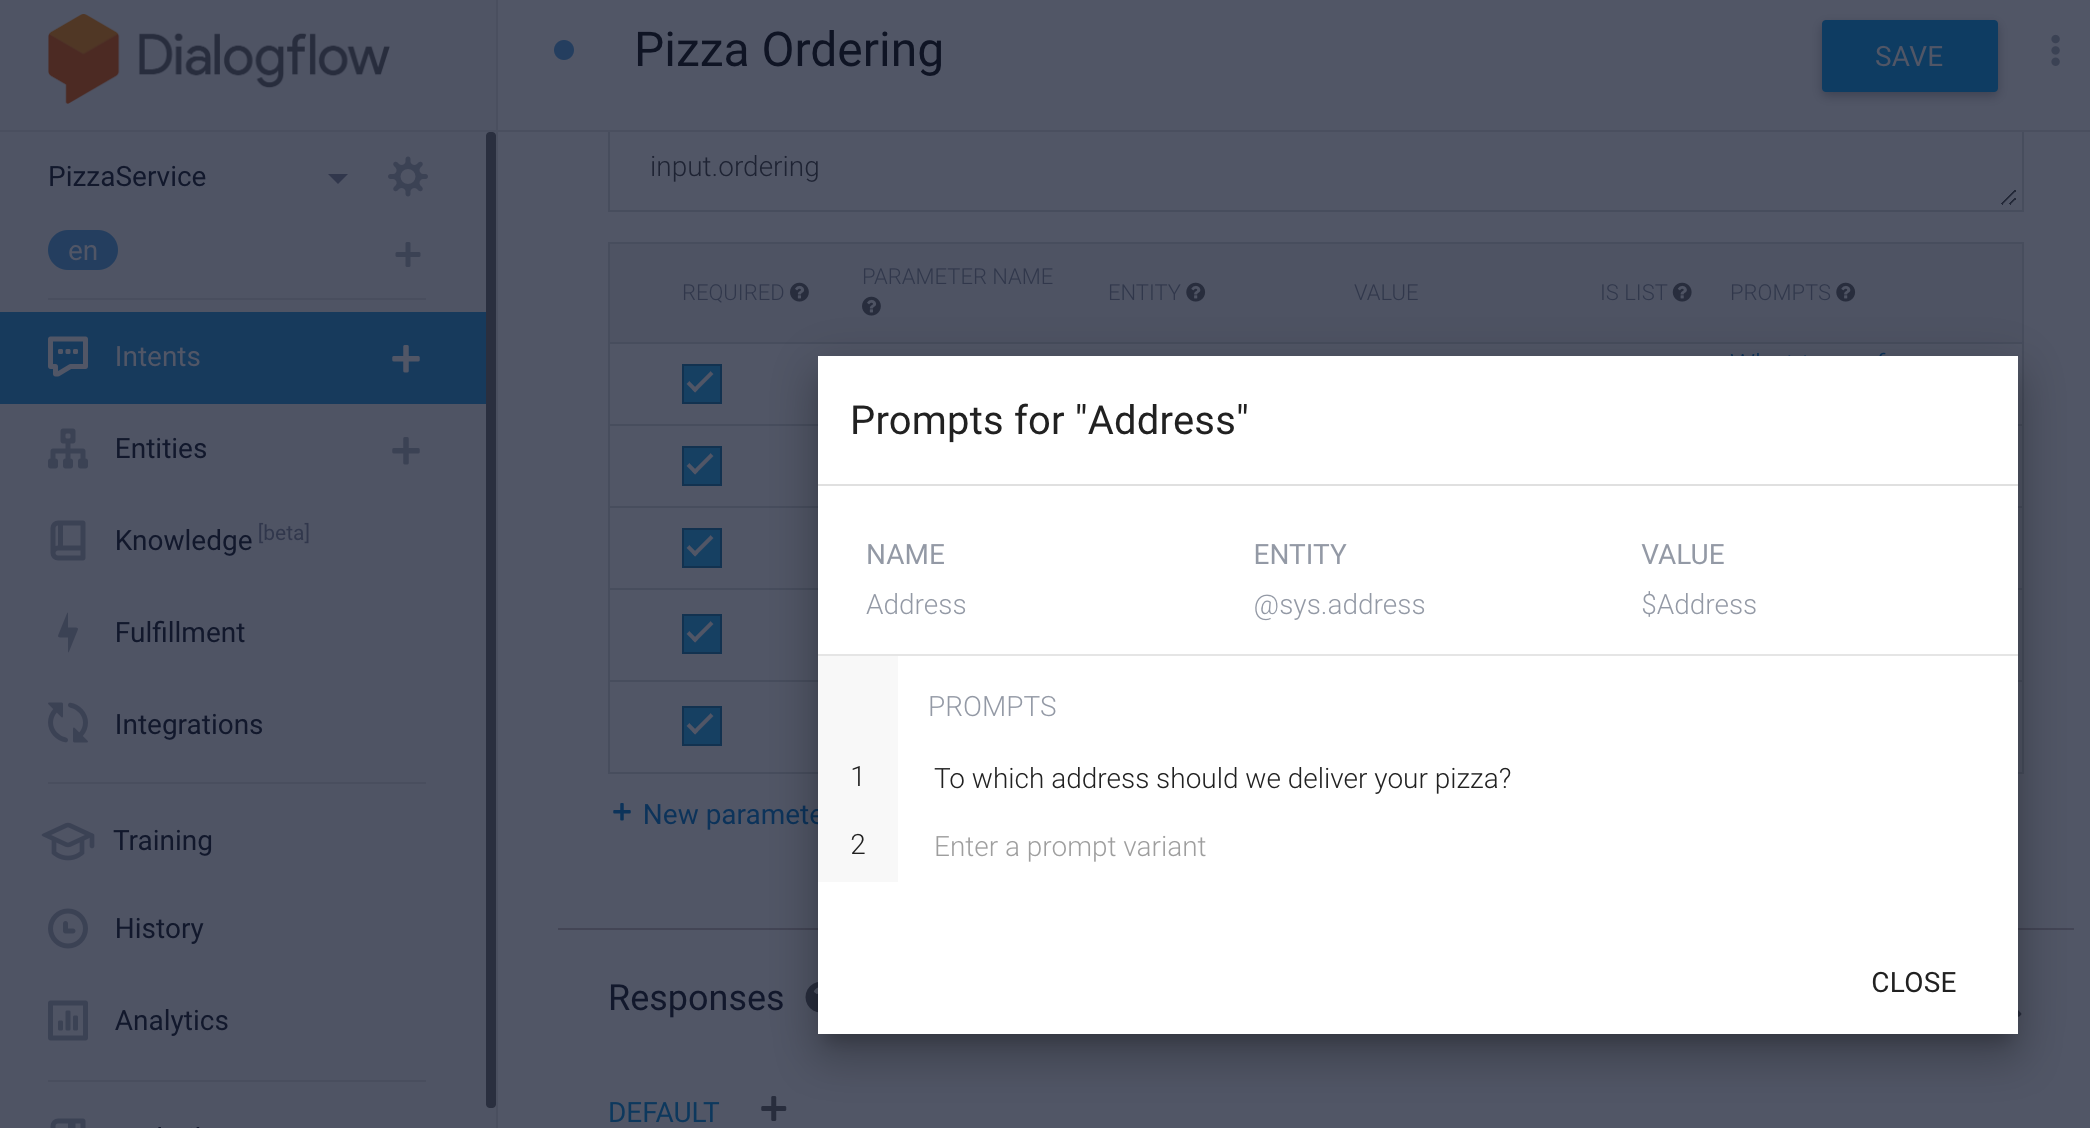
Select the checkbox REQUIRED for all parameters, because in our example we will be asking the user for each one. When REQUIRED field is checked, the PROMPTS field become visible. In the PROMPTS column, specify a question for the user for every parameter, as shown below.
The sense of PROMPTS is, if the end-user during the conversation with the chatbot does not specify exactly which pizza is ordered, which size, which topping, on which name and to which address, then the chatbot asks automatically for this information.
Press Define prompts... and enter the below specified prompts:
Prompt for PizzaType:
What type of pizza would you like?
Prompt for Size: Which size of pizza would you like?
Prompt for Topping: What additional toppings would you like on your pizza?
Prompt for Name: May I know your name?
Prompt for Address: Where should we deliver your pizza?
Now your agent can carry on a brief conversation with the user. But don't forget to press the SAVE button.
e. Use variables in the default response
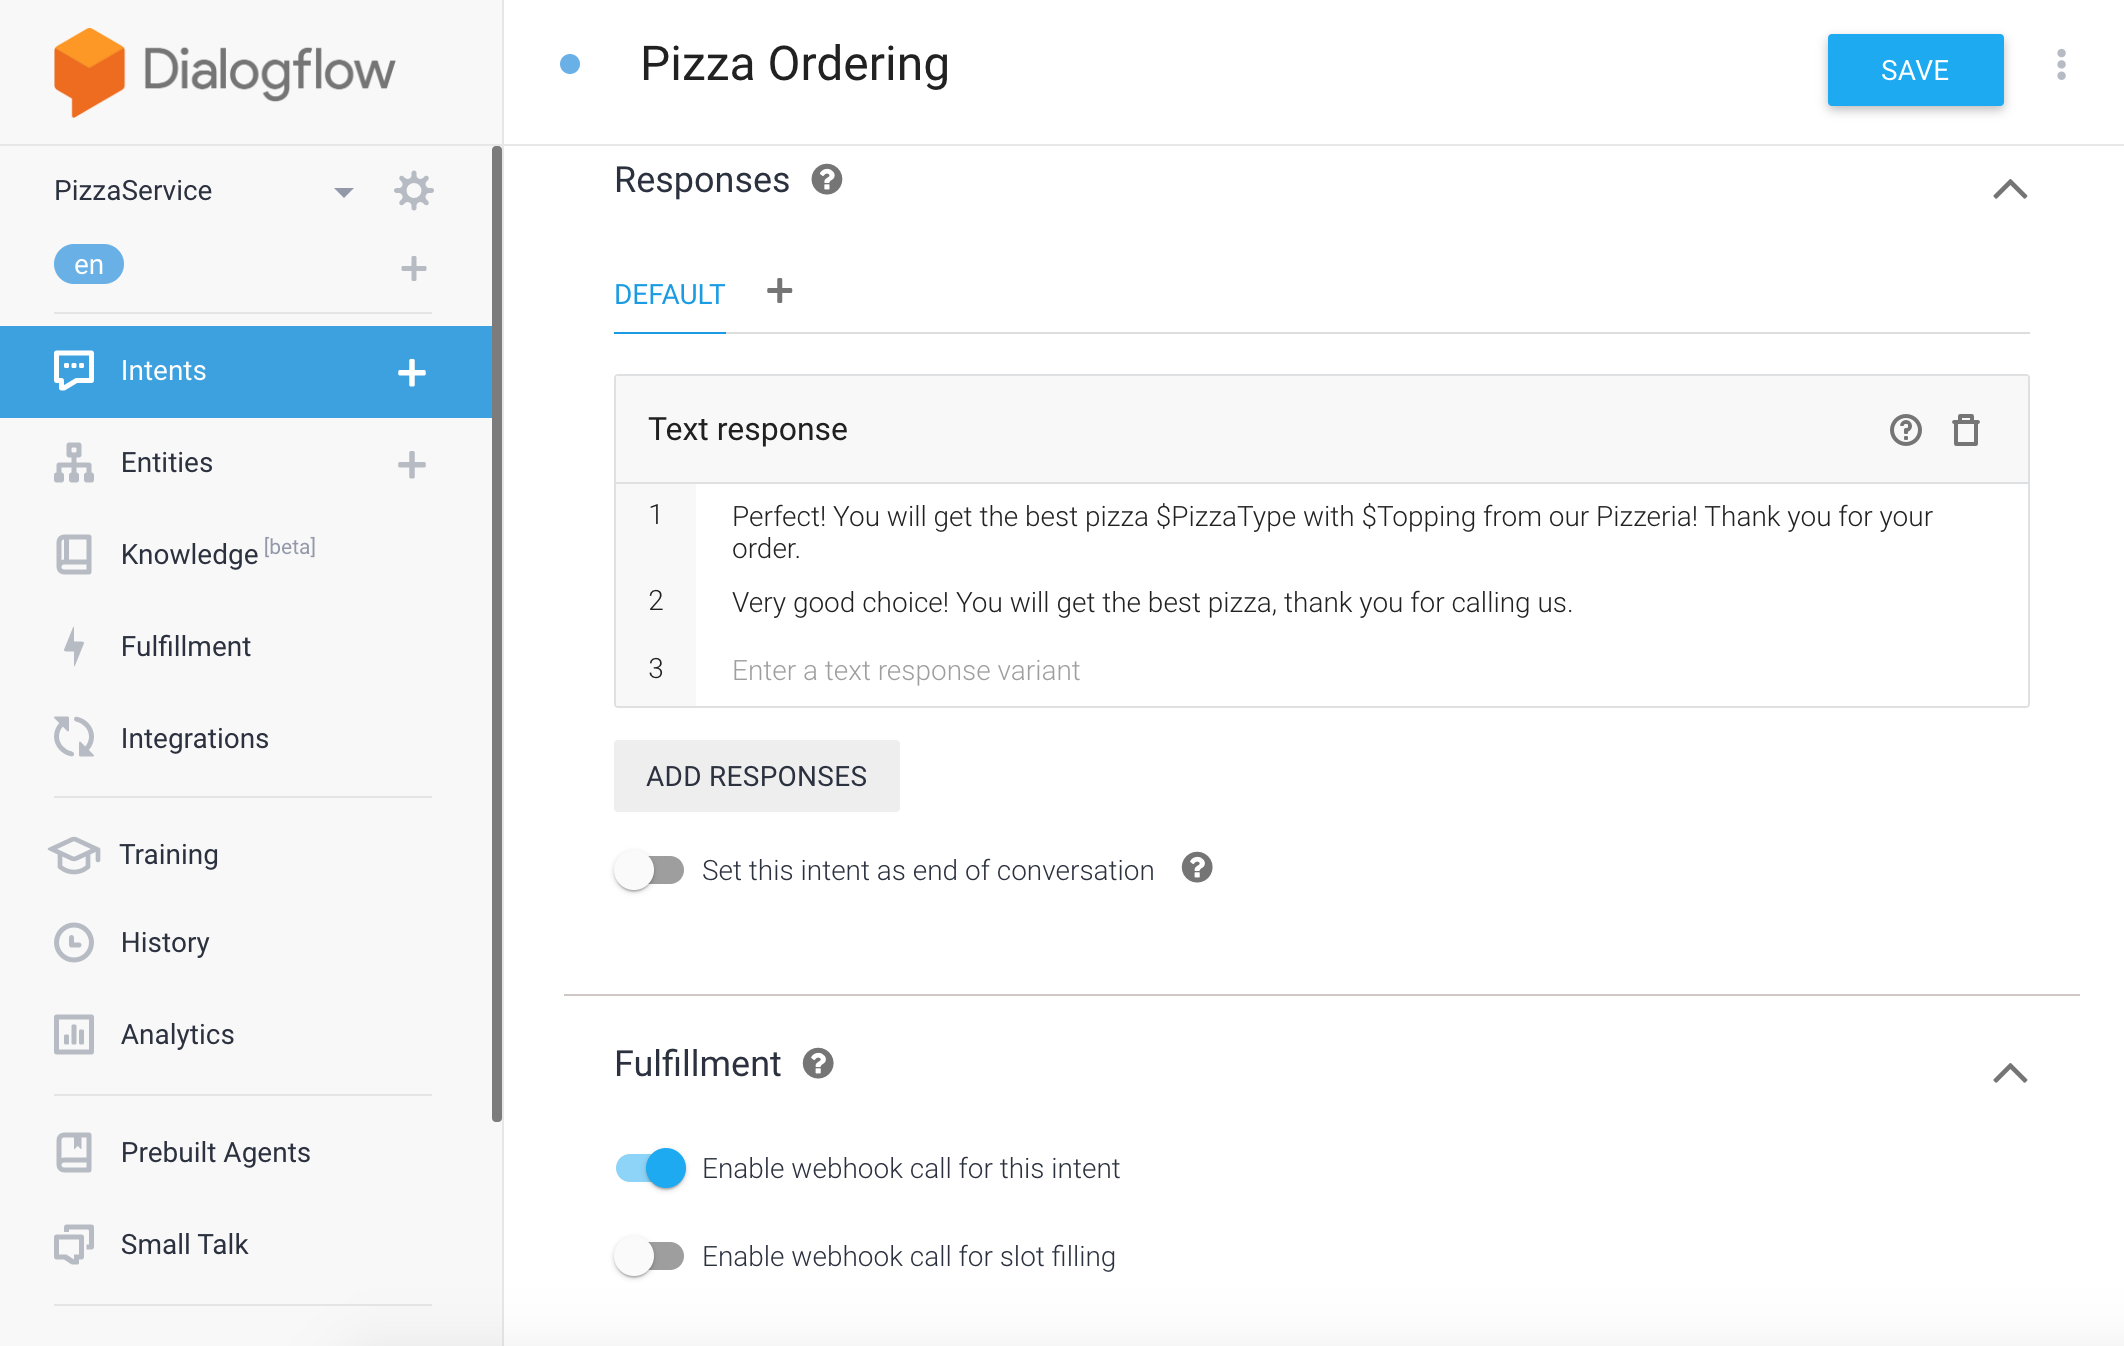
You can now use the variables defined above to define a richer response. For example, notice that in the below response we use the variable $PizzaType and $Topping to include the choices made by the user:
Perfect! You will get the best pizza $PizzaType with $Topping from our Pizzeria! Thank you for your order.
f. Test conversational agent
Now it's time to test your conversational agent. Invoke it by saying "hi" in the testing section as before. The agent should ask questions as specified in the prompts. Conclude the conversation by saying "bye".
4. Add Fulfillment
Occasionally, you might want your agent to perform some action besides carrying out a conversation, for example, reading/saving data. This can be done by adding a Fulfillment.
a. Enable webhook
The first step is to enable the webhook for the intent through the control at the bottom of the page.
b. Add Fulfillment webhook
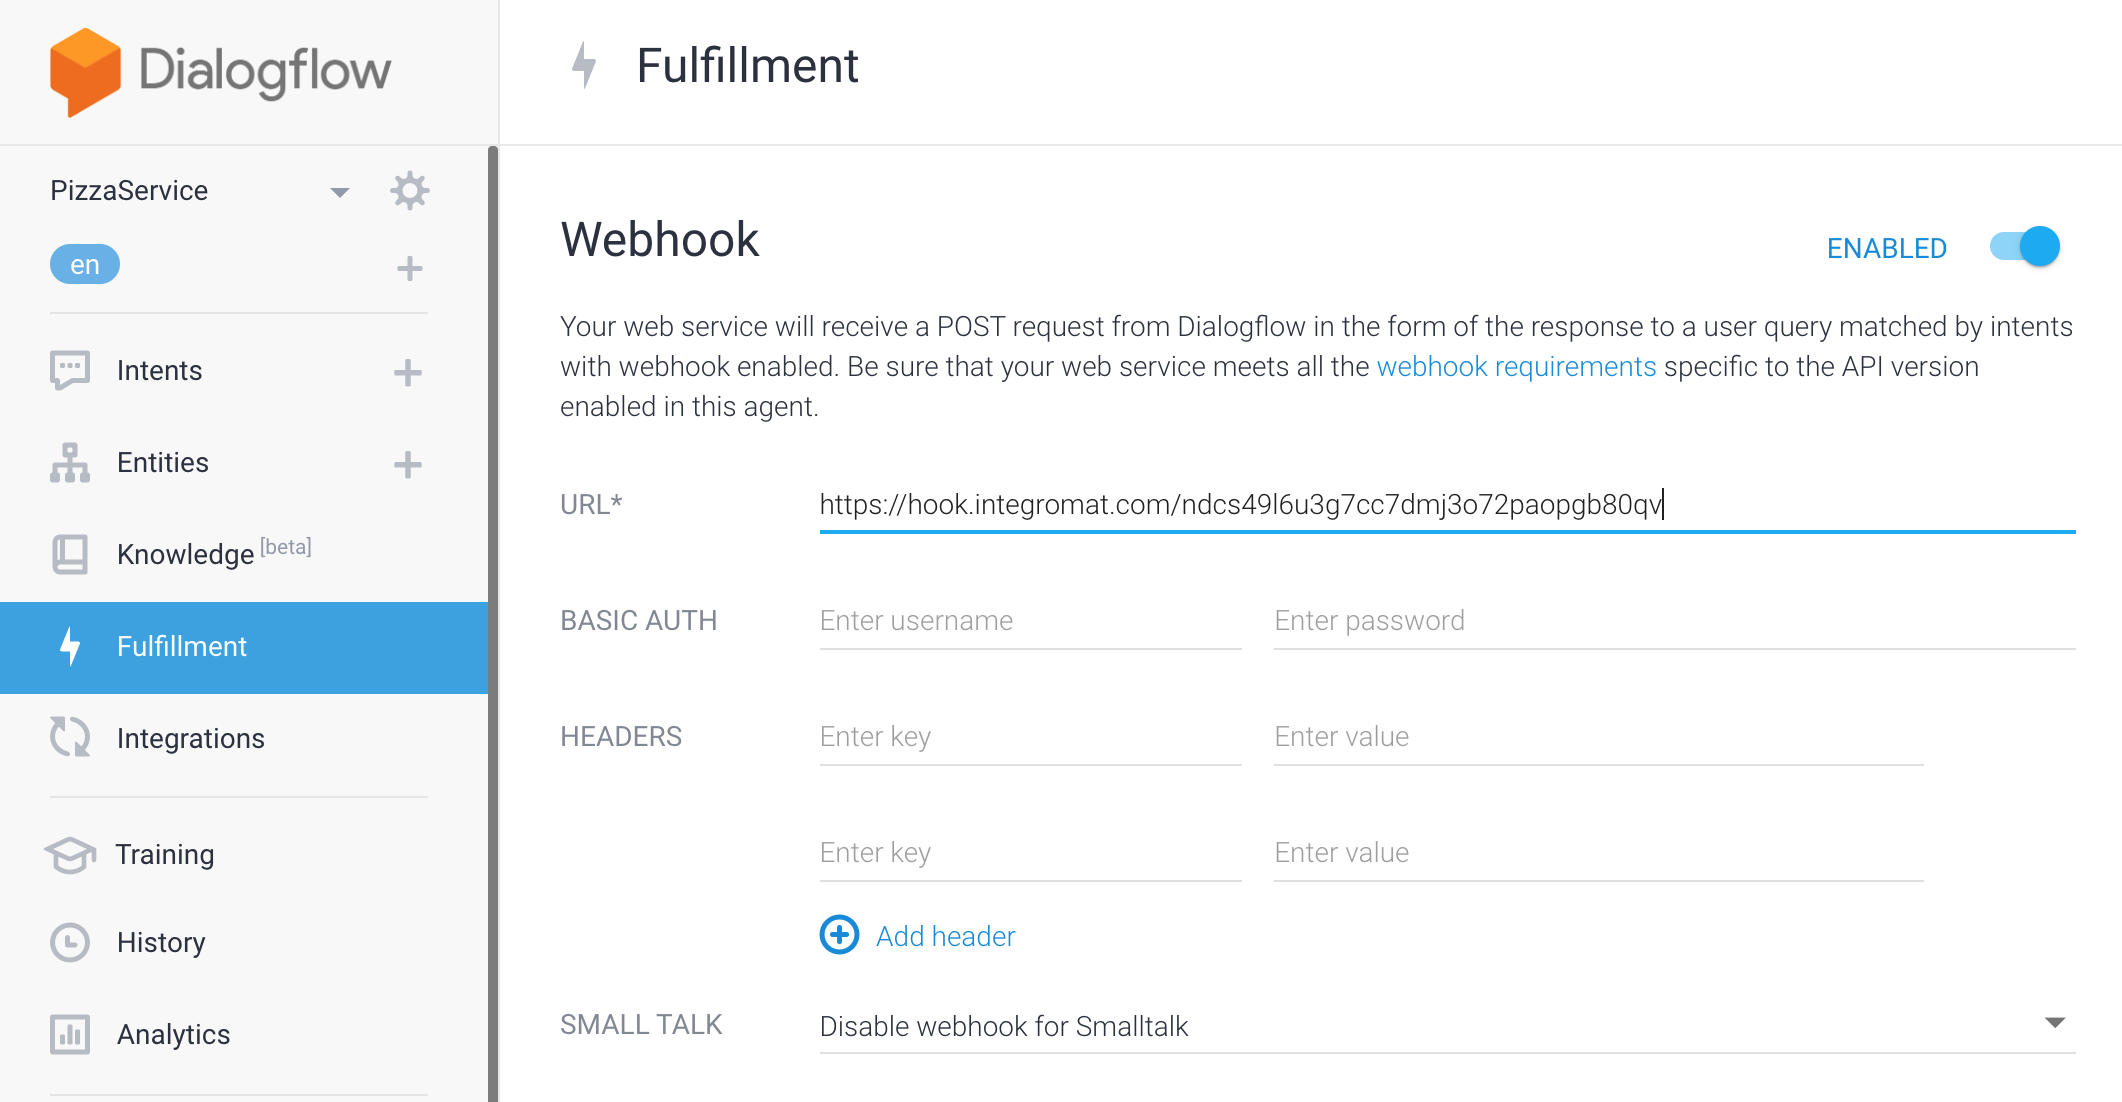
The next step is to add the webhook (url) to the intent. Go to Fulfillment section, enable webhook and enter the url for the fulfillment.
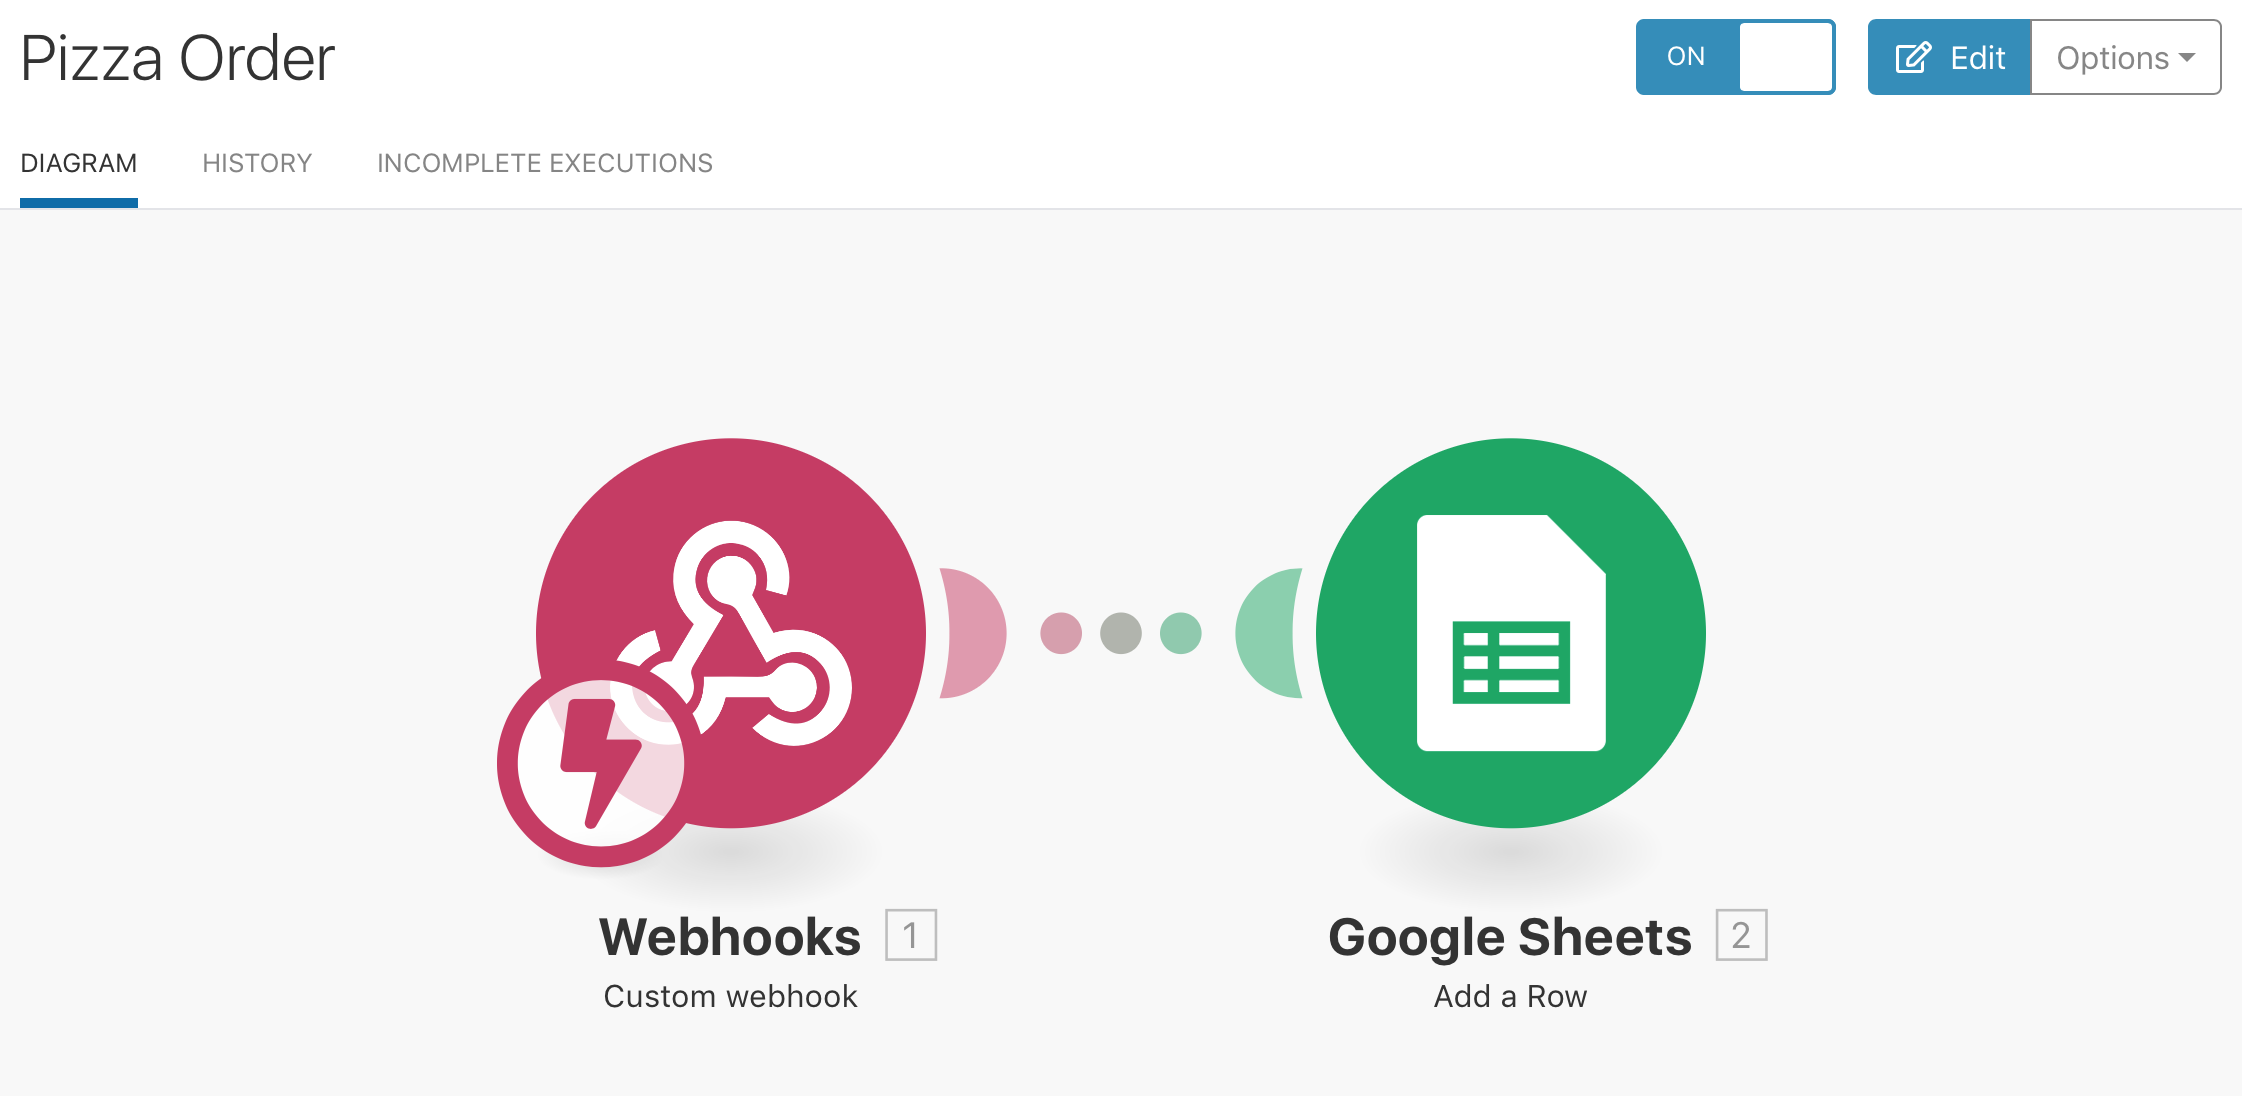
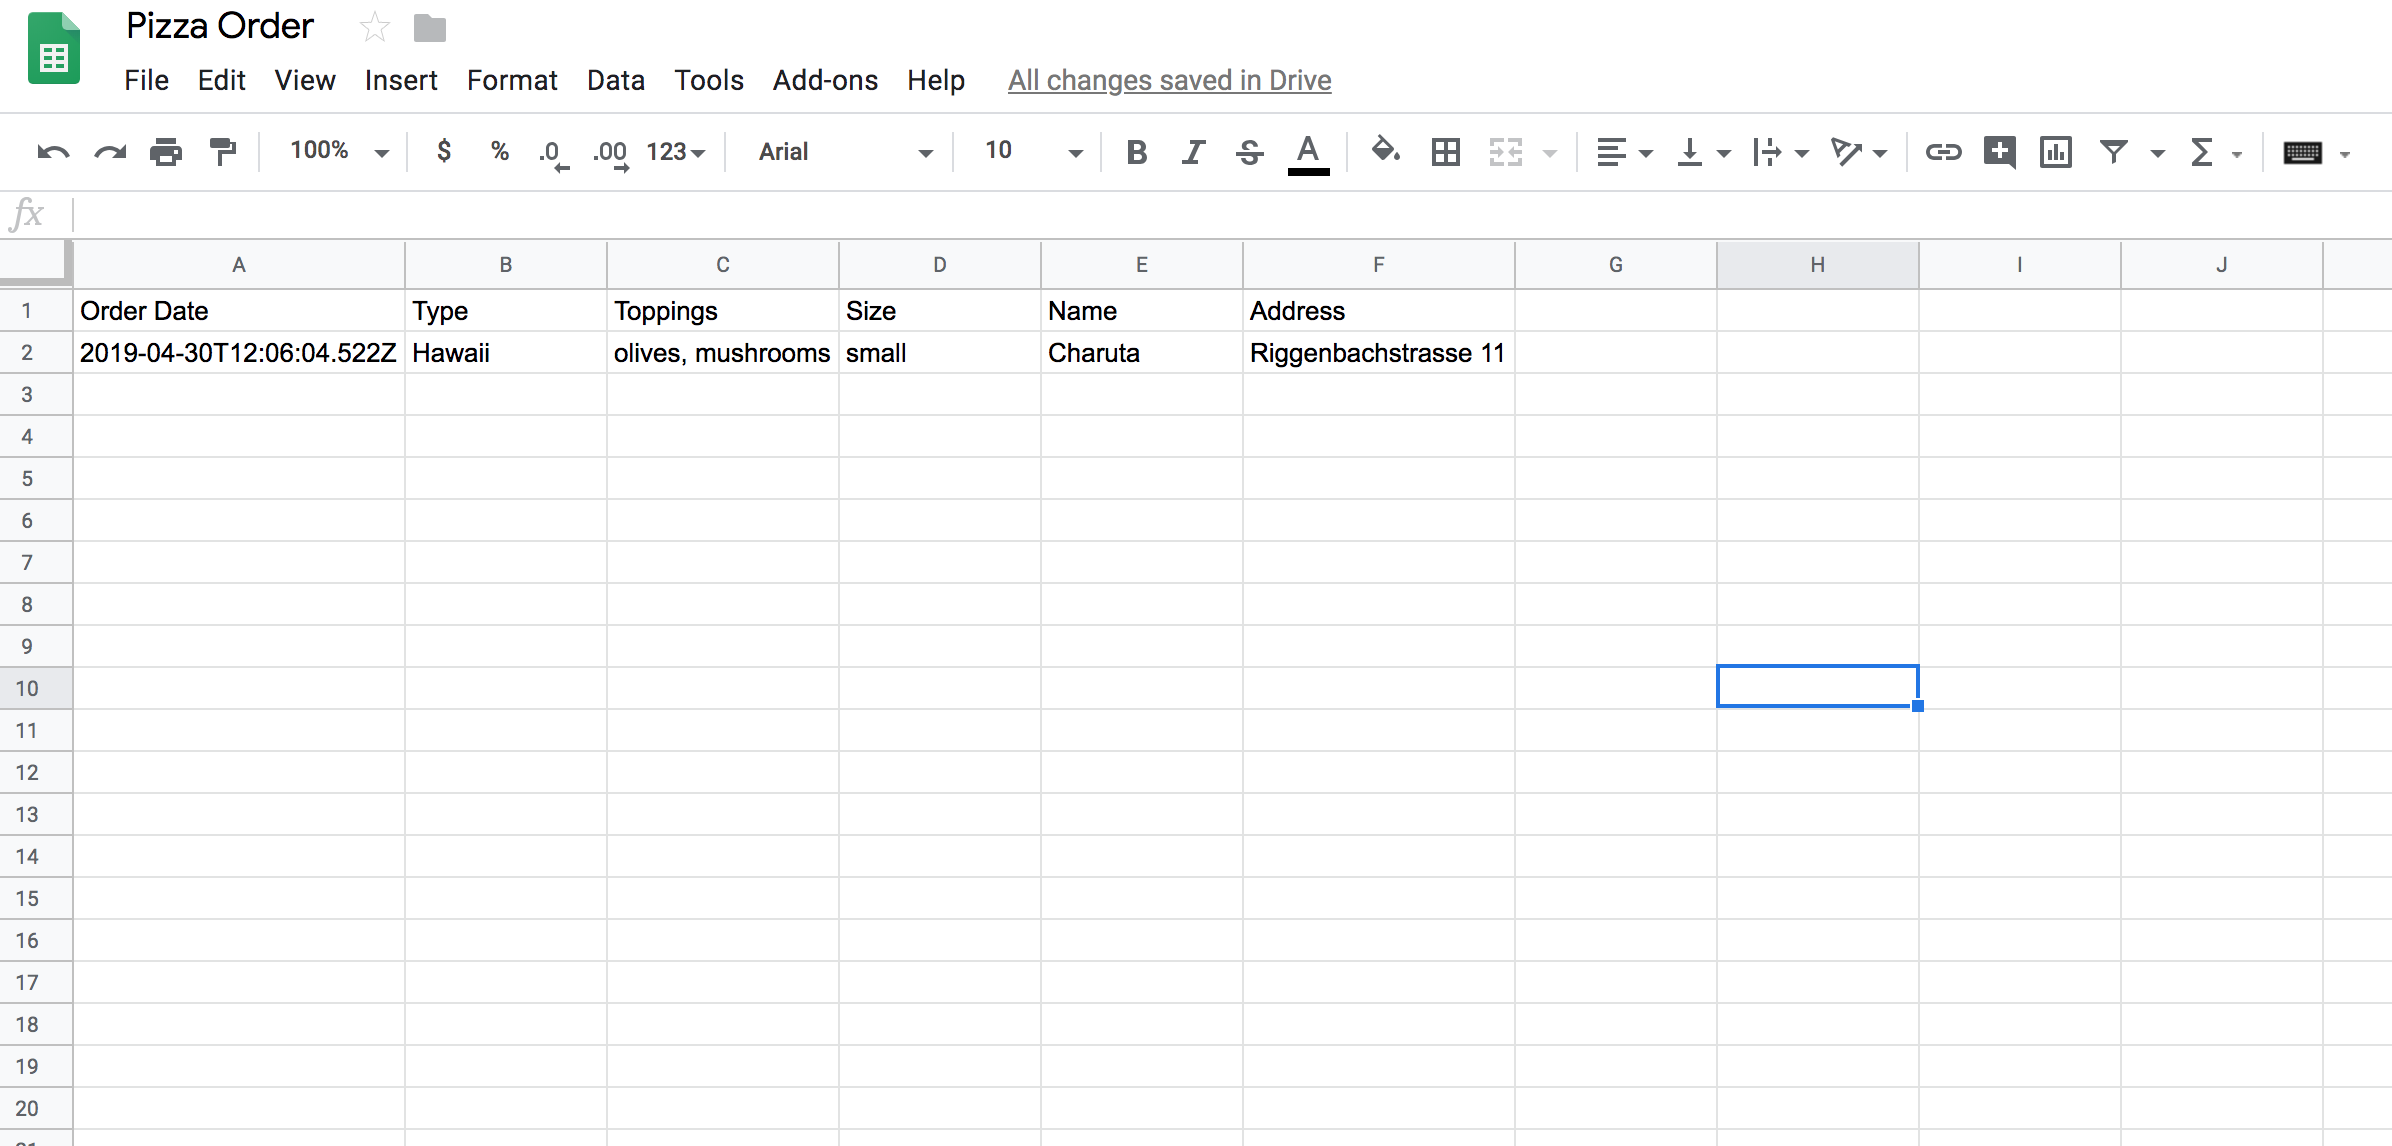
In the ongoing example, a webhook url for an Integromat scenario has been used. The scenario saves the pizza order to a Google sheet. You can use the following url: https://hook.integromat.com/ndcs49l6u3g7cc7dmj3o72paopgb80qv or create your own scenario as shown below and use it as a webhook.
Important: if you create your own scenario, don't forget to start the scenario in the Integromat, then order pizza in Dialoflow (i.e. answer all required questions until you get the final response "Perfect! You will ...") and then parameters will be visible in the Intregromat.
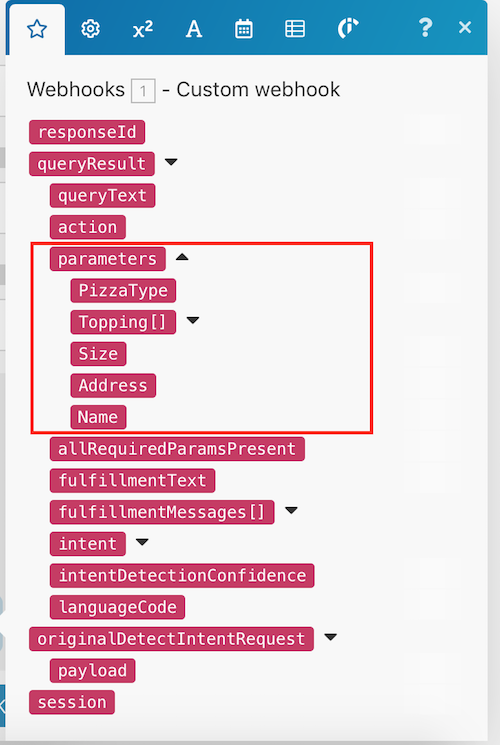
The parameters defined in the Actions and Parameters can be accessed in the Webhook as shown in the image below:
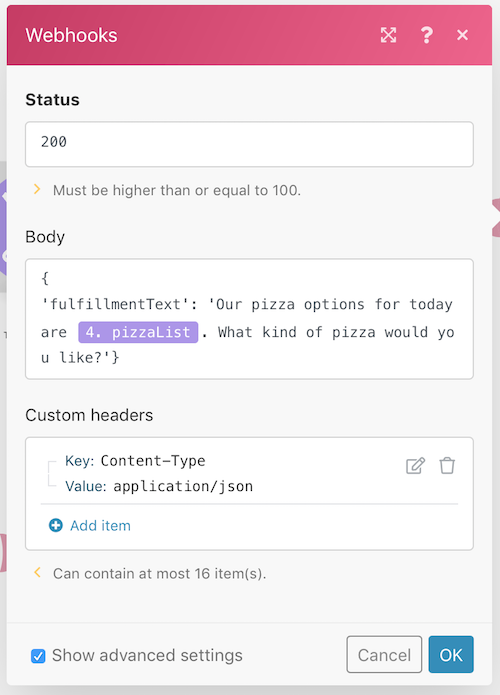
The response can be sent to the agent using the key "fulfillmentText".
Please note that the text in the "fulfillmentText" will overwrite the default response of your intent.
In the current example, we do not receive a response from Integromat, hence Dialogflow will display the default response for the pizza ordering intent. Following image shows an example of how the webhook response can be manipulated in Integromat to define a custom response using the key "fulfillmentText". In the below example, the Dialogflow agent displays the available menu to the user.
Creating Integromat scenarios has been explained in Hands-on Service Integration using Integromat.
5. Try advanced features
Try out the following features depending upon your usecase:
- Add Yes/No Follow-up intents
- Enable multi-language functionality
- Add input/output contexts
- Add multiple intents and enable fulfillment for each
- Trigger intents based on platform-specific or custom events
- Enable Small Talk
- Re-use a prebuilt agent
- Integrate the agent with Web Demo/Slack/Facebook Messenger
Have fun creating your Conversational AI agent!
For detailed information about Dialogflow, please have a look on Dialogflow documentation page.
