Seafile Source Installing源码部署 - Devinwon/article GitHub Wiki
# @Author: Devin
# @Date: 2020-04-18 14:44:03
# @Last Modified by:   Devin
# @Last Modified time: 2020-04-18 14:44:03
CentOS 7
seafile 7.0.5(stable)
yum install python python-setuptools MySQL-python python-urllib3 python-ldap -y
wget http://seafile-downloads.oss-cn-shanghai.aliyuncs.com/seafile-server_7.0.5_x86-64.tar.gz
tar -xvf seafile-server_7.0.5_x86-64.tar.gz
为了之后的操作与本文一致,请保证此时你的目录如下:
[root@MiWiFi-R1D-srv seafile]# pwd
/opt/seafile
[root@MiWiFi-R1D-srv seafile]# tree -L 2
.
├── installed
│   └── seafile-server_7.0.5_x86-64.tar.gz
└── seafile-server-7.0.5
    ├── check_init_admin.py
    ├── reset-admin.sh
    ├── runtime
    ├── seaf-fsck.sh
    ├── seaf-fuse.sh
    ├── seaf-gc.sh
    ├── seafile
    ├── seafile.sh
    ├── seahub
    ├── seahub.sh
    ├── setup-seafile-mysql.py
    ├── setup-seafile-mysql.sh
    ├── setup-seafile.sh
    ├── sql
    └── upgrade

7 directories, 11 files
tips:跟seafile 相关的配置文件都可以放在 /opt/seafile/conf 目录下,便于集中管理.后续升级时,你只需要解压最新的安装包到 /opt/seafile 目录下.
- 执行脚本
./setup-seafile-mysql.sh - 并根据提示进行操作
What is the name of the server? It will be displayed on the client.
3 - 15 letters or digits
[ server name ] SG_Disk
What is the ip or domain of the server?
For example: www.mycompany.com, 192.168.1.101
[ This server's ip or domain ] 172.16.1.14
Where do you want to put your seafile data?
Please use a volume with enough free space
[ default "/opt/seafile/seafile-data" ]
Which port do you want to use for the seafile fileserver?
[ default "8082" ]
-------------------------------------------------------
Please choose a way to initialize seafile databases:
-------------------------------------------------------
[1] Create new ccnet/seafile/seahub databases
[2] Use existing ccnet/seafile/seahub databases
- 这里我选择了2,使用另外一台机上已有的数据库
- 选择1或者数据库与应用服务在同一台机子上类似,根据提示进行选择即可。
What is the host of mysql server?
[ default "localhost" ]172.16.1.15
由于我选择了2,这里需要提供mysql数据库服务器地址,
From which hosts could the mysql account be used?
[ default "%" ]
默认任意都可以
What is the port of mysql server?
[ default "3306" ]
默认3306端口,需要可以自行修改,但注意要与你的数据库保持一致,否则连不上
Which mysql user to use for seafile?
[ mysql user for seafile ]devin- seafile使用哪个用户来连接mysql,这里不能使用root用户
- 可自行在数据库上新建一个用户,如devin
- 新建后进行测试连接,成功才可。
- 测试连接不成功的话,需要以root用户登录并执行下操作
use mysql;
update user set host = '%' where user = 'devin';
FLUSH PRIVILEGES;
What is the password for mysql user "devin"?
[ password for devin ]
verifying password of user devin ... done
Enter the existing database name for ccnet:
[ ccnet database ] ccnet
verifying user "devin" access to database ccnet ... done
Enter the existing database name for seafile:
[ seafile database ] seafile
verifying user "devin" access to database seafile ... done
Enter the existing database name for seahub:
[ seahub database ] seahub
verifying user "devin" access to database seahub ... done
认证通过并输入已有的数据库名,根据提示回车继续
---------------------------------
This is your configuration
---------------------------------

    server name:            SG_Disk
    server ip/domain:       172.16.1.14

    seafile data dir:       /opt/seafile/seafile-data
    fileserver port:        8082

    database:               create new
    ccnet database:         ccnet
    seafile database:       seafile
    seahub database:        seahub
    database user:          devin


---------------------------------
Press ENTER to continue, or Ctrl-C to abort
---------------------------------

Generating ccnet configuration ...

done
Successly create configuration dir /opt/seafile/ccnet.
Generating seafile configuration ...

Done.
done
Generating seahub configuration ...

----------------------------------------
Now creating ccnet database tables ...

----------------------------------------
----------------------------------------
Now creating seafile database tables ...

----------------------------------------
----------------------------------------
Now creating seahub database tables ...

----------------------------------------

creating seafile-server-latest symbolic link ...  done


-----------------------------------------------------------------
Your seafile server configuration has been finished successfully.
-----------------------------------------------------------------

run seafile server:     ./seafile.sh { start | stop | restart }
run seahub  server:     ./seahub.sh  { start <port> | stop | restart <port> }

-----------------------------------------------------------------
If you are behind a firewall, remember to allow input/output of these tcp ports:
-----------------------------------------------------------------

port of seafile fileserver:   8082
port of seahub:               8000

When problems occur, Refer to

        https://github.com/haiwen/seafile/wiki

for information.
数据库等创建、配置成功。
- 此时你的目录应当如下:
[root@MiWiFi-R1D-srv seafile]# pwd
/opt/seafile
[root@MiWiFi-R1D-srv seafile]# tree -L 2
.
├── ccnet
│   ├── mykey.peer
│   └── seafile.ini
├── conf
│   ├── ccnet.conf
│   ├── gunicorn.conf
│   ├── seafdav.conf
│   ├── seafile.conf
│   └── seahub_settings.py
├── installed
│   └── seafile-server_7.0.5_x86-64.tar.gz
├── seafile-data
│   └── library-template
├── seafile-server-7.0.5
│   ├── check_init_admin.py
│   ├── reset-admin.sh
│   ├── runtime
│   ├── seaf-fsck.sh
│   ├── seaf-fuse.sh
│   ├── seaf-gc.sh
│   ├── seafile
│   ├── seafile.sh
│   ├── seahub
│   ├── seahub.sh
│   ├── setup-seafile-mysql.py
│   ├── setup-seafile-mysql.sh
│   ├── setup-seafile.sh
│   ├── sql
│   └── upgrade
├── seafile-server-latest -> seafile-server-7.0.5
└── seahub-data
    └── avatars

14 directories, 18 files[root@MiWiFi-R1D-srv conf]# pwd
/opt/seafile/conf
[root@MiWiFi-R1D-srv conf]# vi gunicorn.conf- 修改ip与端口,bind = "0.0.0.0:8000",最后保存
- 默认8000端口没有开启,需要先开启
a, 开启端口(8082不开启无法上传文件,操作同理)
firewall-cmd --zone=public --add-port=8000/tcp --permanent
b, 重启防火墙(使之生效)
firewall-cmd --reload
c, 查看是否开启,(yes表示开启)
firewall-cmd --query-port=8000/tcp
a, 启动seafile
[root@MiWiFi-R1D-srv seafile-server-latest]# pwd
/opt/seafile/seafile-server-latest
[root@MiWiFi-R1D-srv seafile-server-latest]# ./seafile.sh start
b, 启动seahub,第一次启动需要配置帐户信息
[root@MiWiFi-R1D-srv seafile-server-latest]# ./seahub.sh start
LC_ALL is not set in ENV, set to en_US.UTF-8
Starting seahub at port 8000 ...
----------------------------------------
It's the first time you start the seafile server. Now let's create the admin account
----------------------------------------
What is the email for the admin account?
[ admin email ] 917570905@qq.com
What is the password for the admin account?
[ admin password ]
Enter the password again:
[ admin password again ]
----------------------------------------
Successfully created seafile admin
----------------------------------------
Seahub is started
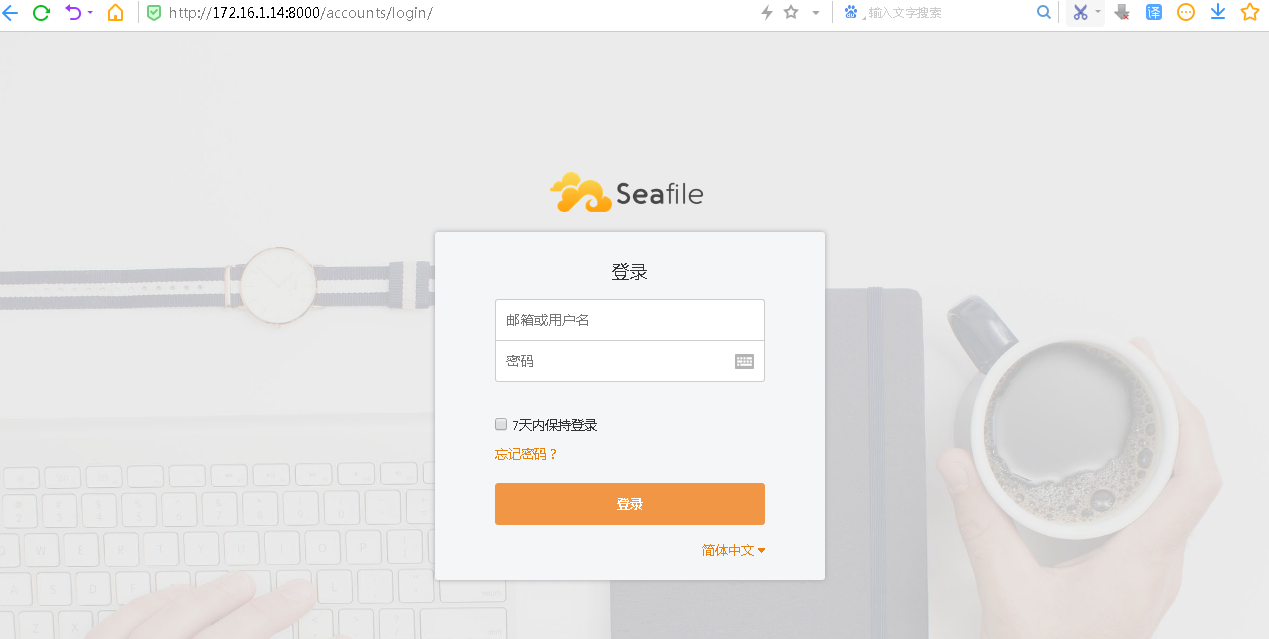
Done.至此,seafile服务器配置、启动成功,可以正常访问。
为了保证每次重启后seafile等服务能够自动重启,建议配置自动重启脚本文件,具体如下:
- seafile配置 创建seafile单元文件/etc/systemd/system/seafile.service
[Unit]
Description=Seafile Server
After=network.target mysql.service

[Service]
Type=oneshot
ExecStart=/opt/seafile/seafile-server-latest/seafile.sh start
ExecStop=/opt/seafile/seafile-server-latest/seafile.sh stop
RemainAfterExit=yes
User=root
Group=root

[Install]
WantedBy=multi-user.target- seahub配置 创建seahub单元/etc/systemd/system/seahub.service
[Unit]
Description=Seafile Hub
After=network.target seafile.service

[Service]
Type=oneshot
ExecStart=/opt/seafile/seafile-server-latest/seahub.sh start-fastcgi
ExecStop=/opt/seafile/seafile-server-latest/seahub.sh stop
RemainAfterExit=yes
User=root
Group=root

[Install]
WantedBy=multi-user.target - 启动服务,保证重启后自动执行上述脚本
sudo systemctl enable seafile
sudo systemctl enable seahub - 验证是否成功
sudo systemctl status seafile
sudo systemctl status seahub