Create Pull Request in GitHub on Mac - DevPops-Inc/mac GitHub Wiki
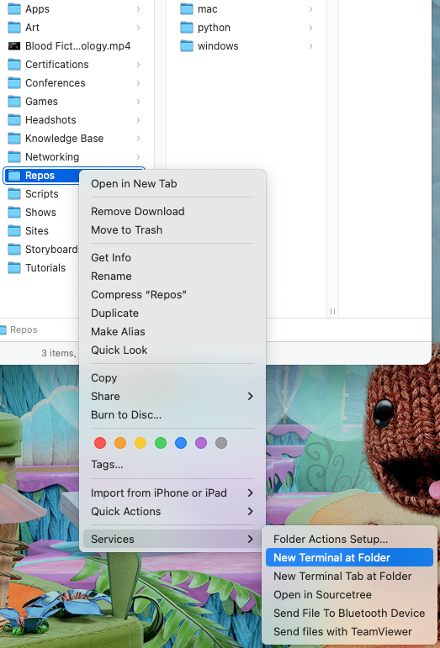
• Browse to the repository in the Finder and right-click the directory. Expand the “Services” menu and select “New Terminal at Folder.”
•
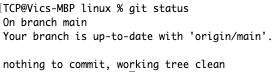
• Type git status and press the return key to make sure you’re on the main branch and the working tree is clean.
•
• Type git checkout -b < branch > and press the return key to create a new branch and check it out.
•

• Make desired code changes.
•

• Type clear and press the return key to clear the Terminal.
•

• Type git status and press the return key to see the changes waiting to be staged.
•

• Type git add . and press the return key to stage all changes.
•

• Type git commit -m “< commit message >” and press the return key to commit the change(s) with a commit message.
•

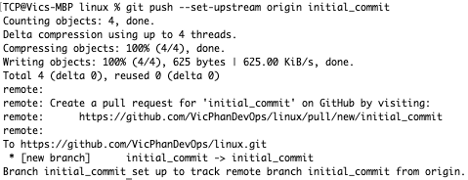
• Type git push --set-upstream origin < branch > and press the return key to push the changes up to GitHub.
•
• Go to https://github.com/ in a web browser, type the desired repository in the “Find a repository…” box and select the repository from the result(s).
•

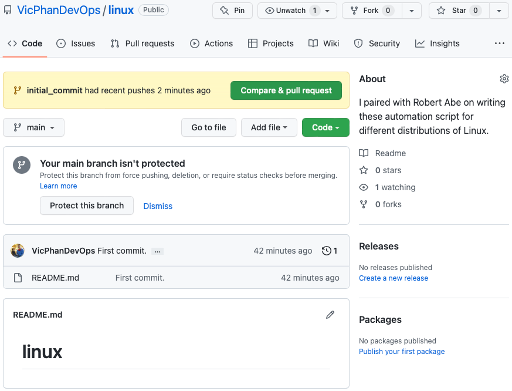
• Select “Compare & pull request.”
•
• Expand the “Reviewers” menu, type desired reviewer in the “Type or choose a user” box and select the reviewer from the result(s).
•
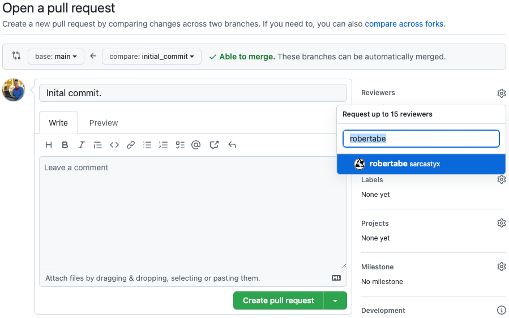
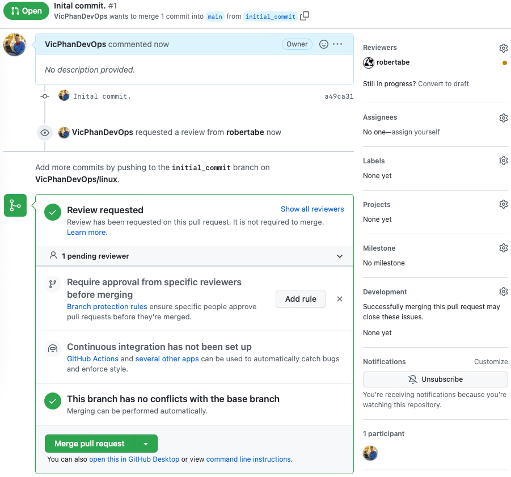
• Select “Create pull request.”
•

• The pull request will be created and will wait for the reviewer’s approval.
•
Please reach out on LinkedIn if you have any questions or suggestions.
