setup - DavidBK/shampoo GitHub Wiki
Lets prepare the space environment for you!
Send me back home
[[TOC]]
Wsl (Windows Subsystem Linux) is a Linux environment that runs on Windows. You can read more about it here.
Open PowerShell (or Windows Command Prompt) as an admin:
- Right click on PowerShell
- Click "Run as administrator" and enter:
wsl --installCheck the troubleshooting installation article if you run into any issues.
Once the process of installing your Linux distribution with WSL is complete, open the distribution (Ubuntu by default) using the Start menu. You will be asked to create a User Name and Password for your Linux distribution. This account will be considered the Linux administrator, with the ability to run sudo (Super User Do) administrative commands.
For more information, see this article.
Windows Terminal can run any application with a command line interface.
Also, it comes with
Quake mode
which allows you to quickly open a new terminal instance from anywhere in
Windows by typing Win+`. It is a great way to run commands on your Linux
distribution.
Windows Terminal is built in Windows 11. To install you can follow the installation guide.
On windows terminal, enter ctrl + , to open setting.
Select Startup and choose Ubuntu as your default profile.
To move between tab terminals, use ctrl+tab and ctrl+shift+tab. To close a
tab in terminal, enter ctrl+shift+w. To open a new tab, enter ctrl+shift+T.
It is recommended to update and upgrade your packages before you start using your Linux distribution.
sudo apt update && sudo apt upgradeZsh is a shell designed for interactive use, although it is also a powerful scripting language.
sudo apt install zshConfigure zsh to be the default shell:
chsh -s $(which zsh)You can check your shell by running echo $SHELL.
Oh My Zsh is a open source framework for managing your Zsh configuration.
Before all we need to have git installed:
sudo apt install gitThen, use curl to install oh-my-zsh:
sudo sh -c "$(curl -fsSL https://raw.github.com/ohmyzsh/ohmyzsh/master/tools/install.sh)"Antigen is plugin manager for zsh.
Install it:
curl -L git.io/antigen > $HOME/antigen.zshConfigure zsh with antigen:
- Open
.zshrcin your editor (nano ~/.zshrcorcode ~/.zshrc) - Delete all the lines in
.zshrc - Replace it with the following (my recommended configuration):
source $HOME/antigen.zsh

antigen use oh-my-zsh

antigen bundle git
antigen bundle command-not-found
antigen bundle zsh-users/zsh-syntax-highlighting
antigen bundle zsh-users/zsh-autosuggestions
antigen bundle zsh-users/zsh-completions

export NVM_LAZY_LOAD=true
antigen bundle lukechilds/zsh-nvm

antigen theme robbyrussell
antigen apply
You can Change the Theme of oh-my-zsh! look it up if you like
VS Code (Visual Studio Code) is a source-code editor made by Microsoft including support for debugging, syntax highlighting, intelligent code completion, snippets, code refactoring, and embedded Git.
In order to use VS code in your WSL First install VS code in Windows and then the Visual Studio Code Remote - WSL Extension.
Install VS Code on the Windows side (not in WSL).
Install the Remote Development extension pack.
Now we can open Workspace from the terminal using the code command:
code path/to/workspaceOr navigate to workspace first and then use code:
cd path/to/workspace
code .
For more information, About working with VS code on WSL see Developing in WSL.
Docker Desktop for Windows provides a development environment for building, shipping, and running dockerize apps. By enabling the WSL 2 based engine, you can run both Linux and Windows containers in Docker Desktop on the same machine.
Note: While Docker Desktop supports running both Linux and Windows containers, you can not run both simultaneously. To run Linux and Windows containers simultaneously, you would need to install and run a separate Docker instance in WSL.
Docker Hub is a service for finding and sharing container images with the Docker community.
-
Download Docker Desktop and follow the installation instructions.
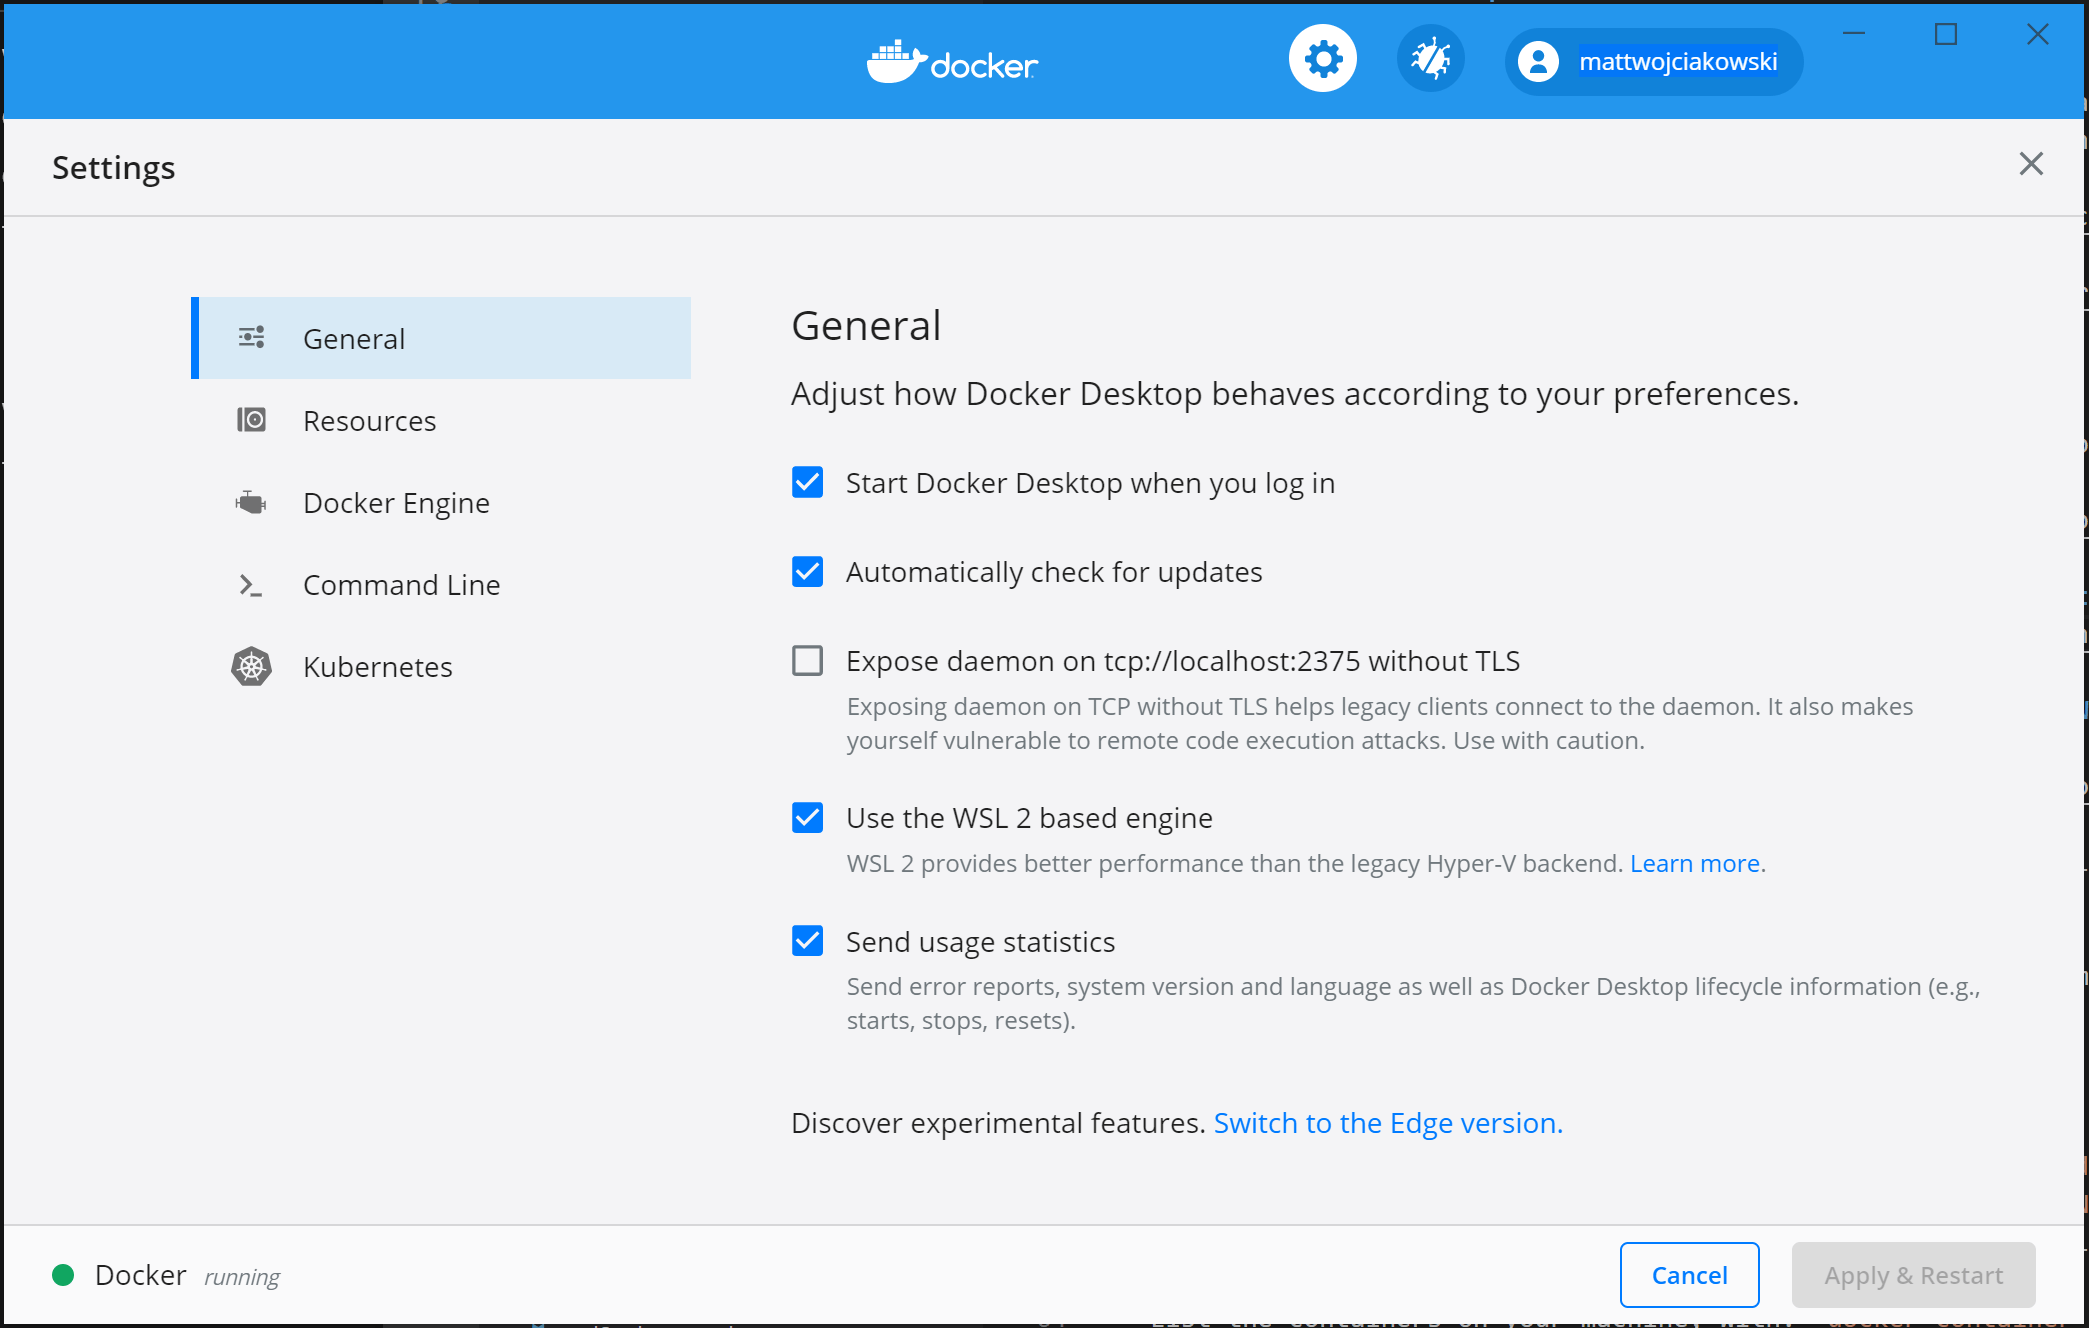
-
Ensure that "Use the WSL 2 based engine" is checked in Settings > General.
-
Select from your installed WSL 2 distributions which you want to enable Docker integration on by going to: Settings > Resources > WSL Integration.
-
Select from your installed WSL 2 distributions which you want to enable Docker integration on by going to: Settings > Resources > WSL Integration.
-
To confirm that Docker has been installed, open a WSL distribution and display the version and build number by entering:
docker --version, anddocker run hello-world.
For more information, see wsl-containers
-
antidote - feature-complete Zsh implementation which was derived from Antigen.
-
starship - cross shell customizable prompt
- Install a Nerd Font on windows terminal
Congratulations! You are now ready to start learning!