How to use the PSX shader - DarkOceanInteractive/project-wendigo GitHub Wiki
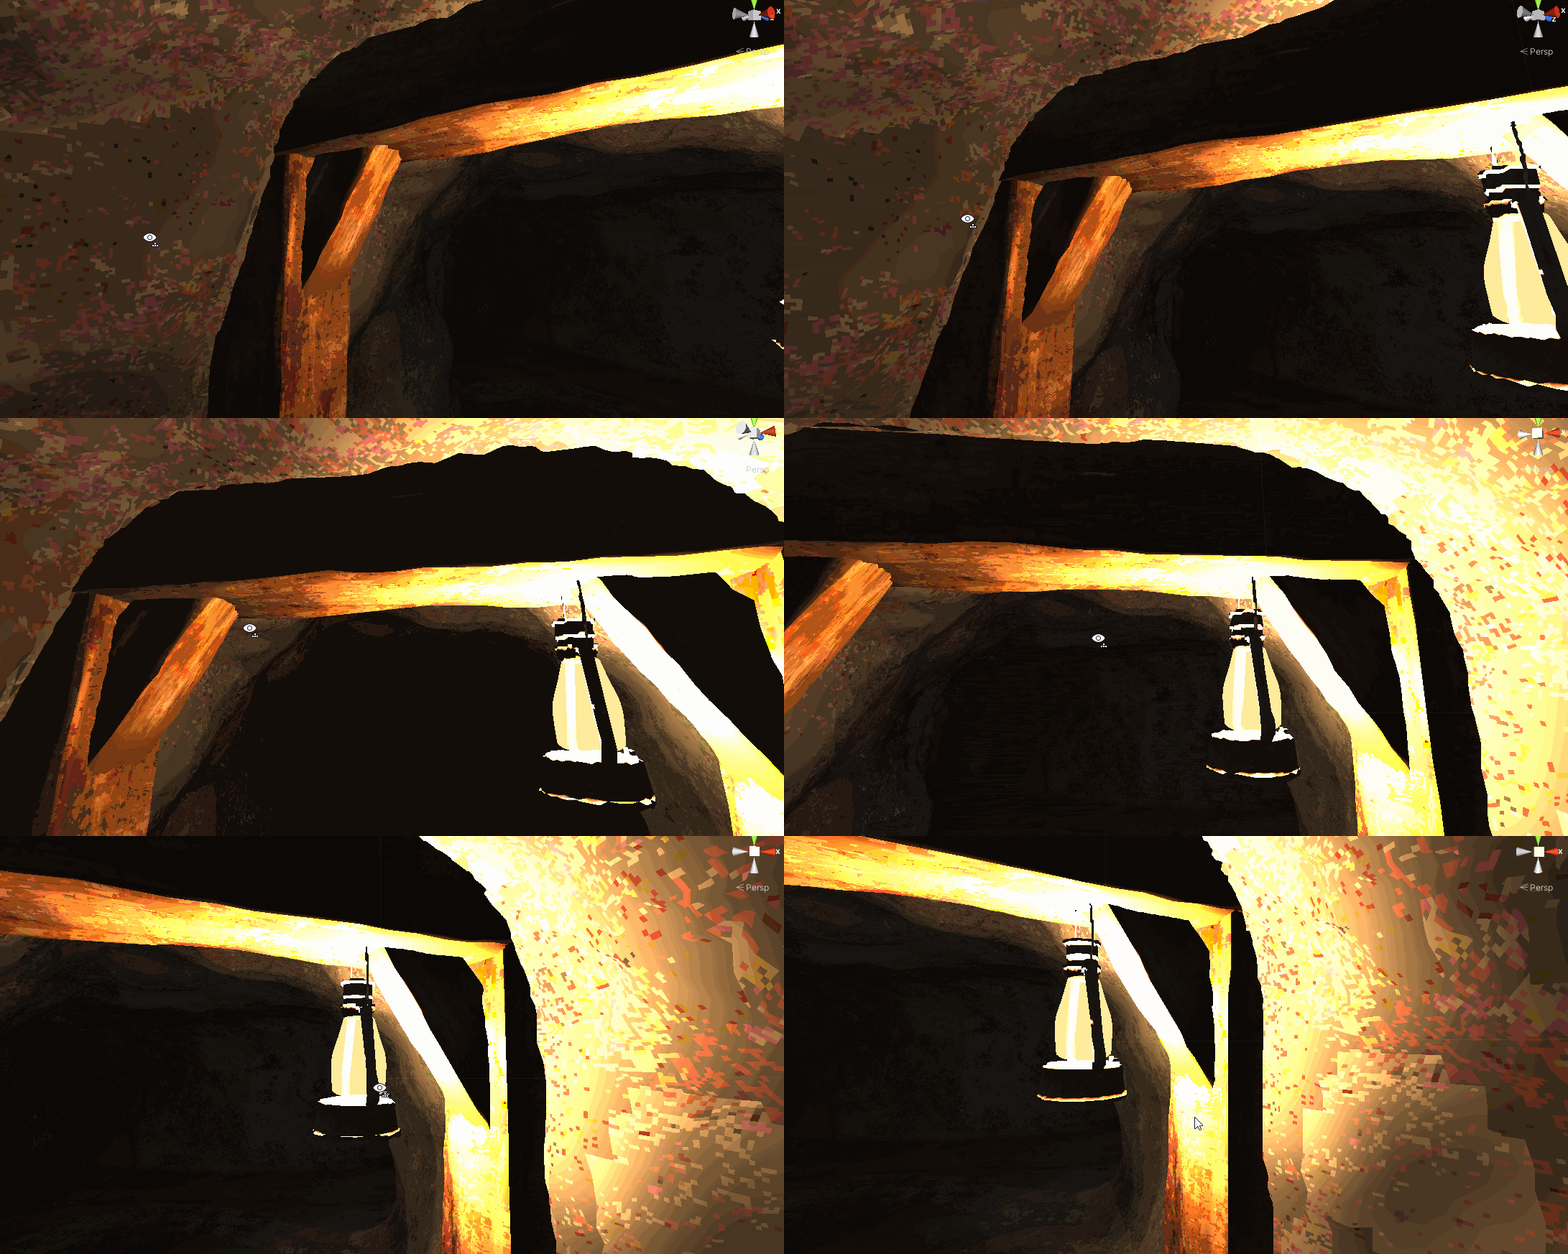
This project uses PSX shaders based on this work. They give a PlayStation 1 era aspect to objects that use it applied on.
If you have an object using a default Unity shader or any other shader, unless you need very specific features that the PSX shader doesn't include, you might want to apply the PSX shader to your object. Otherwise, it won't have the desired PS1 look and might stand out if all other object around it use the PSX shader.
-
Step 1: Click on the object you want to apply the shader on
-
Step 2: In the Inspector, find its
Base Mapfield.
Material view in the Inspector
-
Step 3: Copy the material properties you want to keep. You can find yourself in 2 cases from here:
-
If your object only has a base color, then click on it an copy it

Copy the color hexadecimal code
-
If your object has a texture, click on it to open it in the project files explorer

Click on the texture preview icon in the Inspector

The texture should open in the project files explorer
-
-
Step 4: Change the shader to
Shader Graphs > URP_PSX_PBR_Masterif you want light to apply to your object,Shader Graphs > URP_PSX_Unlit_Masterotherwise.
Change the shader
- If your original shader had a base color, paste its hexadecimal code you copied earlier in the new shader's
BaseColorfield - If your original shader had a texture, drag it from the project files explorer to the new shader's
MainTexfield

Set the desired fields accordingly
- If your original shader had a base color, paste its hexadecimal code you copied earlier in the new shader's
-
Step 5: Check all the shader's check boxes except
UsePixelation. UncheckIsSpecularif you don't want your surface to look too metallic (by reflecting too much light).
If the shader is correctly applied, it should look more pixelized and shaky like in the following animation:
