WebDAV XAMPP - DLR-SC/DataFinder GitHub Wiki
When trying to play around with DataFinder the easiest way to obtain a WebDAV server is to use a pre configured Apache package, e.g. the XAMPP. XAMPP is available for different operating system, particularly versions for Windows and Linux are available. For more information see the XAMPP web site.
The following steps show basic installation and required adaptations of the WebDAV configuration so it is usable with !DataFinder. The installation description is based on XAMPP version 1.7.3. Detailed information can be obtained from the XAMPP web site.
- Download the installer.
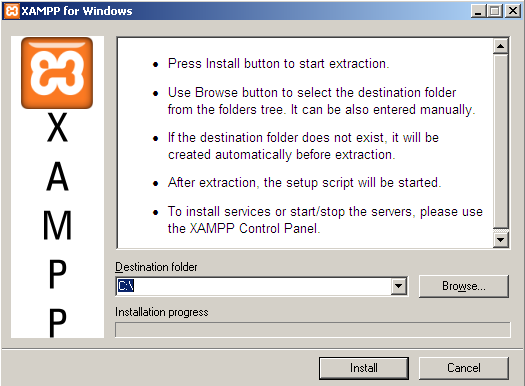
- Execute the downloaded installer, choose your installation directory and start the install process.
- Configure your installation by using the opened command shell and use the proposed default values.

- Adapt the WebDAV configuration file
httpd-dav.confwhich is located in directory<XAMPP_INSTALLATION_HOME>\apache\conf\extraas follows. You can also download the adapted file (used installation root directoryC:).
...
<Directory "C:/xampp/webdav">
...
# Comment out the following 3 lines to allow writing access to every user
#    <LimitExcept GET OPTIONS>
#        require valid-user
#    </LimitExcept>
</Directory>
...
BrowserMatch "^Dreamweaver-WebDAV-SCM1" redirect-carefully
BrowserMatch "MSIE" AuthDigestEnableQueryStringHack=On
# Add the following line so Apache is not confused by missing trailing slashes
BrowserMatch "^" redirect-carefully
...
- Start the Apache server using the XAMPP Control Panel Application
 .
.

- The WebDAV server is now accessible using the URL http://localhost/webdav/. Files stored via WebDAV are put below the directory
<XAMPP_INSTALLATION_HOME>\webdav.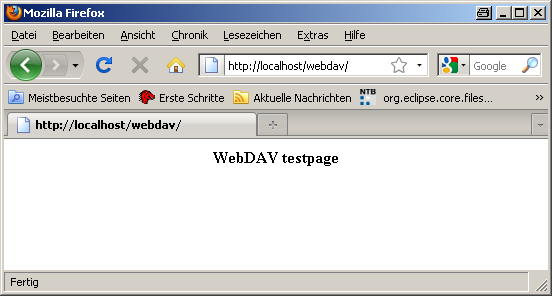
Congratulations you have successfully installed the WebDAV server!!