Home - CytronTechnologies/RFM-LoRa-Shield-Examples GitHub Wiki
This is an example tutorial of point-to-point wireless communication between 2 Arduinos using Cytron RFM LoRa Shields.
- Basic Requirements
- Hardware Setup
- Library Installation
- Uploading Sketches
- Arduino Sketches Overview
- Screenshots
- 2 Cytron RFM LoRa Shields
- 2 Arduino-compatible boards
- USB cable/accessories to upload Arduino program
- Arduino IDE software
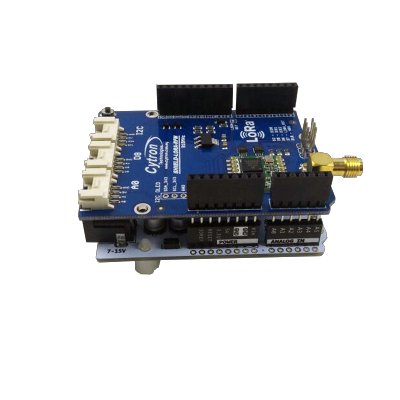
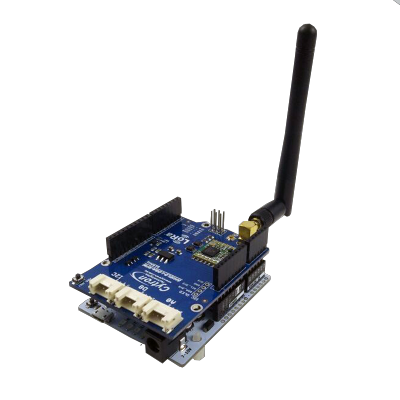
- Stack Cytron RFM LoRa Shield onto Arduino compatible board with antenna installed as shown in picture below. In this case we are using CT-UNO.
- Prepare 2 sets for this.
-
CT-UNO with LoRa Shield on top
-
CT-UNO with LoRa Shield with antenna installed
- Download the zip file from here.
- Open Arduino IDE, go to Sketch > Include Library > Add .ZIP Library, choose the downloaded zip file and click Open.
- Download the Arduino sketches as zip files OR git clone this repo from here.
- Grab one set of RFM LoRa Shield + Arduino that you have setup just now. We call it as Arduino LoRa Client.
- Open and upload
rf95_client.inosketch to Arduino LoRa Client. - Grab another set of RFM LoRa Shield + Arduino that you have setup just now. We call it as Arduino LoRa Server.
- Open and upload
rf95_server.inosketch to Arduino LoRa Server.
Refer here.
-
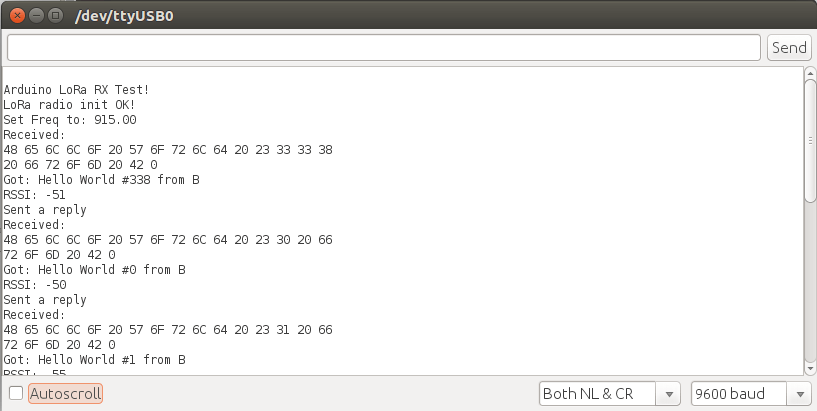
Arduino LoRa Server
-
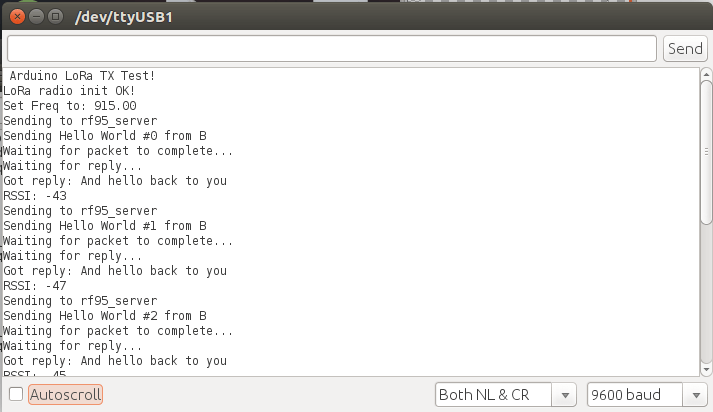
Arduino LoRa Client


