serial uart - CourseReps/ECEN489-Fall2015 GitHub Wiki
Serial/UART Overview
Serial Port and UART functions as a way of communication between the user (via. computer) and the device (e.g. microcontroller). It bridges user inputs with the functions of the device using digital RX/TX pins, which are receiver and transmitter ports, by sending bytes, from the user, which gets destructed into individual bits and then reconstructed at the target location. Depending on the device, UART/Serial ports may be one way (only sending or receiving) or both ways (both sides can receive data and transmit data) or half (both send and receive one at a time).
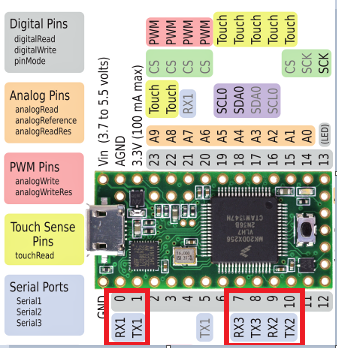
The TX/RX pins can be located here:
Setup of Serial/UART Communication
Setting up serial ports consists of using an USB connector between a computer and the device to establish a TX/RX availability. The USB will create a port on the computer designated to the device:
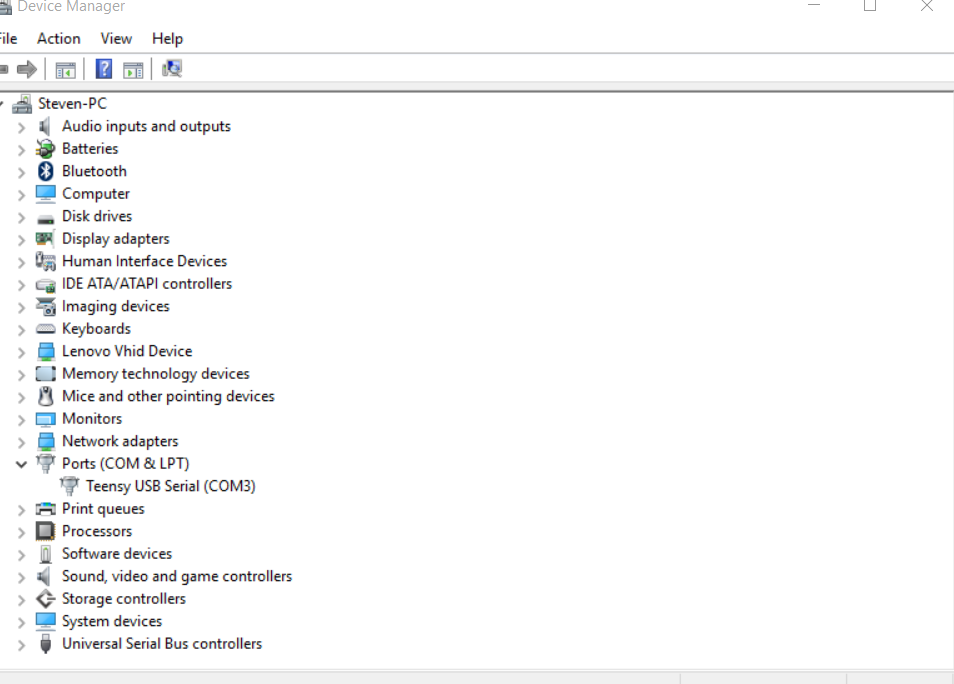
In the case, it's COM3.
Now using Arduino's IDE integrated serial monitor:
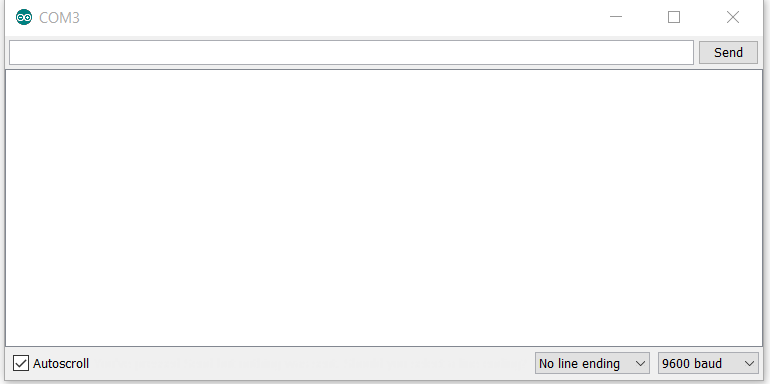
The user can input values into the command line to be read into the device.
The Baud rate at the bottom right is basically the speed at which you send the information between the user and device. 9600 Baud Rate means the transmission of data can be sent at a maximum of 9600 bits per second. This can be changed accordingly and has to be initiated in the code: Serial.begin (####); (Where #### is the baud rate).
Serial/UART Functions
Arduino has multiple functions that work with serial communication the list can be found here: Functions
2 Important functions that are included in this list are read() and write().
Serial.read(); is a function that stores the value that the user inputs and will communicate the data to the device if necessary (in example below, data an int that takes in user values).
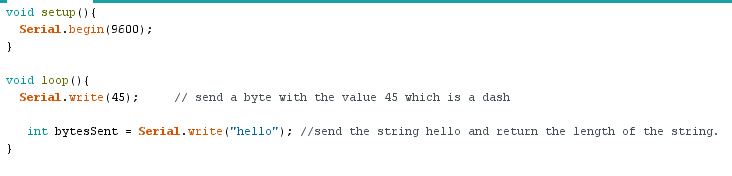
Serial.write(); is a function that displays the value of the device to the user, simply the opposite of read. It takes whatever value desired from the device and writes it back to the user via serial monitor.
Testing serial/UART Communication
In this example, the user can input values to communicate with the Teensy 3.1 board, making the built in LED turn on or off based on the user's input.
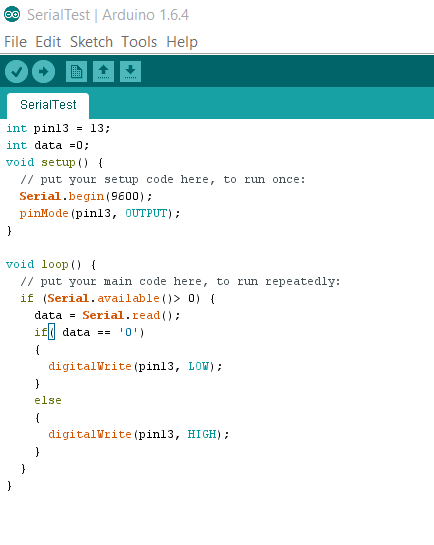
Using the functions of the Arduino's serial monitor, the user can input any value other than '0' to turn the LED on, and then input 0 when the user wants to turn off the LED.
In the example, the baud rate is specified at 9600, which matches the serial monitor in the setup, and using the Serial.read function, the device can read the values at which the user inputs from the monitor to control the LED.
References
Teensy Picture Credit: Photo