BookTutorial_Classical - ConstantB/ontop-spatial GitHub Wiki
This tutorial is working with a bigger amount of data and gives you a "hands-on" introduction to the real application of ontology mapping. The tutorial shows the usage of the Quest reasoner with the so-called "classic Abox" configuration. In this configuration the reasoner will take all individuals in the ontolgy and store them in a inmemory data base, which then will be used for evalutating the queries. You should follow each steps and try by yourself to gradually get familiar with the plugin environment.
When you are finished with the tutorial, you will have created a functioning OBDA layer module and will have learned many of the most important concepts in ontology mapping. You can then experiment a bit and add more complex mappings by discovering more requirements (and, thus, creating more cases).
Before you start, you should already have the Book database installed and downloaded the book.owl and the book.obda files. If you have not installed it, see [InstallingTutorialDatabases] and return here when you've completed the installation. The obda file already contains a set of predefined mappings and queries. If you want to add your own mappings you can find a tutorial [BookTutorial].
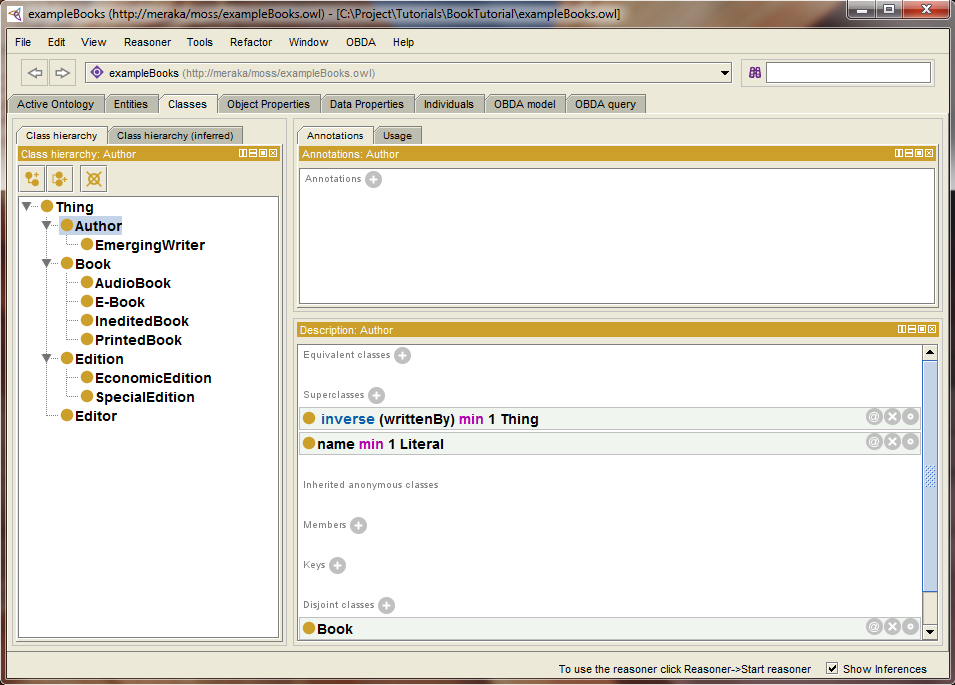
We are going to use an existing Books ontology (download exampleBooks.owl). The ontology consists of 12 classes, 3 object properties and 6 data properties.
As said in the introduction with the "classic Abox" configuration the Quest reasoner takes all individuals of the ontology and stores them in a inmemory data base. However the original book ontology has no individuals, therefore we have to create some. For creating a the individuals one can either:
- create them manually using Protégé
- or importing them. The -ontopPro- provides a mechanism, which allows you to import individuals from an existing data source using some previously defined mappings. A tutorial which shows how to import the individuals form a datasource using a given set of mappings can be found here.
Once we have ready our data (i.e. our individuals) we can start our reasoner. But before we start we have to properly configure it. In order to configure the reasoner we follows these steps:
- Open the preference panel of Portégé. It is locate in the menu bar under File > Preference.
- Switch to the Quest tab.
- Change the Abox configuration to "Classic Abox".
- Select one of the available DBTypes. A description of the different options can be found here.
- Confirm the selection by hitting the OK button.
NOTE: Every time you change some preferences or you add or remove some individuals you have to restart the reasoner in order to apply the changes.
The -ontopPro- allows you to send queries to the reasoner, which evaluates them over the in-memory database (H2) created in the previous step. For writing and executing queries we have to switch to the OBDA query tab. You can open it from the menu bar by selecting "OBDA Query" in the Tabs menu item. Tabs > OBDA Query.
The tutorial comes already with a set of predefined queries. However you can also try to define your own queries. A description and examples of the query language can be found here.
You can select one the available queries or write your own query. If you write your own query please ensure to include all needed prefix definitions. By hitting the "Attach Prefix" button the plugin gives you a list of currently used prefixes and you can select those, which are contained in you query. Once the query is finished, it can be excuted by hitting the "Execute" button and the returned results will be shwon in the area below. On the left of the execute button you will see the final execution time and the number of retrieved answers. By default only the first 100 answers are shown, by scrolling down the remaining answers will be retrieved. By right clicking in the results you can open a popup menu, which allows you to count all tuples in the resultset without scrolling to the end.
The OBDA Tab also allows you to see the expanded version of query as well es the final SQL query produced by the reasoner. In order to get them you can right click into the text area of the query and select the corresponding item in the appearing popup.
