Home - CollinHeist/TitleCardMaker GitHub Wiki
The following steps will walk you through a fresh installation, and creation of the following Title Cards (for demonstrative purposes):

- Prerequisites
- Installing Python
- Installing Git
- Installing Pip
- Installing Pipenv
- Installing ImageMagick
- Installing the TitleCardMaker
- Installing the Required Python Packages
- Creating the Global Preferences File
- Creating the Series YAML File
- Creating Data Files
- Adding Source Images
- Running the Maker
- Running the Maker on a Schedule
- Syncing with Sonarr, Plex, or Emby
- Patting Yourself on the Back
NOTE: Sonarr is not required by the Maker, however if unused you will have to manually enter all episode titles for each show (which is very tedious). I strongly recommend you install this - but installation will not be covered here. See here, even if you're not using it to gather your media itself.
Referring to Files
Throughout this process, I will often write file or directories as /some/document (using the forward slash /). Although this is the correct way to specify filepaths on Linux and MacOS, Windows users should interpret these as their Windows counterparts - i.e. \some\document.
I also do not know your specific file layout, so a lot of the file references here are relative to the TitleCardMaker directory created in step 6. This means when I write source/some file (for example) that is within the TitleCardMaker directory, wherever you choose to install that.
Running Commands
Text that is formatted as:
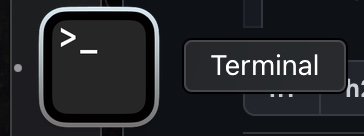
some_commandIs a command, and is intended to be run in the terminal (sometimes called console). For MacOS and Linux, this is the Terminal application:
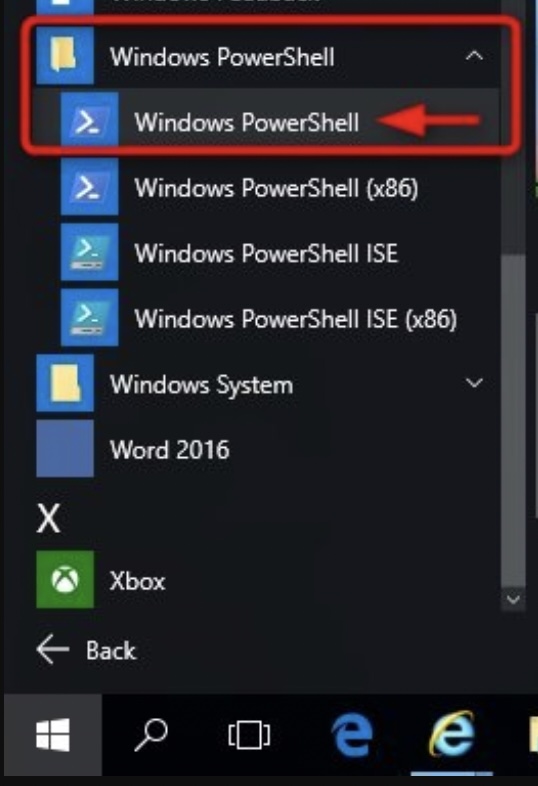
And on Windows this is Powershell:
YAML
There will also be text, often referred to as YAML that will be written like (notice the highlighting and use of colons :):
stuff:
  other_stuff: 123
This is YAML, and can be written as normal text in whatever plain text editor you have (such as Notepad or TextEdit).
NOTE: When writing things text in YAML files with a colon followed by a space (
:), this must be entered in quotes. So for example:Avatar: The Last Airbenderwould need to be entered as"Avatar: The Last Airbender"
NOTE: It is important, when writing your own YAML and copying the YAML from this tutorial, that you use the spacing as shown. YAML files use indents to detect what information is underneath or "an attribute of" other info.
Python version 3.9 is required to use the Maker. First check if Python is already installed:
python3 --versionIf this doesn't print Python 3.9.x, you'll need to install Python.
Linux
Doing this for any arbitrary Linux distribution is not feasible for me to describe here, but there are likely many articles that can help with this.
MacOS
Follow this guide on installing using homebrew.
Windows
Go to the python homepage and download the latest installer version of 3.9.x, the 64-bit version. Run the installer, and be sure to select the Add to Path checkbox during installation.
Then you will need to enable Powershell scripts, follow the instructions here to do this.
First check if git is already installed:
git --versionIf this doesn't print some variation of git version x.xx.xx, you'll need to install git.
Linux
Follow these instructions.
MacOS
Follow these instructions, I personally recommend using homebrew.
Windows
- Download the 64-bit Standalone Installer from here.
- Run the installer, and click through until you get to the "Choosing the default editor used by Git" step. I strongly recommend changing the default editor to something other than Vim (such as Sublime Text, Notepad++).
- Continue clicking through until you get to the "Adjusting your PATH environment" step and make sure that the (Recommended) option of "Git from the command line and also from 3rd-party software" option is selected.
- Finish the installation.
Pip is the Python package manager, and is used to install the Python dependencies for the Maker. Execute the following command to upgrade pip:
python3 -m pip install --upgrade pipPipenv is used to create virtual environments which are used to keep Maker packages separate from the rest of your filesystem. To install this, execute the following command:
pip3 install pipenvThe below sections describe installing ImageMagick globally on the host machine. An alternative to each of these is using docker.
Linux
Depending on your Linux distro, you might be able to use whatever package manager comes installed. Some of the common installations are detailed here. For example, on Debian, and Ubuntu, the following command works:
sudo apt-get install imagemagickMacOS
Follow the ImageMagick installation and setup instructions listed here.
Windows
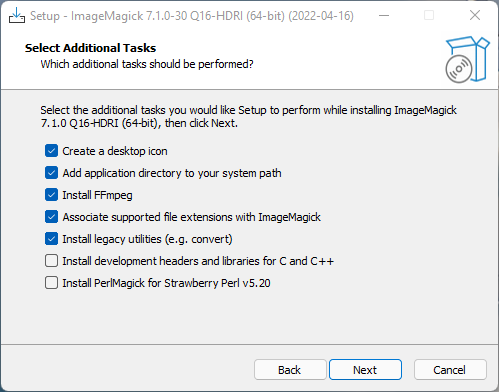
Download the Windows Binary Release from the ImageMagick website.
During the installation, be sure to check the Add application directory to your system path and Install legacy utilities (e.g. convert) boxes (see below). The other options are, well, optional.
Docker Container
ImageMagick can also be installed in a Docker container. The installation of Docker is not covered here. The container I use is dpokidov/imagemagick.
You will need to mount/pass the necessary volumes 1:1 for both the Maker and your Media directories, in order for the Maker to work. For example, if you have installed the Maker at /Documents/TitleCardMaker/, and your Media is at /Documents/Media/, then you can mount using either of these commands:
docker run --name="ImageMagick" --entrypoint="/bin/bash" -dit -v /Documents/:/Documents/ dpokidov/imagemagick
docker run --name="ImageMagick" --entrypoint="/bin/bash" -dit -v /Documents/TitleCardMaker/:/Documents/TitleCardMaker/ -v /Documents/Media/:/Documents/Media/ dpokidov/imagemagick
The specific directories shown above might not be (and probably aren't) applicable to your installation, you just need to make sure the following directories are mounted:
- Your installation directory for the TitleCardMaker
- All locations where you want the Maker to create cards (i.e. your media libraries)
In your command interface (Terminal or Powershell), change directories into wherever you want to install the TitleCardMaker with cd (I show installing at ~/Documents/ in this example), and then execute the following commands:
cd ~/Documents
git clone https://github.com/CollinHeist/TitleCardMaker/
cd TitleCardMaker
This will create a folder TitleCardMaker folder within the current directory. The following steps assume you remain in the directory in which TitleCardMaker was installed.
NOTE: If you ever want to update TCM, navigate to this same installation directory and execute
git pull origin
To create a virtual environment and install all of the Maker's required packages, execute the following command:
pipenv installAt this point, we can verify the required packages have been installed by executing the following command:
pipenv run python3 main.py --runThis should print some variation of: [CRITICAL] Preference file "...preferences.yml" does not exist, but indicates that the Maker has been setup correctly.
If the print out has "weird" characters - like ←[33;20m or ←[0m - at the beginning/end of the print statements, this means your console program does not support color printing. Fix this by adding --no-color or -nc to your run commands.
NOTE: If you get an error when executing
pipenvcommands, try prefacing the command withpython3 -m pipenv ...
Starting Point
Copy the below text and save it as preferences.yml in the TitleCardMaker folder.
options:
  source: ./source/
  series: ./tv.yml
  episode_data_source: sonarr

plex:
  url: YOUR_PLEX_URL
  token: YOUR_PLEX_TOKEN

sonarr:
  url: YOUR_SONARR_URL
  api_key: YOUR_SONARR_API_KEY

tmdb:
  api_key: YOUR_TMDB_API_KEY

imagemagick:
  container: ImageMagick
NOTE: Although not explicitly covered in this tutorial, Emby can be used instead of (or alongside) Plex. The setup is practically the same, but an example of the Emby settings can be found here.
Plex
Adding your Plex configuration details allows the Maker to automatically refresh the metadata of a show after it's created title cards. This can also be used to automatically create cards for all series in your Plex library, but that behavior is detailed here.
If you are not using Plex, or do not want the Maker to automatically set the title cards within Plex, delete the entire plex section. If you still want Plex to pull in the cards the "manual way" (i.e. matching filenames), you will need to configure Plex to use local assets
If you are using Plex, replace YOUR_PLEX_URL with the URL of your Plex server; and YOUR_PLEX_TOKEN with your Plex X-Token - the process to get this is detailed here.
Sonarr
Adding your Sonarr configuration details allows the Maker to automatically get episode titles (these can also come from Plex or TMDb), and improves the accuracy and speed of the automated image gathering process. This can also be used to automatically create cards for all series in Sonarr, but that behavior is detailed here.
If you are not using Sonarr, delete the entire sonarr section. In this case, you'll also need to change the episode_data_source setting under options to either tmdb or plex (see more here).
If you are using Sonarr, replace YOUR_SONARR_URL with the URL of your Sonarr URL; and YOUR_SONARR_API_KEY with your Sonarr's API key. This API key can be accessed via Settings > General > Security > API Key (see below). For each series you want to get episodes from, you need to make sure to add it within Sonarr.

NOTE: The provided Sonarr URL should be the API v3 type of URL, so if you access Sonarr at
http://192.168.0.1:8989, then you should providehttp://192.168.0.1:8989/api/v3/as the URL
TMDb
Adding an API key for TMDb allows the Maker to automatically download source images for title cards (these can also come directly from Plex), logos for summaries, and translated episode titles.
If you are not using TMDb, delete the entire tmdb section. In this case, you'll need to find and download your own source images (or , which is covered in Step 11.
If you are using TMDb, replace YOUR_TMDB_API_KEY with your personal API key from TMDb. To get the API key, follow TMDb's instructions.
ImageMagick
If you are using ImageMagick within a standalone docker container, then this section is required. You can leave it as-is if you named your container ImageMagick (as shown here).
If are are not using ImageMagick within a docker container, then you can delete the entire imagemagick section.
Starting Point
Copy the below text and save it as tv.yml in the TitleCardMaker folder.
libraries:
  TV:
    path: ./media/TV/

  Anime:
    path: ./media/Anime/
    card_type: anime

series:
  Mr. Robot (2015):
    library: TV
    font:
      color: "#CE3F39"
      file: ./fonts/MR ROBOT.ttf
    seasons:
      0: "specials_0.0"
      1: "season_1.0"
      2: "season_2.0"
      3: "season_3.0"
      4: "season_4.0"

  "Demon Slayer: Kimetsu no Yaiba (2019)":
    library: Anime
    translation:
    - language: ja
      key: kanji
    seasons:
      1: Finding my Life's Purpose
      2: Mugen Train
      3: Entertainment District

  The Mandalorian (2019):
    library: TV
    card_type: star wars
    episode_text_format: "Chapter {abs_number}"
Create a folder called fonts in your TitleCardMaker installation directory, and then download the Mr. Robot font from here, and save it at fonts/MR ROBOT.ttf.
Explanation
For the example, we'll assume you have two Plex libraries called "TV" and "Anime", and that they live under the Media directory.
There is a lot of detail here. All aspects are explained in greater detail here.
NOTE: If you have properly assigned your episode data source, you can skip this step as TCM will create data files for you. This is the case for 99.9% of users.
Data files are where episode data is stored for creating title cards. These are described in detail here. Depending in your episode data source, the Maker will automatically create and update these for you.
For this example, we'll be creating them manually to create the three cards shown at the beginning. Start by creating a folder called source underneath your TitleCardMaker installation directory.
Mr. Robot
Create a folder underneath source called Mr. Robot (2015). Within that folder, copy the below text and save it in a text file called data.yml:
data:
Season 1:
2:
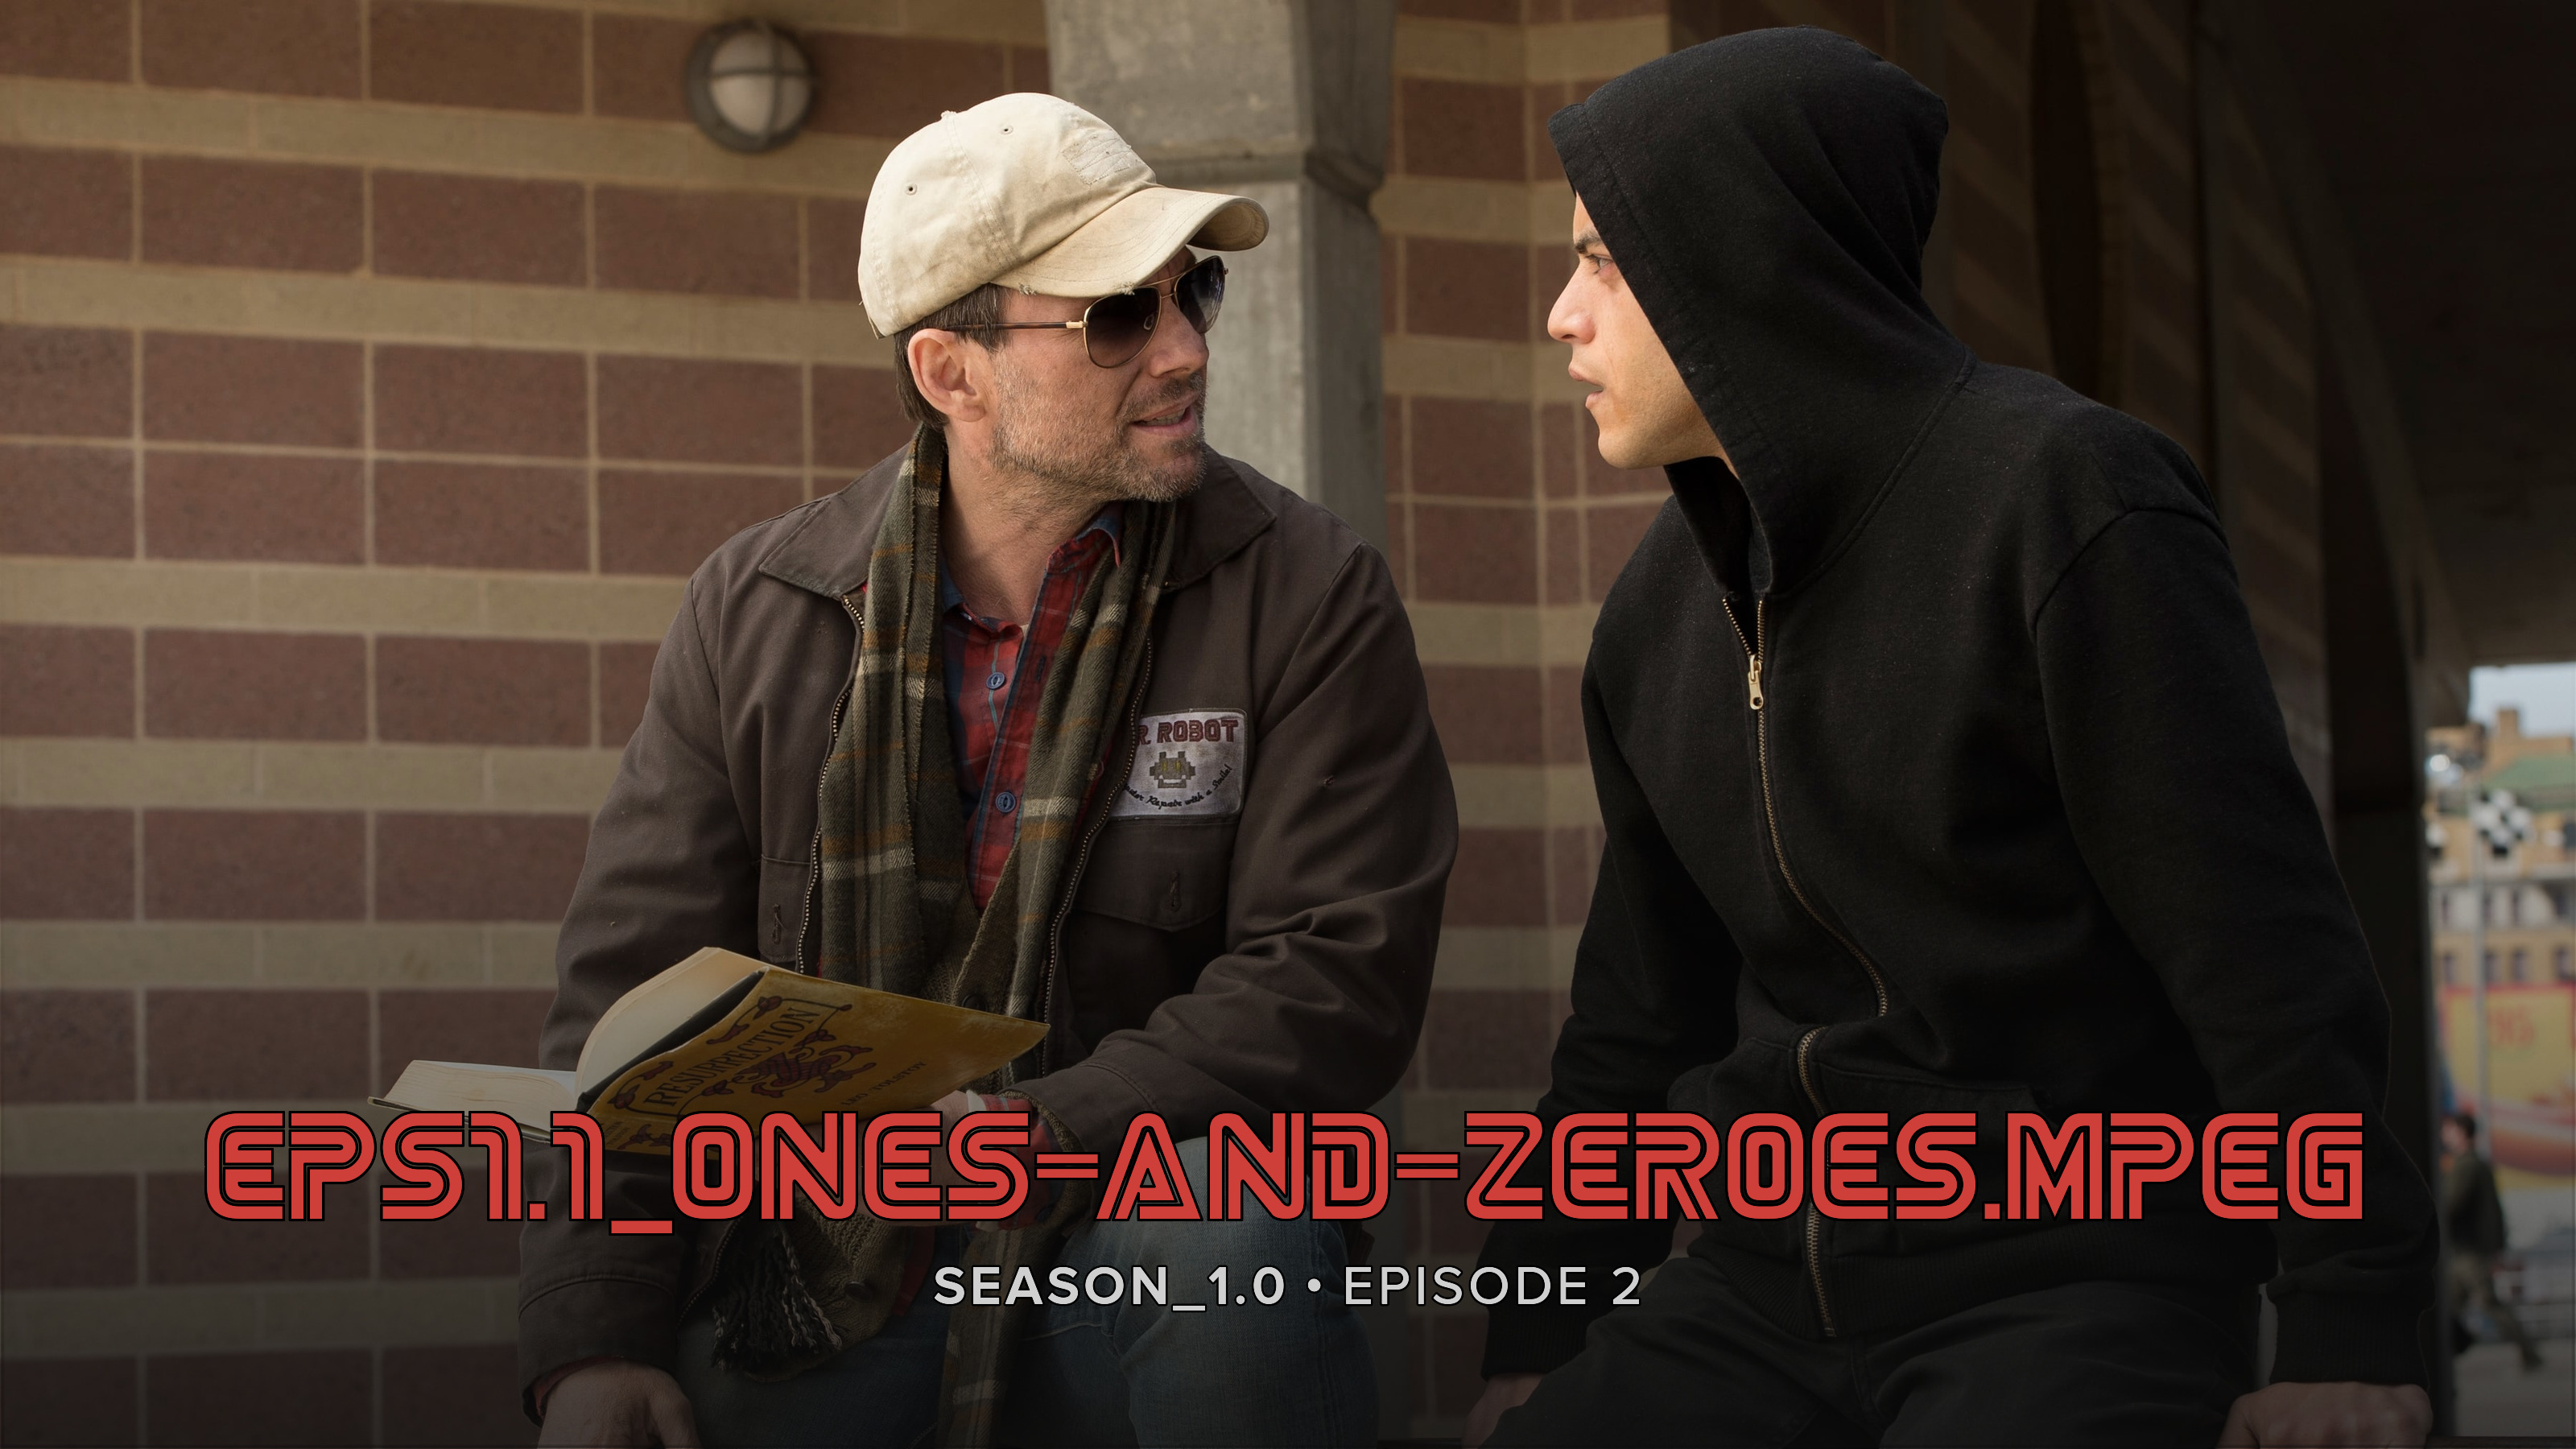
title: eps1.1_ones-and-zeroes.mpegDemon Slayer: Kimetsu no Yaiba
Create a folder underneath source called Demon Slayer - Kimetsu no Yaiba (2019). Within that folder, copy the below text and save it in a text file called data.yml:
data:
Season 3:
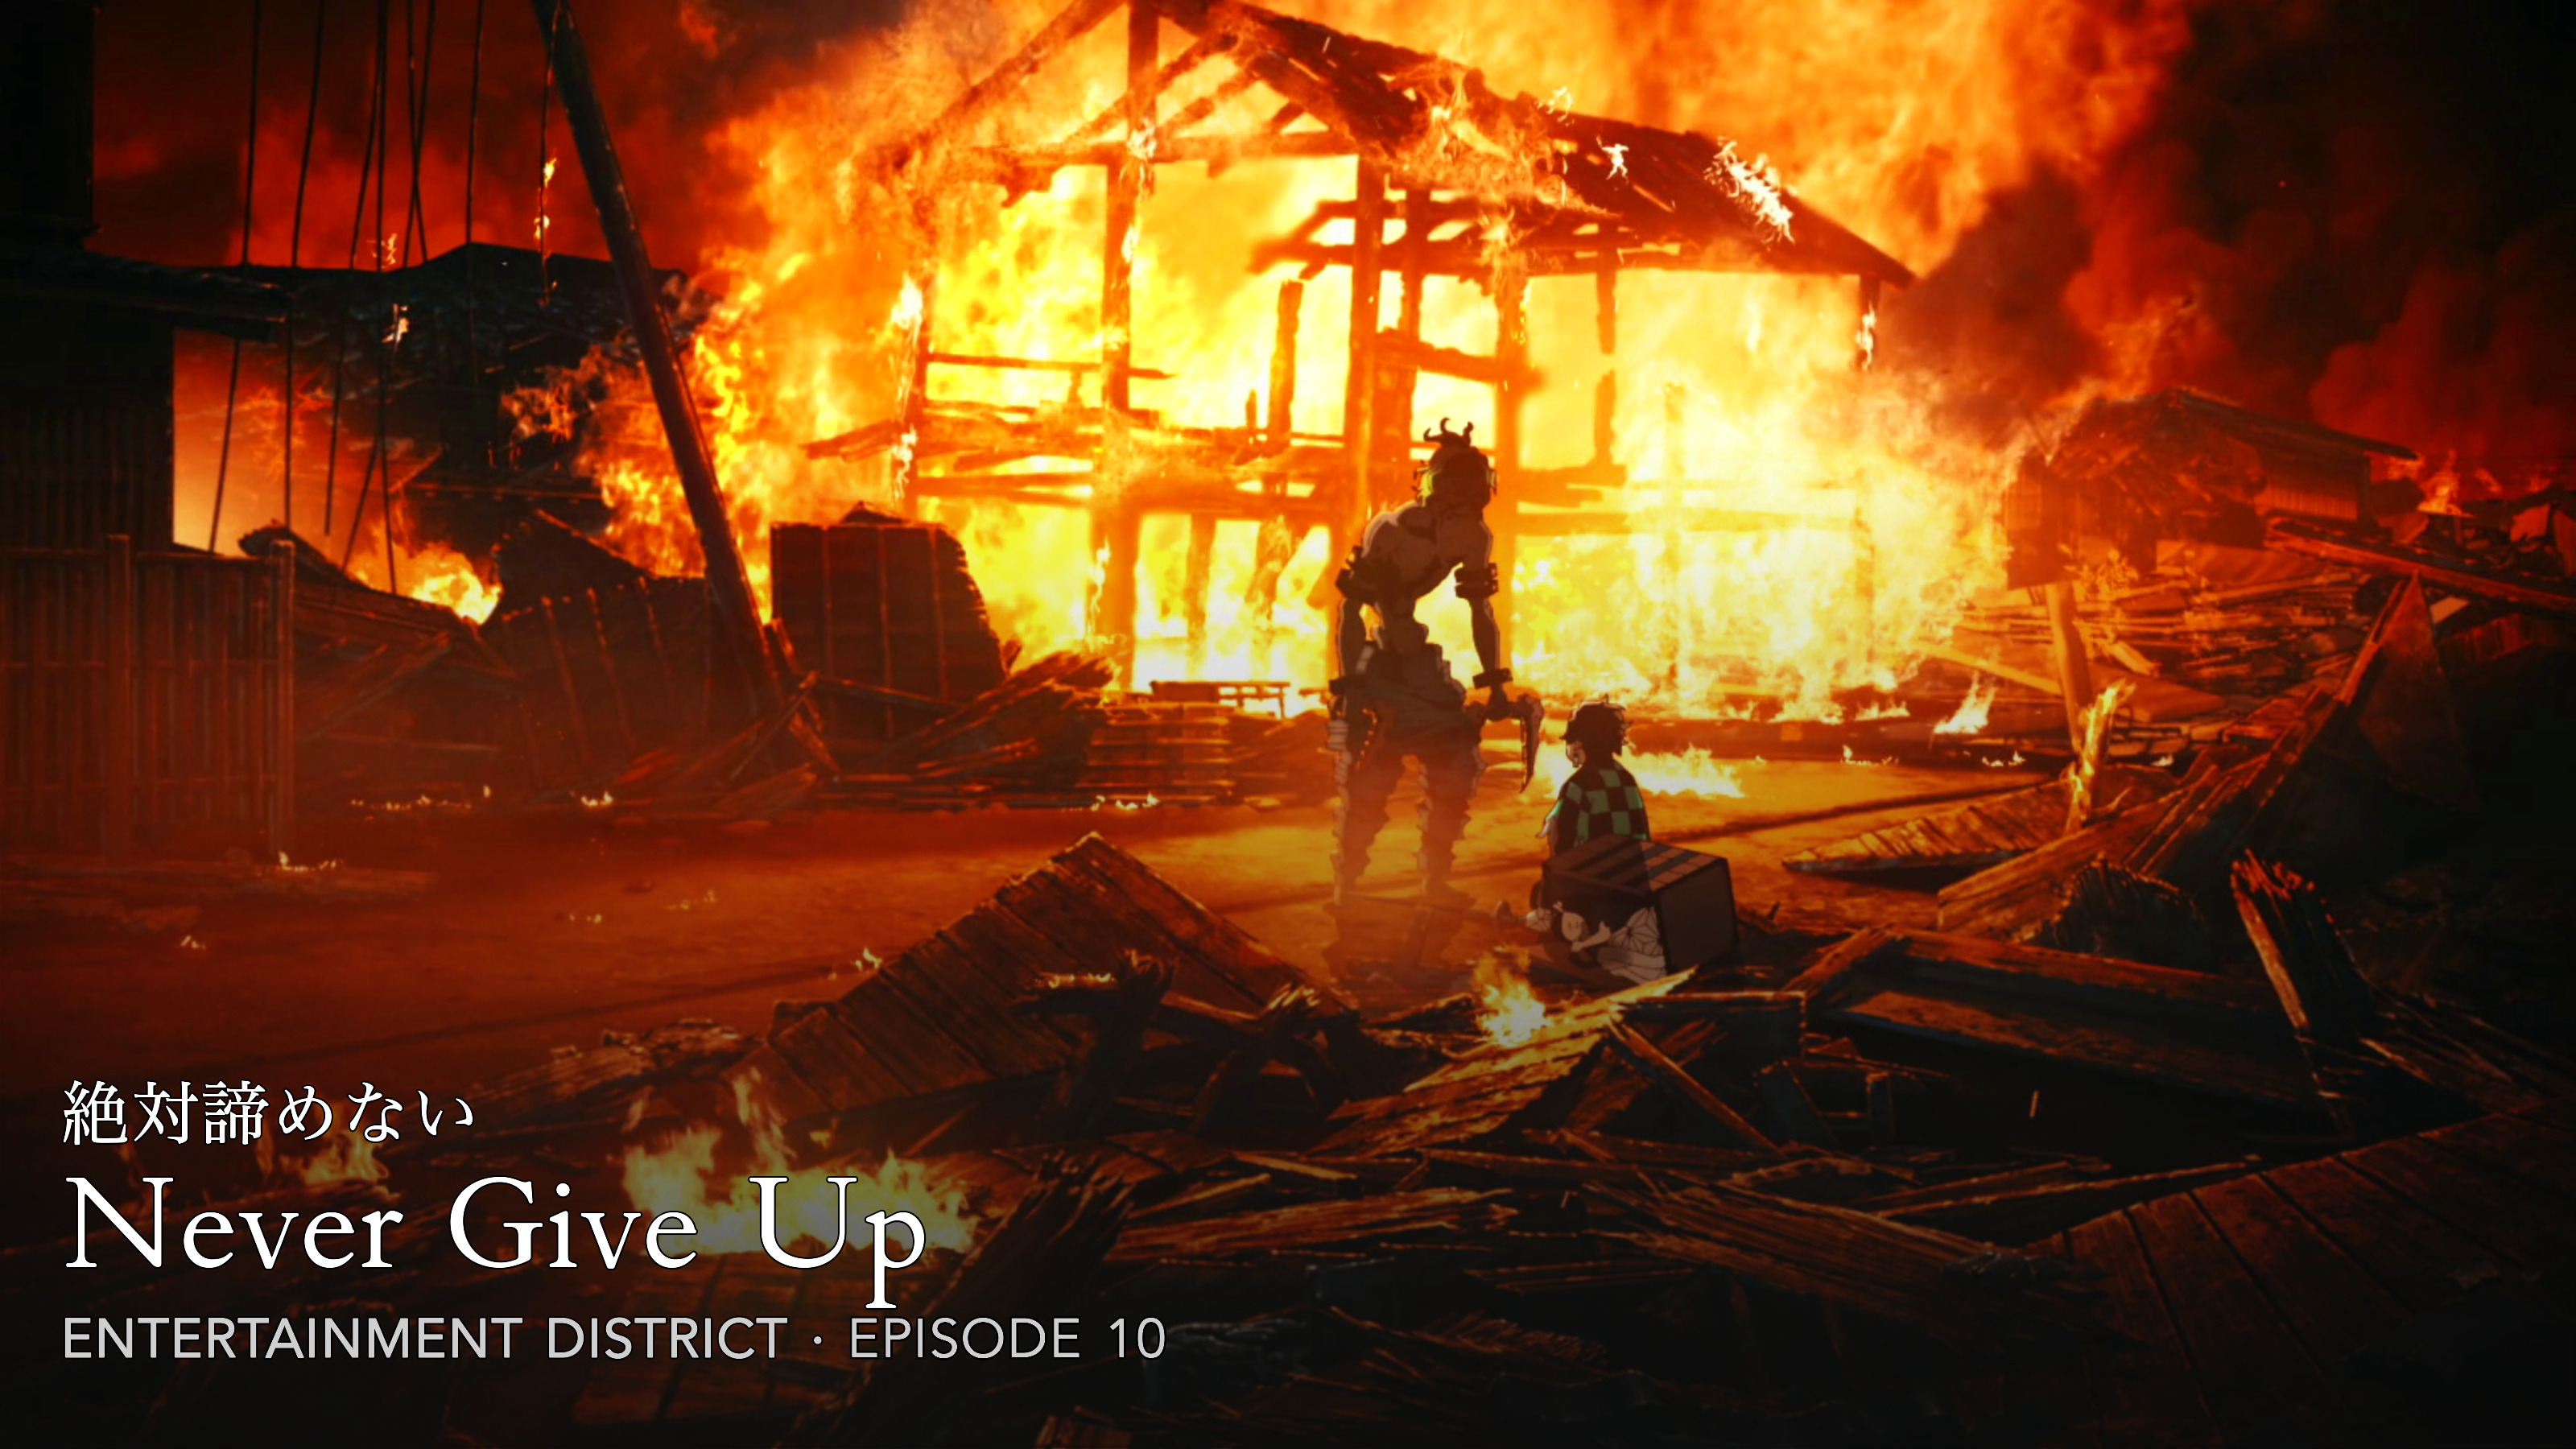
10:
title: Never Give Up
kanji: 絶対諦めないThe Mandalorian
Create a folder underneath source called The Mandalorian (2019). Within that folder, copy the below text and save it in a text file called data.yml:
data:
  Season 1:
    2:
      title: "Chapter 2: The Child"
abs_number: 2NOTE: If you enabled TMDb, you can skip this step as TCM will download source images for you. This is the case for 99.9% of users.
Generally, TCM will download source images automatically. For this example, download the following images manually:
- Download Mr. Robot S01E02 and save it at
source/Mr. Robot (2015)/s1e2.jpg - Download Demon Slayer - Kimetsu no Yaiba S03E10 and save it at
source/Demon Slayer - Kimetsu no Yaiba (2019)/s3e10.jpg - Download The Mandalorian S01E02 and save it at
source/The Mandalorian (2019)/s1e2.jpg
With all the required files created, the only thing left is to run the Maker! Execute the following command:
pipenv run python main.py --runIf you've enabled Sonarr, this will modify the datafiles we just created and add all the episode info from Sonarr. However, existing episode data is not overwritten in this process.
The Maker will then systematically create title cards for each show we defined in step 9. These will be located under media/TV/Mr. Robot (2015)/Season 1/Mr. Robot (2015) - S01E02.jpg, media/Anime/Demon Slayer - Kimetsu no Yaiba (2019)/Season 3/Demon Slayer - Kimetsu no Yaiba (2019) - S03E10.jpg, and media/TV/The Mandalorian (2019)/Season 1/The Mandalorian (2019) - S01E02.jpg.
NOTE: If you get an error when executing
pipenvcommands, try prefacing the command withpython3 -m pipenv ...
If you get an error during this command that looks something like UnicodeDecodeError: 'utf-8' codec can't decode byte..., then make sure all your files are being saved in UTF-8 encoding. This is necessary for any file with Unicode - so characters like é, or 絶 - and is especially important on Windows and Synology DSM (as their default encoding is not UTF-8).
The above command will run the Maker once and then stop. If you'd like to configure the Maker to automatically run on a set interval (starting at a set time), you can use the following command:
pipenv run python main.py --runtime 22:00 --frequency 12hThis runs the Maker every 12 hours, starting at 22:00 (10:00 PM local time). These can be adjusted, see here for details.
The manual creation of series YAML files (the files that list which series to create title cards for), detailed in step 9, can be quite tedious if you have hundreds of series you want to create cards for. To make this easier, TCM can "sync" to either Sonarr, Plex, or Emby and create a generic series YAML file for you.
If you're using Sonarr, I'd personally recommend that over Plex/Emby, as their API's are relatively slow and Sonarr's tags can be utilized to create more customized behavior. Setting up this sync behavior is detailed here.

Feel free to reach out on the discord if there has been any hitches along the way, or you have any questions or suggestions! And if you feel so inclined, support the project on GitHub or BuyMeACoffee!