User Interface Menu Setup - CloudGenSys/smartEDI_Wiki GitHub Wiki
-
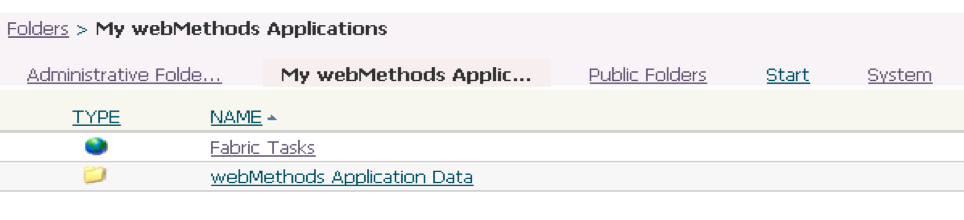
Go to My WebMethods Applications and select "Fabric Tasks".
-
Click on the context menu and select New --> Page.

-
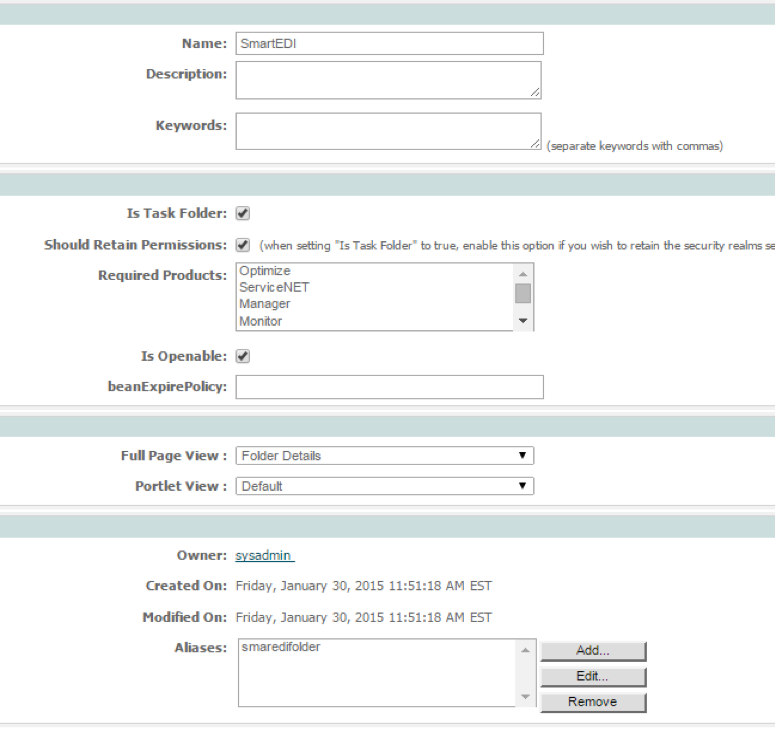
In the options for the page, enter "SmartEDI" as the folder name and save.
-
Go to properties of the folder. Check the options "Is Task Folder" and "Is Openable" and add an alias "smartedifolder"
-
Click on Apply.
-
Create a new folder "EDI Interfaces" underneath the previously created "SmartEDI" Folder.
-
Go to properties of the "EDI Interfaces" folder and check the "Is Task Folder" and click Apply.
-
Create another Page "Inbound EDI Setup" under "EDI Interfaces" and in the properties of the "Inbound EDI Setup" page check options "Is Task Folder" and "Is Openable" and click Apply.
-
Edit the page "Inbound EDI Setup" by selecting edit page in the properties/context menu.
-
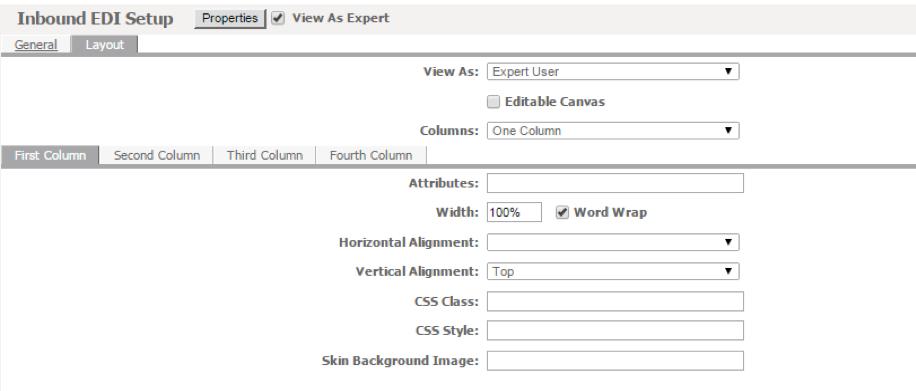
"Check View as an Expert", select Properties and go to layout option. Choose "one column" and "Click Ok".
-
On the left "Tools" navigation menu, drag the "Inbound EDI Step 1" Portlet under project "SmarEDIPrj" into to canvas on the right.
-
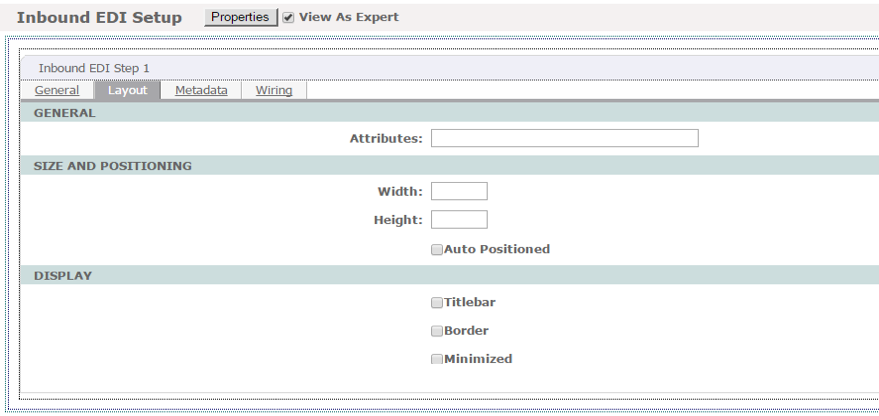
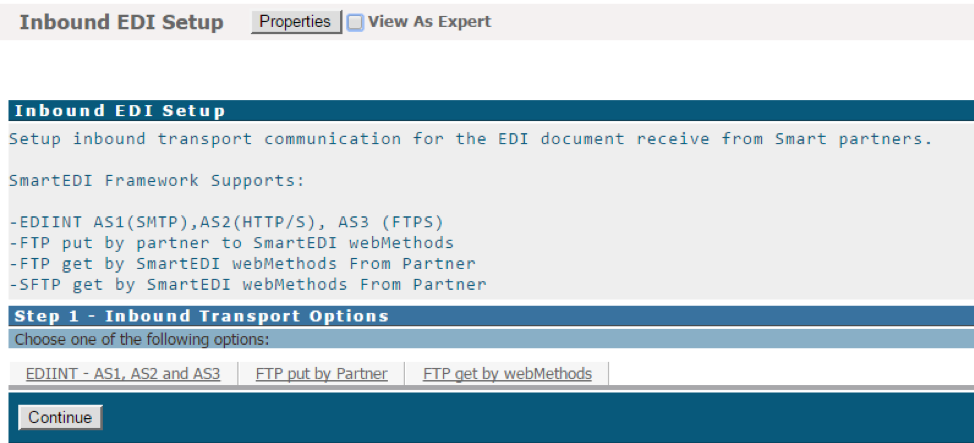
Select the Properties of the "Inbound EDI Step" and uncheck "Title Bar" and "Border" and click Apply.
-
Save the changes now for the page "Inbound EDI Setup". The target page should look like shown below.
-
Add another page under "EDI Interfaces" called "Outbound EDI Setup". Repeat steps 9 through 11 but this time drag "Outbound EDI Step 1" Portlet from the SmartEDIPrj. Repeat steps 12 through 13. The target page should look like shown below.
