4. Assembling the Enclosures - CircuitSetup/Time-Circuits-Display GitHub Wiki
What You'll Need:
- Phillips screwdriver
- Last Time Departed enclosure
- Present Time enclosure
- Destination Time enclosure
- Outer enclosure
- Current keypad printable parts list
Display Enclosures
- Carefully line up the holes for the Destination Time enclosure and the outer enclosure.
- Secure it with 4 screws. Do not overtighten them.
- Repeat for the Present Time and Last Time Departed enclosures.
The outer enclosure is meant to have larger screw holes than the display enclosures so the display enclosures can sit tightly against the outer enclosure. Kits come pre-drilled. If you print them yourself, you may need to drill the outer enclosure screw holes to 3 mm and the display enclosures to 2.5 mm.
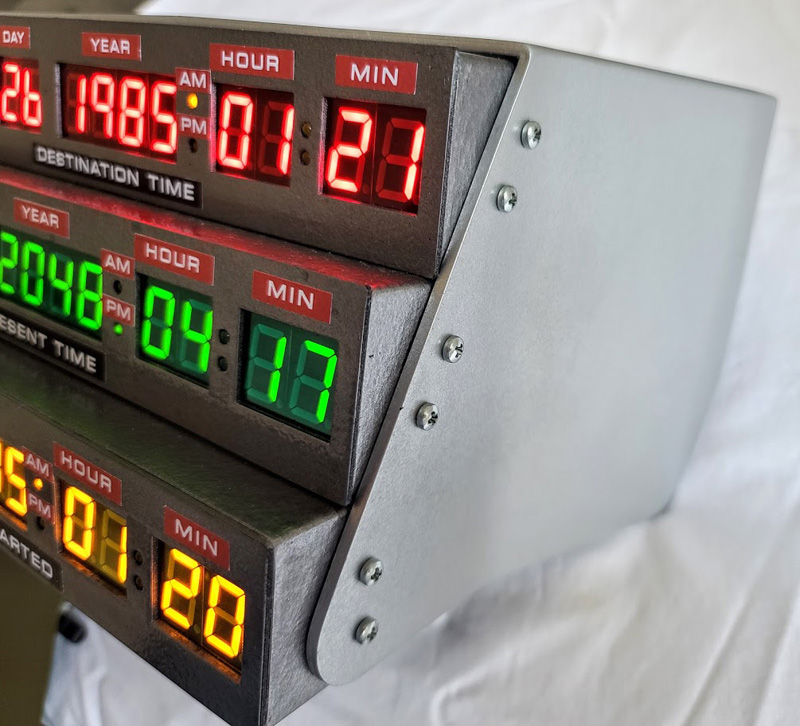
Assemble the enclosures after painting, but before the faceplates and display PCBs are installed.
Keypad Body
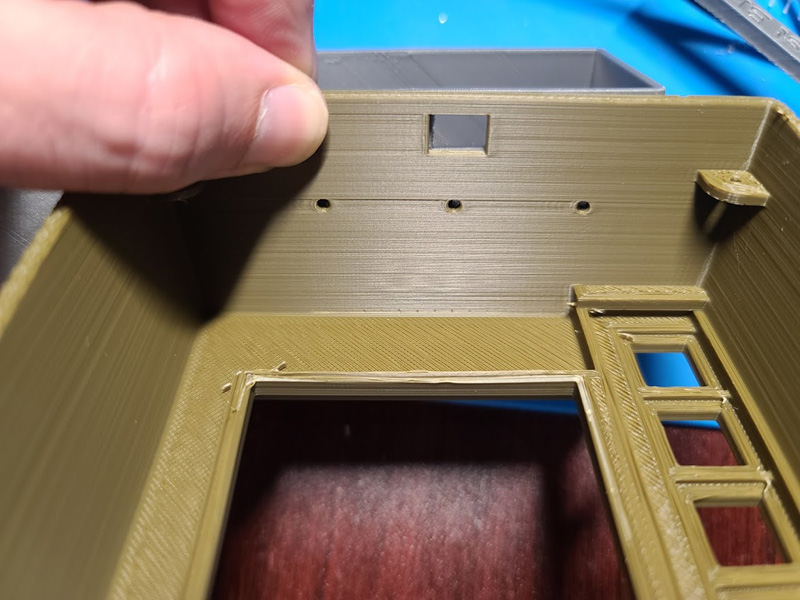
- The keypad body is secured to the Last Time Departed enclosure with 3 screws on earlier versions. Newer v4 versions use 4 screws.
- Line up the screw holes and install the screws from inside the keypad. If you have a v4 keypad body with 3 holes and aluminum enclosures, the keypad must be secured from inside the Last Time Departed enclosure.