2. Prepping the 3d Printed Parts for Painting (optional) - CircuitSetup/Time-Circuits-Display GitHub Wiki
There are several ways to smooth and paint 3D-printed parts.
For PLA-printed parts, we recommend the traditional fill/sand/paint method. It is straightforward, widely accessible, and does not require harsh chemicals. Links to the recommended paint and materials are listed in the What You'll Need to Assemble Your TCD Kit section.
For ASA-printed parts, you can smooth the surface with acetone. It can be rubbed on in small amounts, or the parts can be suspended over it for several hours in a sealed container. Warming the acetone will speed up the process, but do not expose the parts for too long or they may deform. It usually takes about 10 minutes. Always do this in a well-ventilated area.
Painting is optional, since the 3D-printed parts kit is printed at a fine layer height and in the correct colors. However, painting will usually improve the final appearance.
Sanding Prep
- Decide which parts you want to paint. For example, you may want to leave the keypad unpainted. At minimum, we recommend painting the display faceplates, the top and sides of the display enclosures, and the exterior of the main enclosure.
- Start with 400 or 600 grit wet sandpaper. For flat surfaces, it helps to use a small straight-edged block under the sandpaper so you do not create grooves or remove too much material.
- After the initial sanding, apply filler with a plastic spatula to fill in print lines and low spots. Even though the parts are printed at a fine layer height, filler is still helpful if you want a smoother finish.
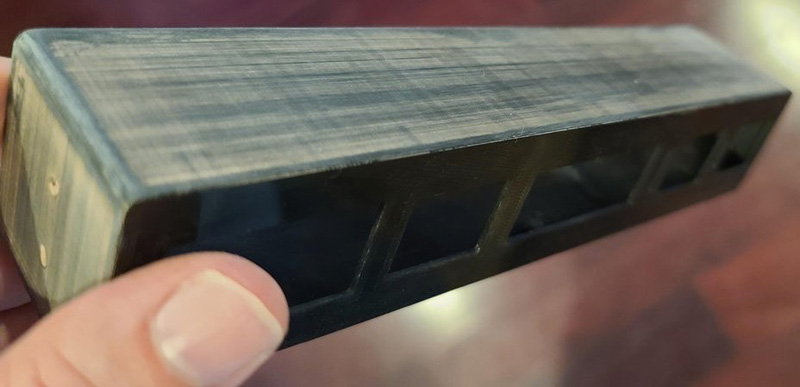
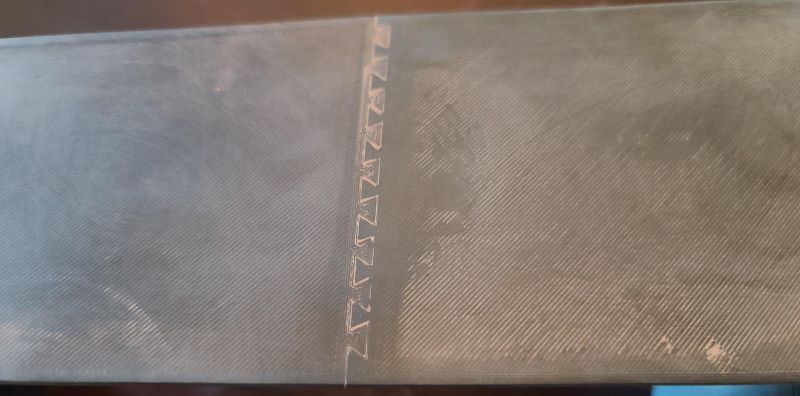
If you printed your main enclosure in 2 pieces, glue it together first and use filler across the top seam.
- Once the first coat of filler has dried, sand again with 600 grit if needed, then move to 800 or 1000 grit.
- Reapply filler anywhere it is still needed, then sand again.
Painting
- Apply a primer coat before the top coat. This makes it much easier to spot any areas that still need work.
- Wet sand with 1200 or 1500 grit sandpaper. Fill any final imperfections as needed, sand again, then apply another coat of primer.
- Do a final wet sand with 1200 or 1500 grit.
- Apply the first light top coat and let it dry. The display enclosures and faceplates should be hammered pewter or silver. The outer enclosure should be an aluminum color. The keypad should be an olive/army green color.
- Apply 1 or 2 more top coats.
- If desired, finish with a clear coat for additional protection.