Jenkins Integration - ChrisMell/OEL-wiki GitHub Wiki
Jenkins for CI/CD
Jenkins is a build automation tool that is used for continuous integration and continuous development, whose features are sought after, due to the wide assortment of plugins and features, that allow the Tester to customize their Jenkins pipeline to meet the needs of their project. With the appropriate configuration, Jenkins enables Testers to perform regression testing, schedule nightly runs, maintain the integrity of their code, and integrate their work into a singular development pipeline.
Pre-requisites
Java 11 SDK installed
Maven installed
‘JAVA_HOME’ environment variable set
‘Path’ environment variable set
‘MAVEN_HOME’ environment variable set
An existing Git repository with SSH authentication
Installing Jenkins
- Navigate to the Jenkins website: https://jenkins.io
- Download the latest STABLE (LTS) version for your specific operating system.
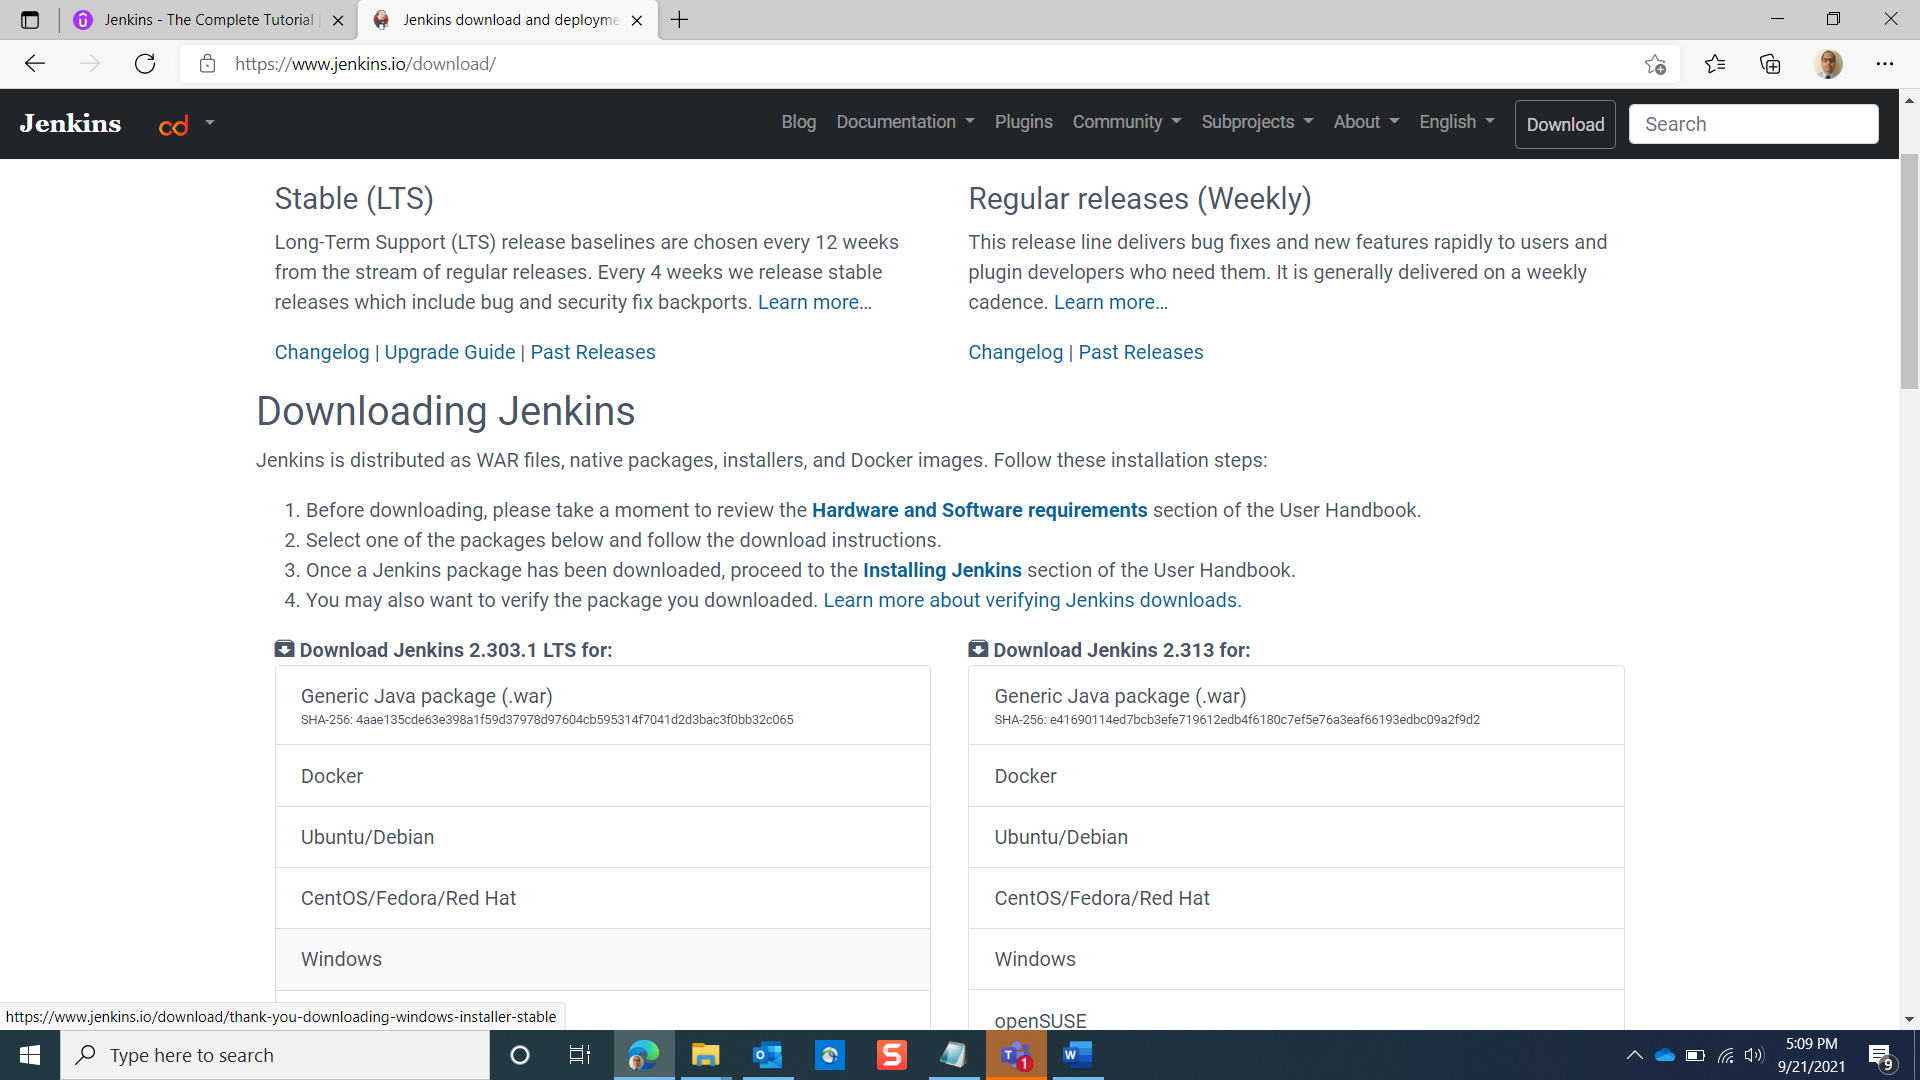
- Chose a location to which you will unzip the downloaded file’s contents: Jenkins.msi. Double-click Jenkins.msi to begin the installation; chose your directory locations as appropriate.

- Click ‘Finish’ in the Jenkins installer, and it will automatically launch your browser at the address: localhost:8080.
note: the page may not appear to load at first, but after some minutes, the Jenkins setup page should present the message: “Please wait while Jenkins is getting ready to work…”
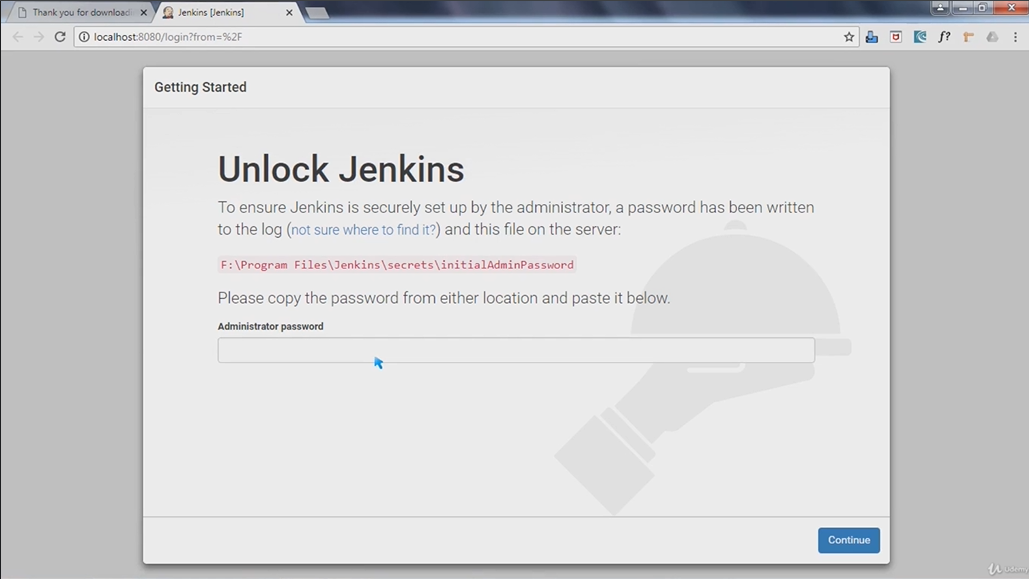
After some time, the ‘Unlock Jenkins’ page should appear.
- Enter the Administrator password, found at the path on your PC, indicated on this page (example: “F:\Program Failes\Jenkins\secrets\initialAdminPassword”).
- Click ‘Continue’, then click ‘Select plugins to install’
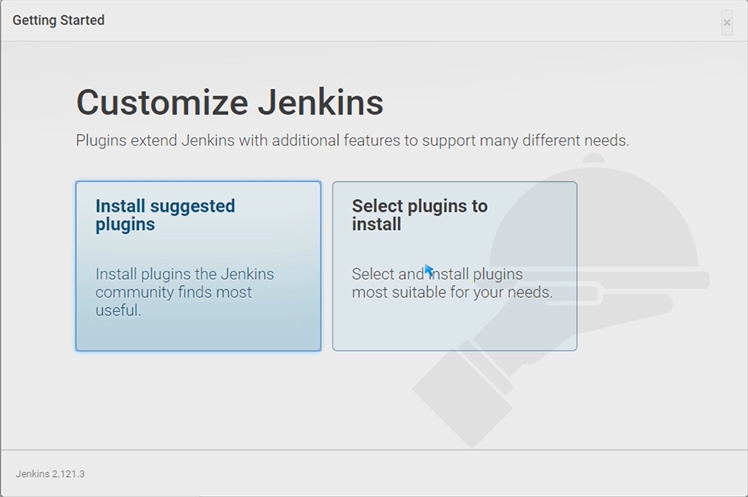
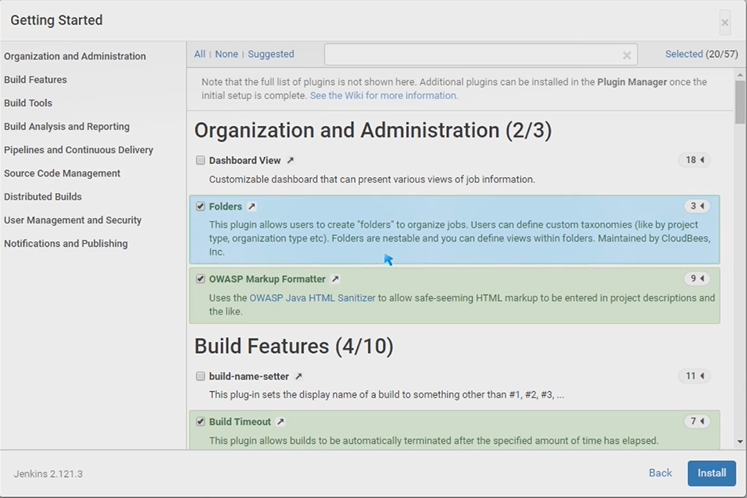
- Ensure the following plugins are installed:
Pipeline
GitHub Branch Source
Pipeline: GitHub Groovy Libraries
Pipeline: Stage View
Publish Over SSH
SSH Agent plugin
SSH plugin
Git
SSH Slaves
Html Publisher
LDAP Plugin
Email Extension
Serenity plugin
- Click ‘install’. Note: if any of the above plugins are not installed, search for them in the field at the top of the page, click the checkbox next to them to select the plugin, and THEN click install.
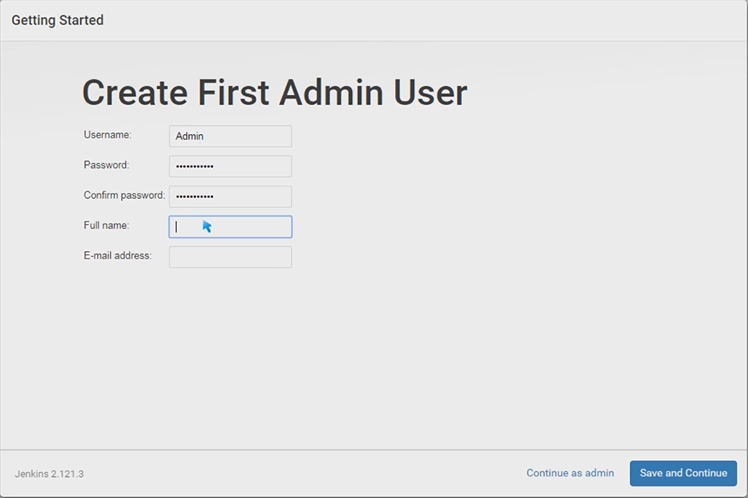
After installing the plugins, the user is taken to the next page, where the ‘First Admin User’ is created.
- Enter information of your choosing into the requisite fields, and click ‘save and continue’
The next page consists of the ‘Instance Configuration’ where the user may edit the Jenkins URL.
If running on a local machine, and port 8080 has no conflicts, the URL may be left at: http://localhost:8080. Otherwise, you can change the port in the url to one that suits your configuration.
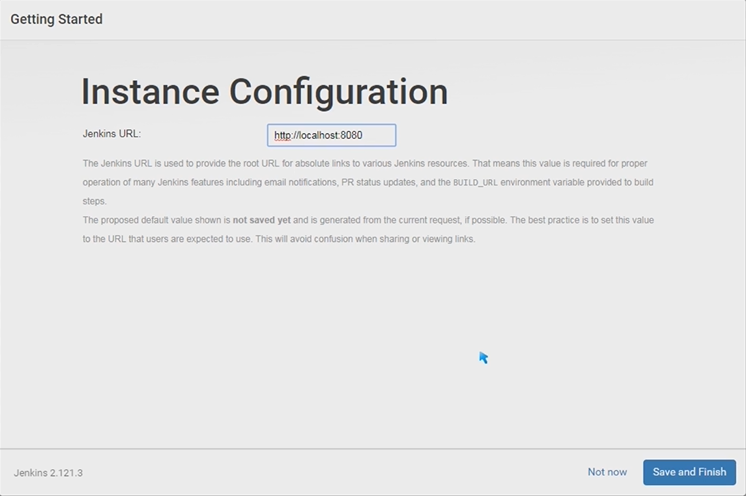
-
Click ‘Save and Finish.’
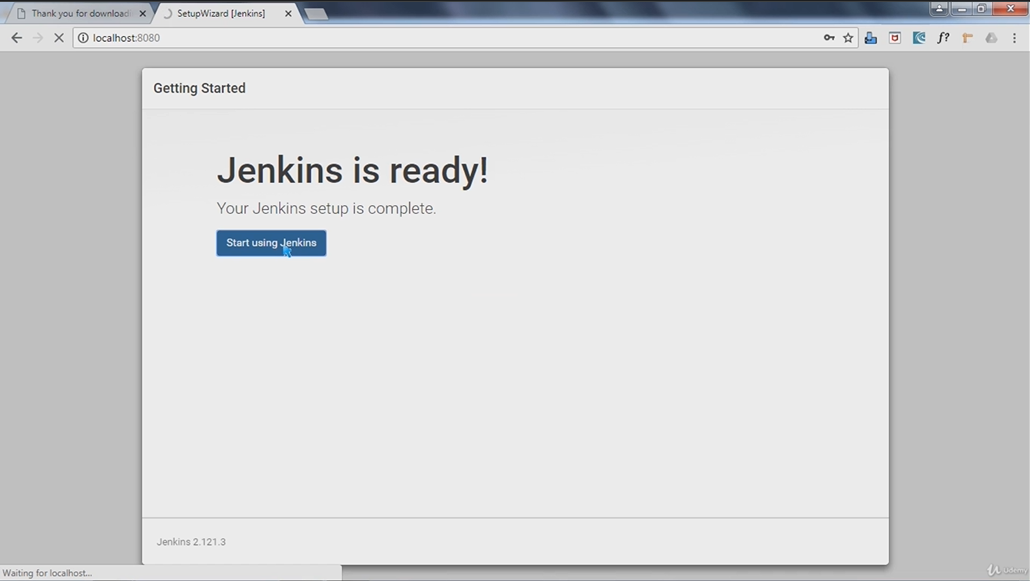
-
Now click on ‘Start using Jenkins’ to arrive at your Jenkins dashboard.
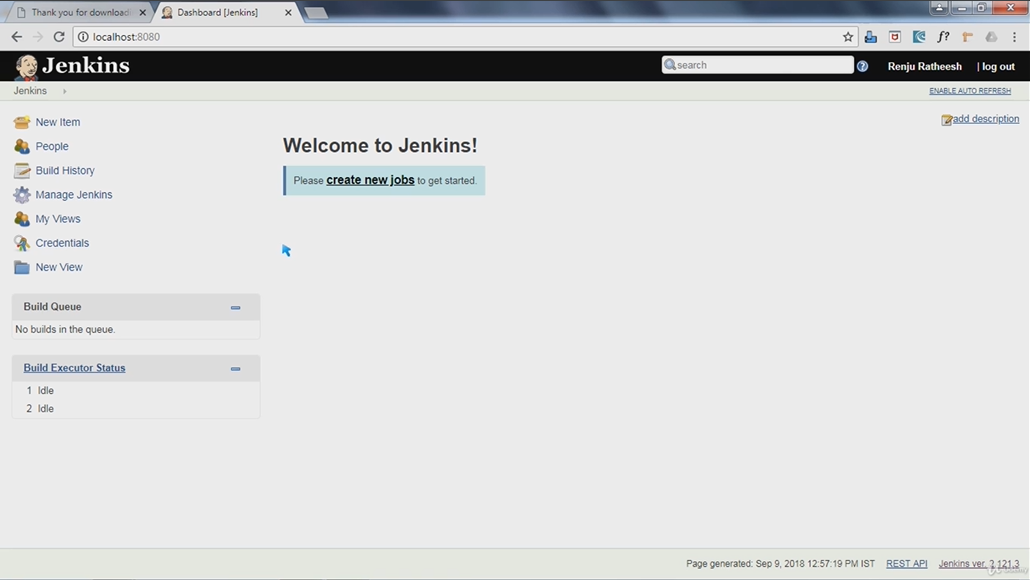 (Seen above is the newly created Jenkins dashboard, with no jobs created.)
Note: this Jenkins dashboard and related pages will be accessible as long as the Jenkins instance (from the Jenkins.war file) continues to run. Upon stopping the instance, the Jenkins web app/dashboard will no longer be available. To start the instance again: navigate to the location of the Jenkins.war file, in explorer, open CMD, and enter the following command:
java -jar Jenkins.war
Configuring Jenkins SSH Credentials
Note: a separate set of SSH credentials must be generated for Jenkins to use, to gain access to the Git repository.
Please refer to the following resource: https://www.geeksforgeeks.org/jenkins-and-git-integration-using-ssh-key/
Creating and Configuring a Jenkins Job
-
Click on ‘New Item,’ in the side panel, to create a new Jenkins job.
-
Select ‘Pipeline’ from the menu of item types and click ‘OK’

The next page that appears should be the job configuration page:
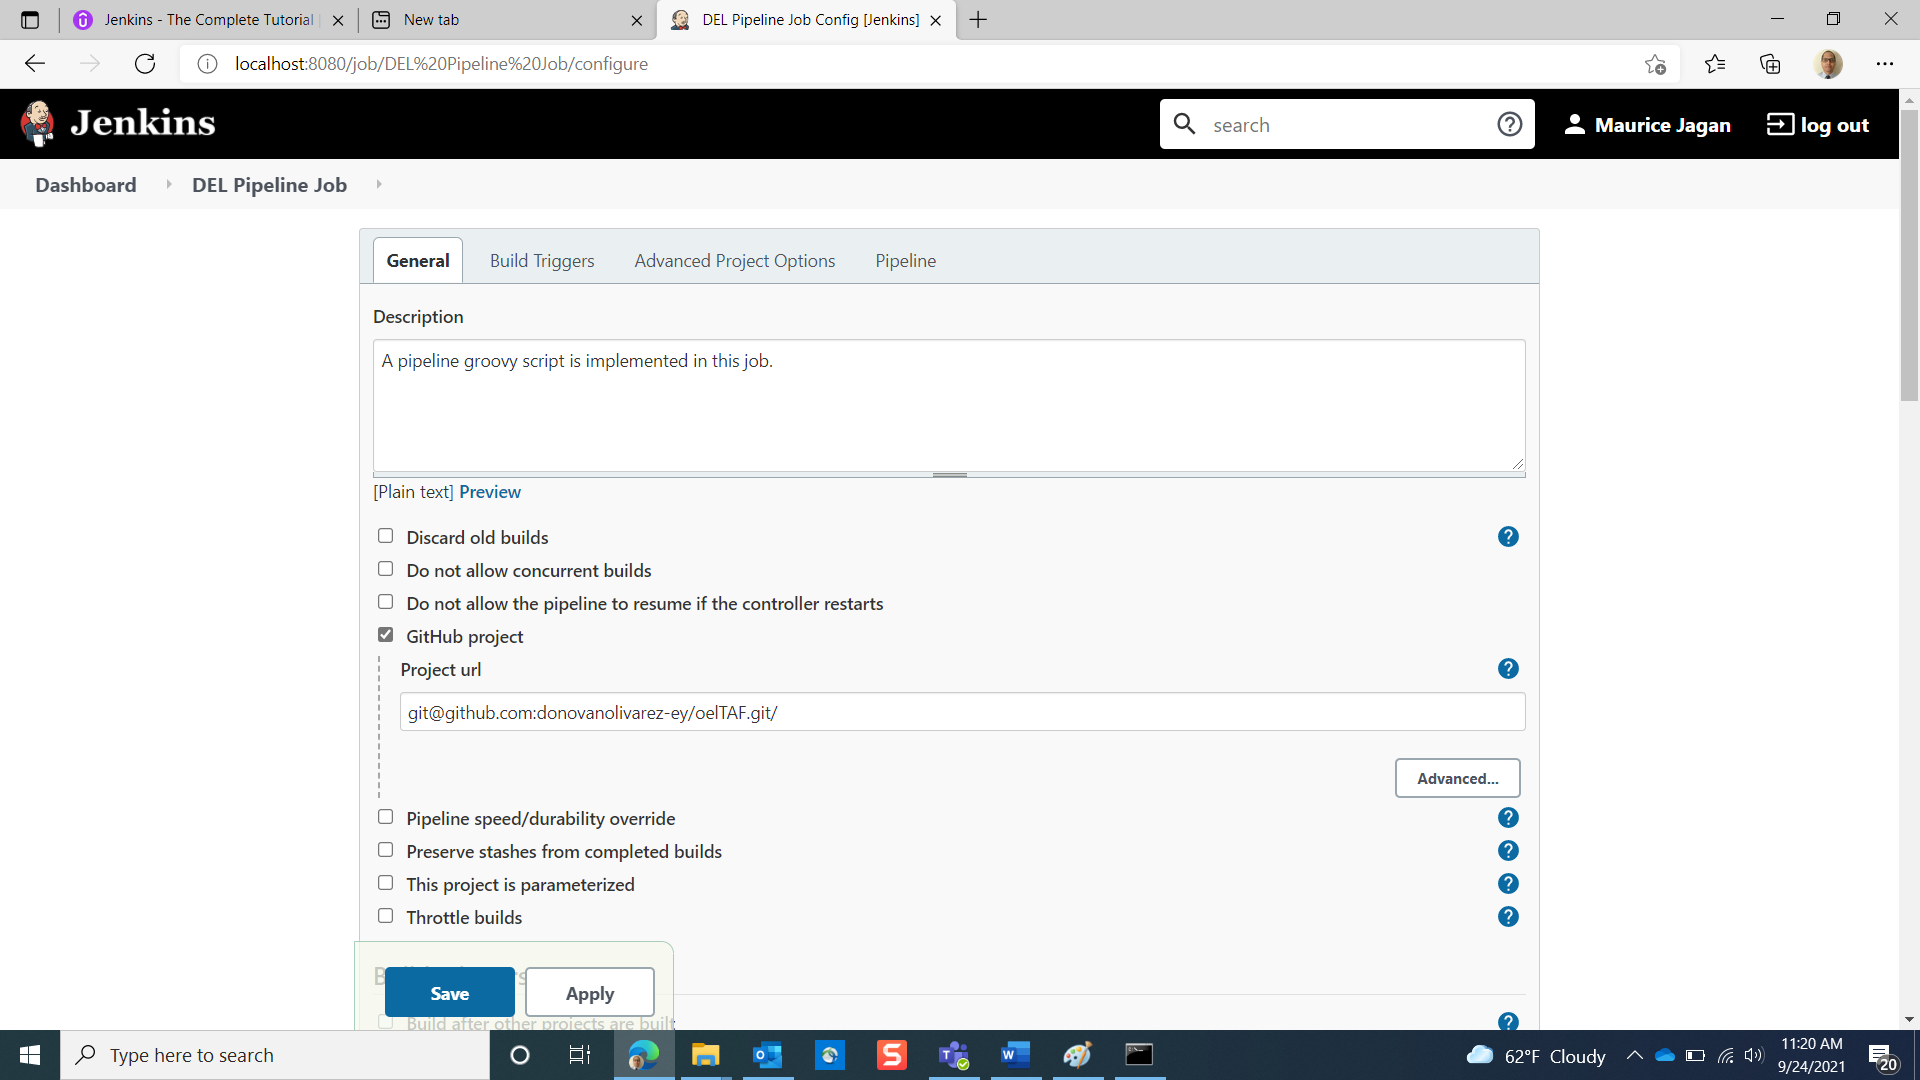
- Make the following changes:
- Enter a description
- Click checkbox for ‘GitHub project’, and enter the SSH url
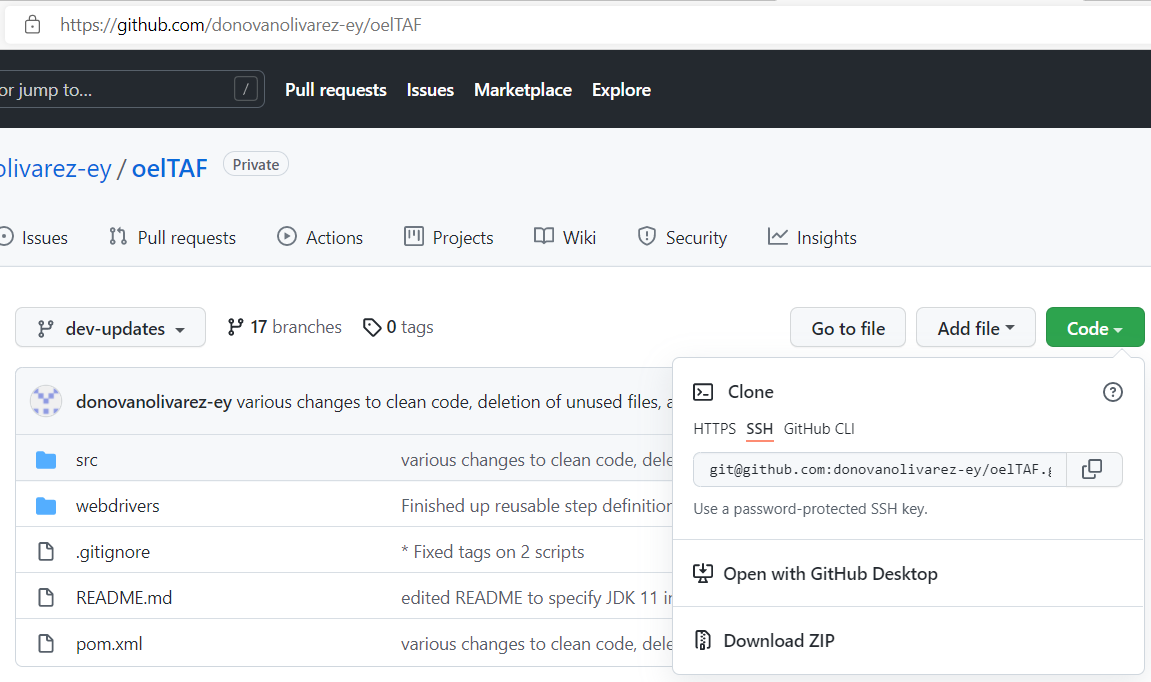
Note: you can obtain your SSH url from your Git repository webpage by pressing the ‘Code’ button, and copying the url listed under the SSH tab.
Back in the ‘Pipeline’ section, on the Jenkins job configuration page:

- For the ‘Definition’ field, select ‘Pipeline script from SCM’
Note: this option will communicate to Jenkins your intention to use a Jenkins file, as your execution script, for your CI/CD pipeline (to be created later).
-
For the ‘SCM’ field, select ‘Git’
-
Enter the SSH url, previously obtained from your Git repository page, into the ‘Repository URL’ field.
-
Select the credentials that you created, when you integrated Jenkins with git using a newly generated SSH key.
Note: if no option for credentials is available, click the ‘Add’ button to create a set of credentials to use with the SSH Git url. Enter the following information: username (email associated with your SSH key), the private key generated by the ssh-keygen command (found in .ssh folder); no need to enter ‘ID’ or ‘passphrase.’

If no SSH key has been previously created, please refer to https://www.geeksforgeeks.org/jenkins-and-git-integration-using-ssh-key/ to generate an SSH key for use by Jenkins, in accessing your git repository.
- Under the ‘Branches to build,’ in the ‘Branch Specifier’ field, enter the name of the Git repository branch from which to execute your tests. Example: */Maurice-i5-touchups
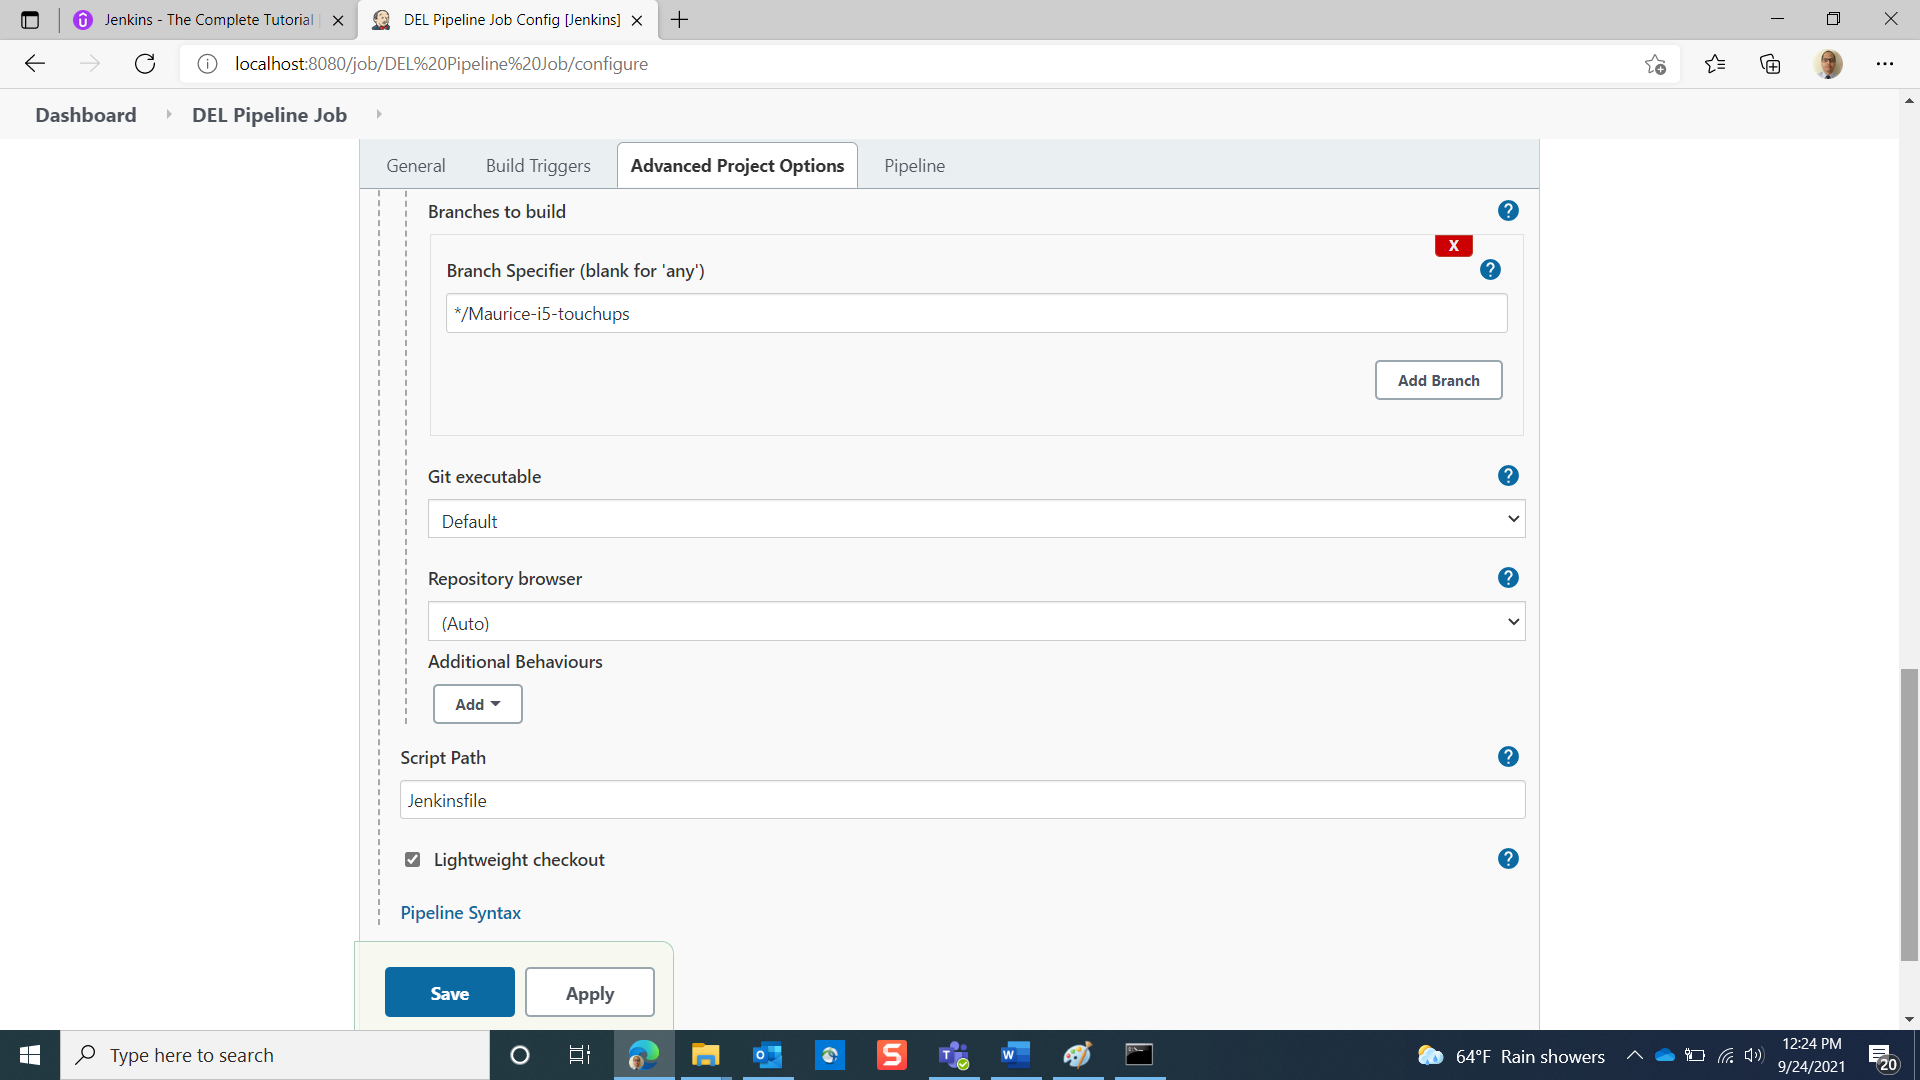
Leave ‘Git executable’ and ‘Repository Browser’ as defaults.
- For the ‘Script Path’ field, enter the name of the Jenkins file that will contain the script that Jenkins will use to build its job and execute the test suites. Example: Jenkinsfile
Note: Entering only the name of the file will indicate that the Jenkins file is found at the root of your project directory. You may enter a path of your choosing, if you prefer to place the file at a different location, within the Project directory.
- Click ‘Save’ to create the Jenkins Job. Your Dashboard should now have a job listed in the main view port.

Create the Jenkins File
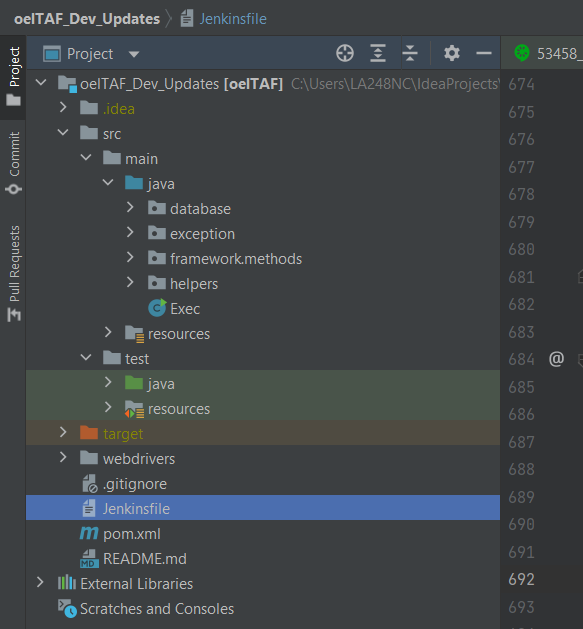
- Open your IDE, right-click on your project root, and create a new file; name the file according to what you entered in the ‘Script Path’ field, when you created the Jenkins Job.

Your Jenkins file should then appear in the determined location (in this case, it is root):
- Open the file, and enter the following code:
#!/usr/bin/env groovy

pipeline {
    agent any //{ docker 'maven:3.8.1-adoptopenjdk-11' } // <-- If a specific agent is desired, use this syntax.
    stages {

         stage('Build') {
            steps {
           //Maven goals: (change -Dit.test to whatever iteration is desired)
                bat "mvn verify -Dit.test=Iteration5 -Denvironment=all -Dwebdriver.driver=chrome"
                bat "mvn verify -Dit.test=Iteration5 -Denvironment=all -Dwebdriver.driver=edge"
                bat "mvn verify -Dit.test=Iteration5 -Denvironment=all -Dwebdriver.driver=firefox"
               }
             }
         stage('Package') {
            steps {
               // Run the maven package

               bat "mvn package"
                   }
                  }
    }
}
Note: the build stage contains three maven goals, set to run the same test suite; each one in a different browser.
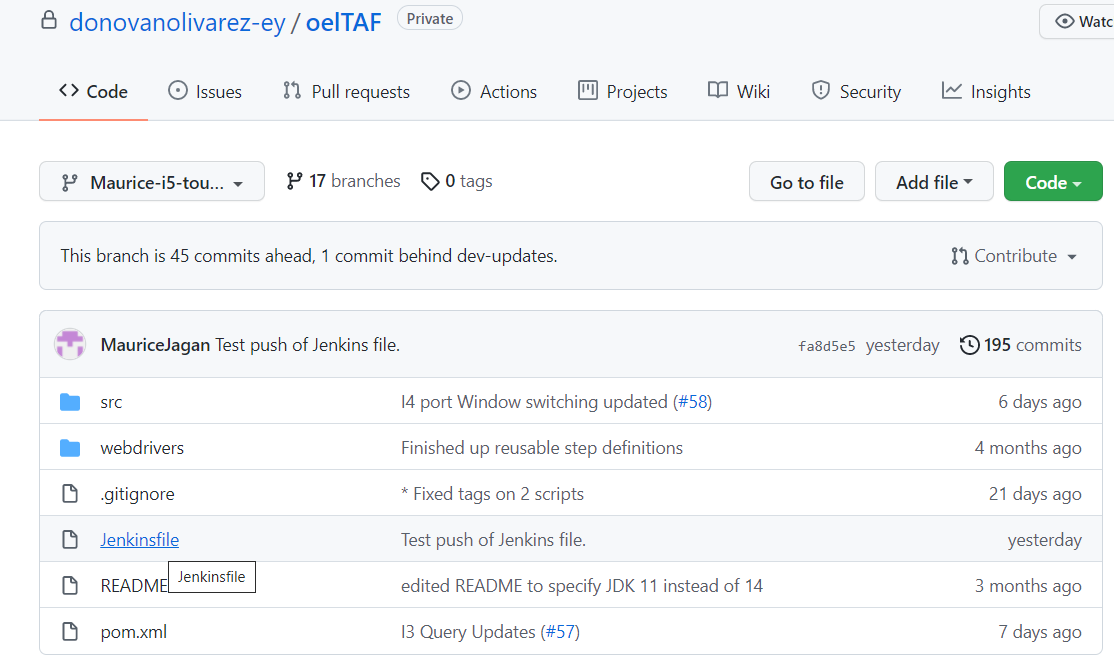
- Commit and Push the newly-created Jenkins file, to the remote branch (the same one specified in the ‘Branch Specifier’ field, when creating the Jenkins Job), in the Git repository.
Note: You can verify that the Jenkins file has been pushed by navigating to the branch page, in Github, and finding the file listed among the others, in the root of the branch repository, in Git:
Running the Jenkins Job
- Ensure that the latest code has been pushed to the repository from which Jenkins will execute the tests.
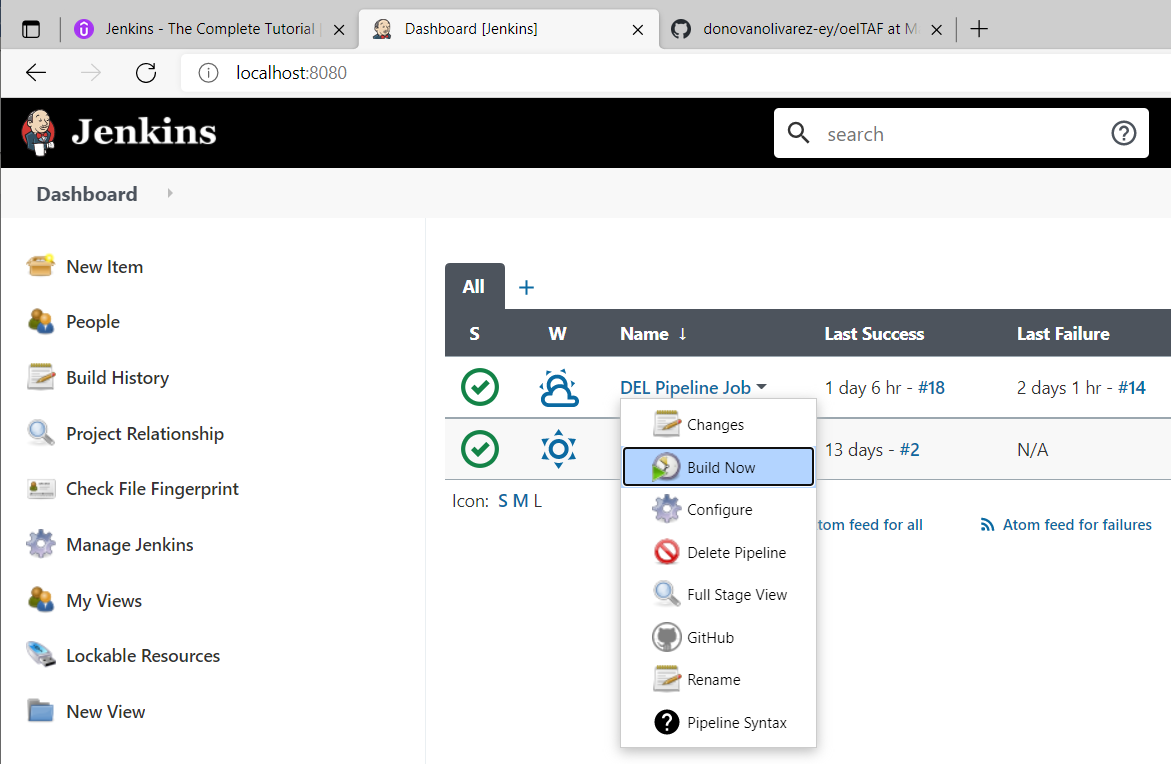
- Log back into Jenkins and arrive at the dashboard.
- Hover over the Jenkins Job until a downward arrow appears on the right of it.
- Click the arrow to reveal a dropdown menu.
- From the dropdown menu, select the ‘Build Now’ option.
Upon initiating the build, the Jenkins job will pull all of the code from the Git repository that you have configured it to use, create a workspace of its own, and then execute the maven goals specified in the Jenkins file. Once complete, the job should issue a report, and indicate its status in the dashboard.
You can view the job’s progress in real time, by hovering over the running job, in the bottom left of the Jenkins page, and selecting from the dropdown that appears, the ‘Console Output’ option.

The console output presents all information related to the job’s progress, at every stage of the pipeline, as described by the script in the Jenkins file. Successfully completing the abovementioned steps should result in the following output:
