Installation - Cancro29/NETHERCAP GitHub Wiki
INSTALLATION
NETHERCAP can be installed or flashed using PC or Mobile Phones.
ESP8266
On PC:
Method 1: NETHERCAP Flasher Method 2: NETHERCAP Web Flasher Method 3: NodeMCU Flasher
On Smartphone:
Method 1 : NETHERCAP Flasher
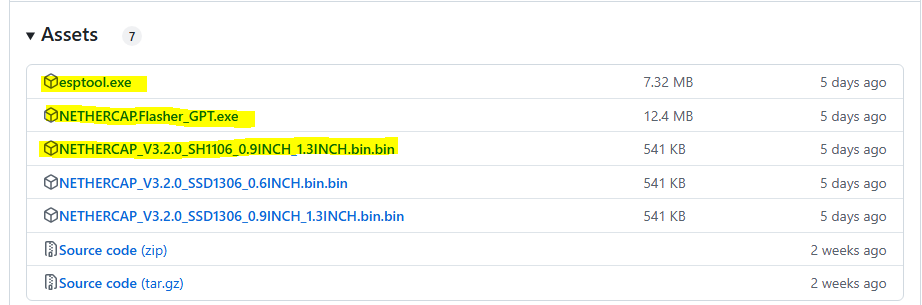
- Download NETHERCAP Flasher_GPT.exe, esptool.exe, and a firmware from release page, then put the files on the same directory
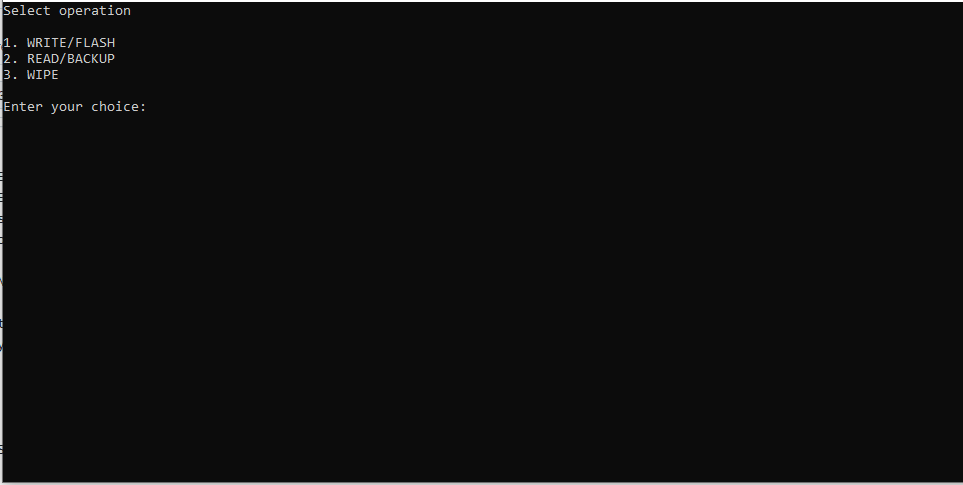
- Plug in your ESP8266 USB then open NETHERCAP Flasher_GPT
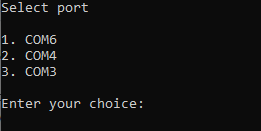
- Select COM Port
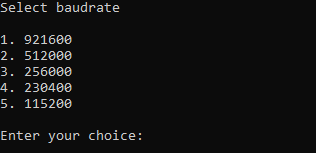
- Select Baud Rate. Choose 1 if you are unsure
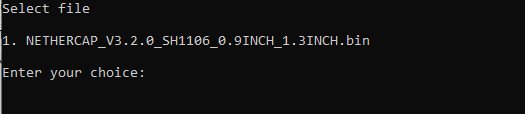
- Select binary file
- Wait until the process completed
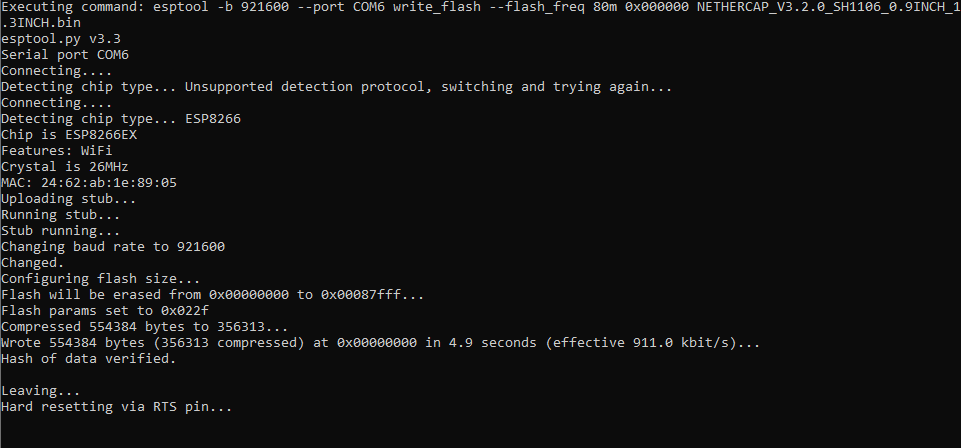
- Your ESP8266 should lights up for 2 seconds. After that, you will find a WiFi access point named "NETHERCAP"
Method 2 : NETHERCAP Web Flasher
- Plug in your ESP8266, open Google Chrome, then go to https://esp-nethercap.aestudios.me/
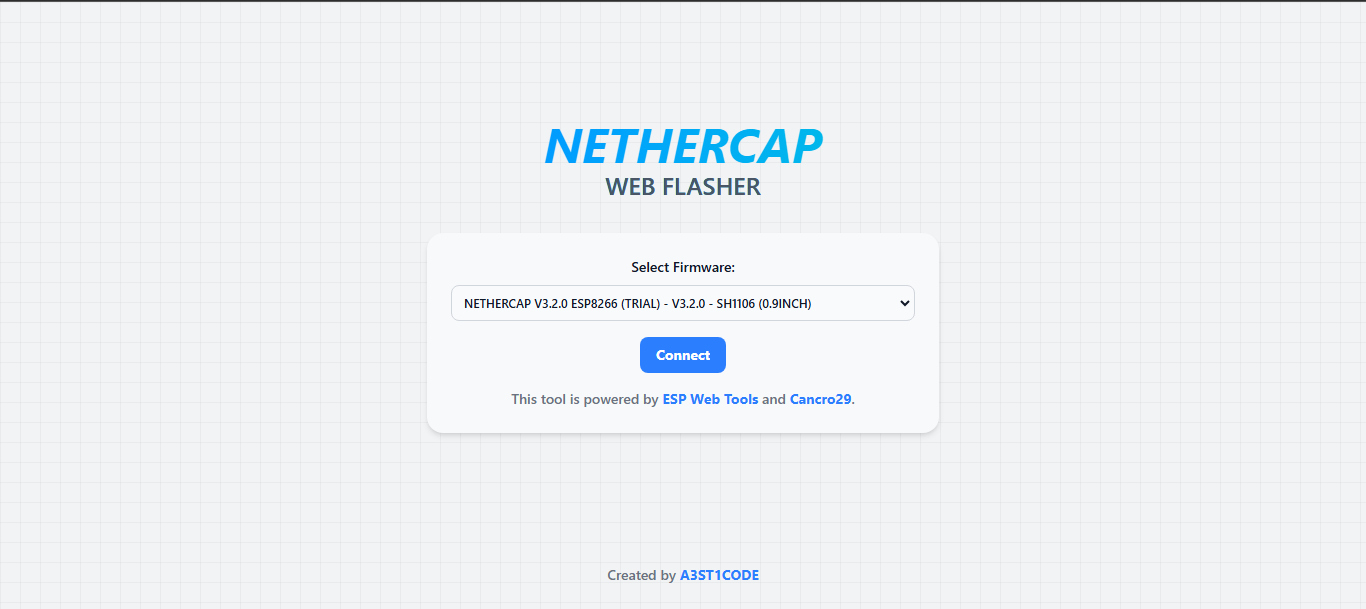
- Click "Connect" then choose your COM Port

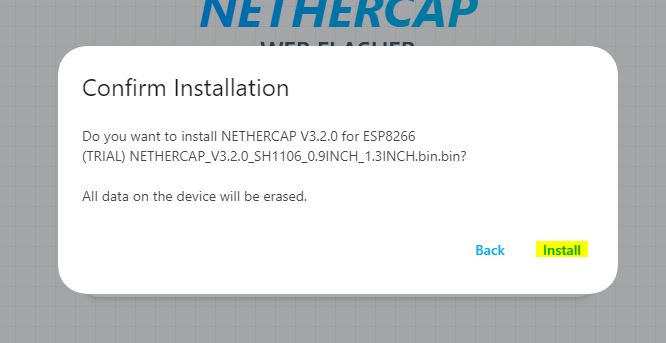
- Click "Install NETHERCAP"
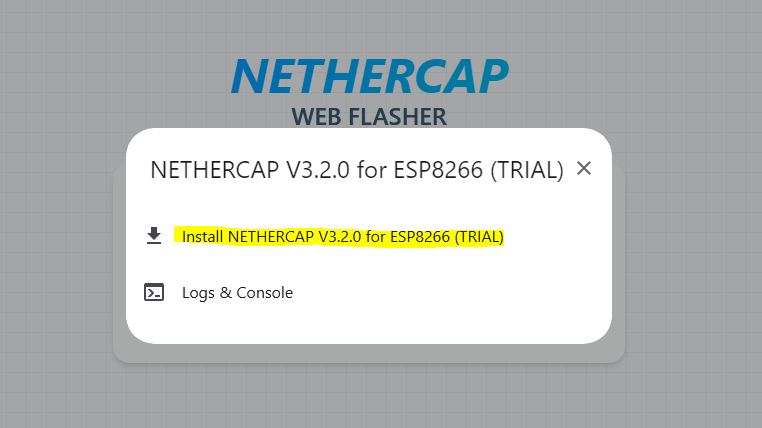
- Click "Install"
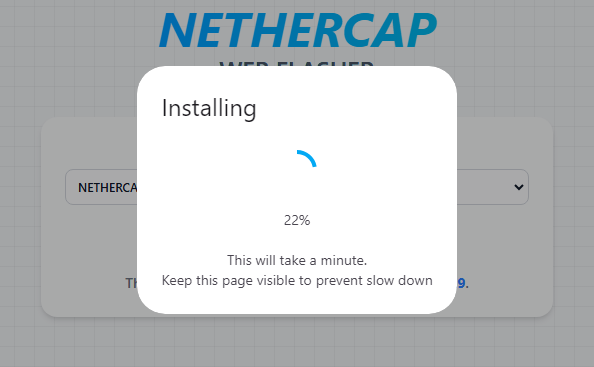
- Wait until the process finished
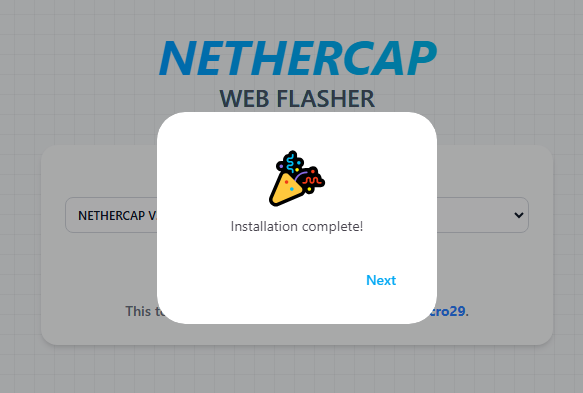
- Flashing completed and ready to use
Method 3 : NodeMCU Flasher
- Plug in your ESP8266, open Google Chrome, then download the file in https://github.com/nodemcu/nodemcu-flasher/blob/master/Win64/Release/ESP8266Flasher.exe
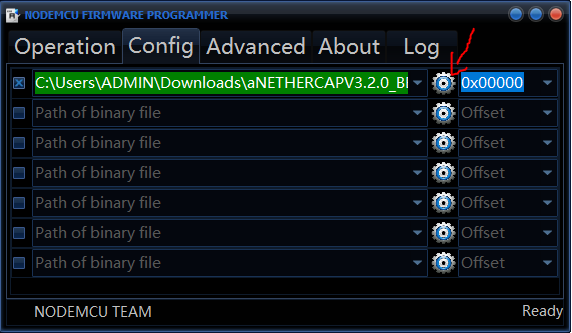
- Go to "Config" tab, click the gear icon, then locate the binary file. Keep the offset to 0x00000
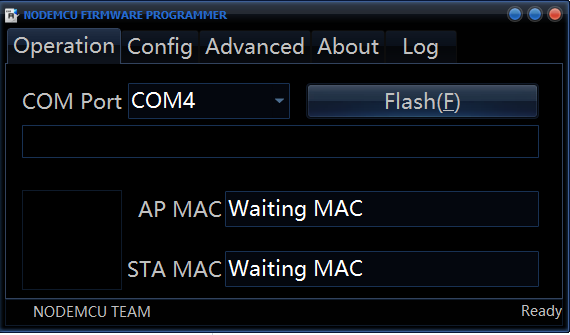
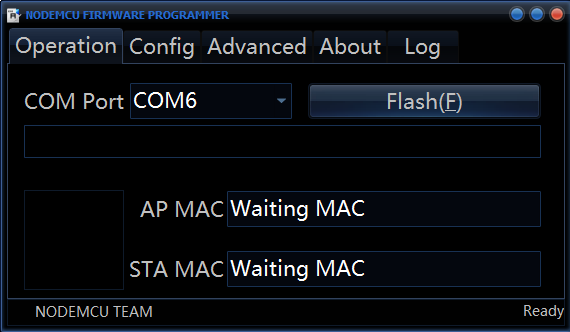
- Go to "Config" tab, choose your COM Port, then click "Flash(F)"
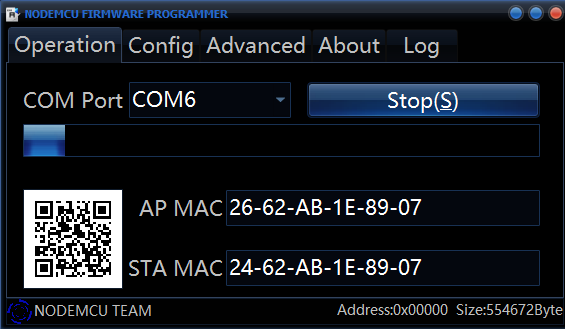
- Wait until the process completed"
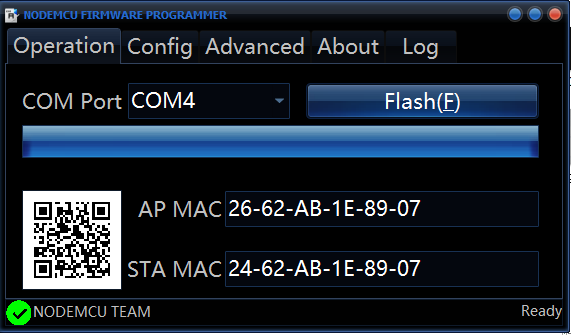
- The process is finished
On Mobile:
Method 1: ESP8266Loader
- Install ESP8266 Loader from Google Play
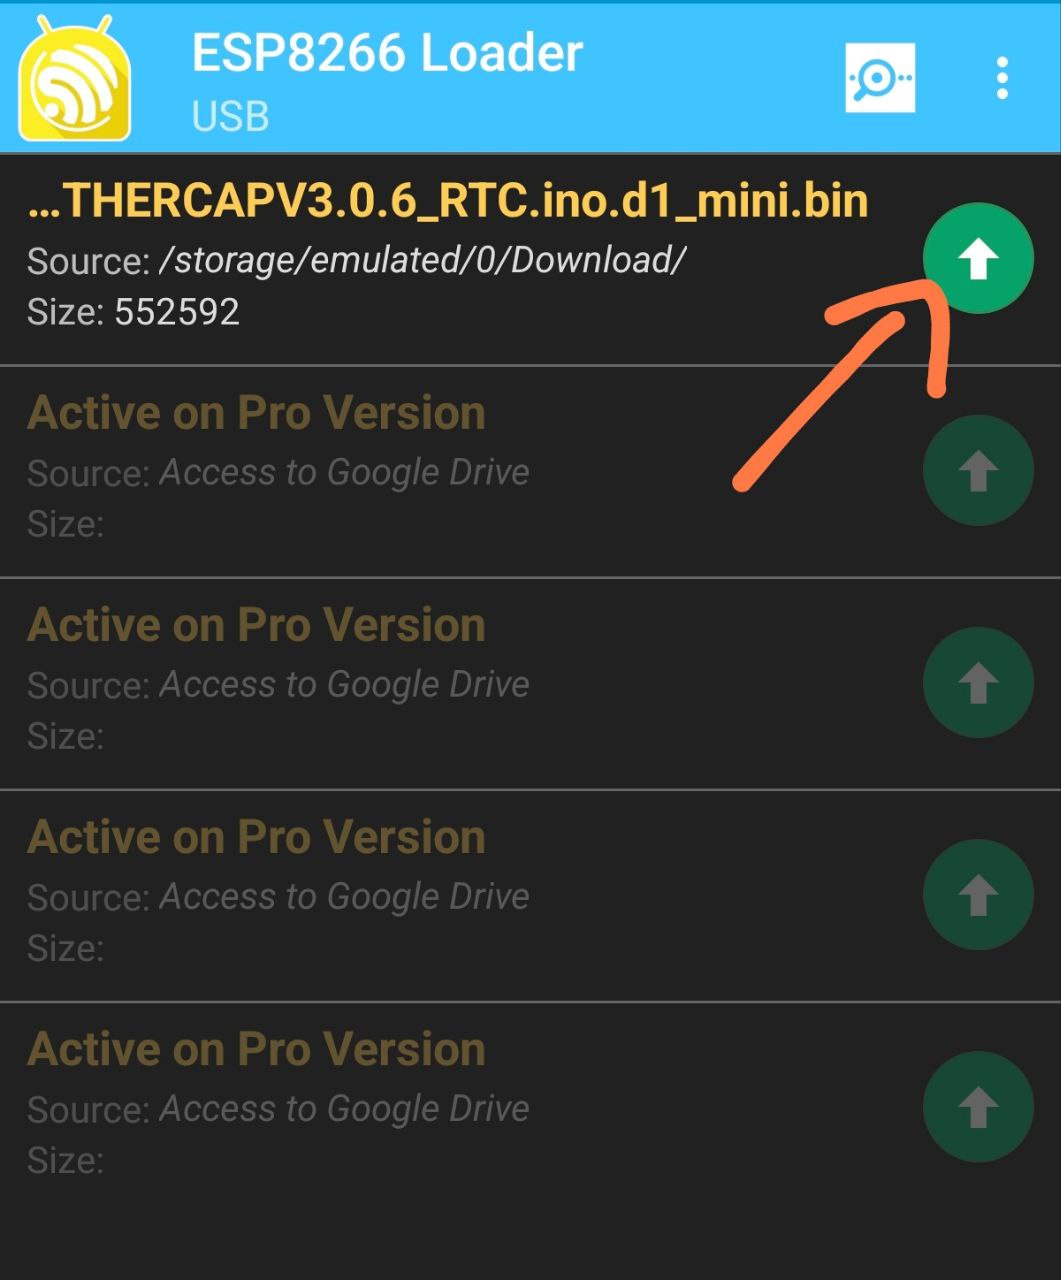
- Plug in your ESP8266, then tap the marked area to select file

- Tap Upload button
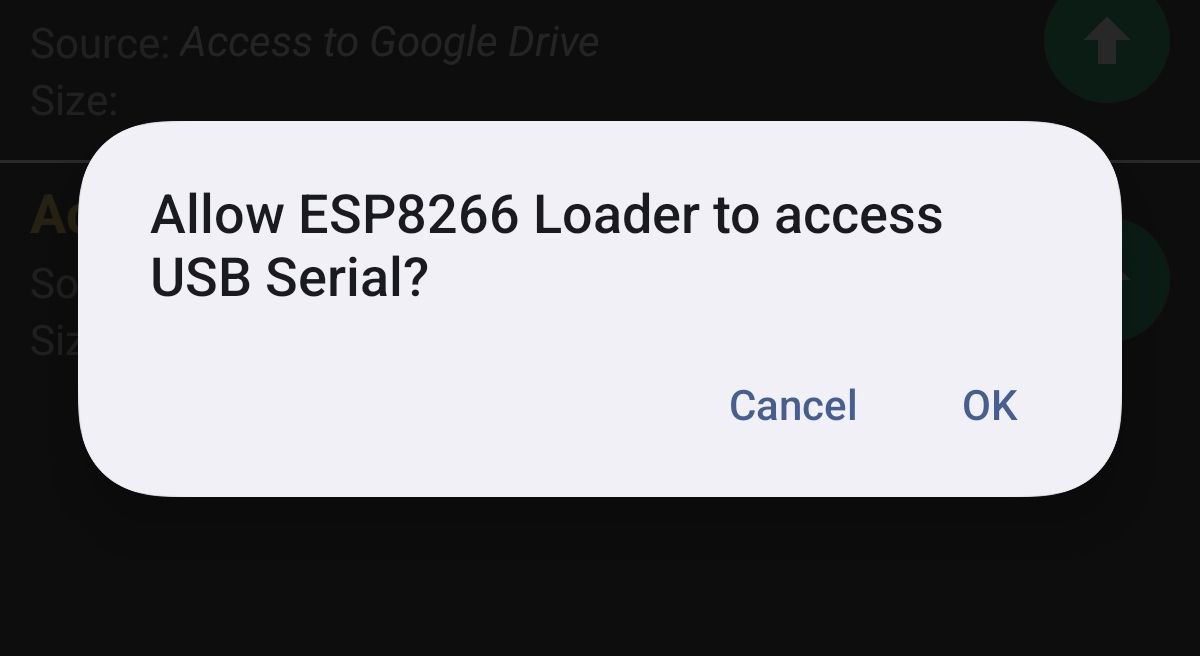
- If prompted, allow access to USB Serial by tapping "OK"
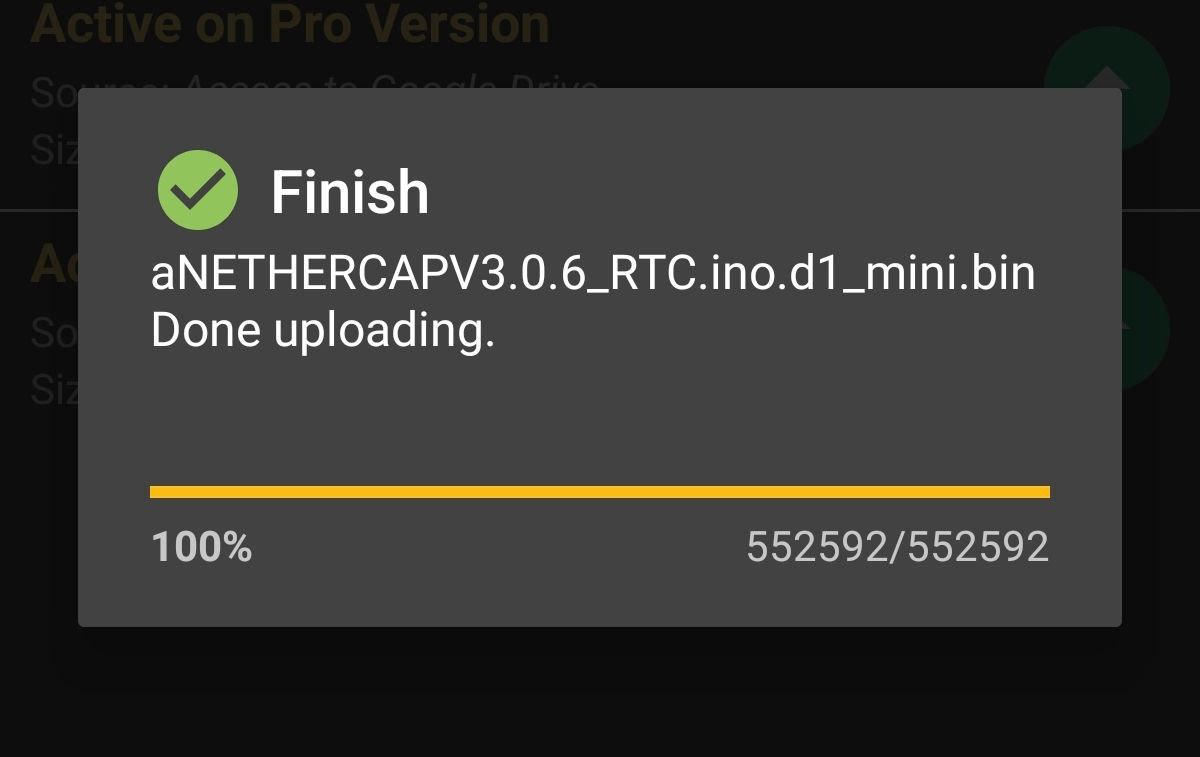
- Wait for the process until it finished
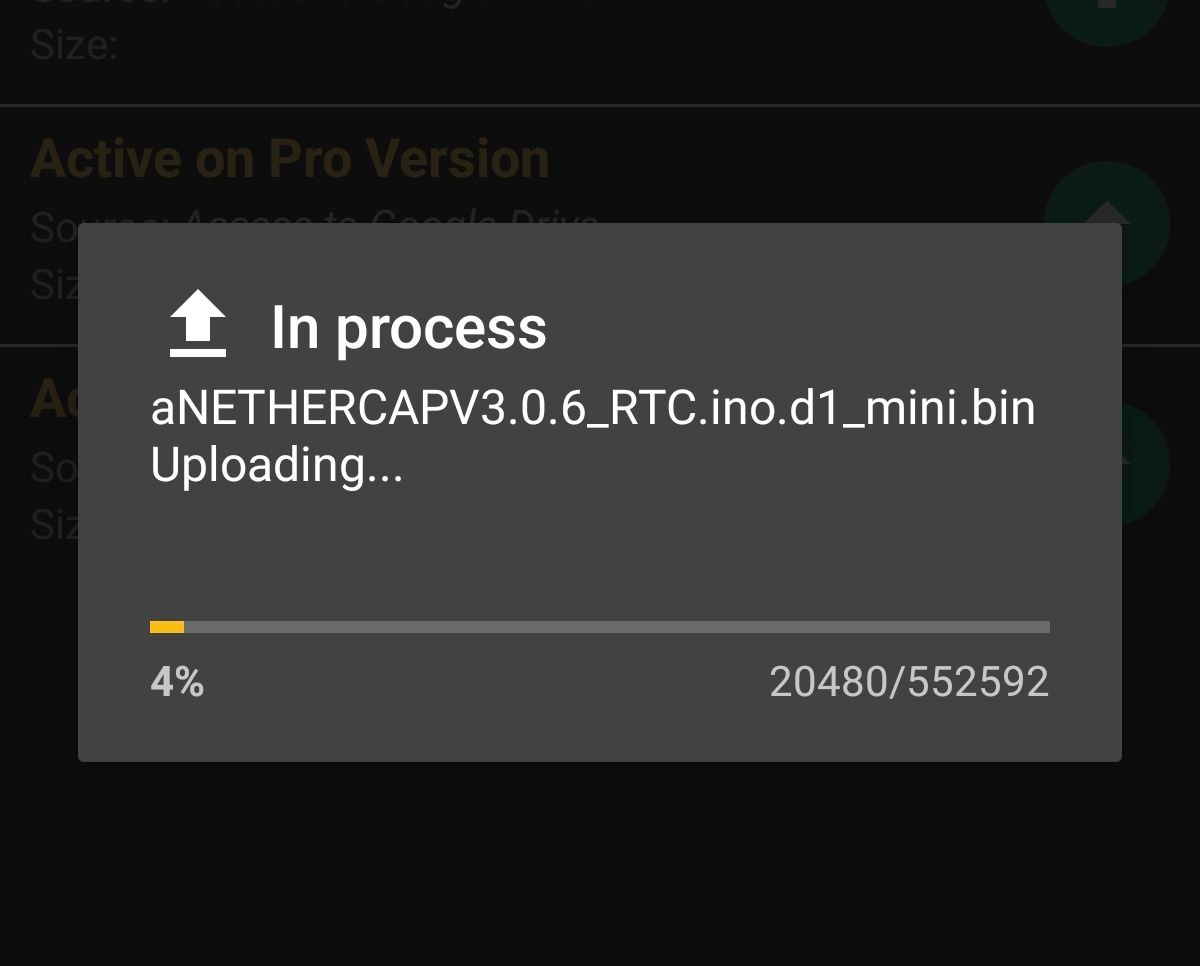
- The process is finished and ready to use
BW16
On PC: Method 1: NETHERCAP FLASHER