Creating a New Project - CMU-18240/240-How-to GitHub Wiki
Page useful for semesters F24 and previous. For semesters after F24, see references to Vivado
Note: Make sure you have already set up your 240 paths.
Modern digital designs are specified in a hardware description language such as SystemVerilog. In order to ensure the description is correct, simulation software is used to see how the design reacts to different test inputs. After assuring oneself that the design is correct, the engineer will synthesize the SystemVerilog and configure an FPGA (alternatively, the synthesized design can be used to create layout for an ASIC). For the purposes of 18-240, this design → test → synthesize → configure cycle is performed using software tools provided by the FPGA manufacturer, Altera. The Quartus II software is an integrated design environment where you can edit your SystemVerilog, synthesize it, and configure the FPGA. Simulation is done with a different software tool, VCS.
Before creating a new project, it is highly recommended that you create a new folder inside of your working directory. The reason is Quartus creates a bunch of files, and if you create multiple Quartus projects in the same folder, bad things happen.
Execute Quartus
quartus &A window should appear, with a splash screen in the middle
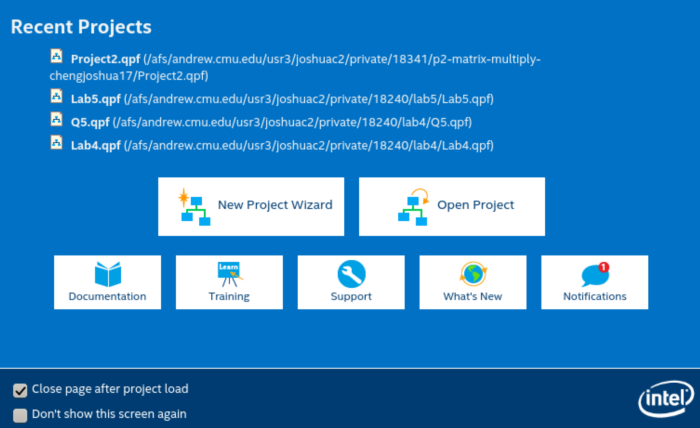
- Click "New Project Wizard". A project is a collection of all files, databases, and information about your design.
- On Directory, Name, Top-Level Entity [page 1 of 6], do the following:
- Set the working directory to the folder you want your project to reside in
- Name the project something reasonable
- Name the Top-Level Entity exactly the same as your top module. The Top-Level Entity is the name of the module that is at the top-level of your design. Beware that this name must match the name of your SystemVerilog module exactly; case matters.
- Click Next
- On Project Type [page 2 of 6], select Empty Project.
- On Add Files [page 3 of 6], do the following:
- Click the ellipsis "..." and select all relevant .sv files.
- Click Open
- Click Add
- On Family & Device Settings [page 4 of 6], do the following:
- Under the Device Family section, change the Family to Cyclone IV E
- Under the "Show in 'Available devices'" list section, type EP4CE115F29C7 into the Name filter. This device name is super important (i.e. your design won't do anything if you get it wrong).
- Click the EP4115F29C7 device under the Available devices section to select it.
- Click Next
- On EDA Tool Settings [page 5 of 6] and Summary [page 6 of 6], do the
following:
- Don't make any changes here
- Click Next
- Click Finish