Group Policy - Brandon-Duffy/SYS-265 GitHub Wiki
Create a Domain Group Policy for Remote Desktop between wks1 and wks2
Steps
1. Create a new Organizational Unit (OU) for workstations
- Open Active Directory Users and Computers.
- In the left pane, expand your domain and select the appropriate container where you want to create the new OU.
- Right-click on the container, click New, and then click Organizational Unit.
- Enter a name for the new OU (e.g.,
Workstations) and click OK.
2. Move W1-kitten and W2-kitten to the new OU
- In Active Directory Users and Computers, locate
W1-kittenandW2-kittenin the Computers container. - Right-click on each computer, select Move, and then choose the
WorkstationsOU.

3. Create a new Group Policy Object (GPO) for Remote Desktop
- Open Group Policy Management.
- In the left pane, expand your domain and navigate to the
WorkstationsOU. - Right-click on the OU, select Create a GPO in this domain, and Link it here....
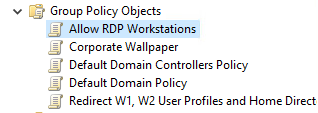
- Enter a name for the new GPO (e.g.,
Allow RDP between Workstations) and click OK.
4. Configure the GPO for Remote Desktop
- In Group Policy Management, expand the
WorkstationsOU and select the newly created GPO. - Right-click on the GPO and select Edit.

- Navigate to Computer Configuration > Policies > Administrative Templates > Windows Components > Remote Desktop Services > Remote Desktop Session Host > Connections.
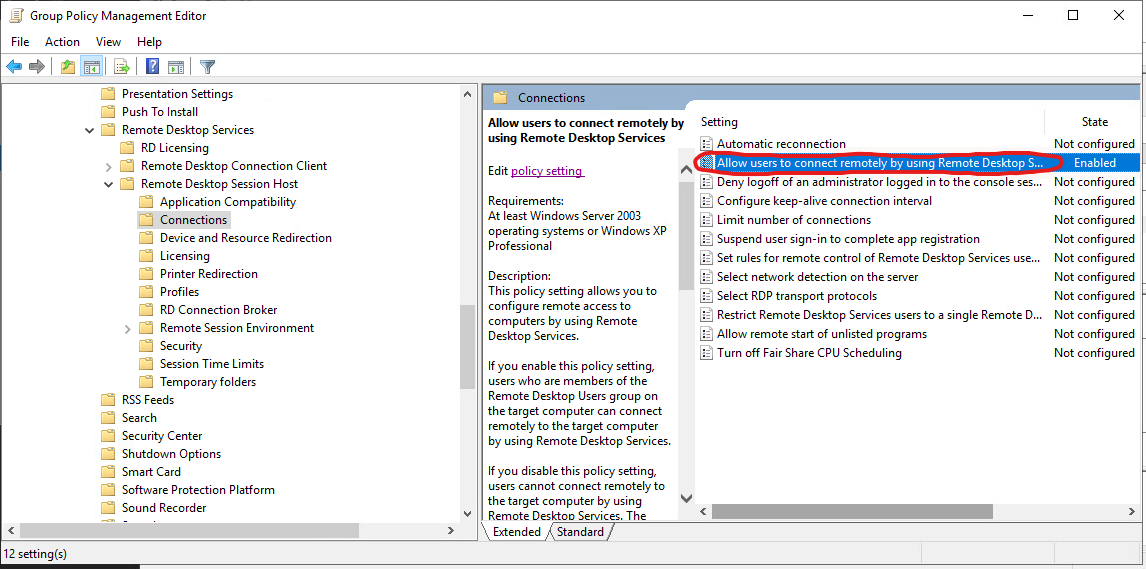
- Double-click on Allow users to connect remotely using Remote Desktop Services.
- Select Enabled and click OK.
- Navigate to Computer Configuration > Policies > Windows Settings > Security Settings > Windows Firewall with Advanced Security > Windows Firewall with Advanced Security - LDAP://... > Inbound Rules.
- In the right pane, right-click and select New Rule.
- Select Predefined, choose Remote Desktop, and click Next.
- Ensure that the Domain profile is selected and click Next.
- Select Allow the connection and click Finish.
5. Apply the GPO
- Close the Group Policy Management Editor.
- In Group Policy Management, right-click on the
WorkstationsOU and select Group Policy Update. - Click Yes to confirm the update.
Now, W1-kitten and W2-kitten are able to use Remote Desktop to connect to each other.
Apply a Corporate Wallpaper using Security Groups
Steps
1. Create a new Security Group for the specified workstations
- Open Active Directory Users and Computers.
- In the left pane, expand your domain and select the appropriate container where you want to create the new security group.
- Right-click on the container, click New, and then click Group.
- Enter a name for the new security group (e.g.,
Corporate Wallpaper Group).

- Set the Group scope to
Globaland the Group type toSecurity, then click OK.
2. Add W1-Kitten, W2-Kitten, and MGMT1 to the security group
- In Active Directory Users and Computers, locate the
Corporate Wallpaper Groupsecurity group. - Double-click on the security group to open its properties.
- Go to the Members tab and click Add.
- In the Enter the object names to select field, type
W1-Kitten, W2-Kitten, MGMT1and click Check Names. - Confirm that the correct workstations are found, then click OK and OK again to close the properties.
3. Create a new Group Policy Object (GPO) for the corporate wallpaper
- Open Group Policy Management.
- In the left pane, right-click on your domain and select Create a GPO in this domain, and Link it here....
- Enter a name for the new GPO (e.g.,
Corporate Wallpaper GPO) and click OK.
4. Configure the GPO for the corporate wallpaper
- In Group Policy Management, select the newly created GPO.
- Right-click on the GPO and select Edit.
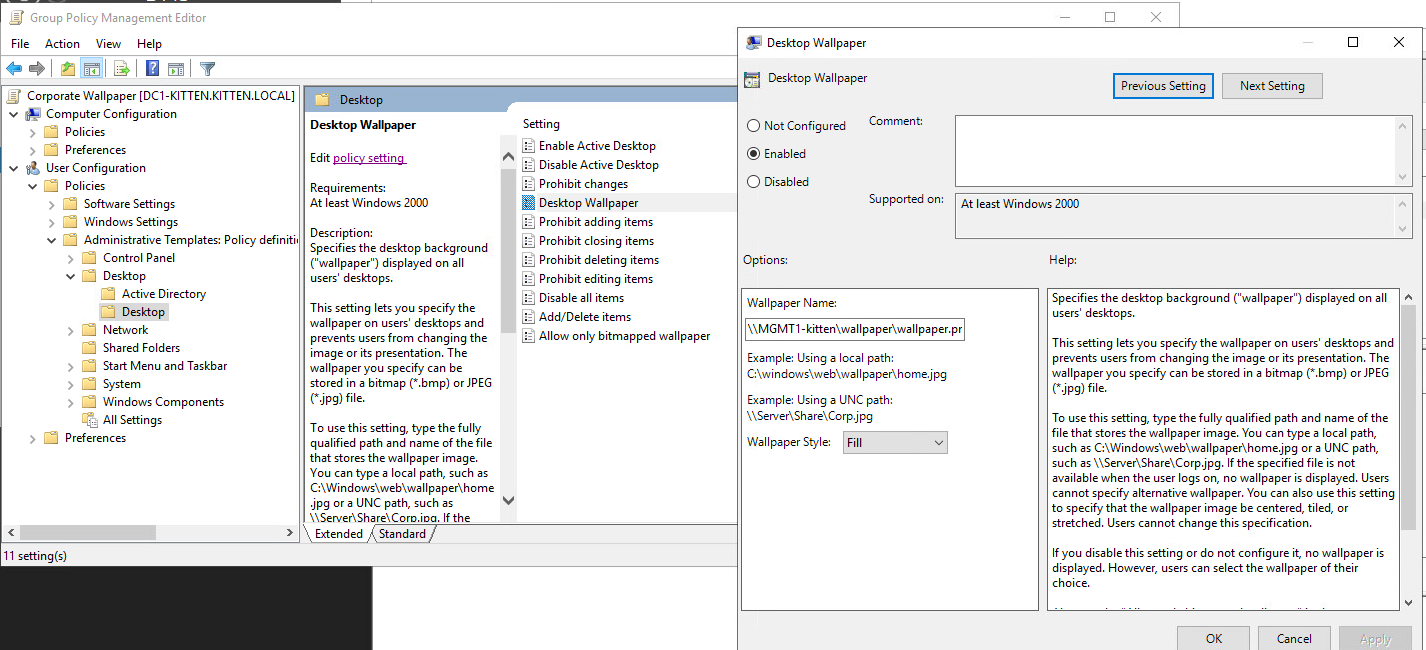
- Navigate to User Configuration > Policies > Administrative Templates > Desktop > Desktop.
- Double-click on Desktop Wallpaper.
- Select Enabled.
- In the Wallpaper Name field, enter the UNC path to the corporate wallpaper file (e.g.,
\\MGMT1-kitten\wallpaper\wallpaper.png). - In the Wallpaper Style field, choose the desired wallpaper display style (e.g., Fill, Fit, Stretch, Tile, or Center) and click OK.
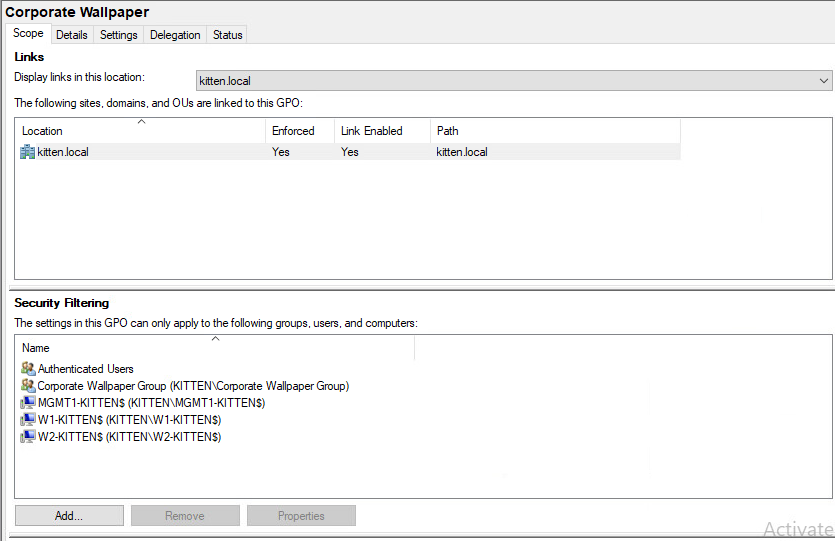
5. Apply the GPO to the security group
- Close the Group Policy Management Editor.
- In Group Policy Management, select the
Corporate Wallpaper. - In the Security Filtering section, click on Authenticated Users and click the Remove button.
- Click Add, type
Corporate Wallpaper Groupin the Enter the object names to select field, click Check Names, and then click OK. - Add the Computers / Users necessary to have the Wallpaper as well.
6. Apply the GPO
- In Group Policy Management, right-click on your domain and select Group Policy Update.
- Click Yes to confirm the update.
- On each computer, run the command through powershell
gpupdate /forceand log out and back in.
The wallpaper should now be applied to each computer.