Call from URL 2.x - Bandyer/Bandyer-iOS-SDK GitHub Wiki
This guide will show you how to enable starting a Bandyer call from an URL. At the end of this guide you should be able to tap a link on an external app like Safari, Mail, Messages, Notes, or others and get your app open starting a call from the link you just tapped. This guide is divided into two sections. The first section will help you enabling "universal links" in your app. The second section will help you manage the URL received from the operating system and start a call using the BandyerSDK 2.0 version. If you are using a 1.x BandyerSDK version you should take a look at this guide instead.
Table of contents
Universal links
Below you'll find a brief step by step guide explaining what you need to do in order to support universal links in your app. Wherever possible we will point out some gotchas about universal links. If you have already enabled universal links into your app, you can skip this section altogether, and move to the Start the call section of this guide.
Overview
Universal links have been introduced in iOS 9.0. They allow to link content inside your app from other apps or from websites. Before reading any further we suggest you to read the Apple guides that will explain you what universal links are about, their capabilities, and how they can be integrated into your app. Please, head over to https://developer.apple.com/ios/universal-links/ to get an overview of universal links, and get access to Apple's developer guides. Universal links creates a two-way association between your app and your website. When your app is installed, iOS verifies the this association through a file on your website. This way it is impossible for other apps to claim the ownership of the URL and redirect your URLs. This point is very important and you should keep it in mind because, as you will see later, we will need to manipulate the URL received from the system before the call can be established.
Associated domains entitlement
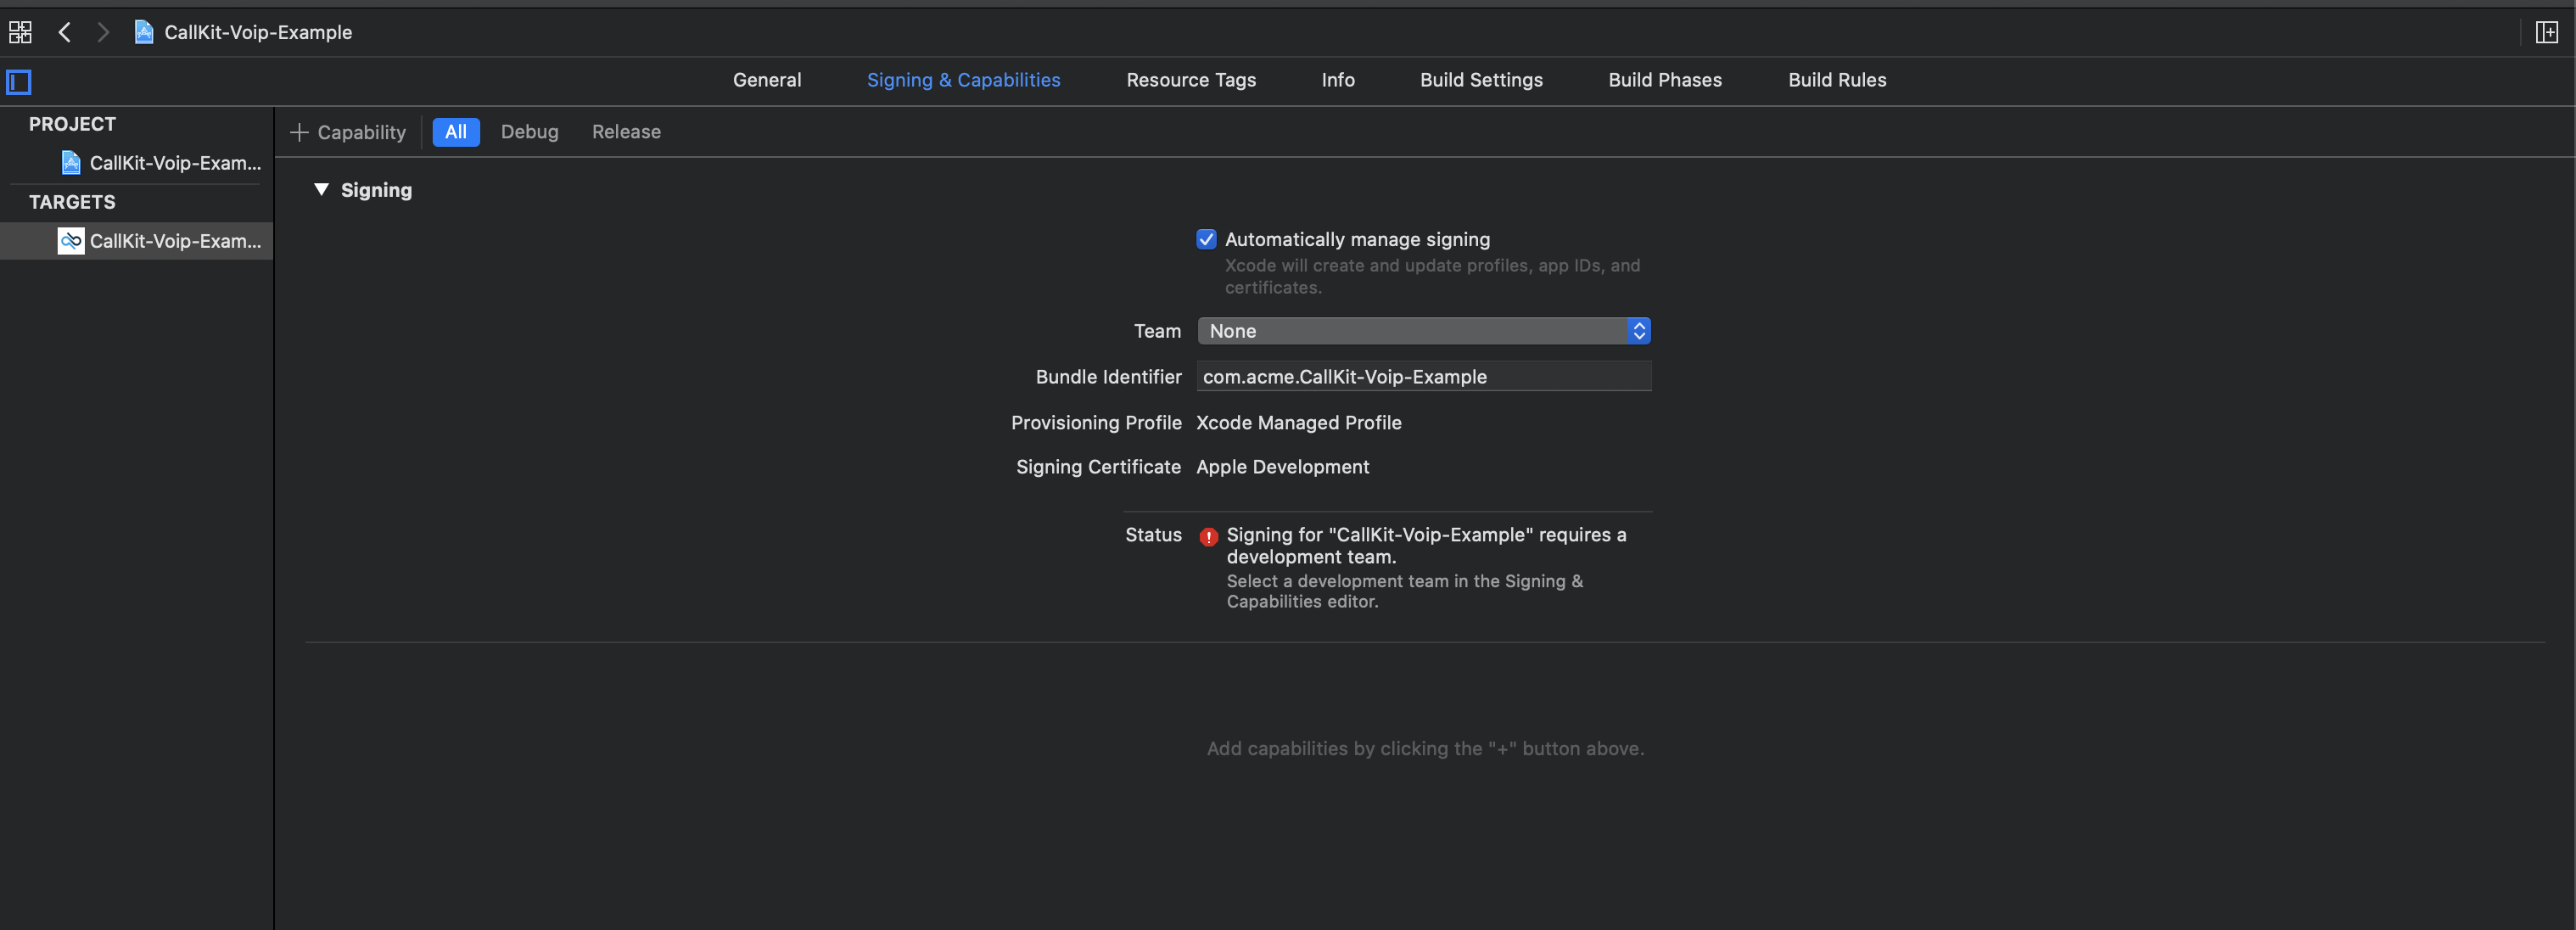
The first step you must do, in order to support universal links is to add an "Associated domain entitlement" to your app. Open your project in Xcode, select your project file in the project navigator panel and click on the "Signing & Capabilities" tab. (In Xcode 10 and below the tab is named Capabilities).
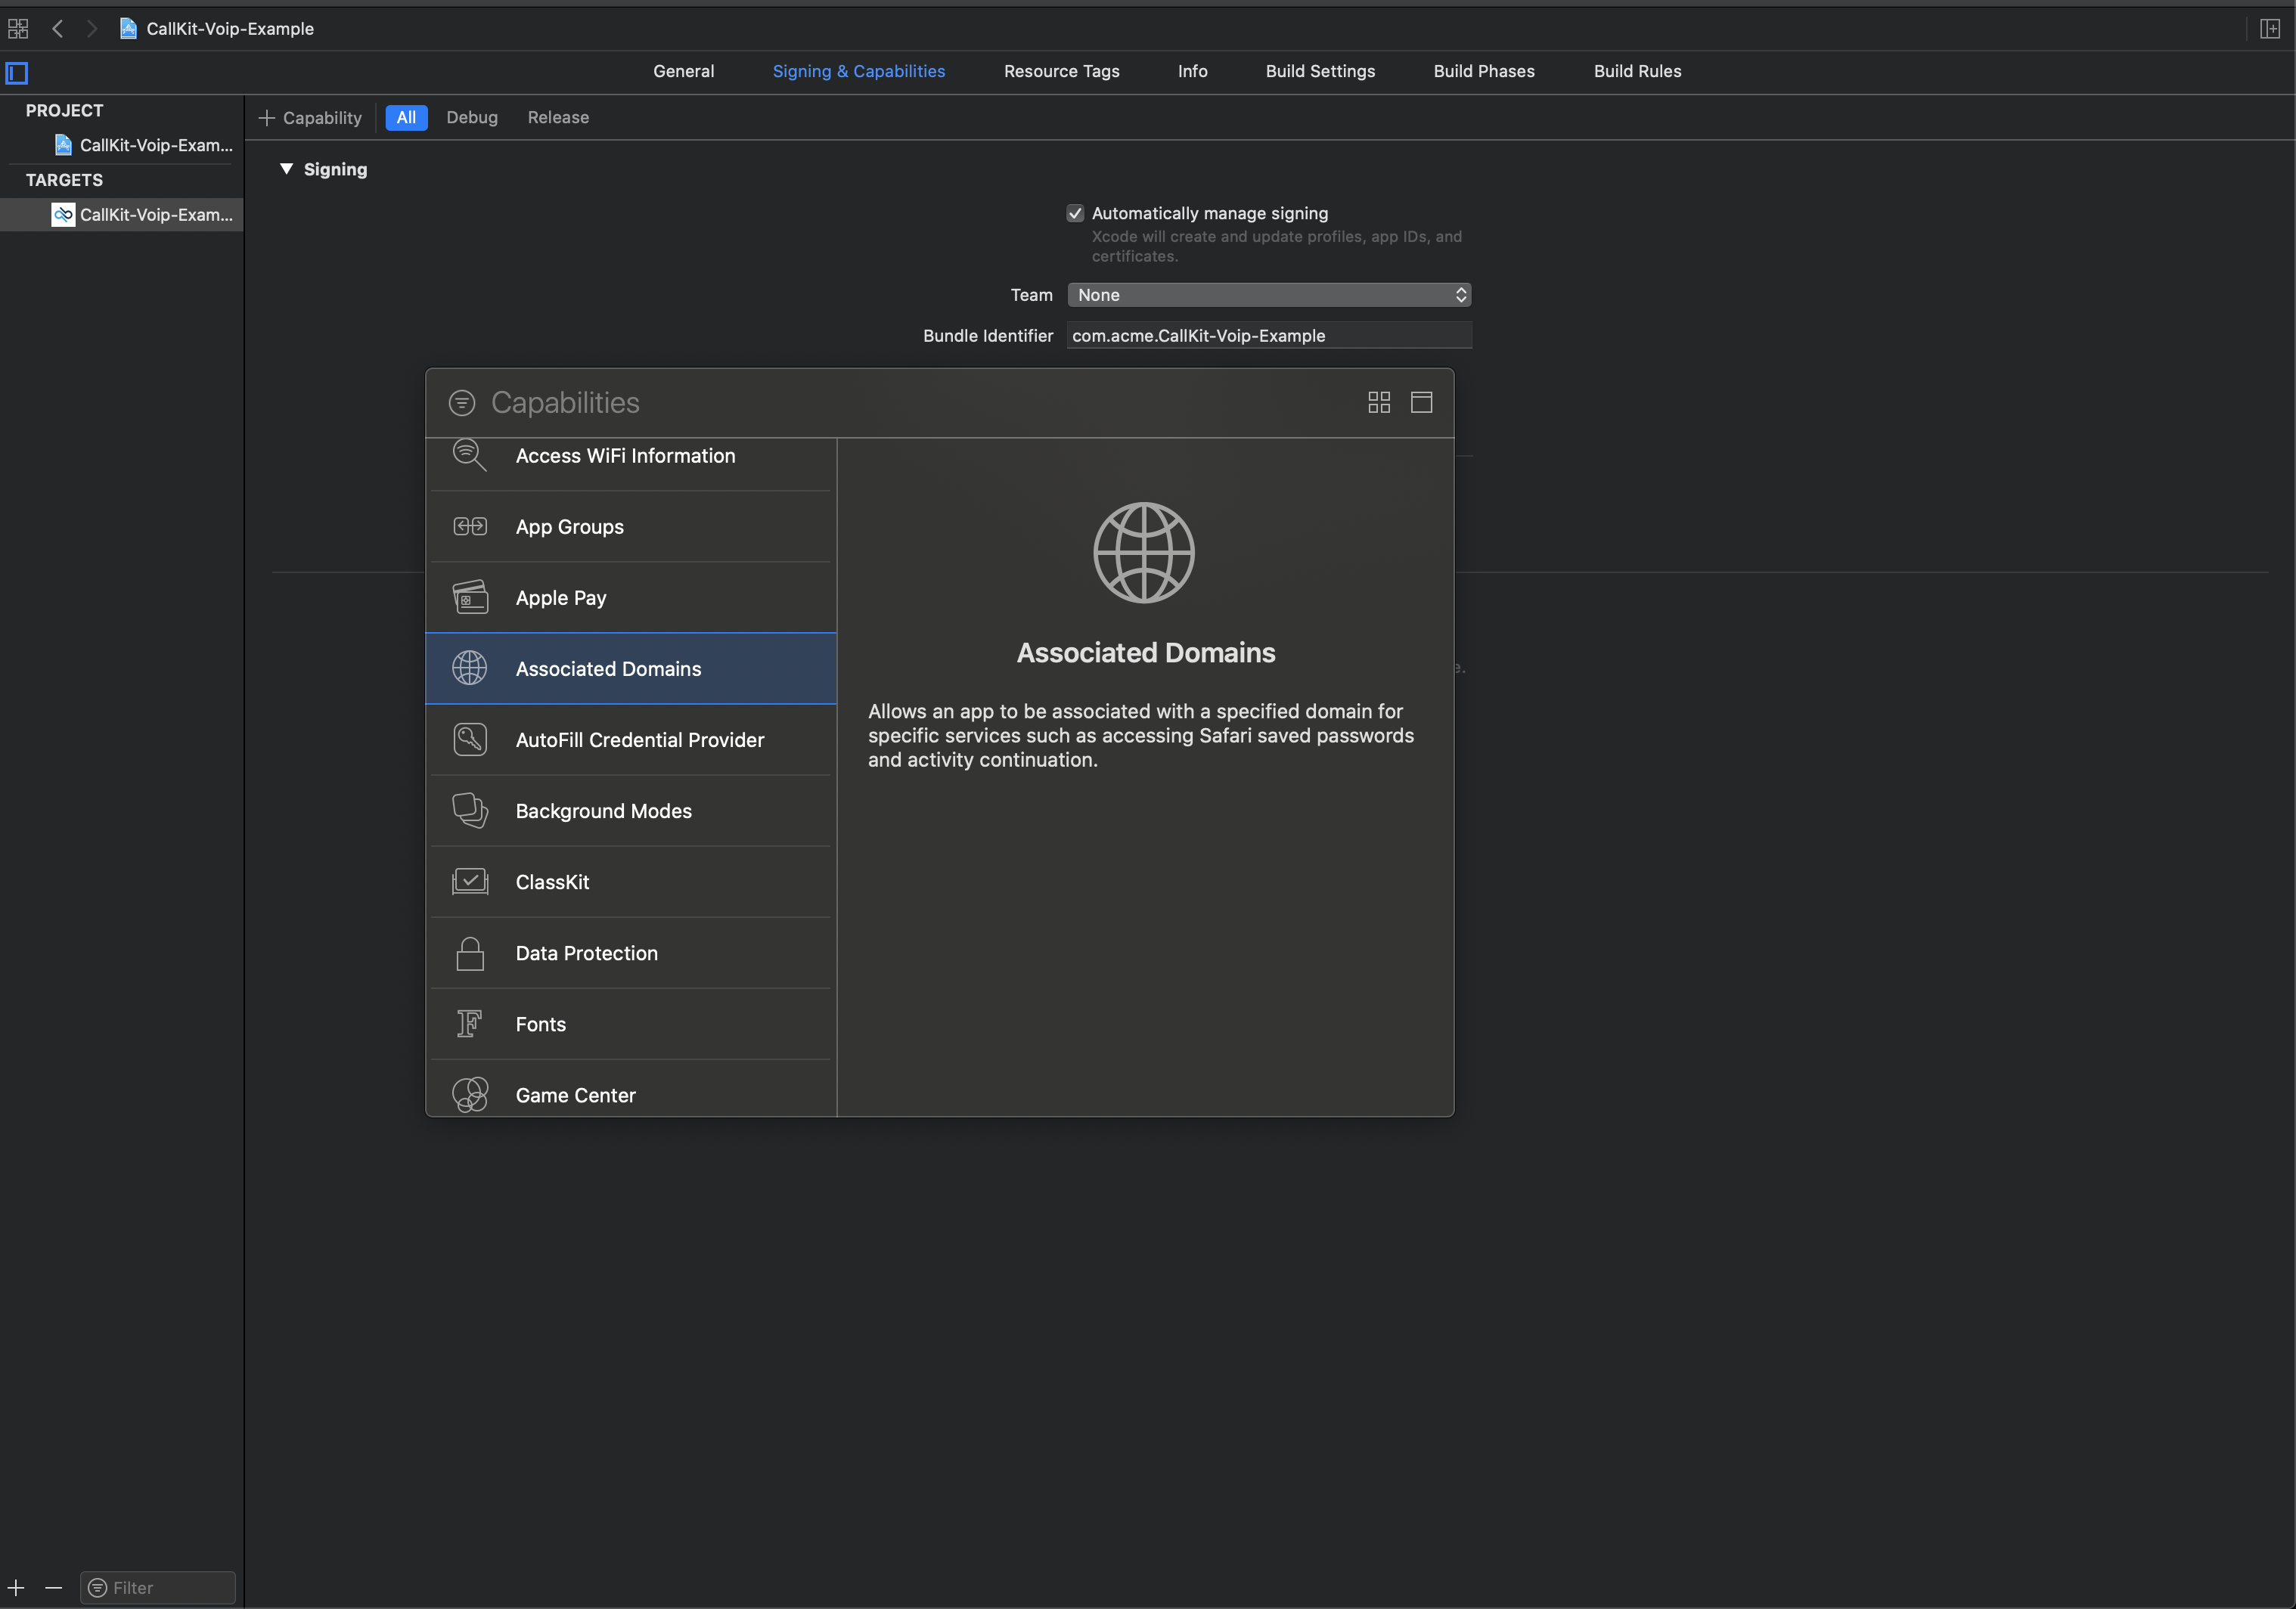
Click on the "+" sign near "Capability" in the upper left side of the editor and select "Associated Domains" capability
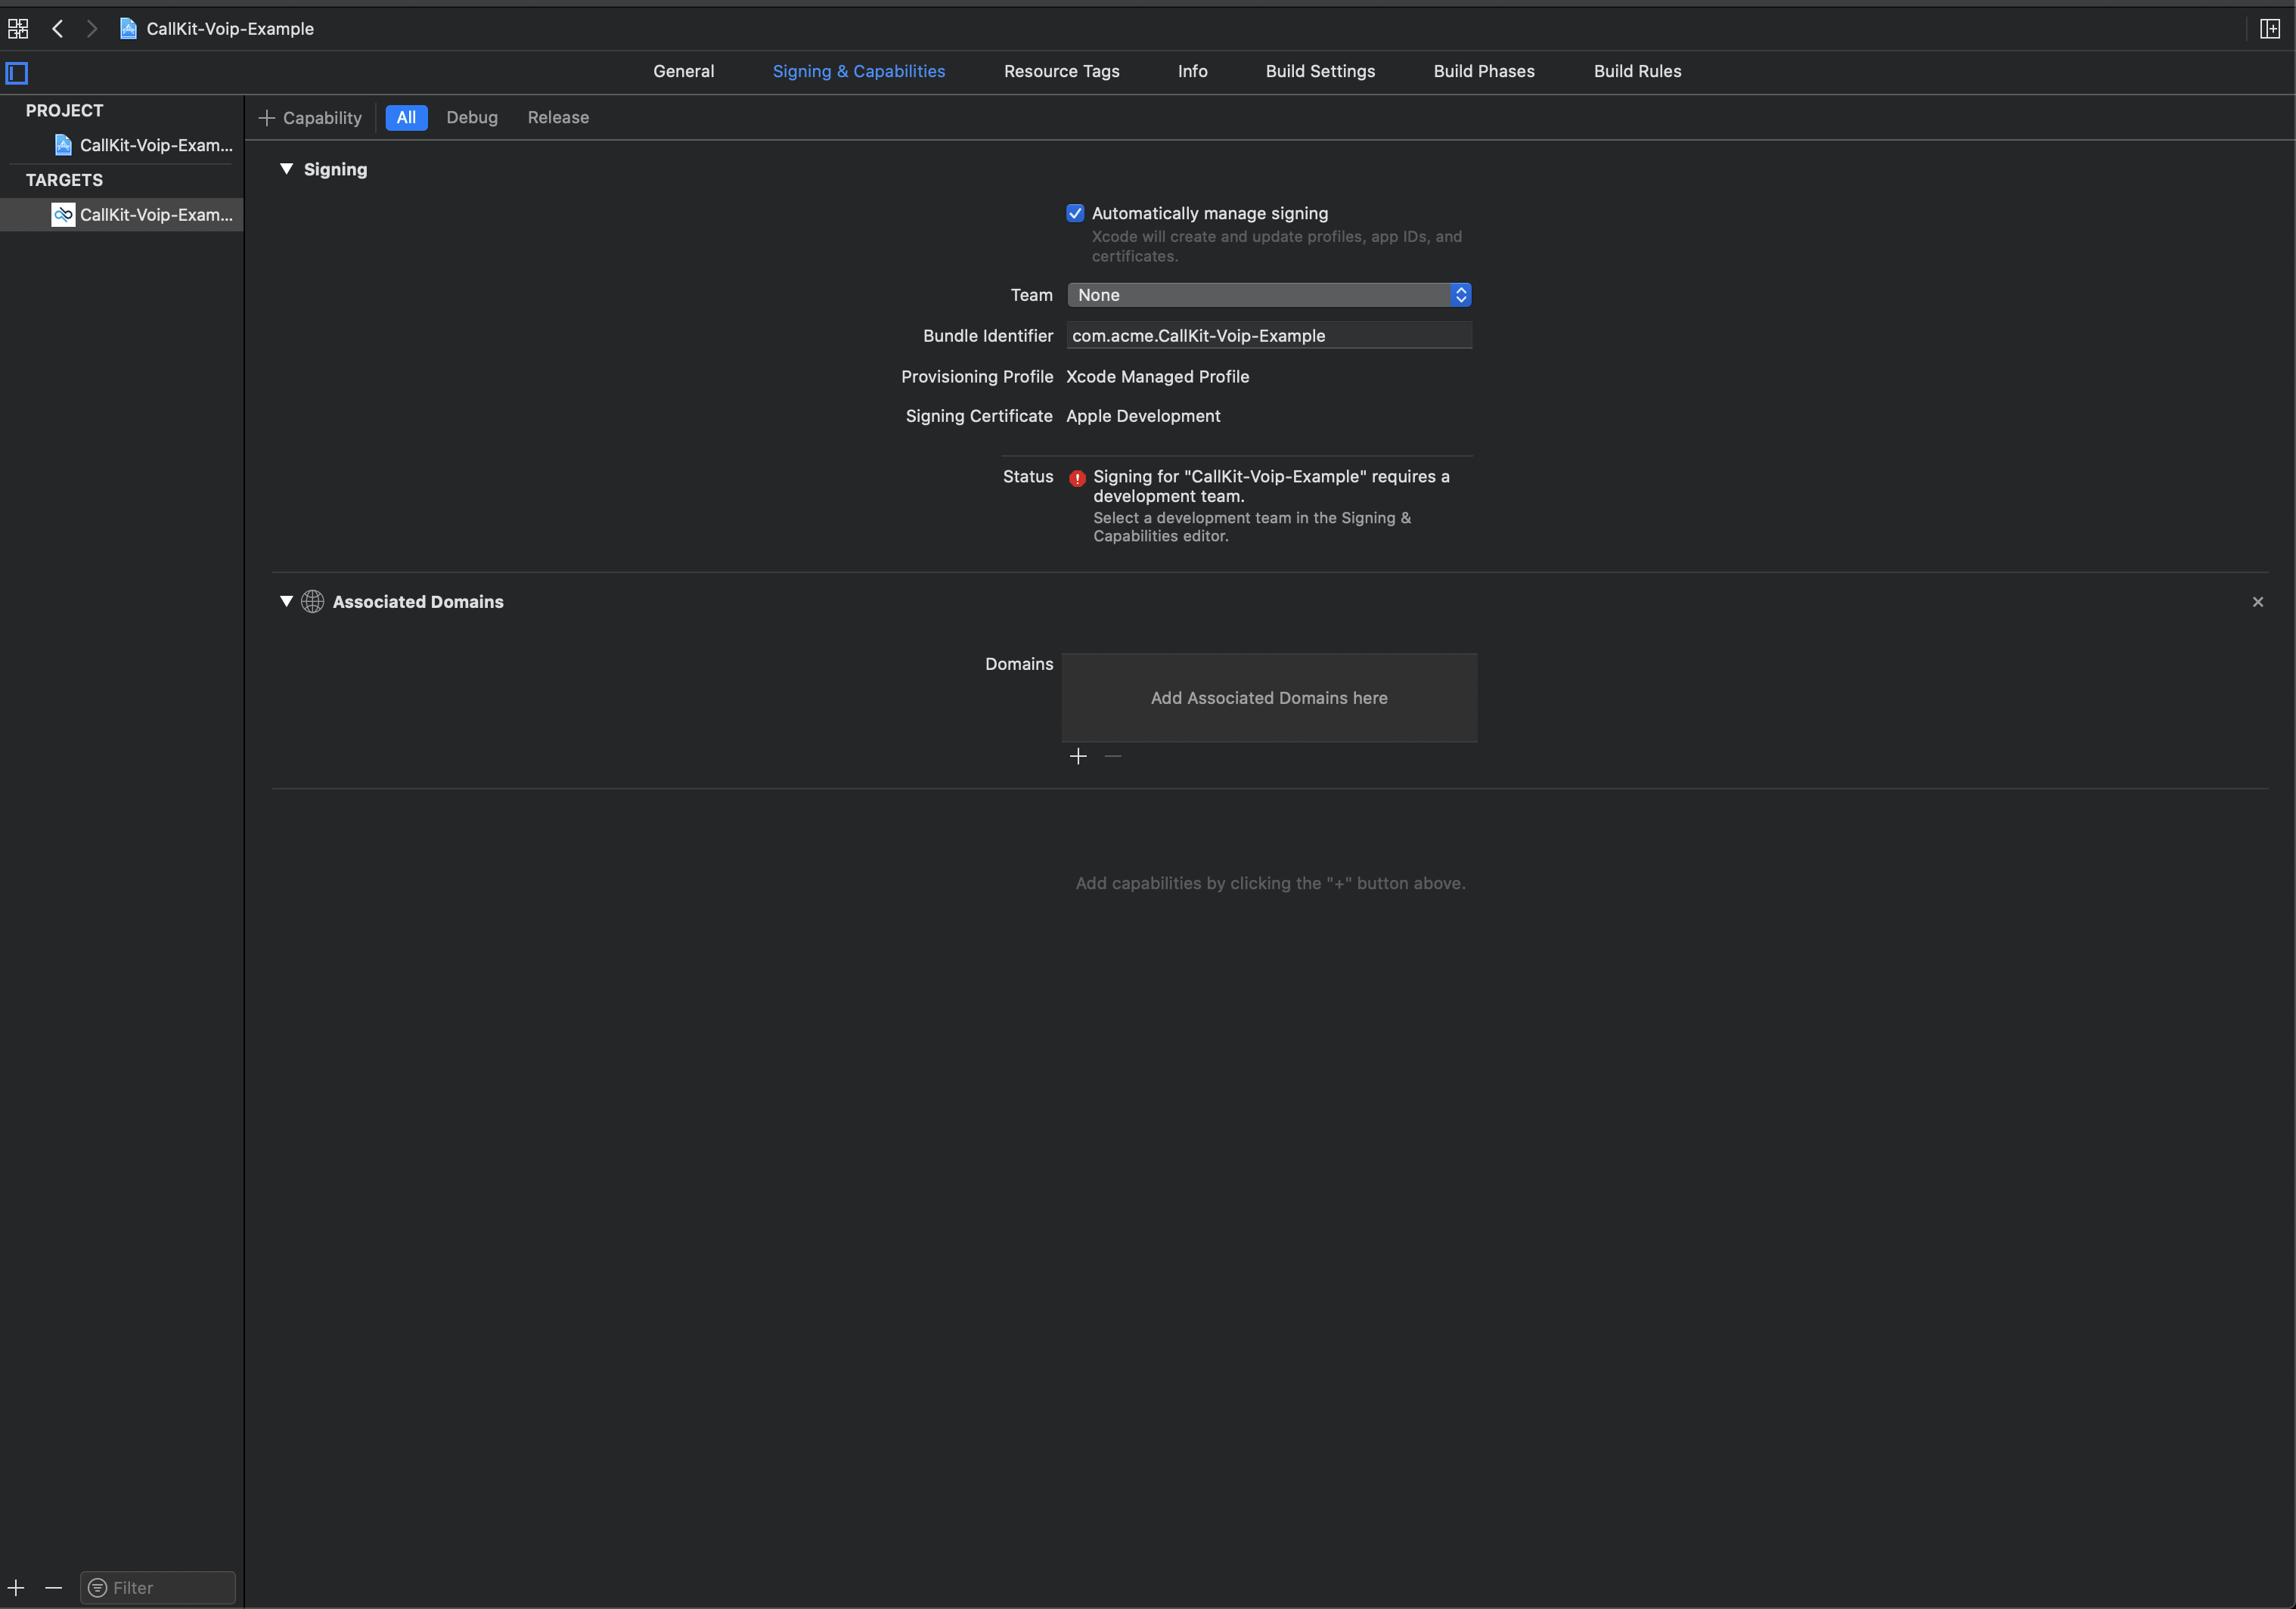
You should be seeing something like this:
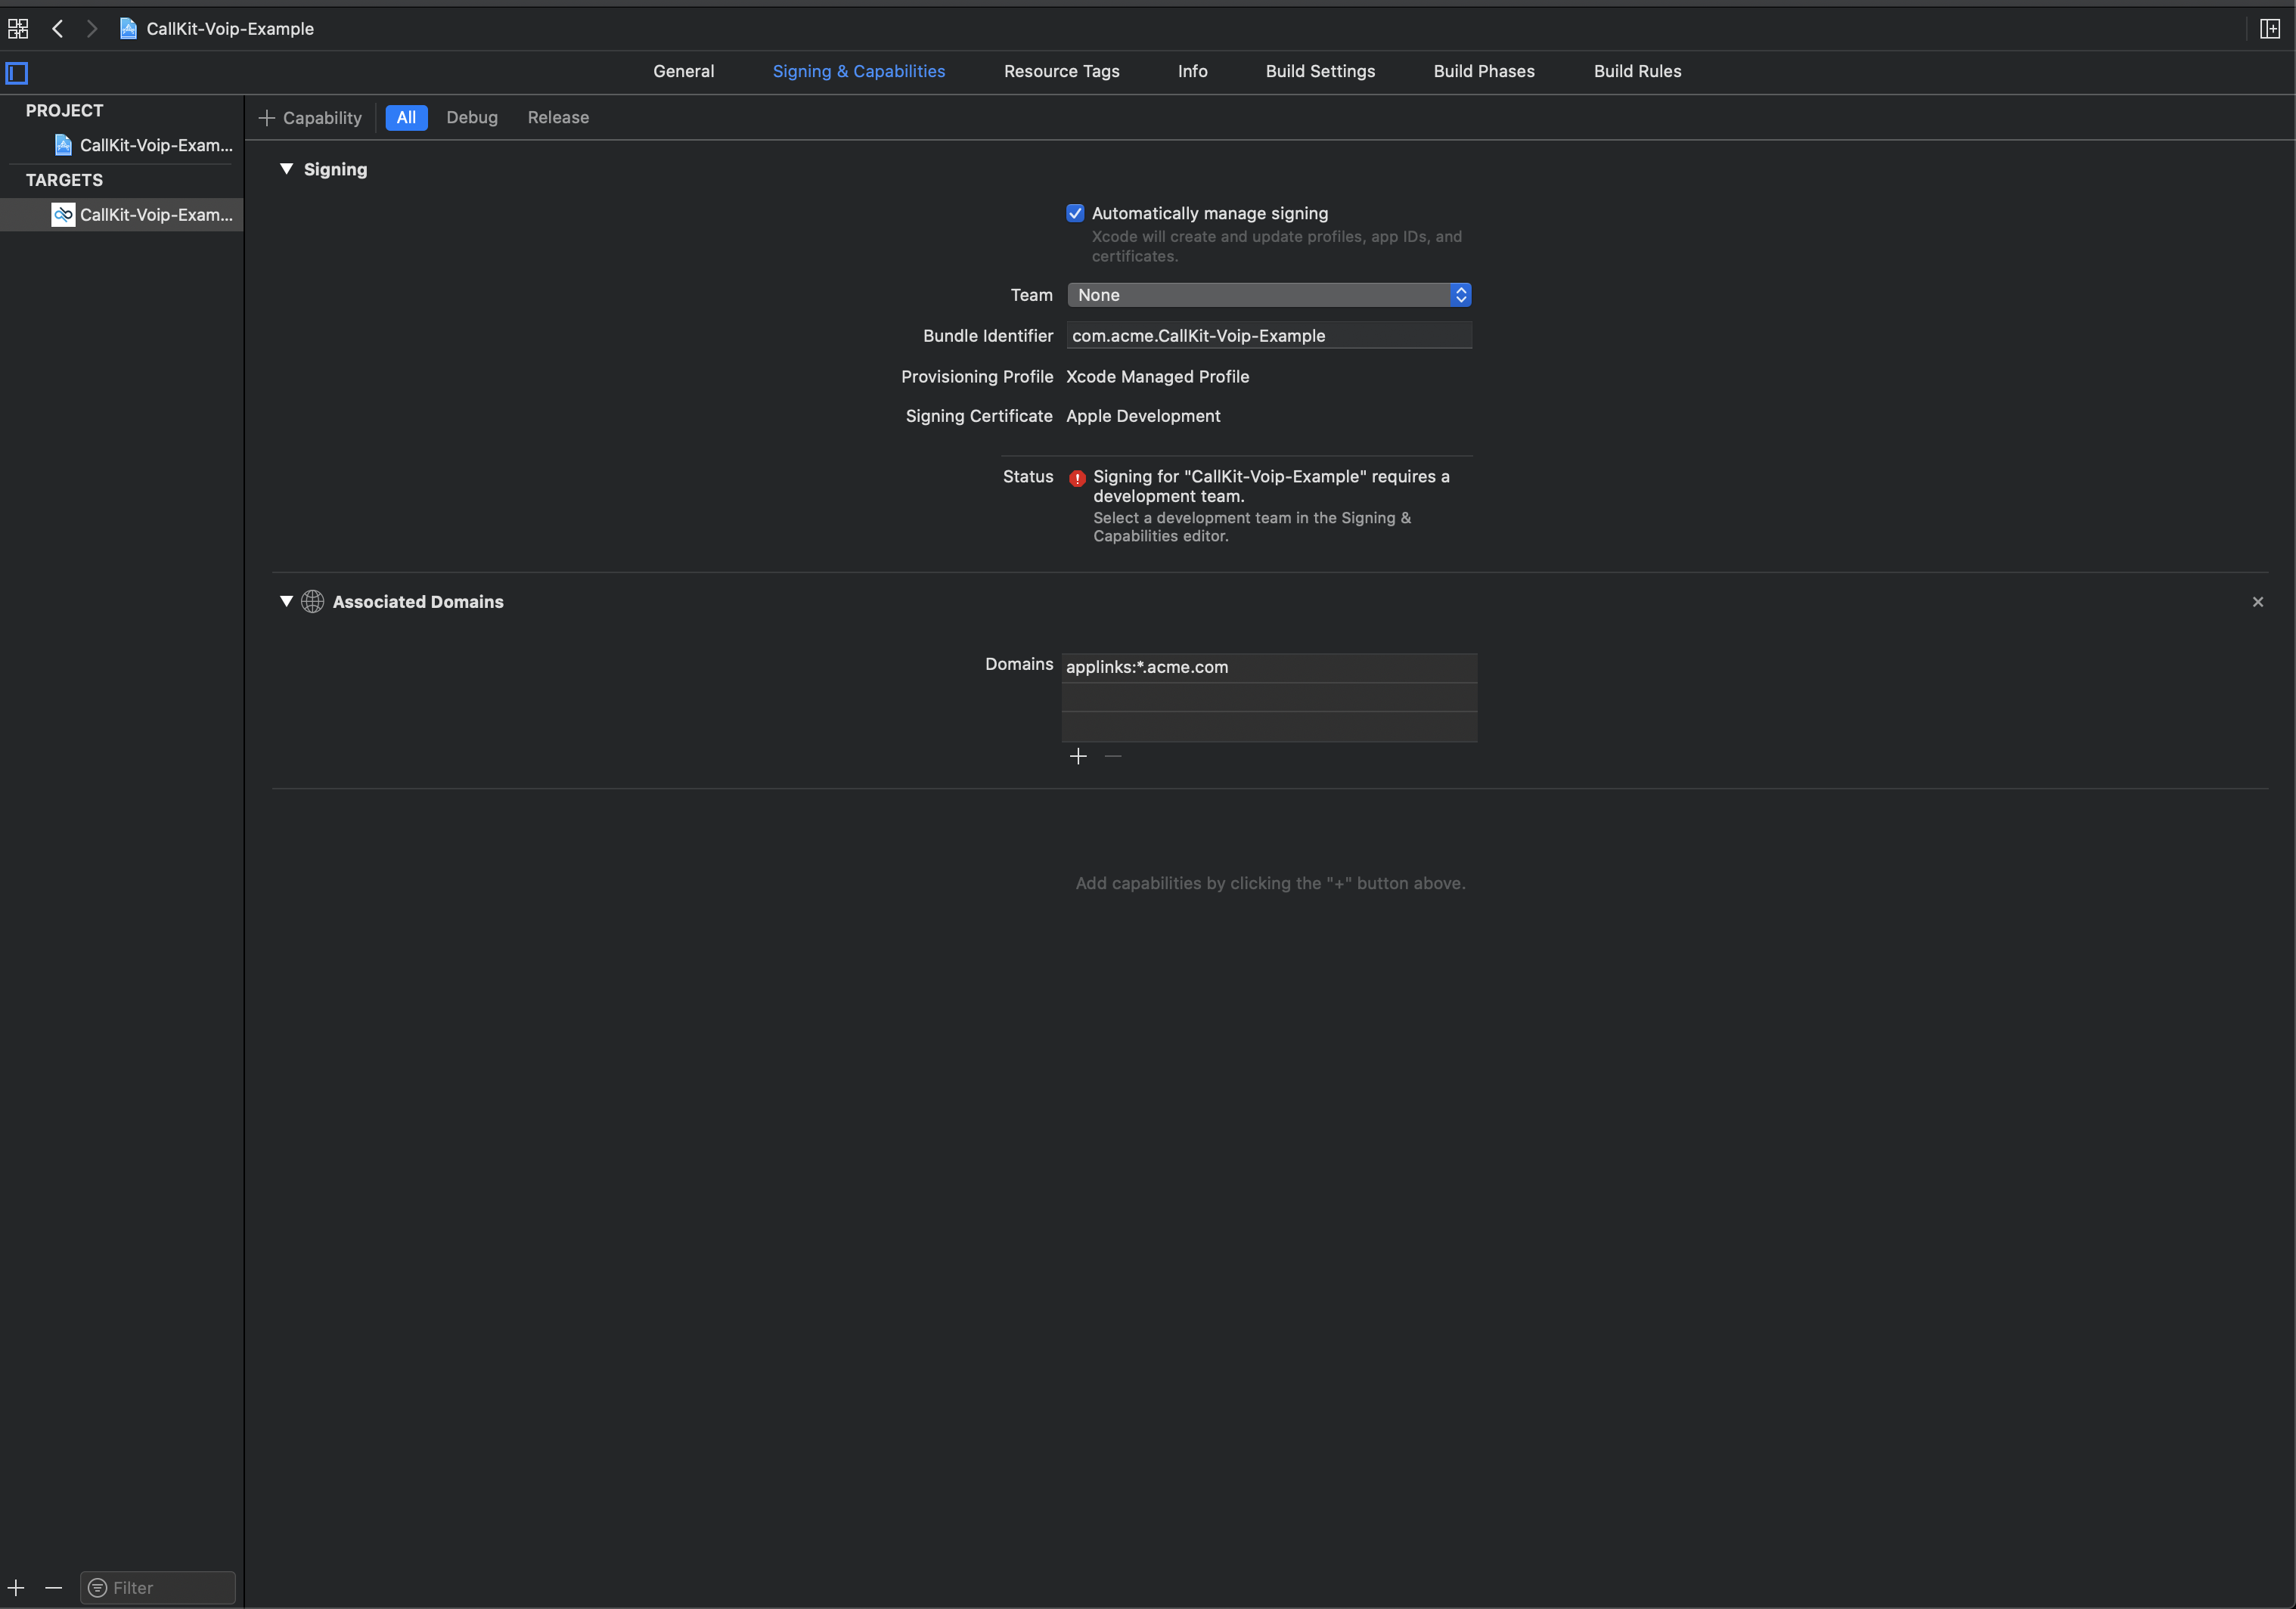
Now you are ready to add all the domains your app can open links from. If your app supports different subdomains you should list them all in the "Domains" box. If your app supports a lot of dynamic subdomains you can use a wildcard. Beware, any domain you add to your entitlements file, must have a corresponding apple-app-site-association file. If you use a wildcard, your apple-app-site-association file must be reacheable on the wildcard root host (i.e. if you use *.acme.com, the apple-app-site-association file must be reacheable at https://acme.com). When you click on the "+" sign in near the "Domains" box a new entry is added. You must replace the placeholder value Xcode adds for you with something like "applinks:NAME OF YOUR DOMAIN". In the picture below we added a wildcard entry for any URL pointing to "acme.com"
Apple app site association file
The next step to enable universal links support in your app, requires you to create a json file you must upload to your website. The json file you must upload must look like this:
{
    "applinks": {
        "apps": [],
        "details": [{
            "appID": "D3KQX62K1A.com.example.photoapp",
            "paths": ["/albums"]
            },
            {
            "appID": "D3KQX62K1A.com.example.videoapp",
            "paths": ["/videos"]
        }]
    }
}
For more information about the format of the json file and the format of each section of the file head over to Apple guide. Beware, the json file must be named "apple-app-site-association" without the file format extension and must be uploaded on your website root, or in the .well-known directory of your website. iOS expects this file to be reacheable without any redirects. For more info take a look at "Validate the Apple App Site Association File" section of this Apple guide.
App Delegate
Now that you have set up your "two-way" association between your app and your website by means of your app entitlements and the apple-app-site-association file, you should be ready to open URLs pointing to resources of your website in your app. To do that, you must implement the application(_:continue:restorationHandler:) method (application:continueUserActivity:restorationHandler:, in objective-c) in your AppDelegate. Beware, if you are targeting iOS 13 and above only you must implement the corresponding method in your SceneDelegate instead.
This methow will be invoked by the operating system when a user taps on an a link with an URL your app claimed it can handle.
The code listing below shows you how to retrieve the URL from the NSUserActivity object provided in that method
@UIApplicationMain
class AppDelegate: UIResponder, UIApplicationDelegate {

    func application(_ application: UIApplication, continue userActivity: NSUserActivity, restorationHandler: @escaping ([Any]?) -> Void) -> Bool {
        guard userActivity.activityType == NSUserActivityTypeBrowsingWeb,
            let url = userActivity.webpageURL else { return false }

        //Validate the URL
        //Do something with the URL

        return true
    }
}
@implementation AppDelegate

- (BOOL)application:(UIApplication *)application continueUserActivity:(NSUserActivity *)userActivity restorationHandler:(void (^)(NSArray<id<UIUserActivityRestoring>> * _Nullable))restorationHandler
{
    if (userActivity.activityType == NSUserActivityTypeBrowsingWeb)
    {
        NSURL *url = userActivity.webpageURL;

        //Validate the URL
        //Do something with the URL
        return YES;
    }

    return NO;
}

@end
Start the call
Now that you are able to retrieve the URL received we can move to the next section of this guide which will explain how this URL can be handed to the BandyerSDK. The BandyerSDK can handle URLs in the following format:
https://ANY HOST WHATSOEVER/SOME PATH/rest-call-handler/ff8b0e6c3dfa949de451ed9317

or

https://ANY HOST WHATSOEVER/SOME PATH/direct-rest-call-handler/ff8b0e6c3dfa949de451ed9317
For example the following URL will be handled by the sdk:
https://www.acme.com/call_with_bandyer/01/a/rest-call-handler/ff8b0e6c3dfa949de451ed9317

or

https://www.acme.com/call_with_bandyer/01/a/direct-rest-call-handler/ff8b0e6c3dfa949de451ed9317
The following URL won't be handled by the sdk instead:
https://www.acme.com/call_with_bandyer/02/b/foo/bar/ff8b0e6c3dfa949de451ed9317
In order for BandyerSDK to open the URL you must make sure the URL you are passing to it has a path component ending either with /rest-call-handler/token or /direct-rest-call-handler/token.
The JoinURLIntent
As you might recall from our Making an outgoing call guide, in order to start a call with the BandyerSDK you must create an intent before presenting the call user interface. Once created, the JoinURLIntent can be passed to the call window for showing the call user interface. Don't forget to start the call client and wait until it's running before handing the intent to the BandyerSDK. The following code listing will show how to present a call window when your app receives an open URL request from the system. We are doing it in the AppDelegate only for keeping this sample code simple and short, in a real app it is very unlikely that you are going to present the call window from the AppDelegate.
@UIApplicationMain
class AppDelegate: UIResponder, UIApplicationDelegate {

    lazy var callWindow: CallWindow = {
        var window: CallWindow
        if CallWindow.instance != nil {
            window = CallWindow.instance!
        } else {
            window = CallWindow()
        }

        window.callDelegate = self
        return window
    }()

    func application(_ application: UIApplication, continue userActivity: NSUserActivity, restorationHandler: @escaping ([Any]?) -> Void) -> Bool {
        guard userActivity.activityType == NSUserActivityTypeBrowsingWeb, let url = userActivity.webpageURL else { return false }

        let config = CallViewControllerConfiguration()
        let filePath = Bundle.main.path(forResource: "SIMULATOR MP4 VIDEO", ofType: "mp4")

        guard let path = filePath else {
            fatalError("The fake file for the file capturer could not be found")
        }

        config.fakeCapturerFileURL = URL(fileURLWithPath:path)

        callWindow.setConfiguration(config)

        let intent = JoinURLIntent(url: url)

        callWindow.presentCallViewController(for: intent) { error in
            guard let error = error else { return }

            switch error {
            case let presentationError as CallPresentationError where presentationError.errorCode == CallPresentationErrorCode.anotherCallOnGoing.rawValue:
                //Another call is already in progress...
            default:
                //Configuration error...
            }
        return true
    }
}
@implementation AppDelegate

- (BDKCallWindow *)callWindow
{
    if (!_callWindow)
    {
        if (BDKCallWindow.instance)
        {
            _callWindow = BDKCallWindow.instance;
        } else
        {
            _callWindow = [[BDKCallWindow alloc] init];
        }

        _callWindow.callDelegate = self;
    }

    return _callWindow;
}

- (BOOL)application:(UIApplication *)application continueUserActivity:(NSUserActivity *)userActivity restorationHandler:(void (^)(NSArray<id<UIUserActivityRestoring>> * _Nullable))restorationHandler
{
    if ([userActivity.activityType isEqualToString:NSUserActivityTypeBrowsingWeb])
    {
        NSURL *url = userActivity.webpageURL;

        BDKJoinURLIntent *intent = [BDKJoinURLIntent intentWithURL:url];

        BDKCallViewControllerConfiguration *config = [BDKCallViewControllerConfiguration new];

        NSURL *fakeCapturerURL = [NSURL fileURLWithPath:[NSBundle mainBundle] pathForResource:@"SampleVideo_640x360_10mb" ofType:@"mp4"](/Bandyer/Bandyer-iOS-SDK/wiki/NSBundle-mainBundle]-pathForResource:@"SampleVideo_640x360_10mb"-ofType:@"mp4");
        config.fakeCapturerFileURL = fakeCapturerURL;

        [self.callWindow setConfiguration:config];

        [self.callWindow presentCallViewControllerFor:intent completion:^(NSError * error) {
                 if ([error.domain isEqualToString:BDKCallPresentationErrorDomain.value] && error.code == BDKCallPresentationErrorCodeAnotherCallOnGoing)
                 {
                     //Another call is already in progress...
                 }
                 else if (error)
                 {
                    //Configuration error...
                 }
        }];

        return YES;
    }

    return NO;
}

@end
Beware, the code listing above omits any initialization code for the BandyerSDK and the call client. You are required to do it, otherwise the call won't start. So, remember to initialize the BandyerSDK first, and then when you are ready to start the call client and wait until it is running, only then you can create an intent and hand it to the call window.