Heightmap image overlay - Azgaar/Fantasy-Map-Generator GitHub Wiki
Overview
The "Texture" layer can be used as an image overlay - an image that appears over the existing map.
This can be enabled during heightmap editing to allow you to see both the heightmap and the image. Possible uses are for tracing landmasses or adding features more accurately.
Caveats
For the texture to work, the image must be available on the web. Due to browser security restrictions, only websites that have a relatively open Cross-Origin Resource Sharing (CORS) policy will work. You can possibly use a CORS proxy for other sites. Imgur is one site that works for this feature.
Loading an image as an overlay
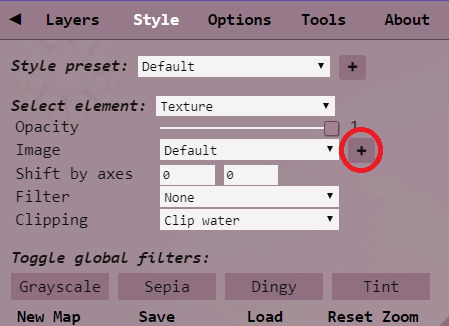
Go to Style, then click the "+" button next to Image.
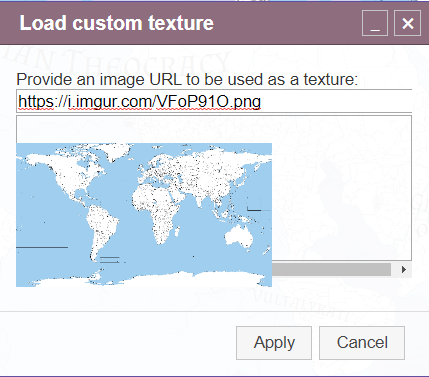
Enter the URL of the image you want to use - when it is correct, the image will appear here - this does not mean that it will work - just that the URL is correct. Click Apply.
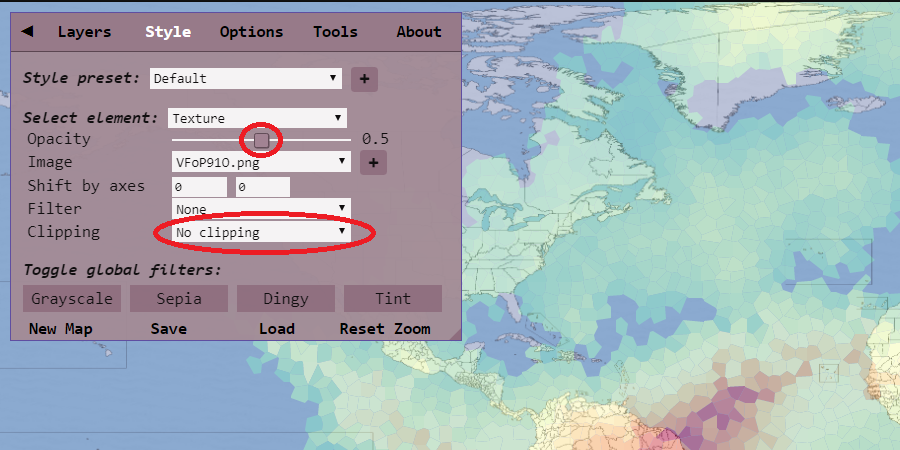
Still on the Texture style, change Clipping to "No Clipping".
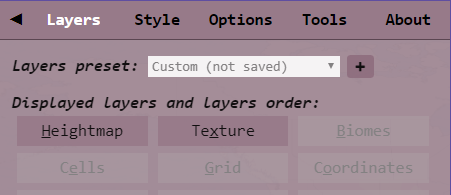
Go to Layers, choose the Heightmap preset. Enable the Texture layer, then drag the Texture layer before the Heightmap layer.
Lower the opacity of the texture under Style.
 Alternatively you can lower the opacity of the heightmap - it depends on what looks best to you.
At this point you should be able to see both your map and the image.
You can play with it till everything looks clear.
Go to Tools, Heightmap, Erase. Initially it will hide the Texture layer - go to Layers, then enable the Texture layer again, and it should show both the heightmap and your image.