Configuration - Autovw/AdvancedNetherite GitHub Wiki
How to edit the configuration
Note: This page only applies to the Forge version of Advanced Netherite.
Updated as of version [Forge] 1.10.0
As of version [Forge] 1.3.0 Advanced Netherite has a config system!
The config file is stored inside C:\Users\{USER}\AppData\Roaming\.minecraft\config.
Even though it's possible to edit the config files manually, I recommend you install Configured, which is a mod that allows you to modify the configuration file within Minecraft's main menu.
I also recommend installing Catalogue, which is a mod that improves Forge's mod menu.
Step 1:
Install the following mods:
- Advanced Netherite
- Catalogue (optional, but recommended!)
- Configured
Step 2:
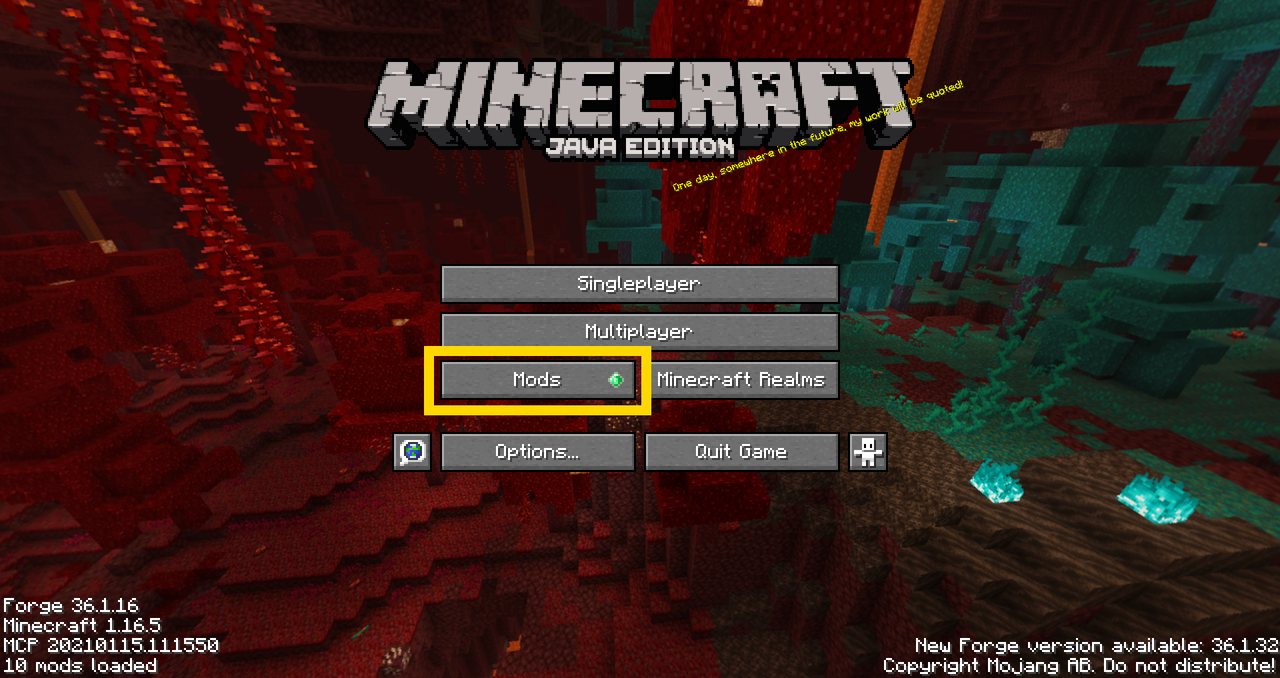
Start Minecraft and select the 'Mods' button inside Minecraft's main menu.
Step 3:
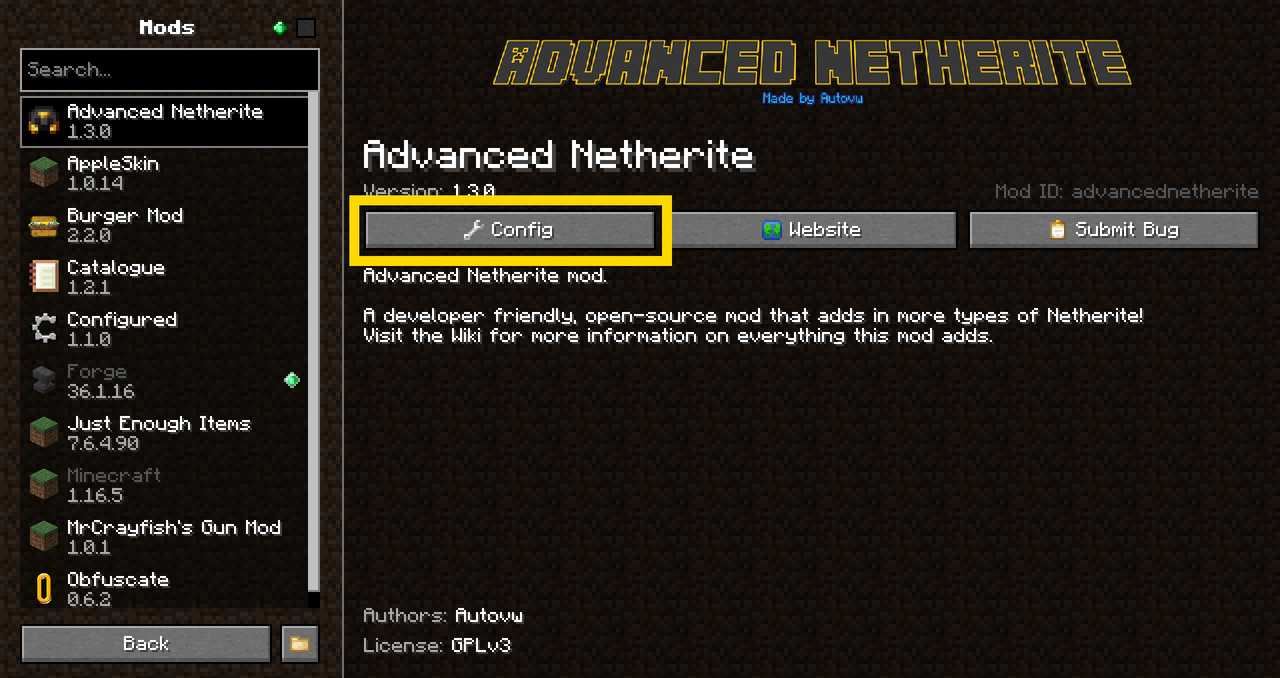
Inside the mod menu, select Advanced Netherite and click on the 'Config' button.
Step 4:
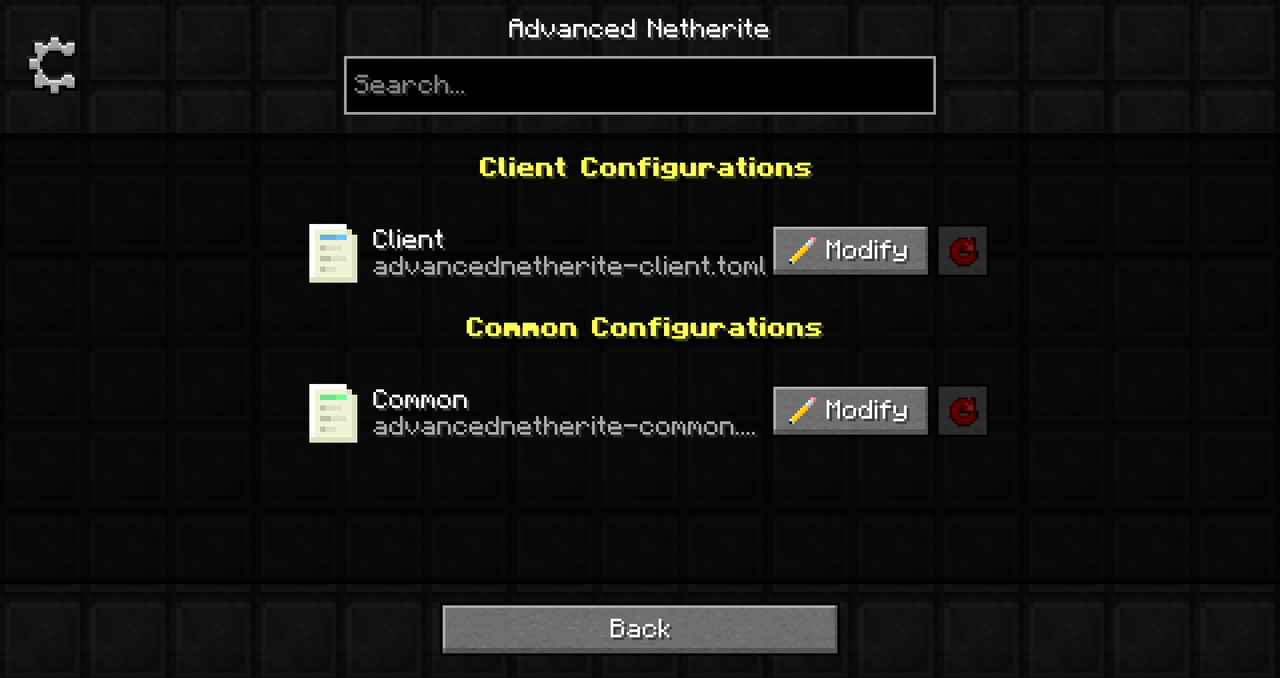
Select the config you want to edit, skip to Step 7 for editing the client config!
Step 5:
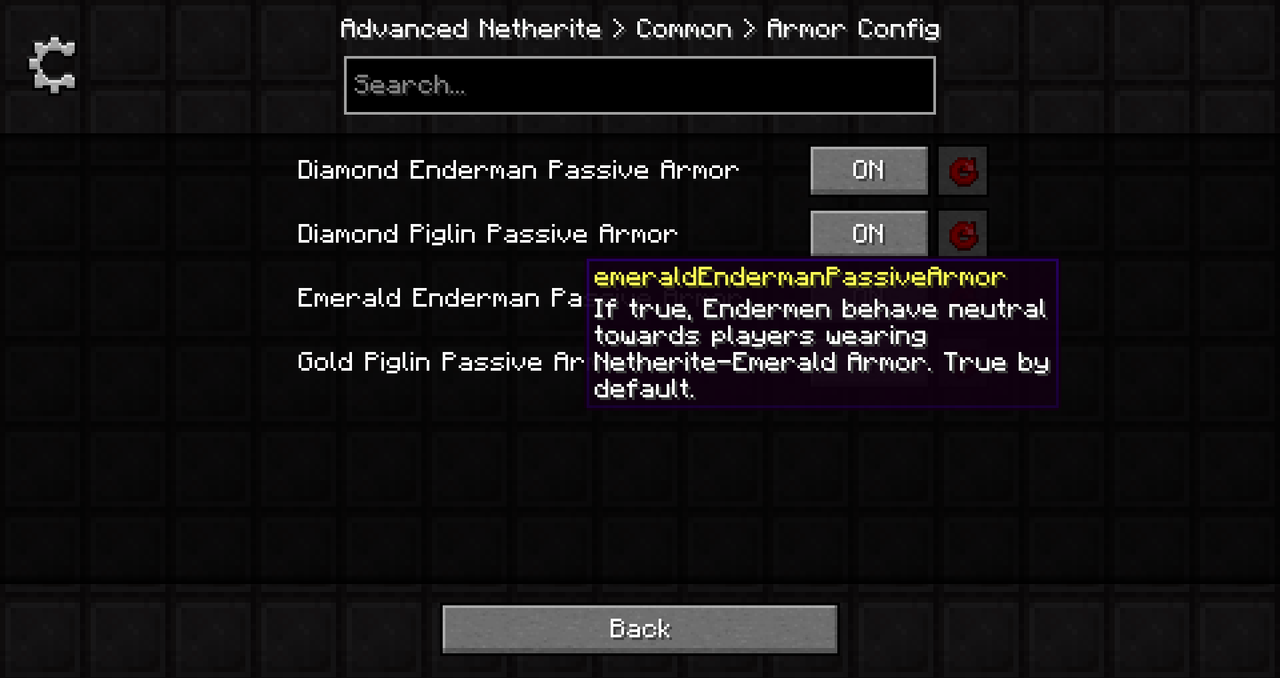
For example: You want to edit the Armor Config.
Inside the 'Config' click on 'Common' then 'Armor Config'.
Step 6:
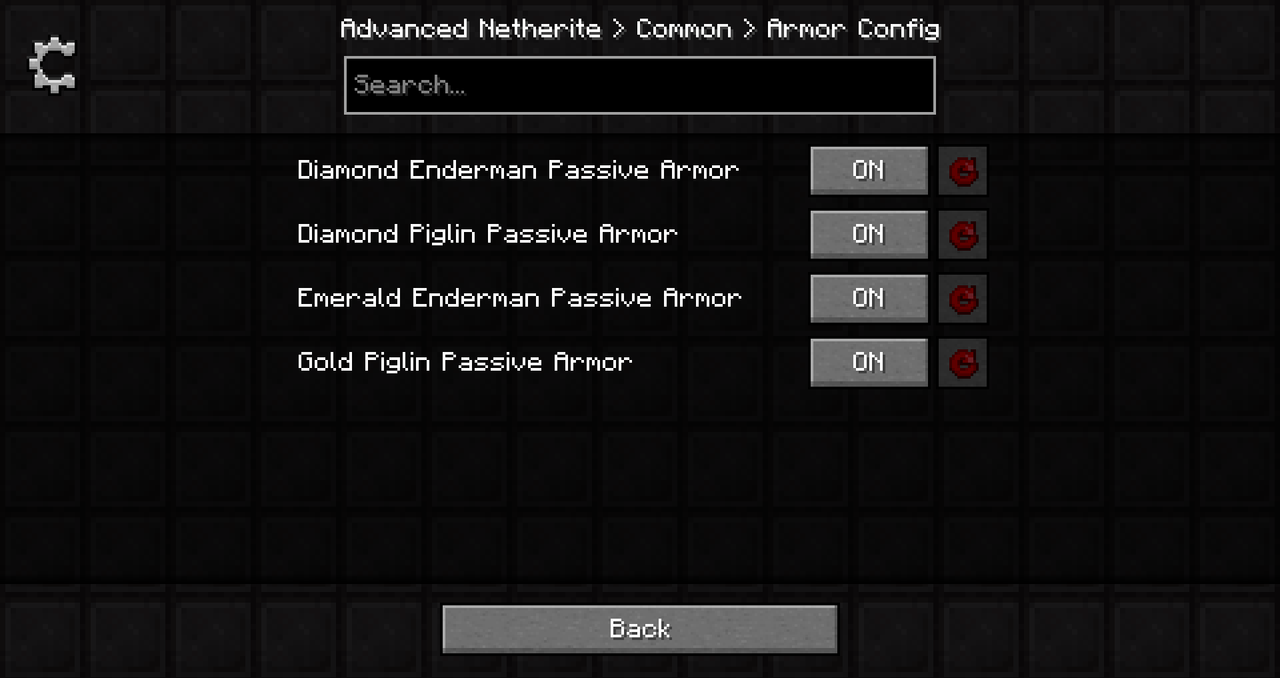
In the 'Armor Config' you can modify the armor properties.
Tip: Hover over the titles to get more information on what everything does.
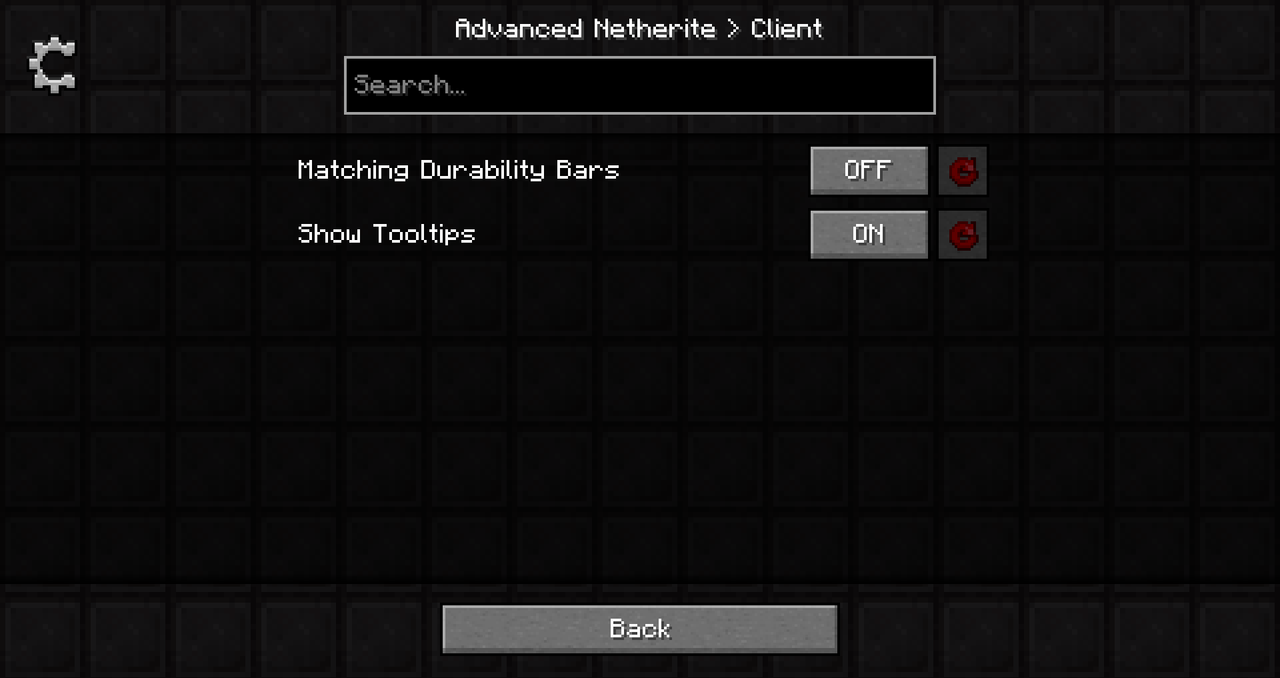
Step 7:
Go back to the screen from Step 4 and click on the Client config.
Here you can enable Matching Durability Bars or turn off tooltips while still keeping the perk.
If you're done, you can go back, press Save, and play with the changes! :)